

Emulsion VM
Vol 3
CA18det Build Progress
This year has been pretty rough so far all things considered, however this CA18 build goes on! This page will update as I make more progress towards finalizing the swap into my s13, and I plan continue adding additional updates post-swap for anything interesting directly relating to this engine swap, and if you are reading this- Thank you for following with me on this journey!
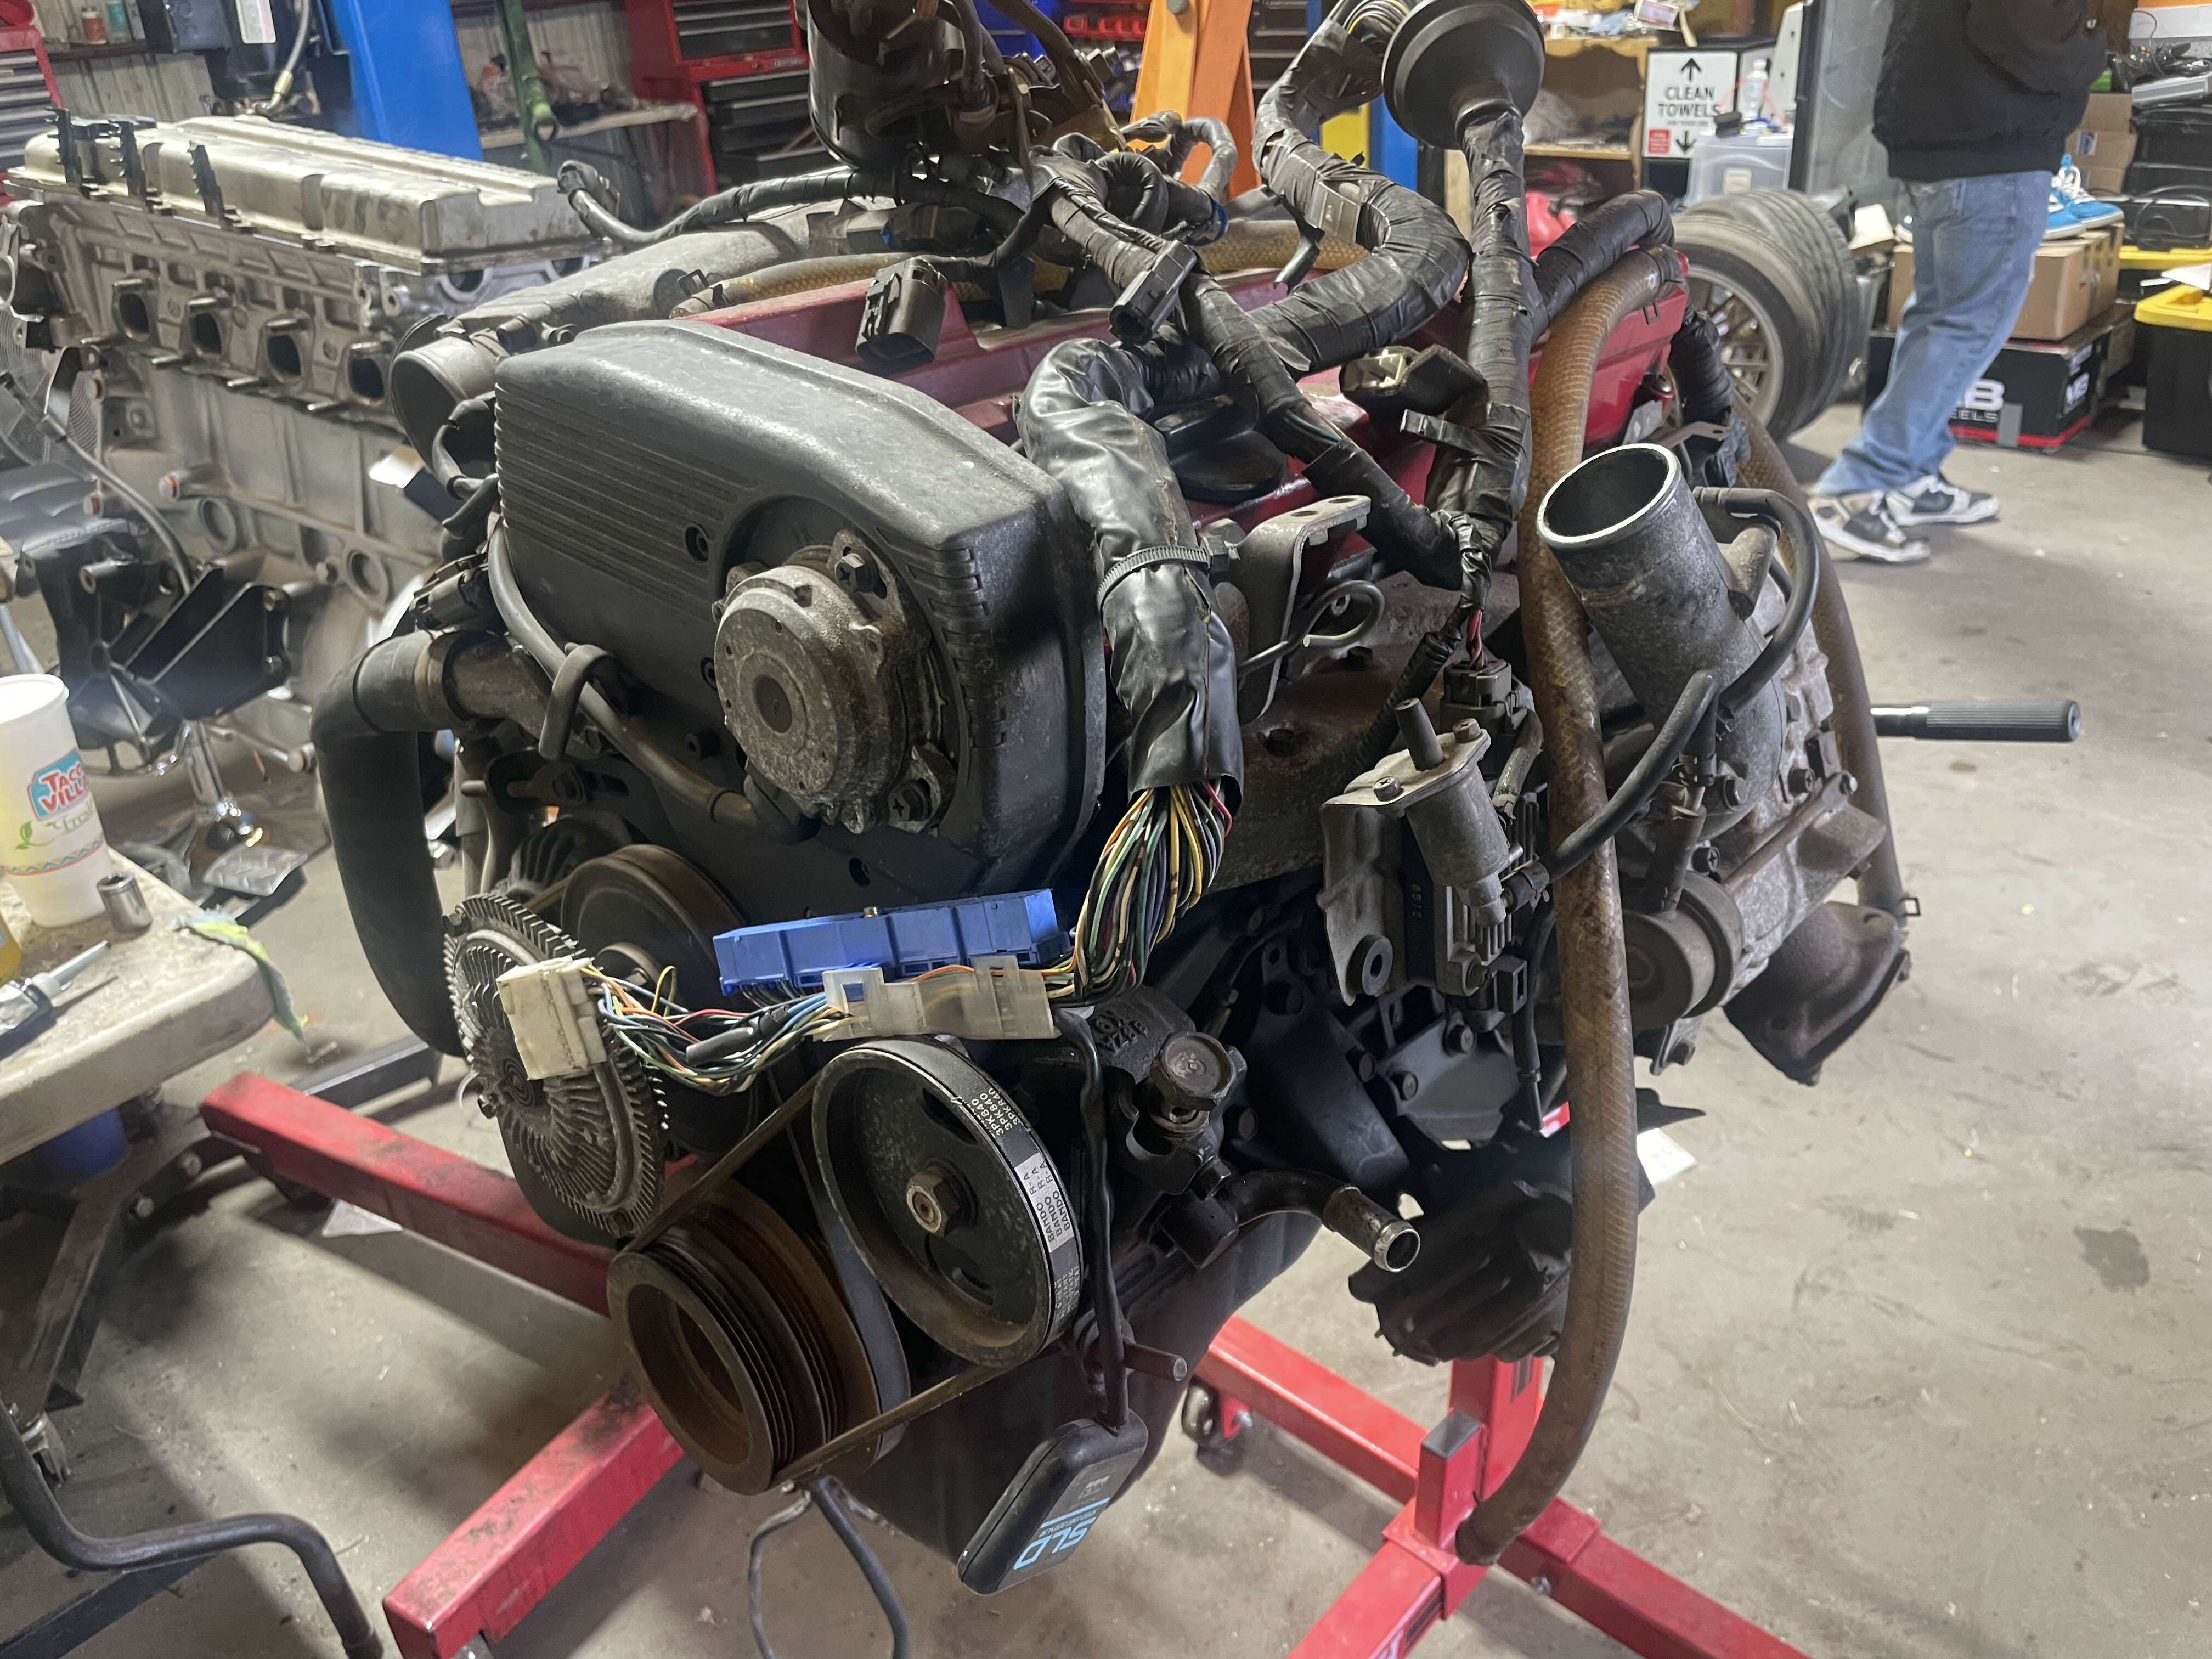

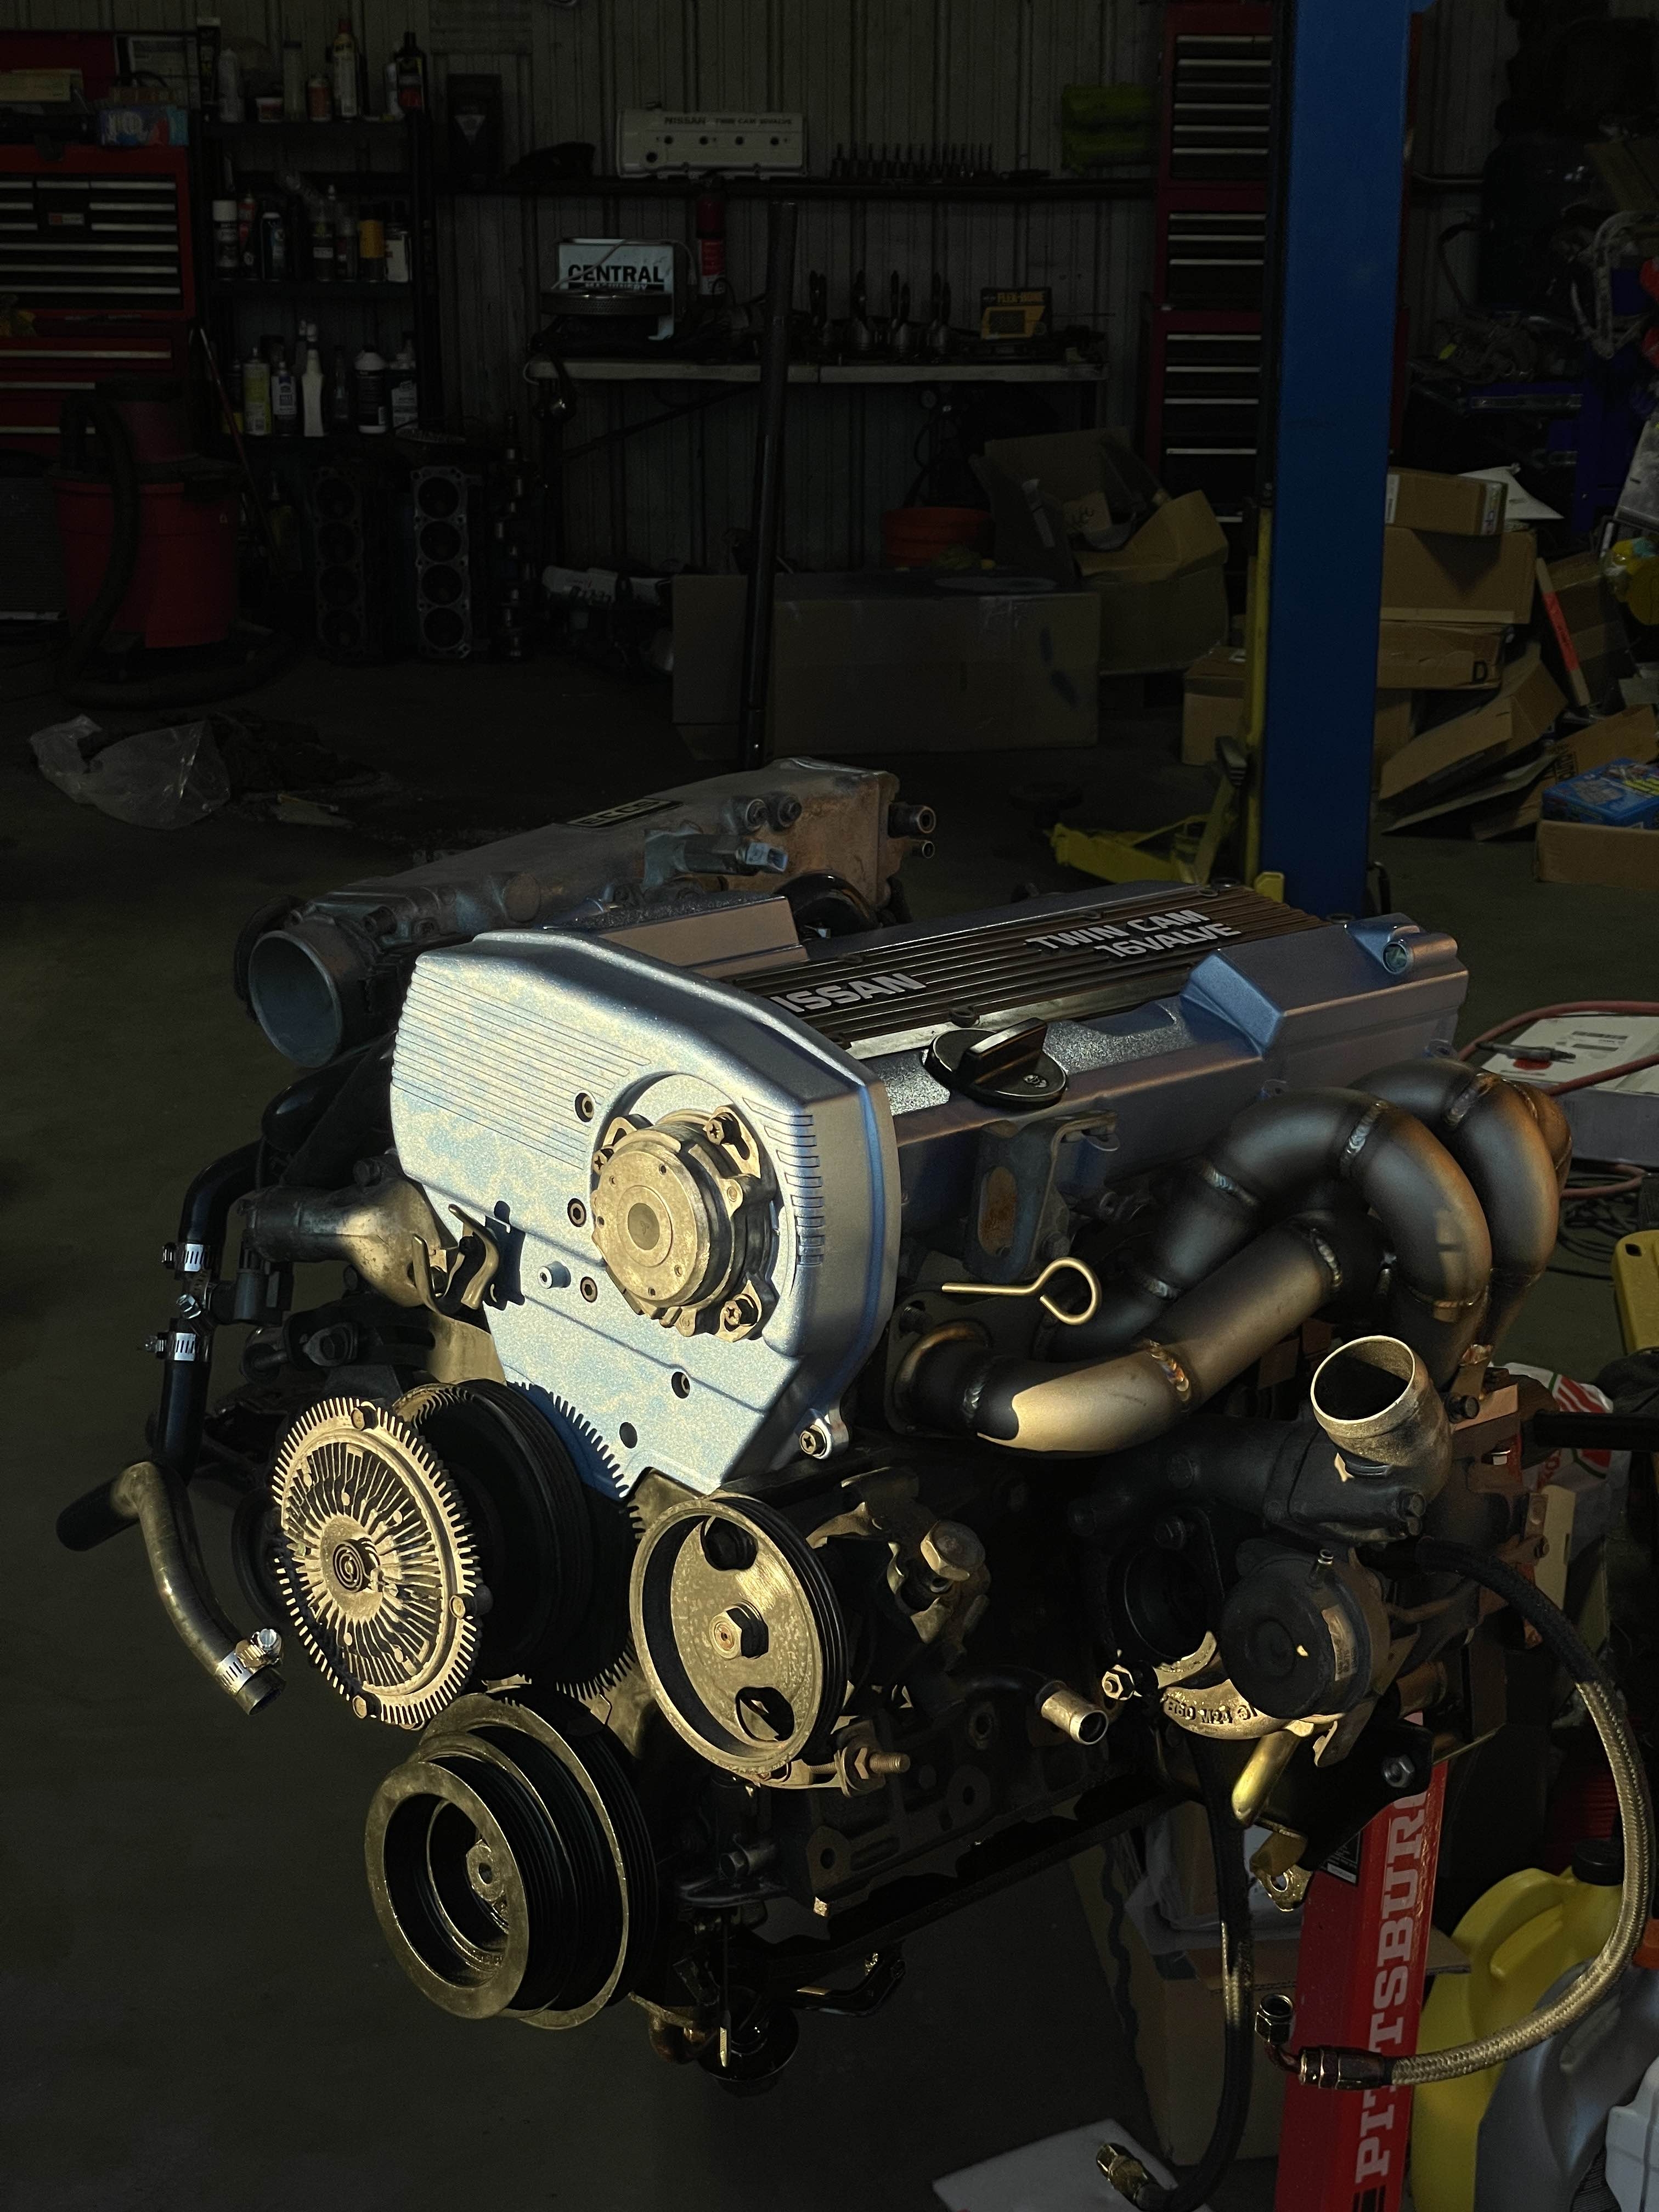
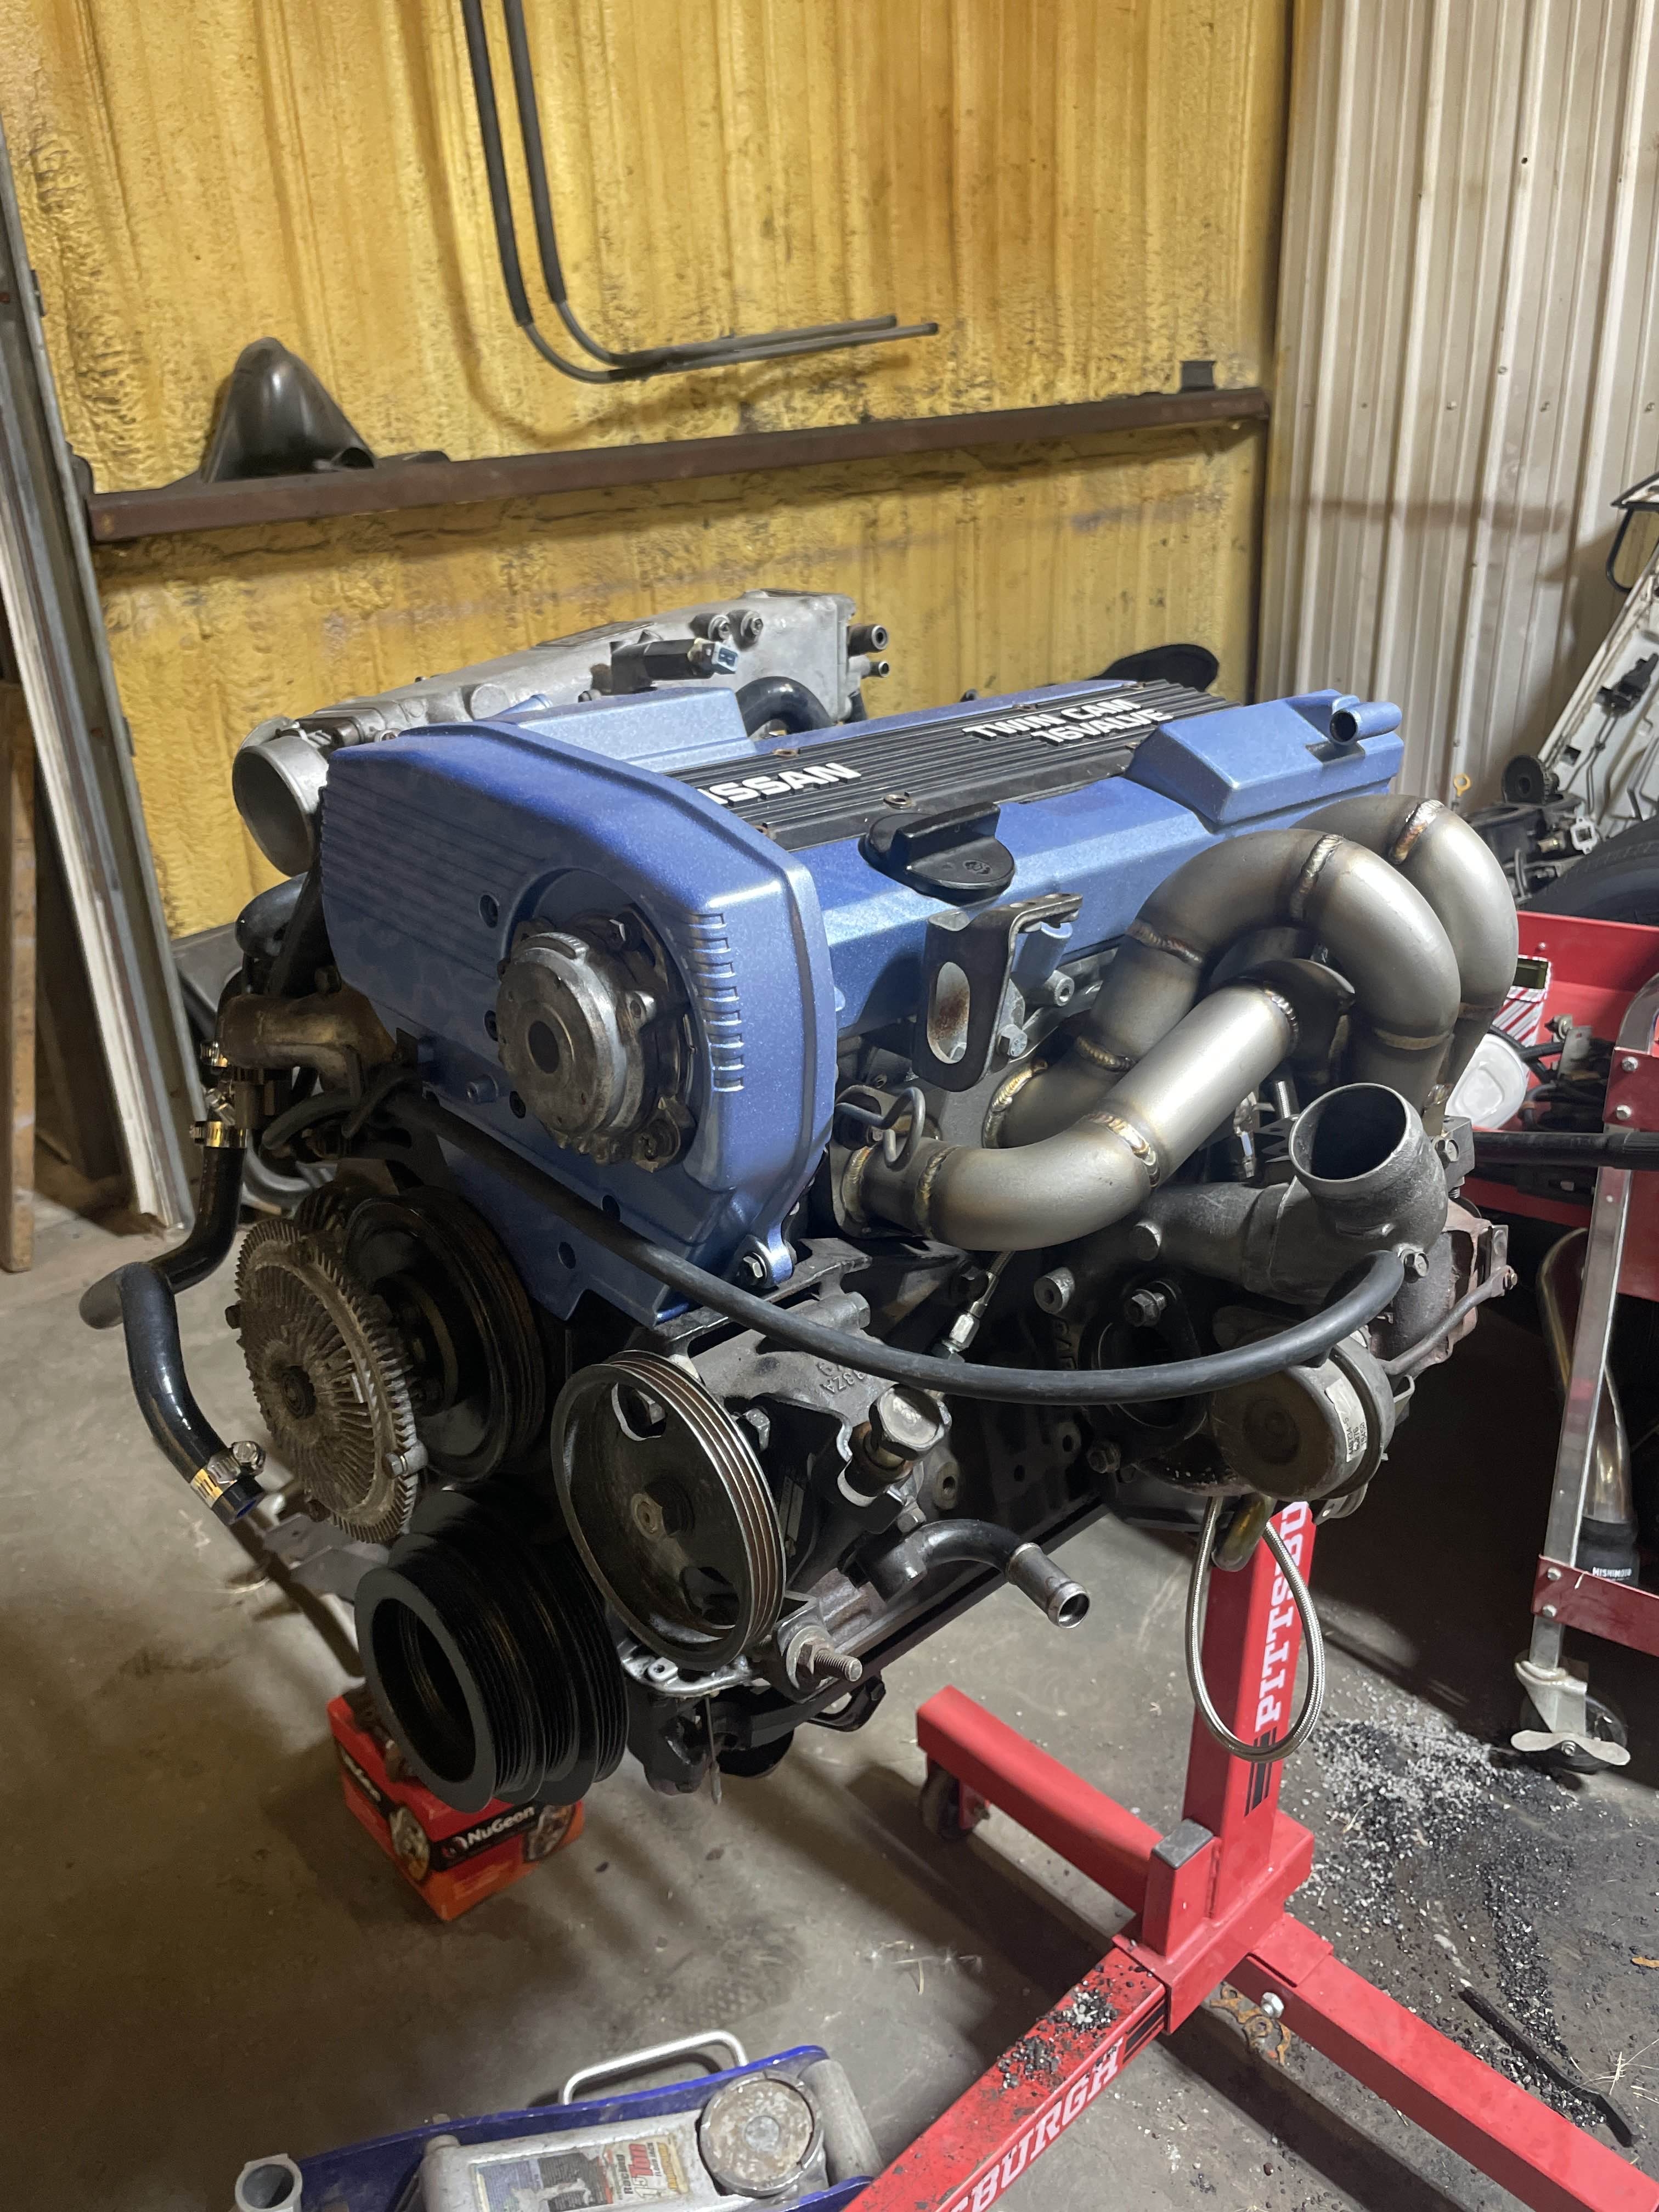
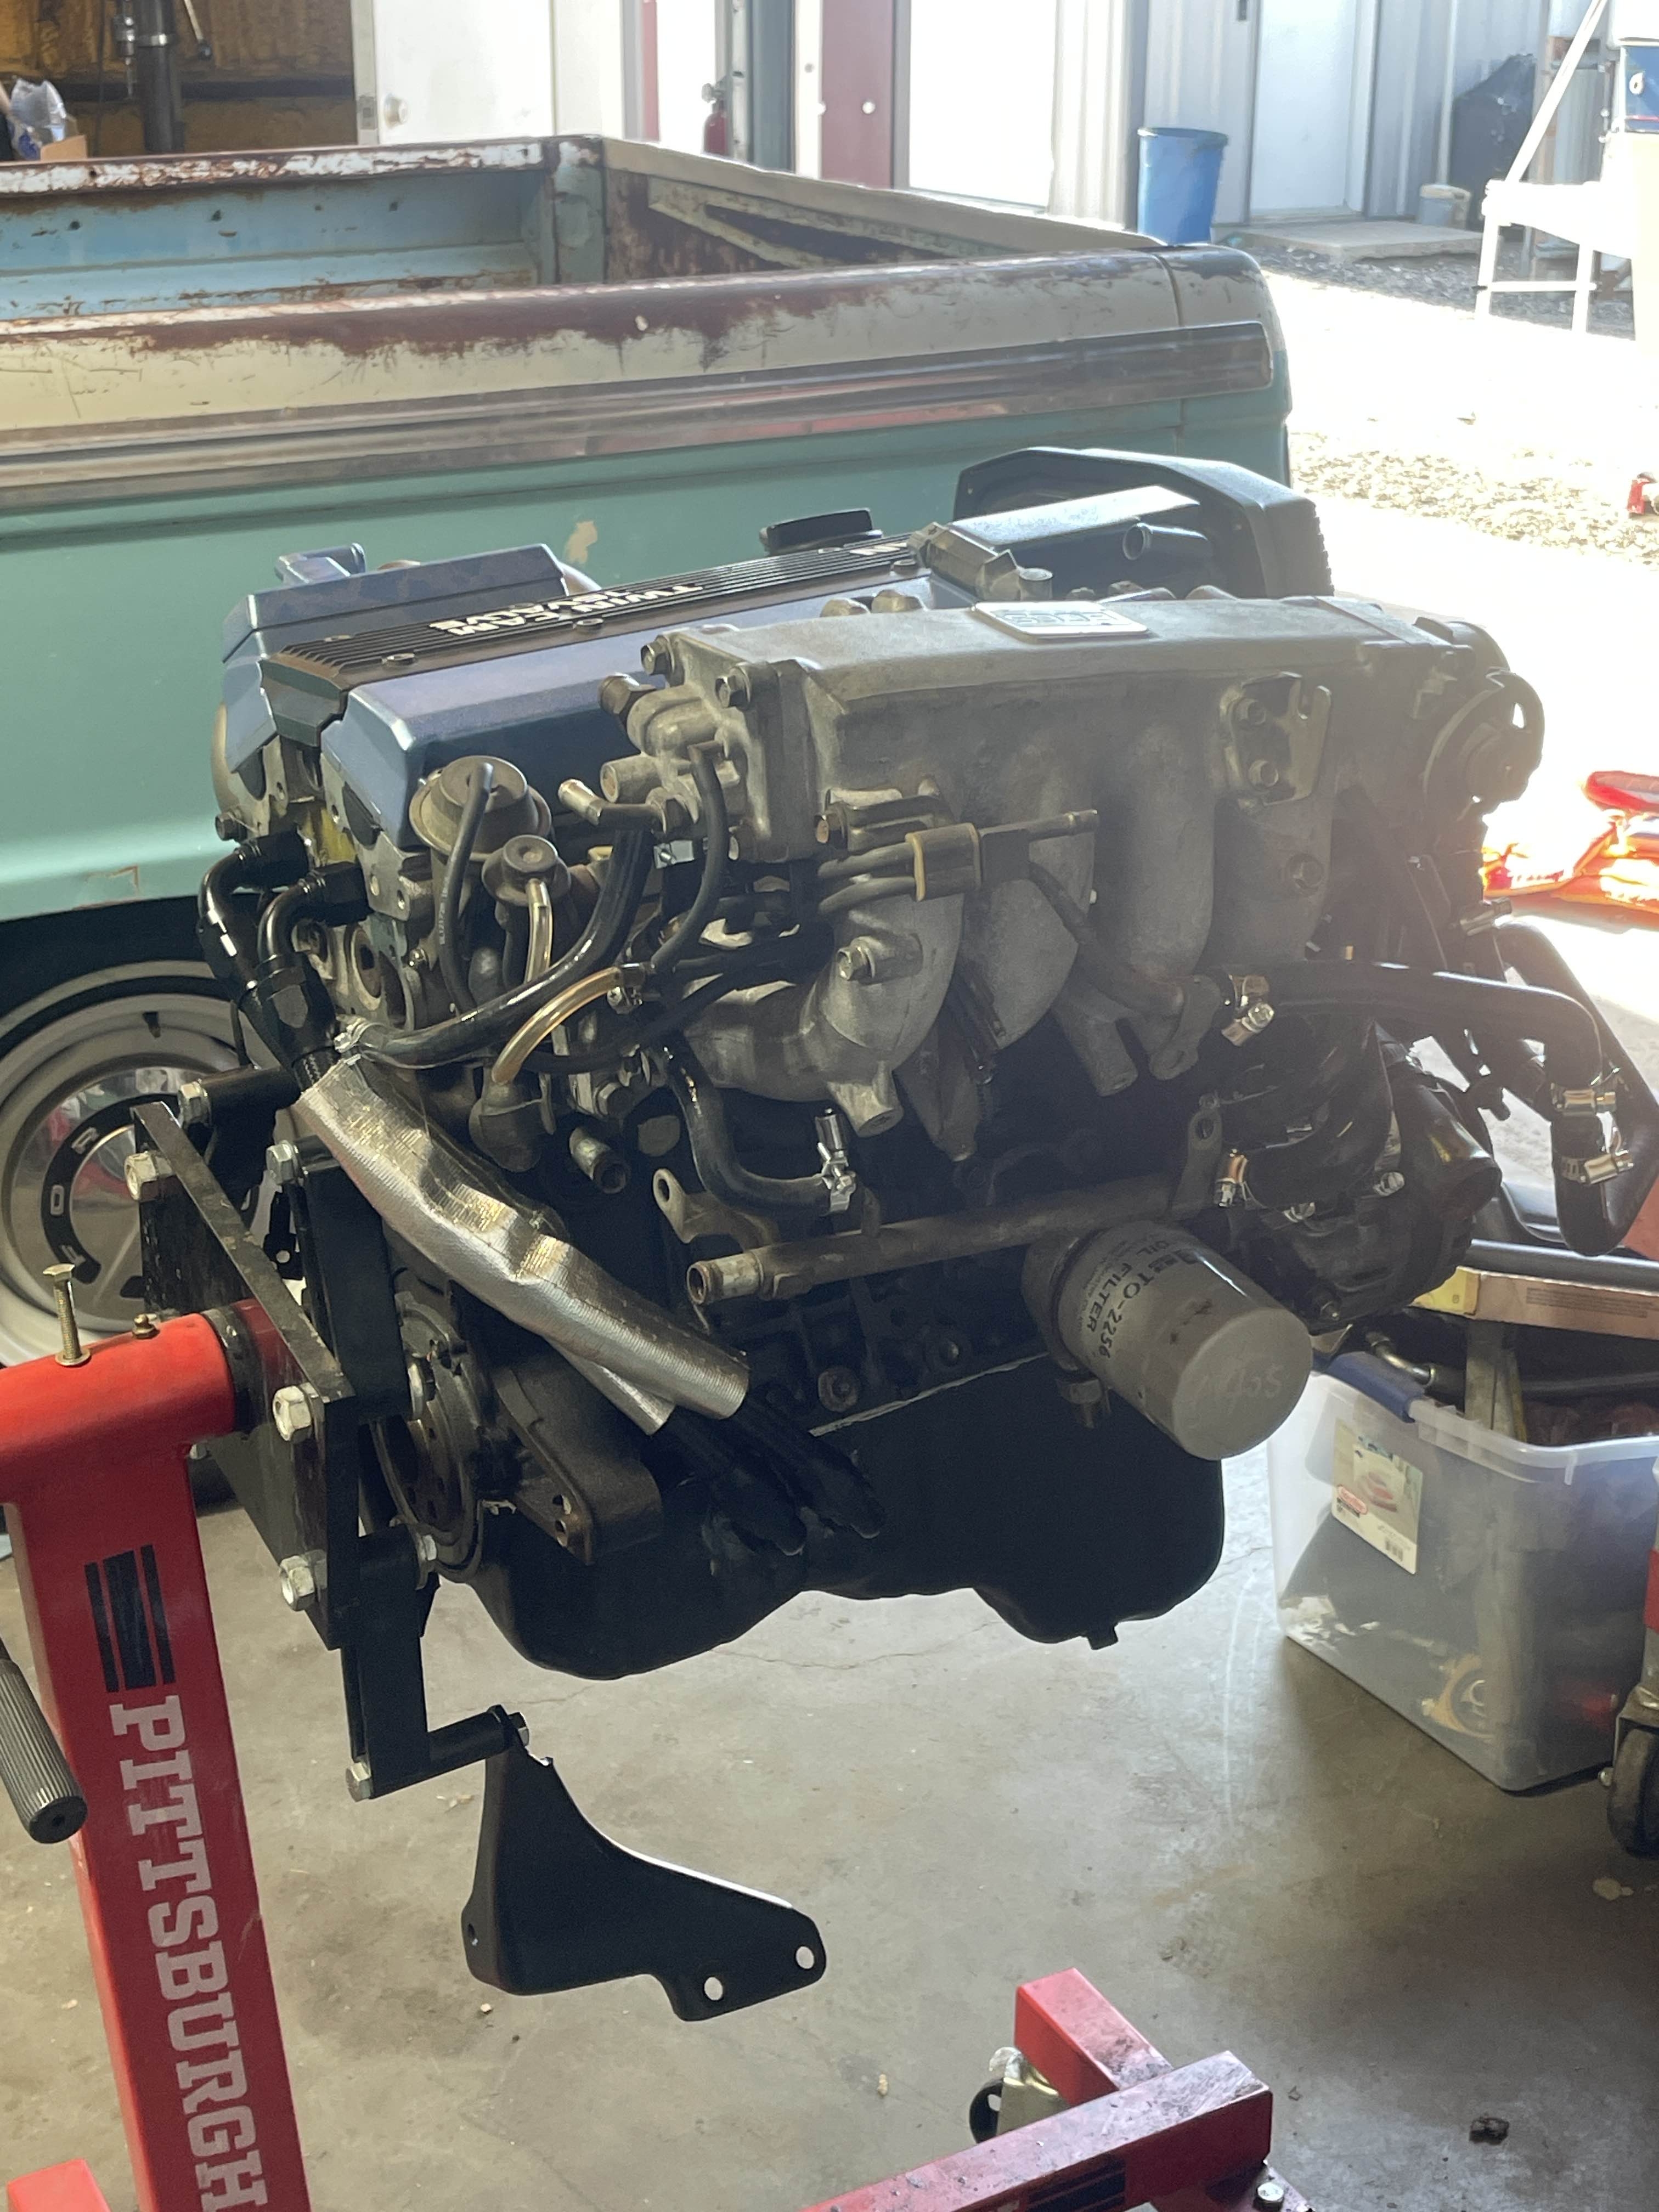
Here's from back in January (2025), sitting on the stand with the oem harness still attatched.. Although I could have at this point just done a basic check, swap hoses out, and extend the harness to call it a day, this was the point where I had to decide exactly how far I wanted to go with this engine.
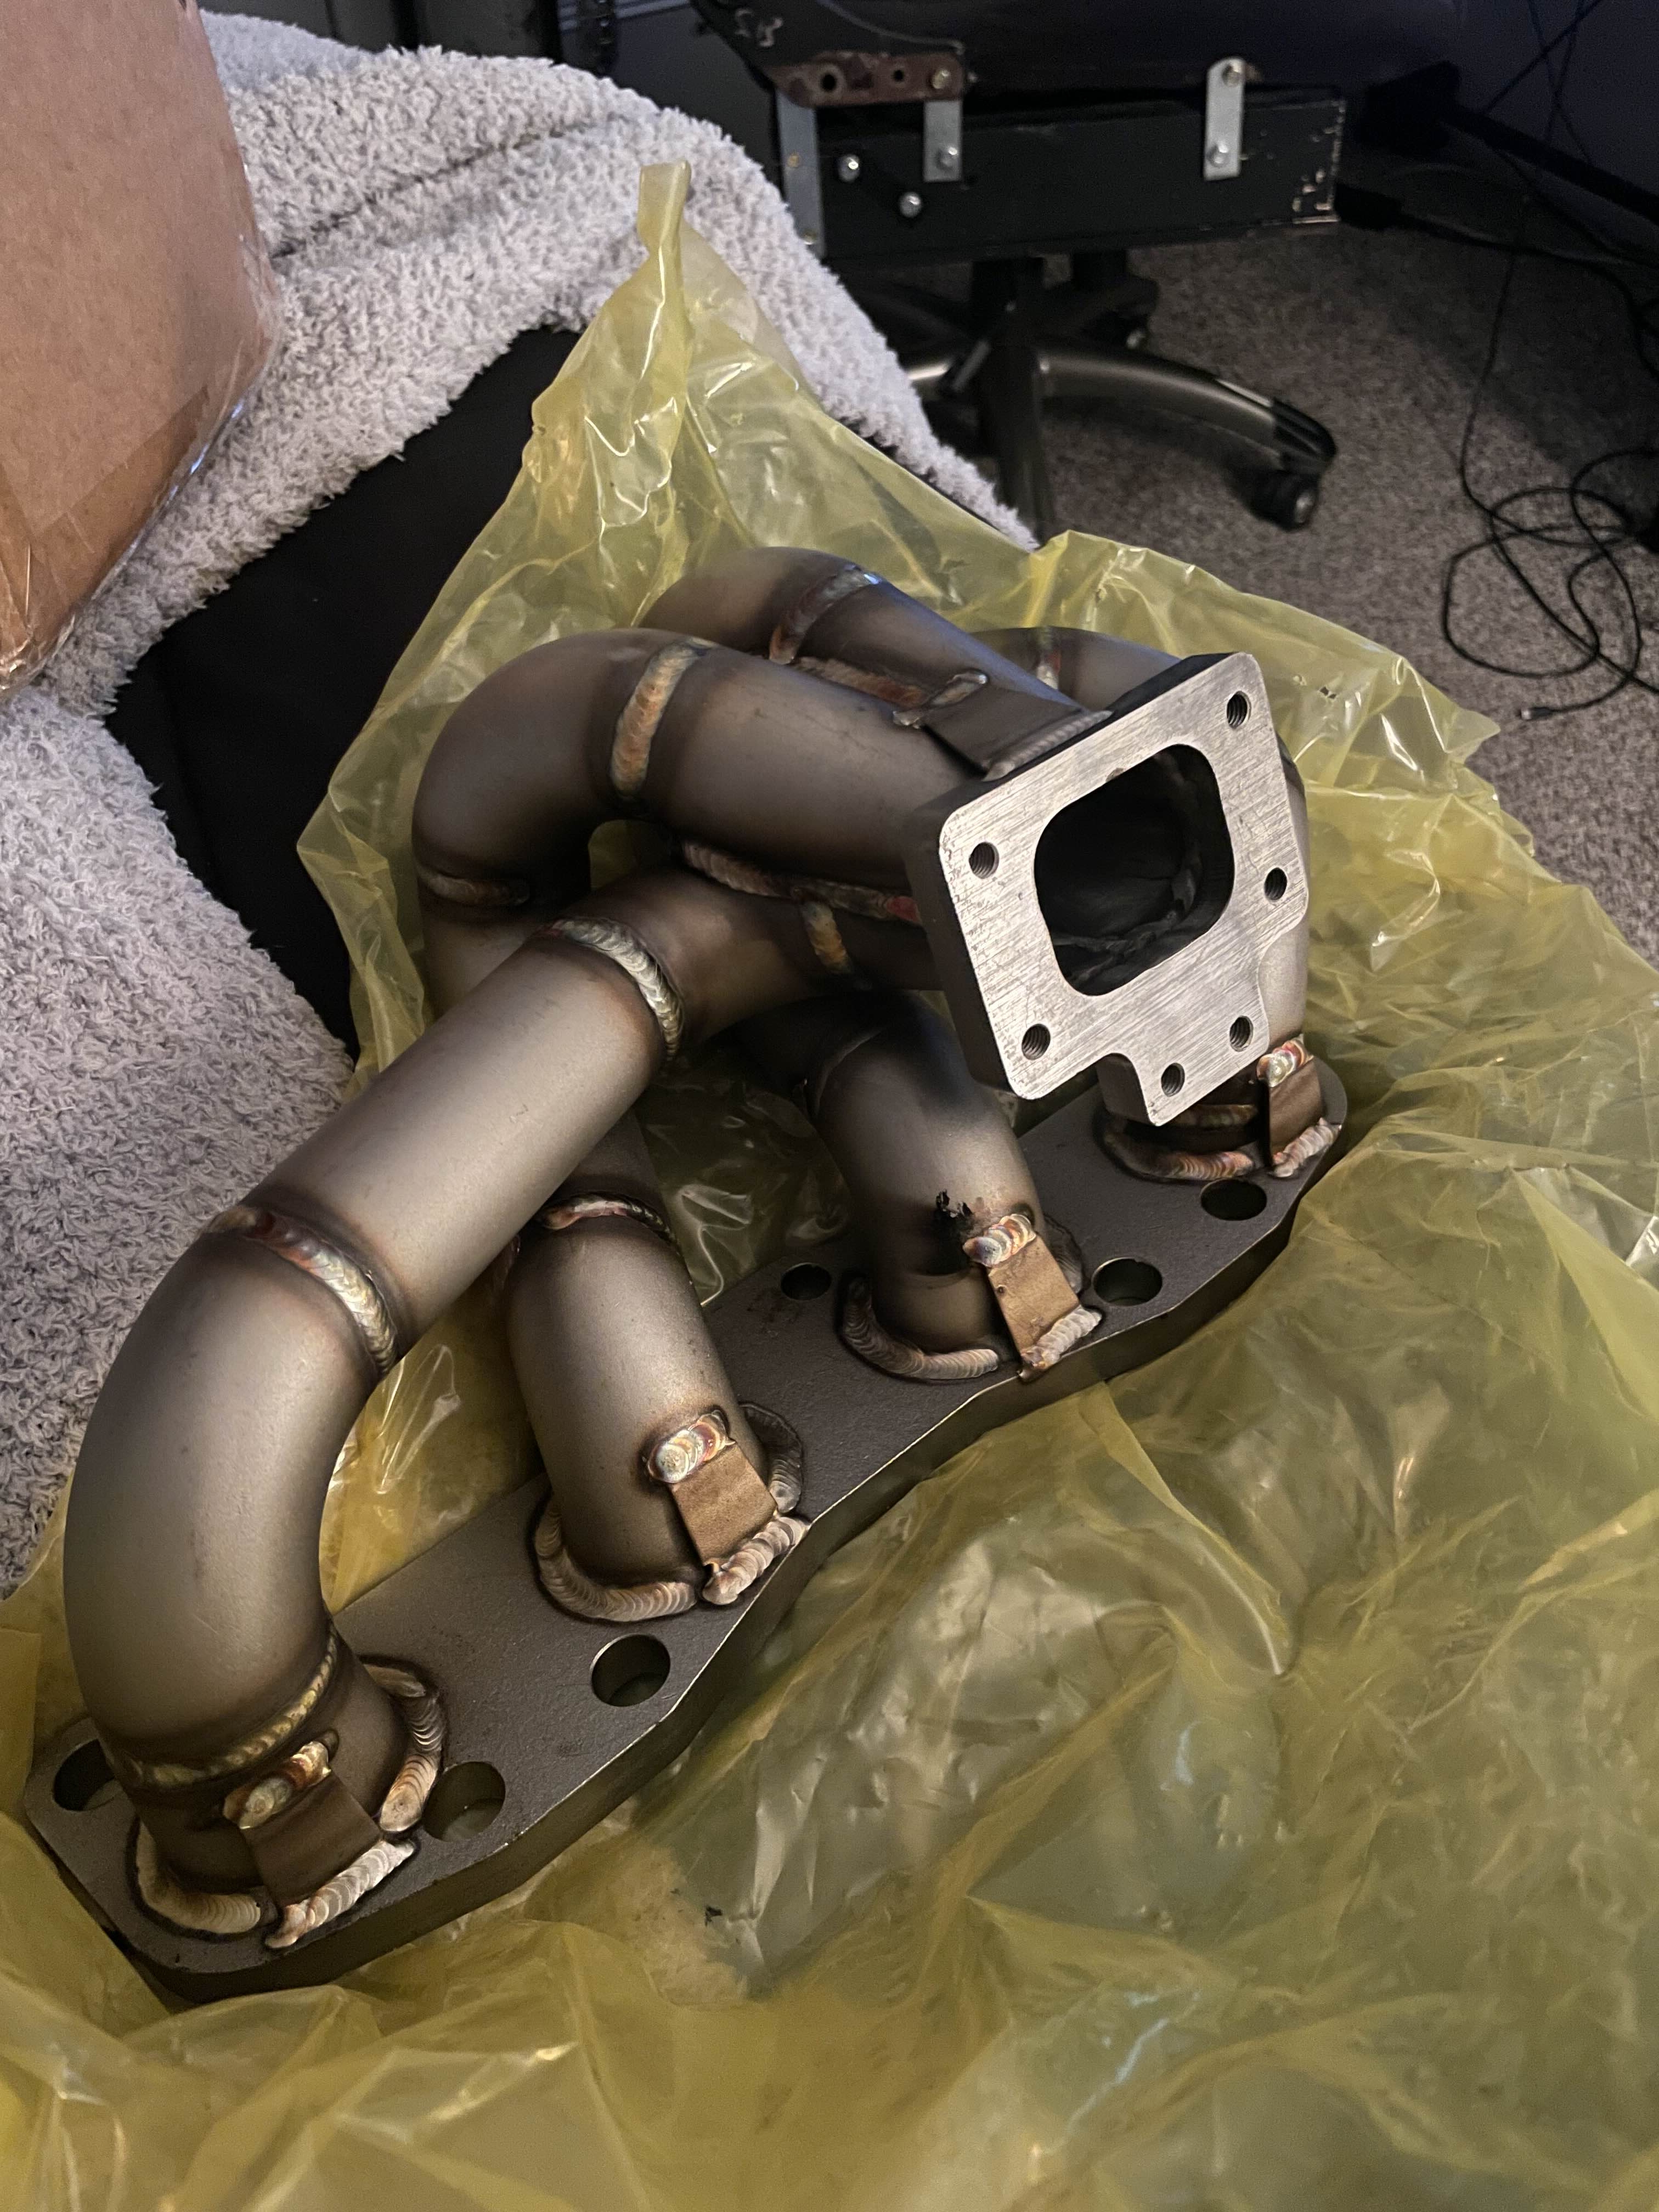
I knew for certain that I wanted at the very least for this thing to sound good, which requires ditching the oem log style manifold for a tubular one! Not for any power gains as the factory one does just fine, but a mani like this is one of the best things you can do to an engine like this to really change its note.
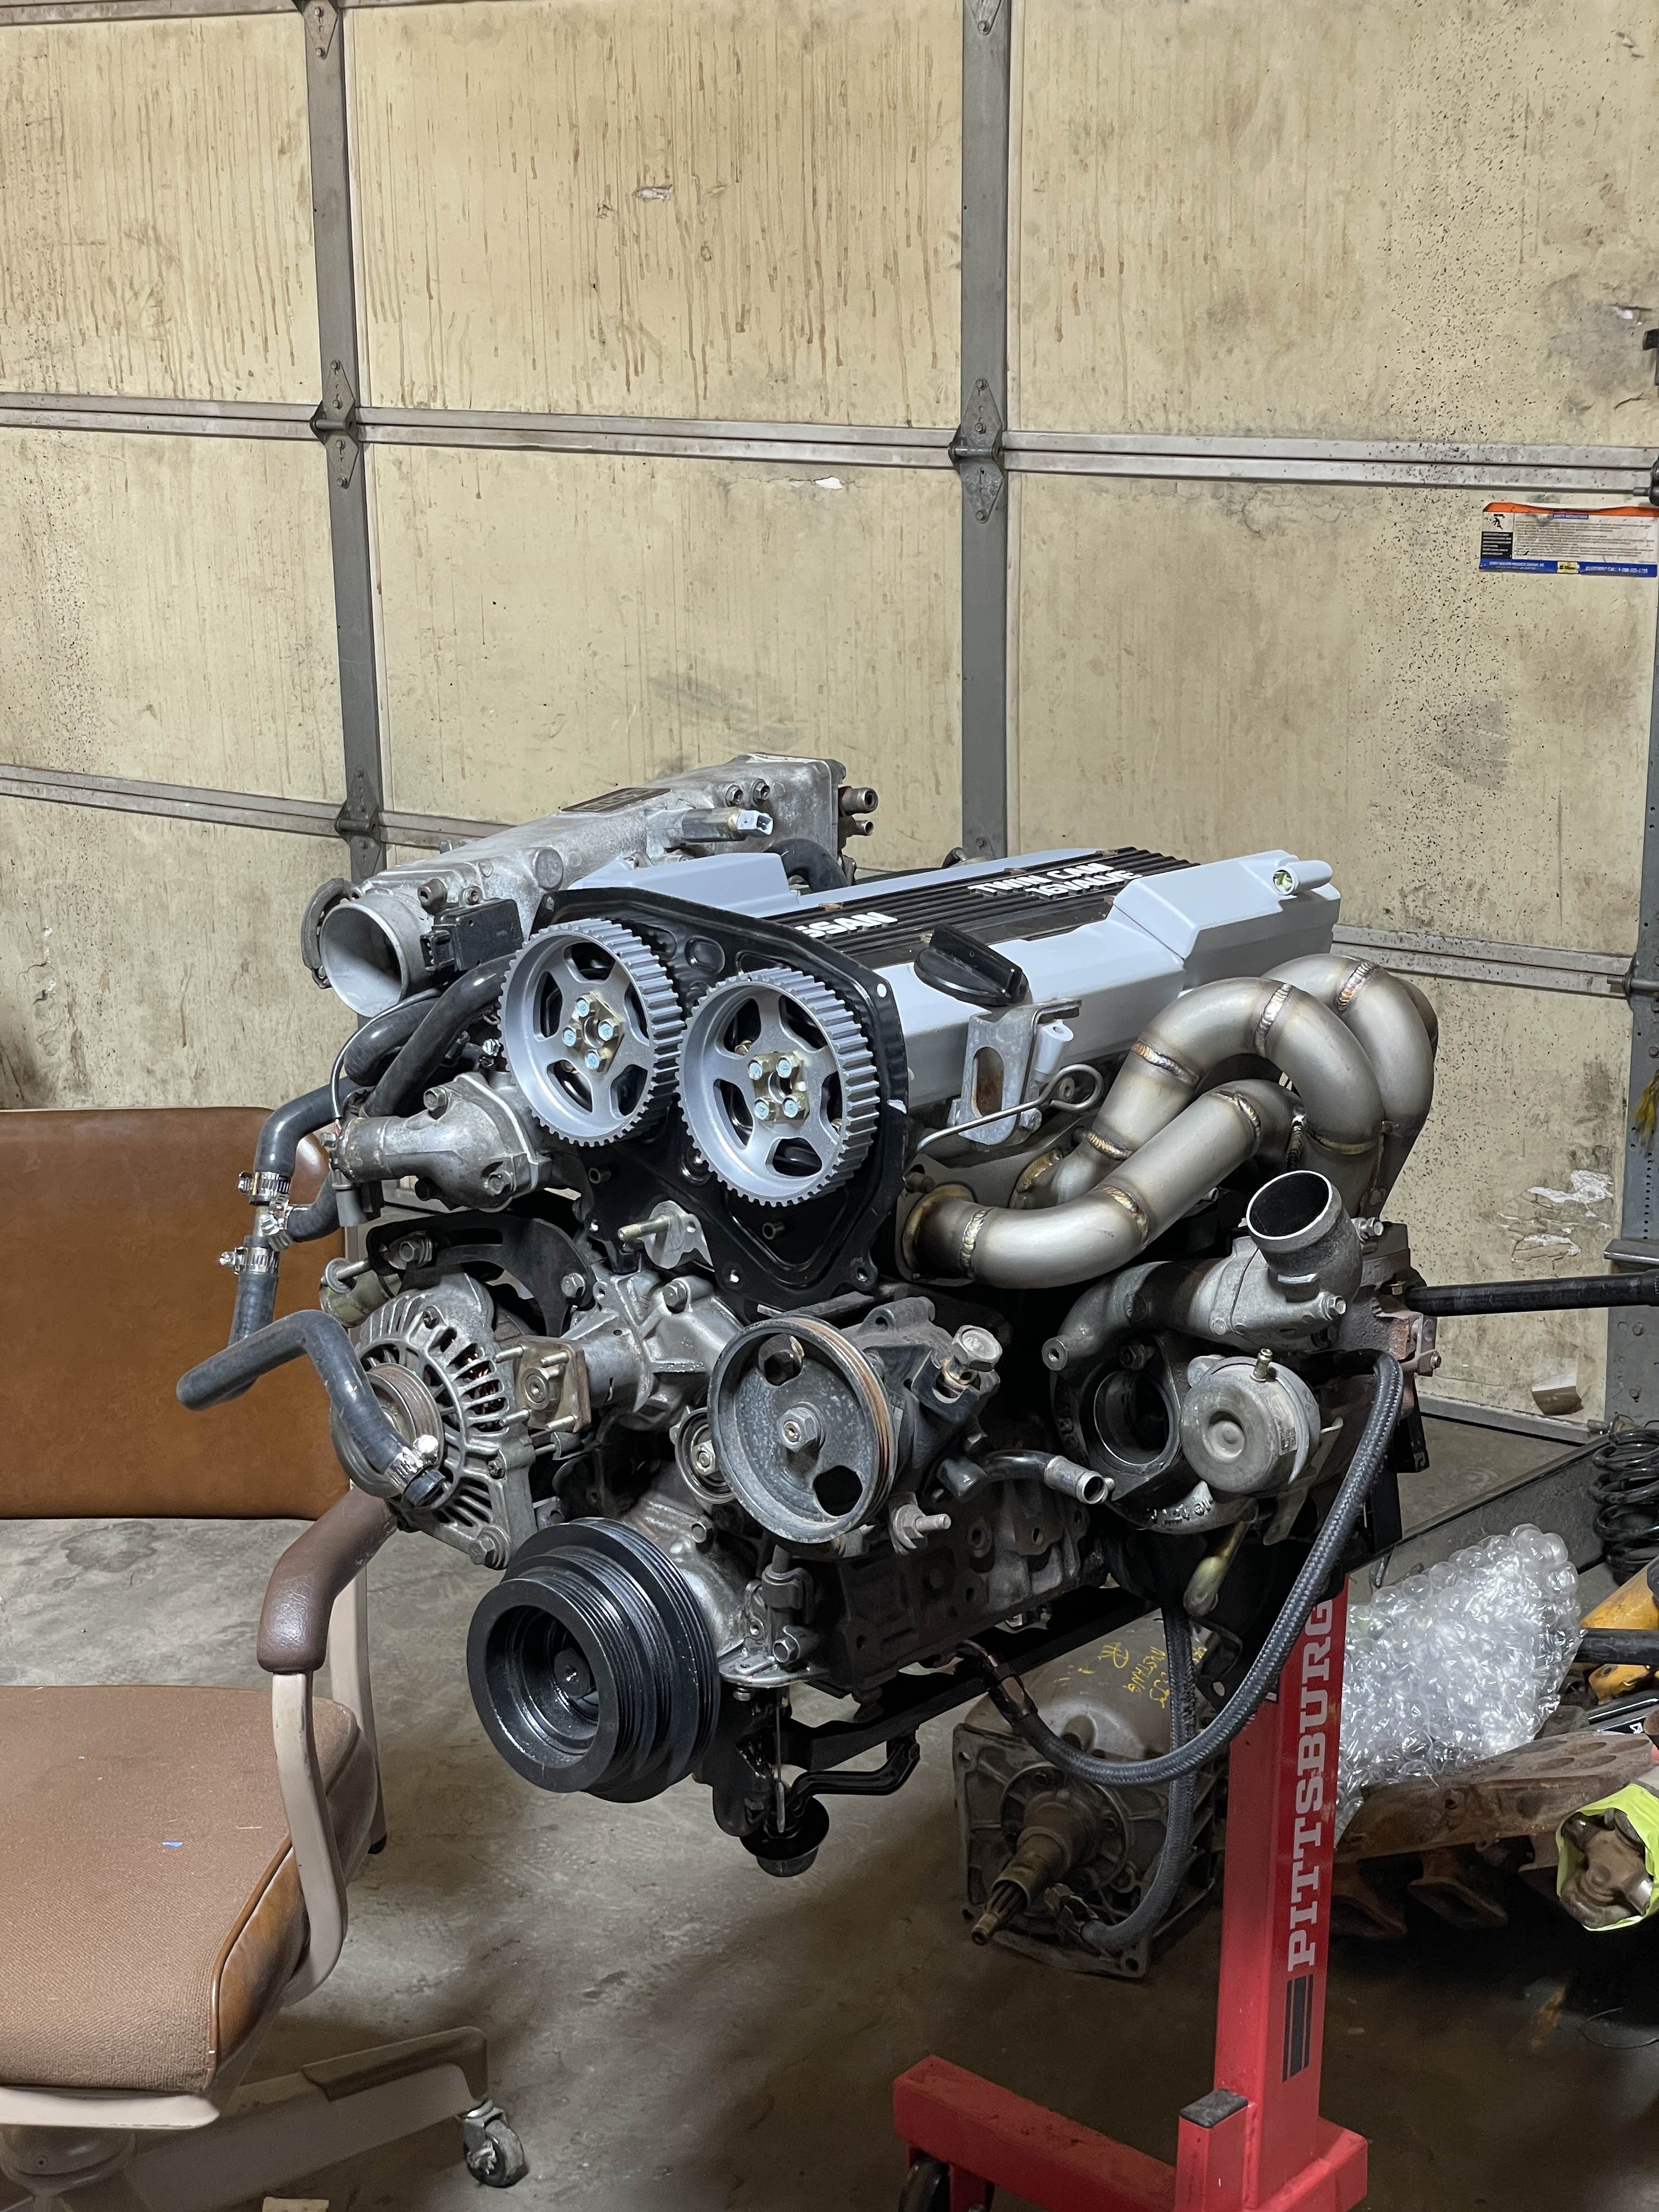
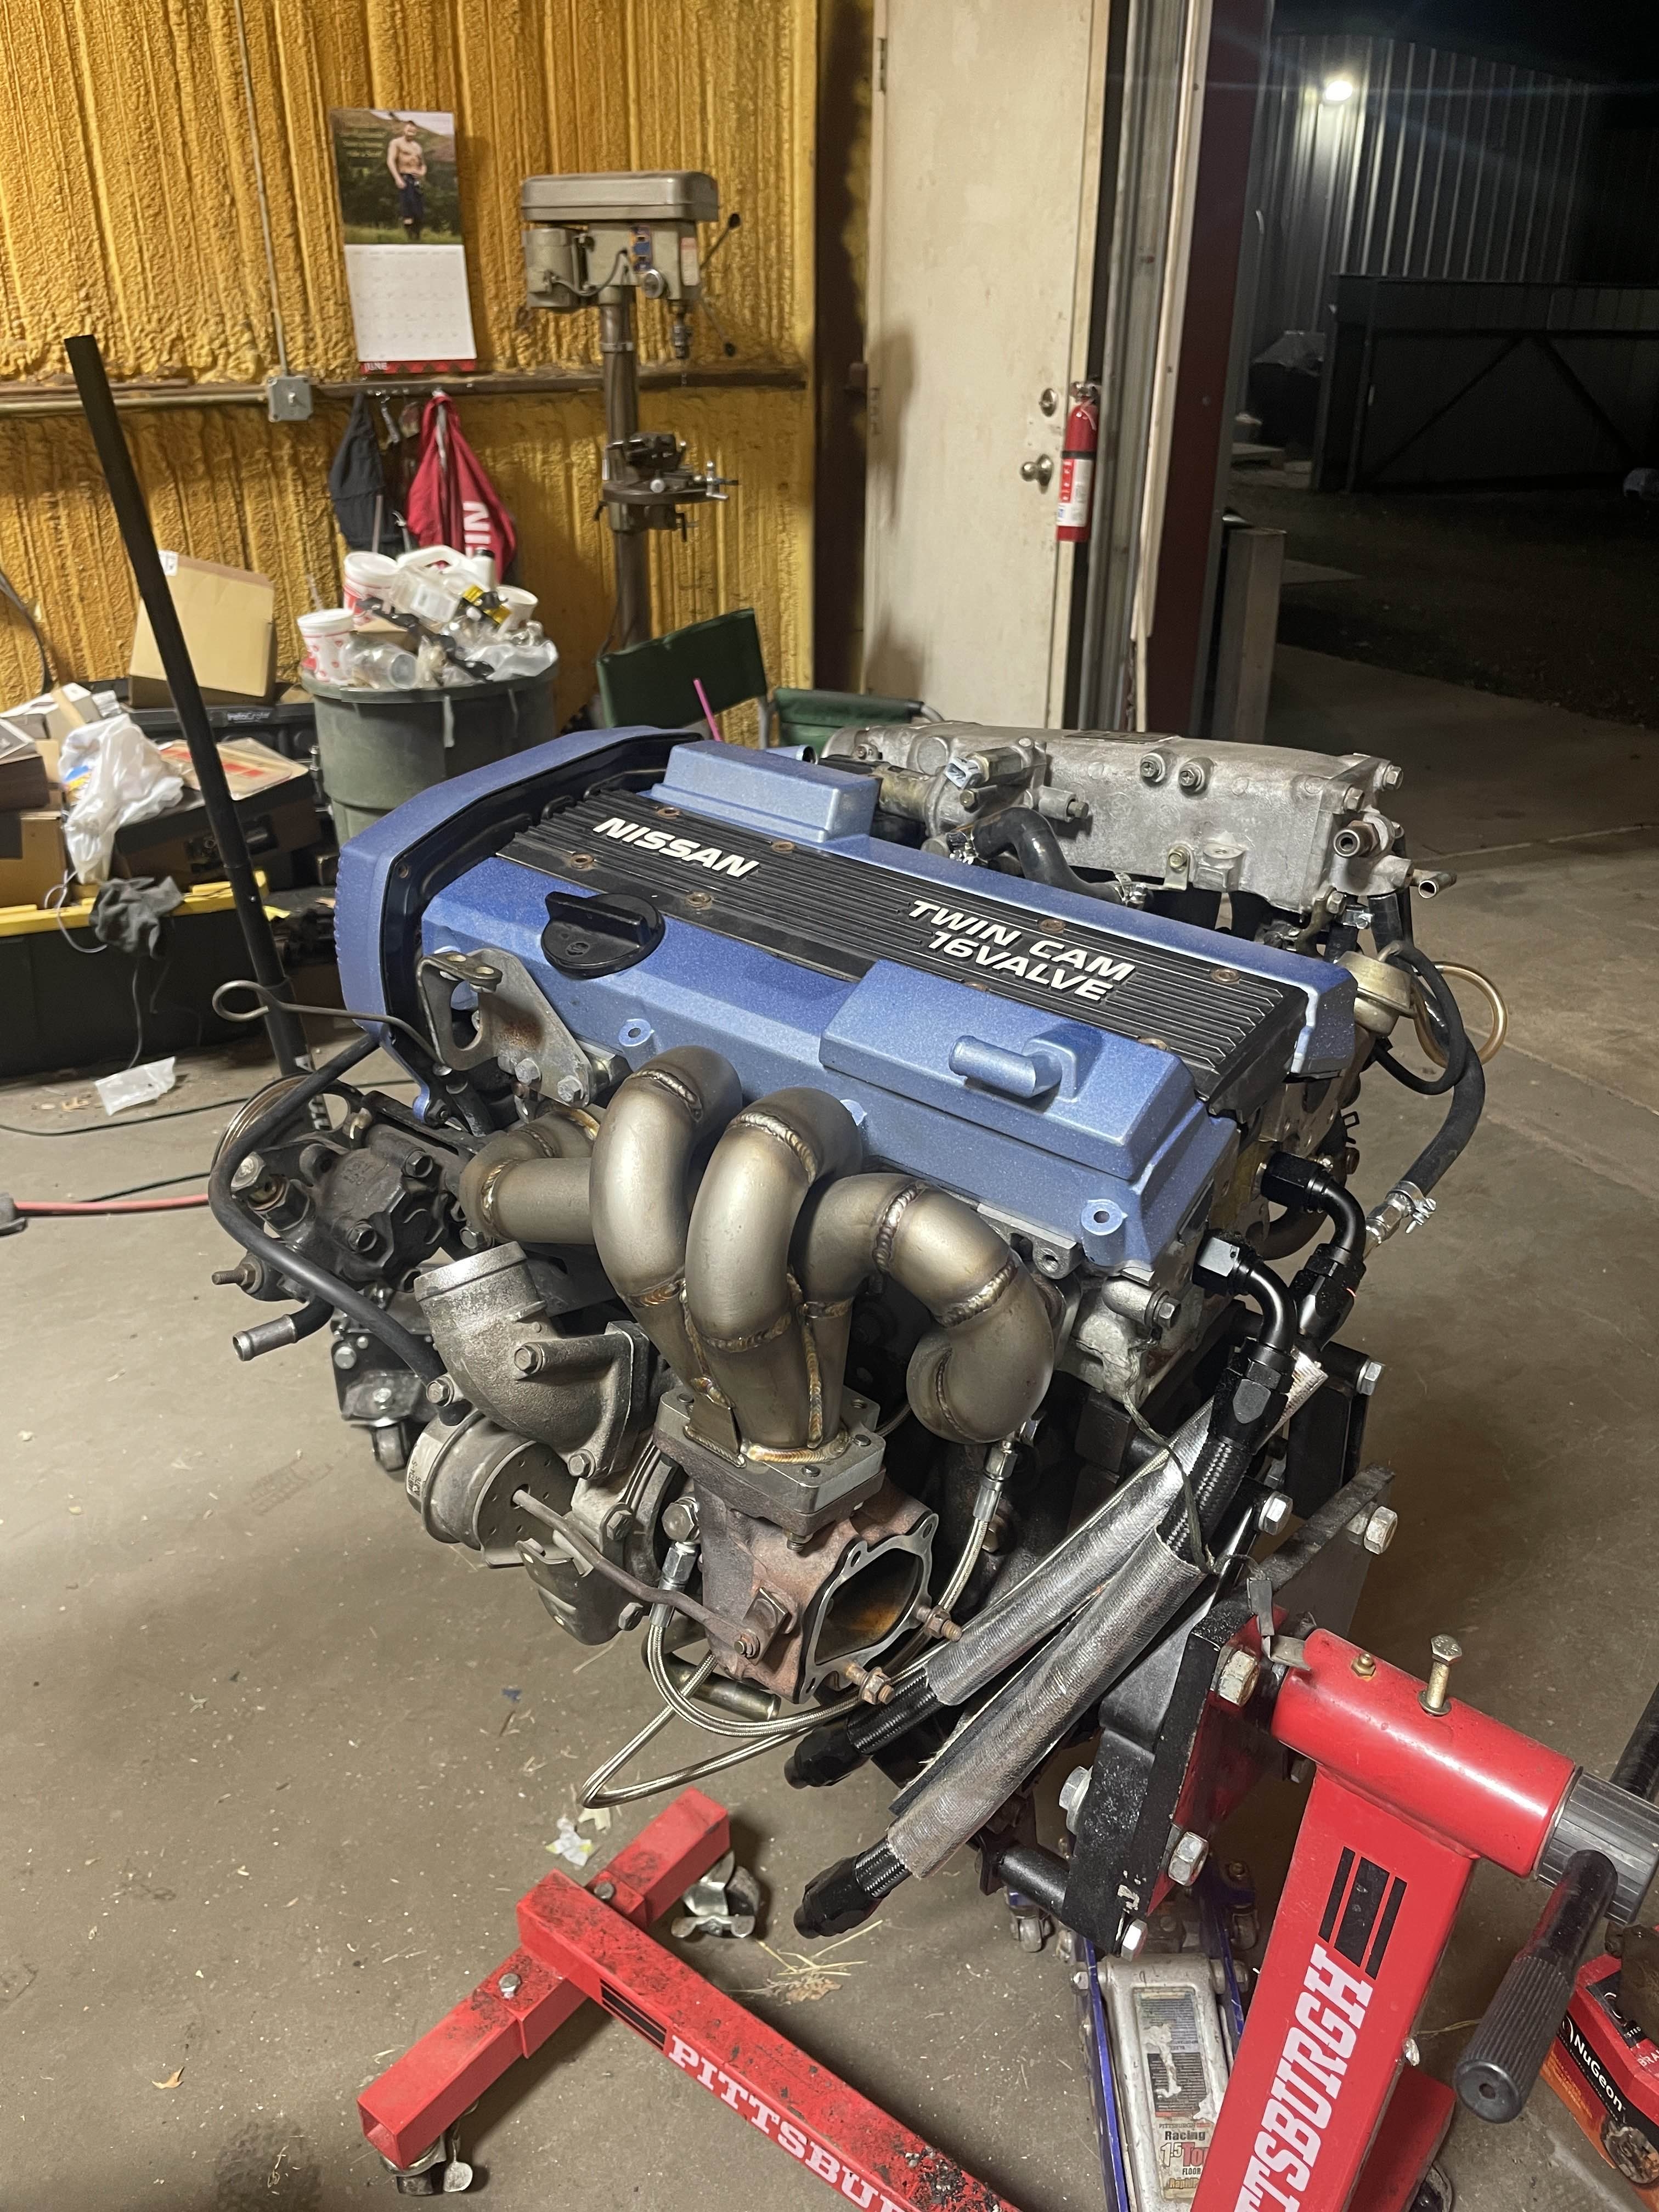
While I waited on a good time to start the dissasembly and was buying up parts, went ahead and mocked up the new manifold on the stock T25 Turbo so it looked pretty in the shop and gave me some motivation.
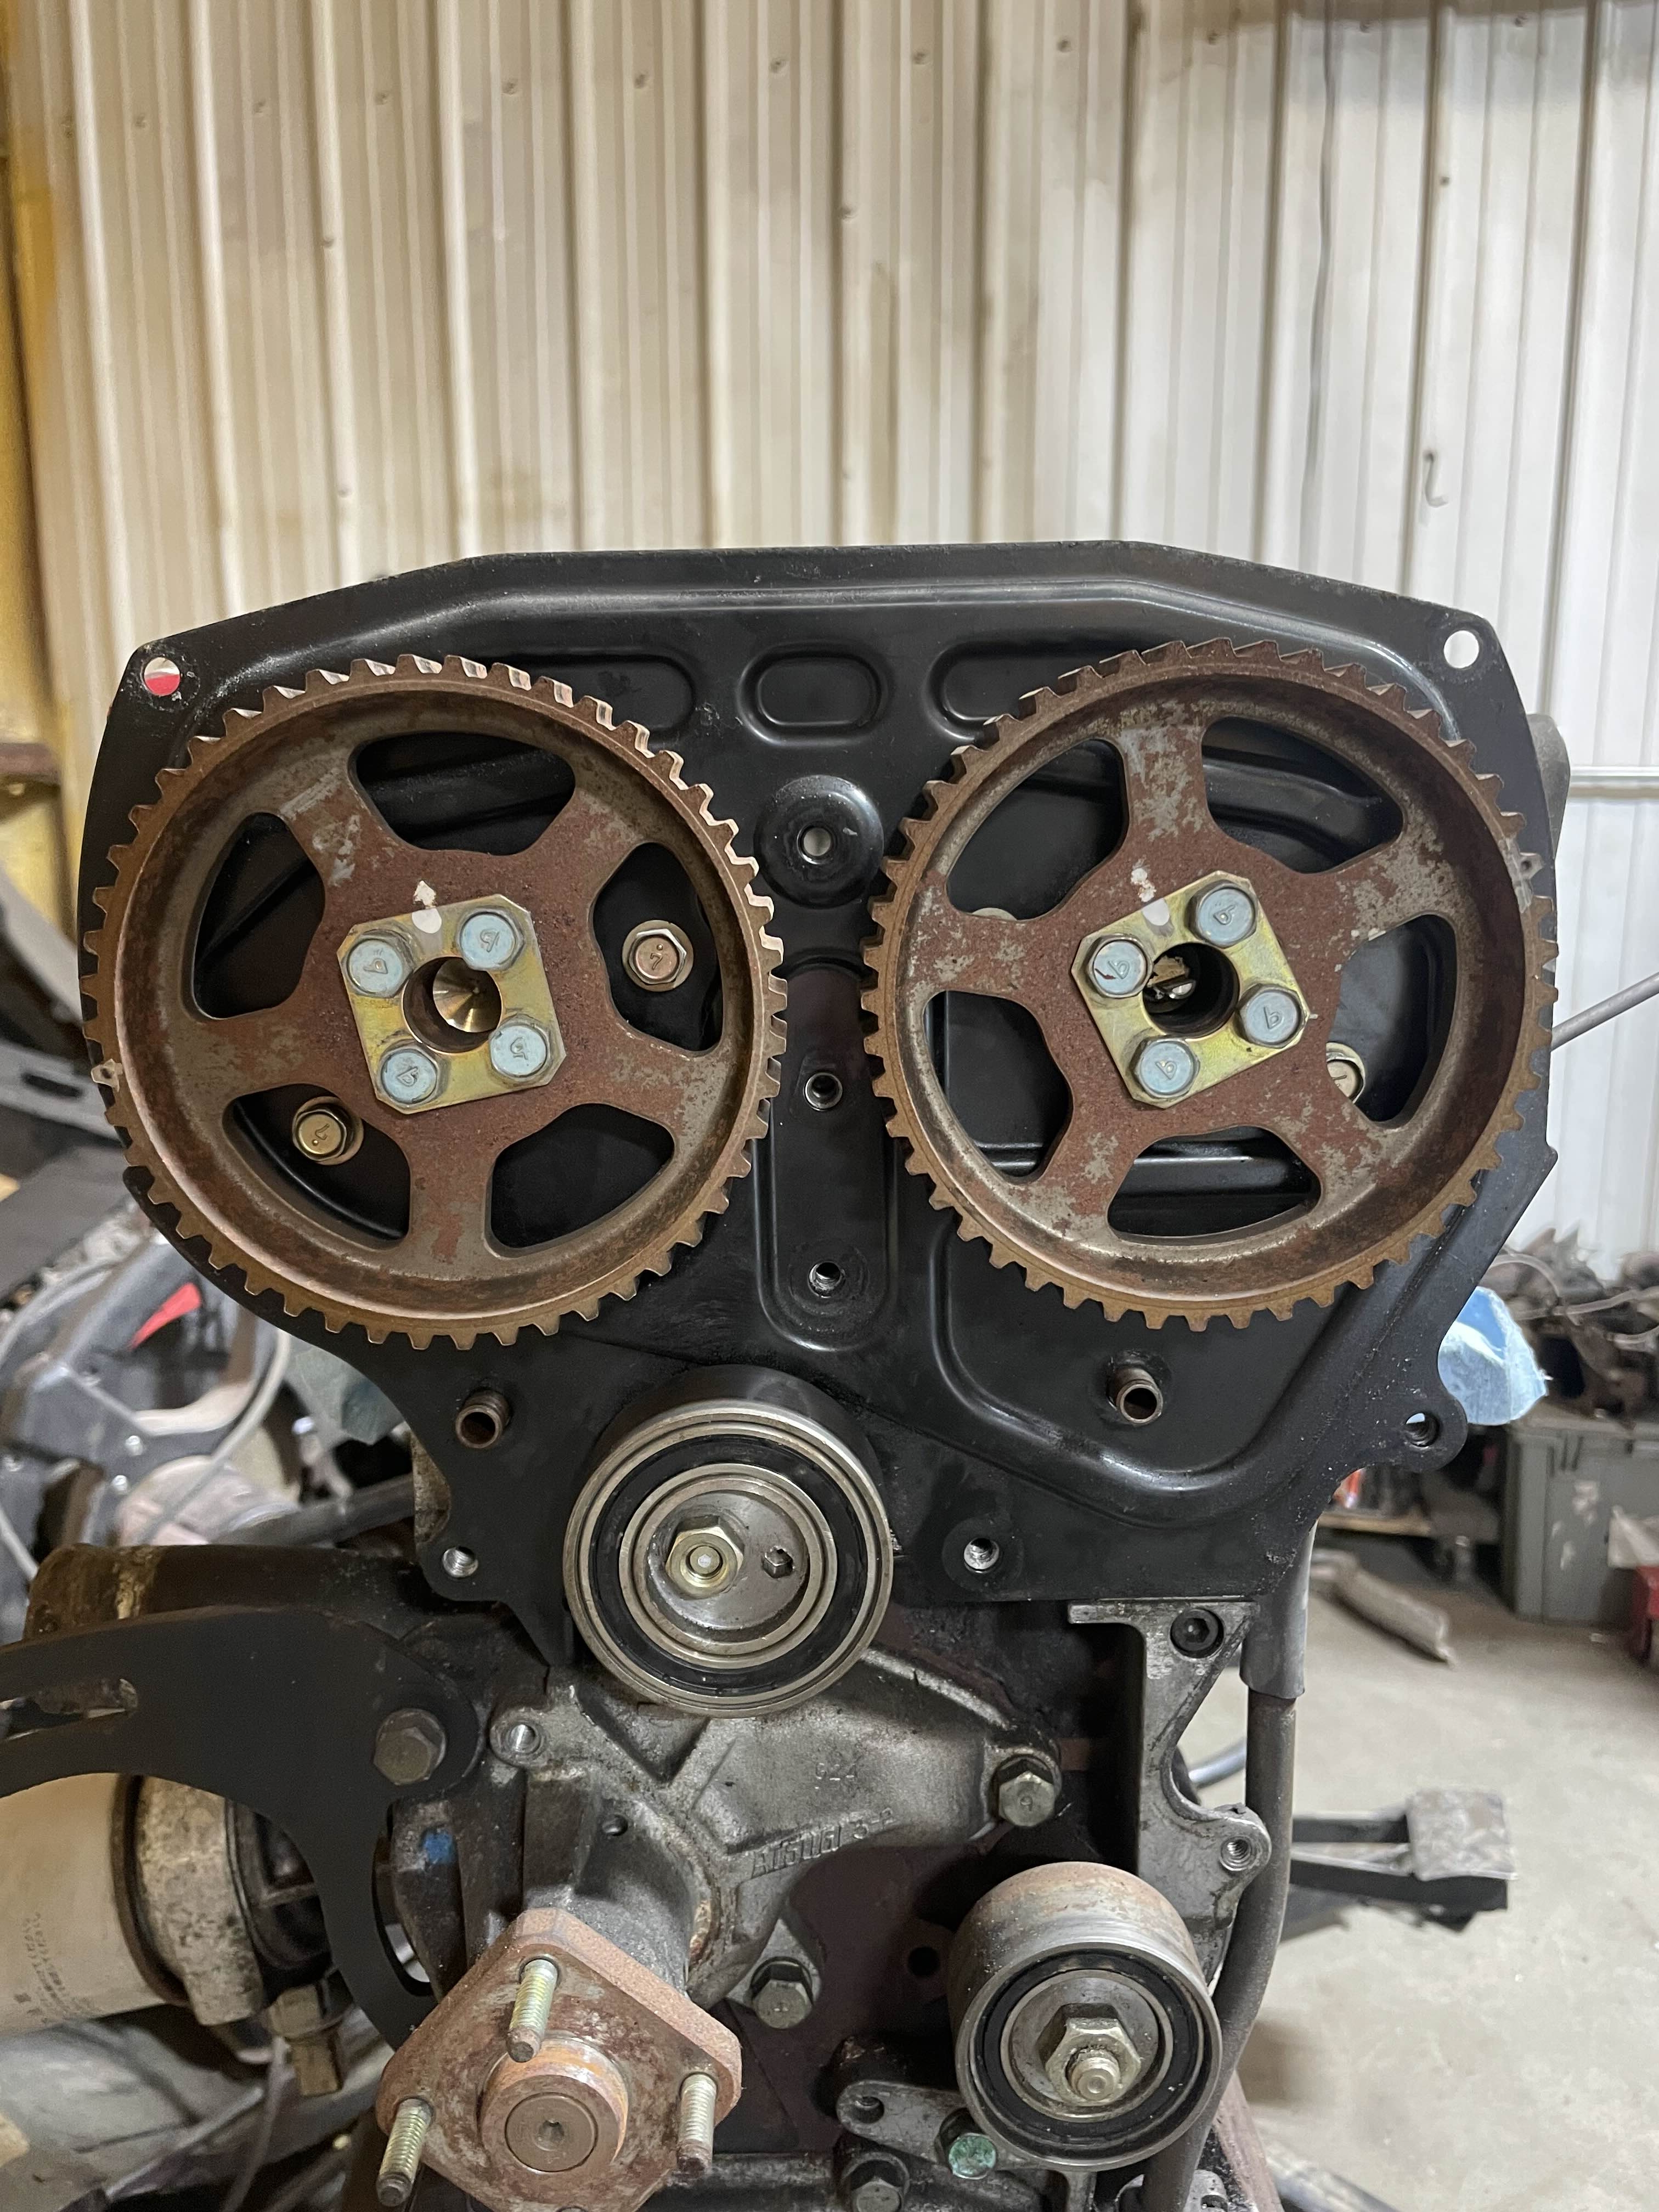
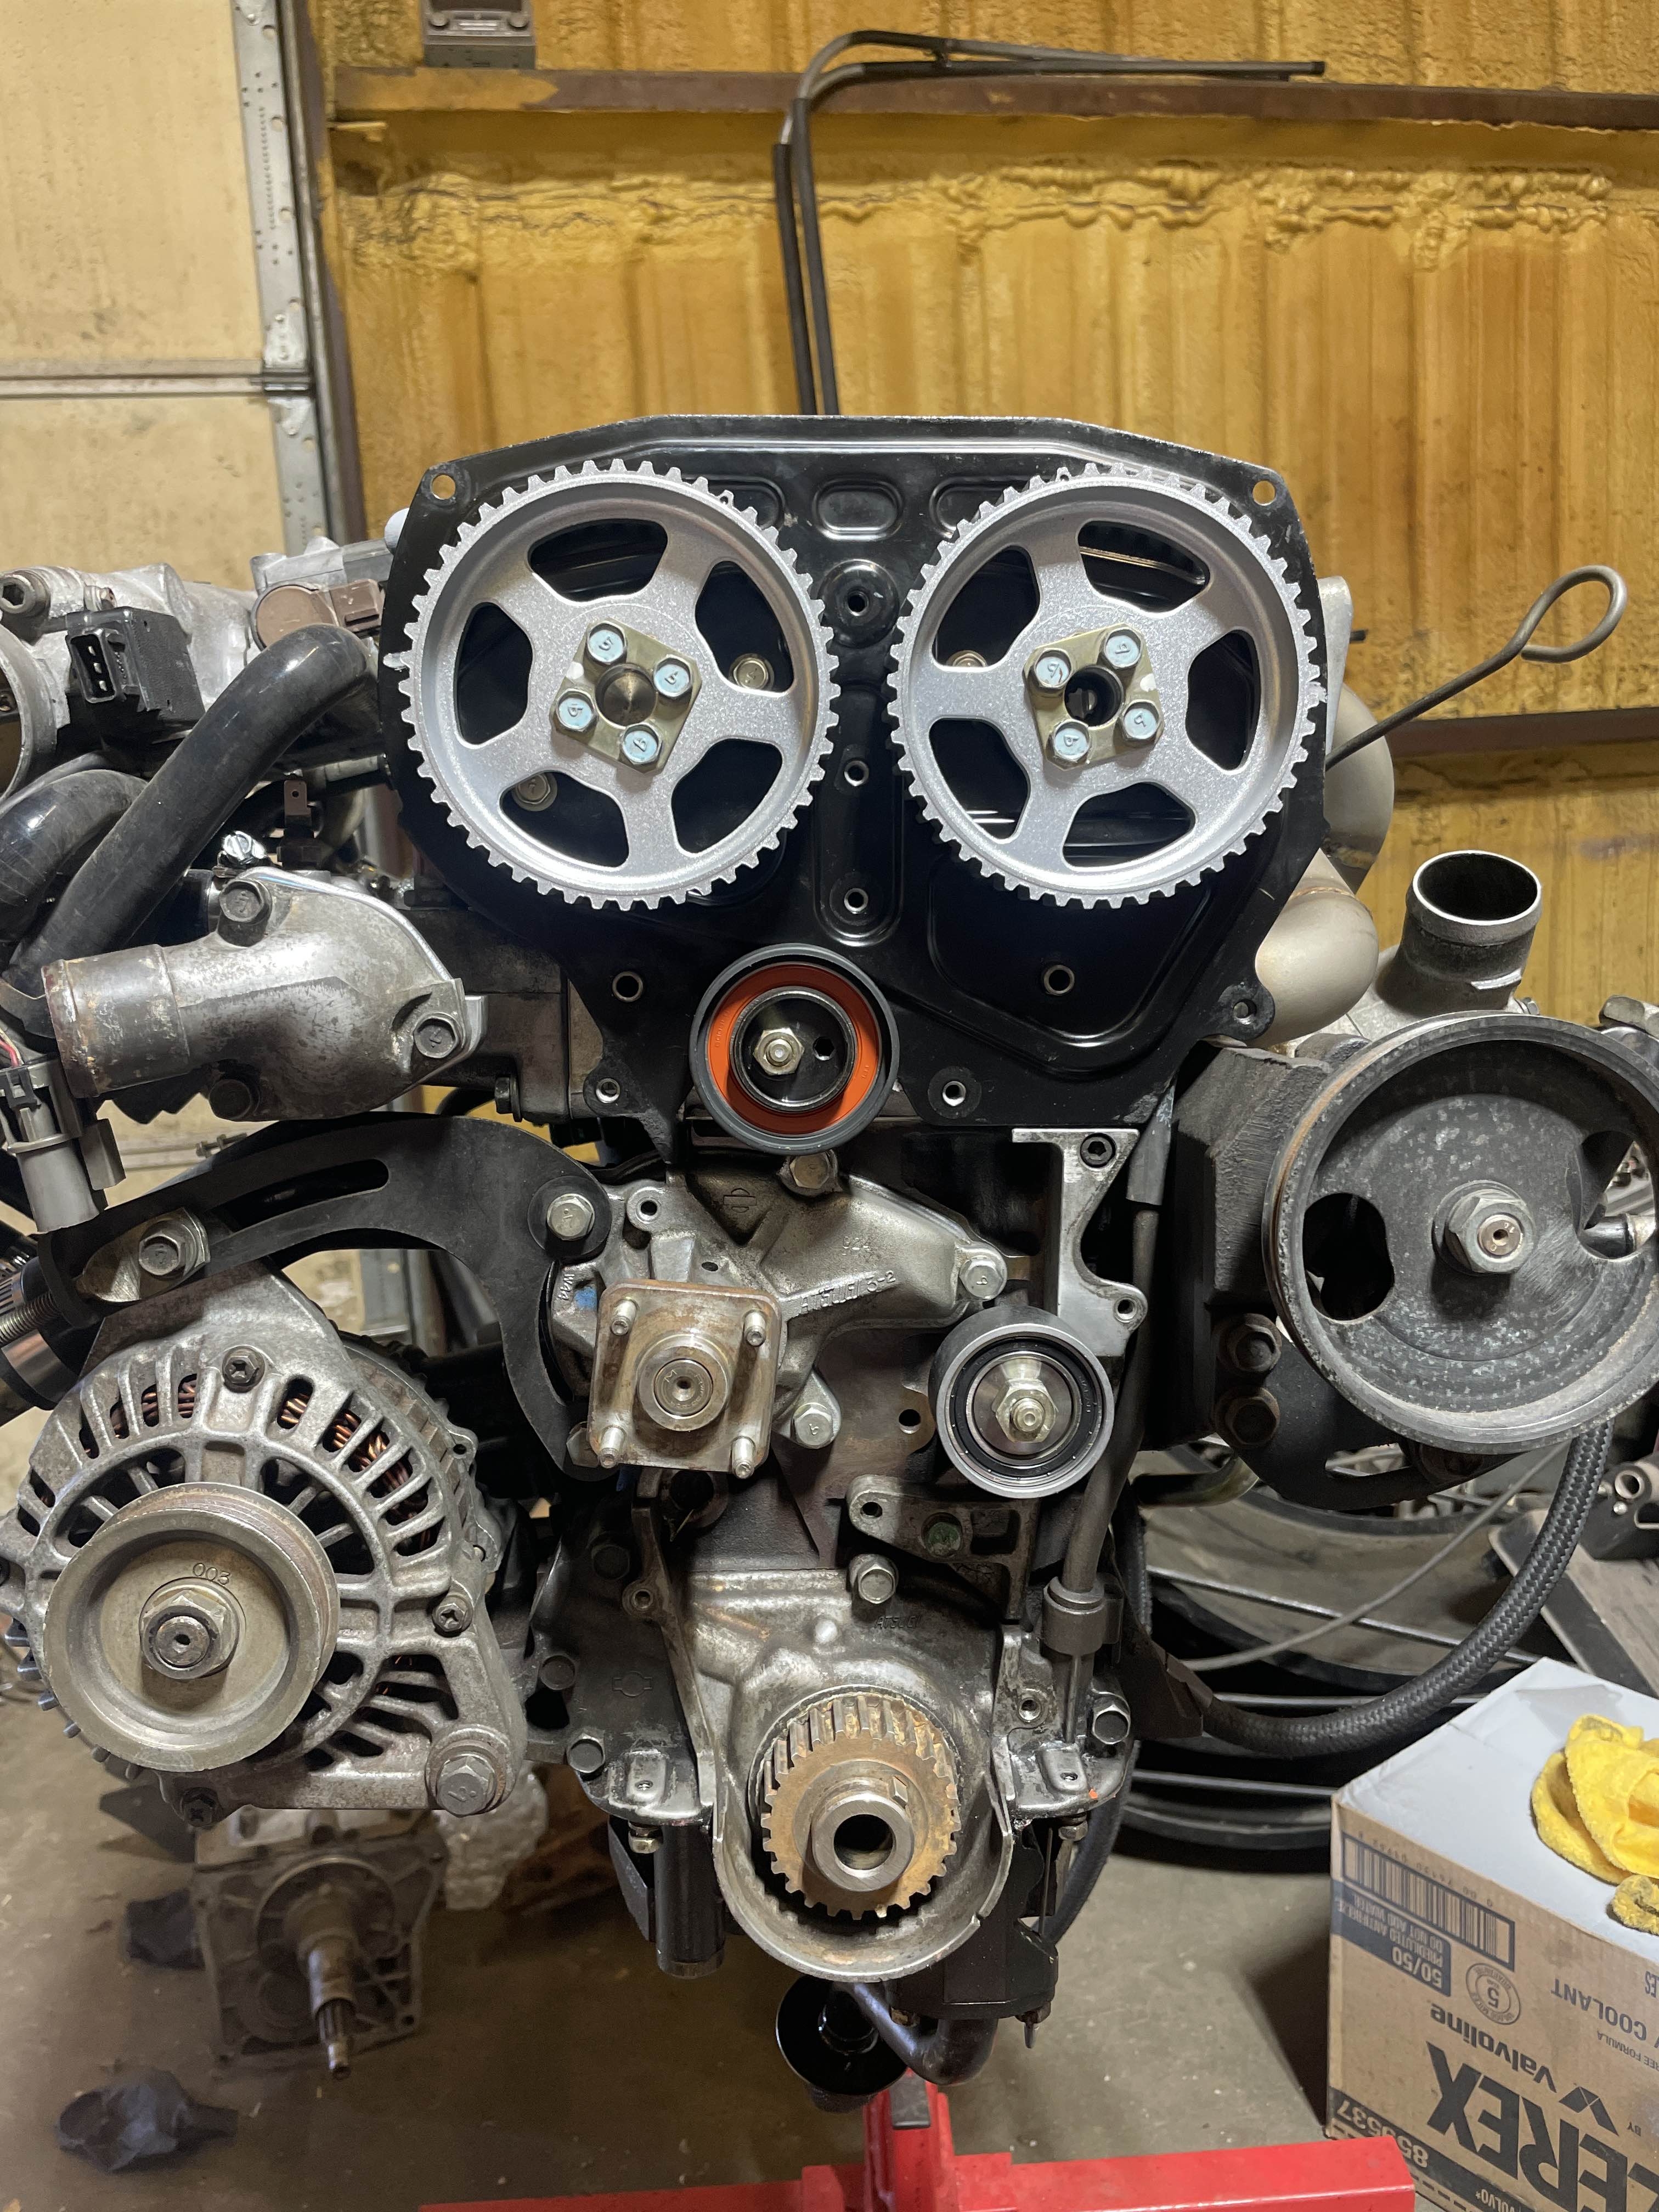
Here I finally start the tear down! both manifolds off, and timing cover off giving a first glance into the timing setup on one of these. The belt seemed like it was still fine, but I was betting on that being around 30 year old now and worth replacing. The timing gears are a little rusted over from sitting so I decided to give them a clean.

Entire front cover now off and getting a good look at the timing belt tensioner and idler pulleys, which do rotate, but with it at this stage I felt why risk a failure here that could be catastrophic and just buy new some ones.
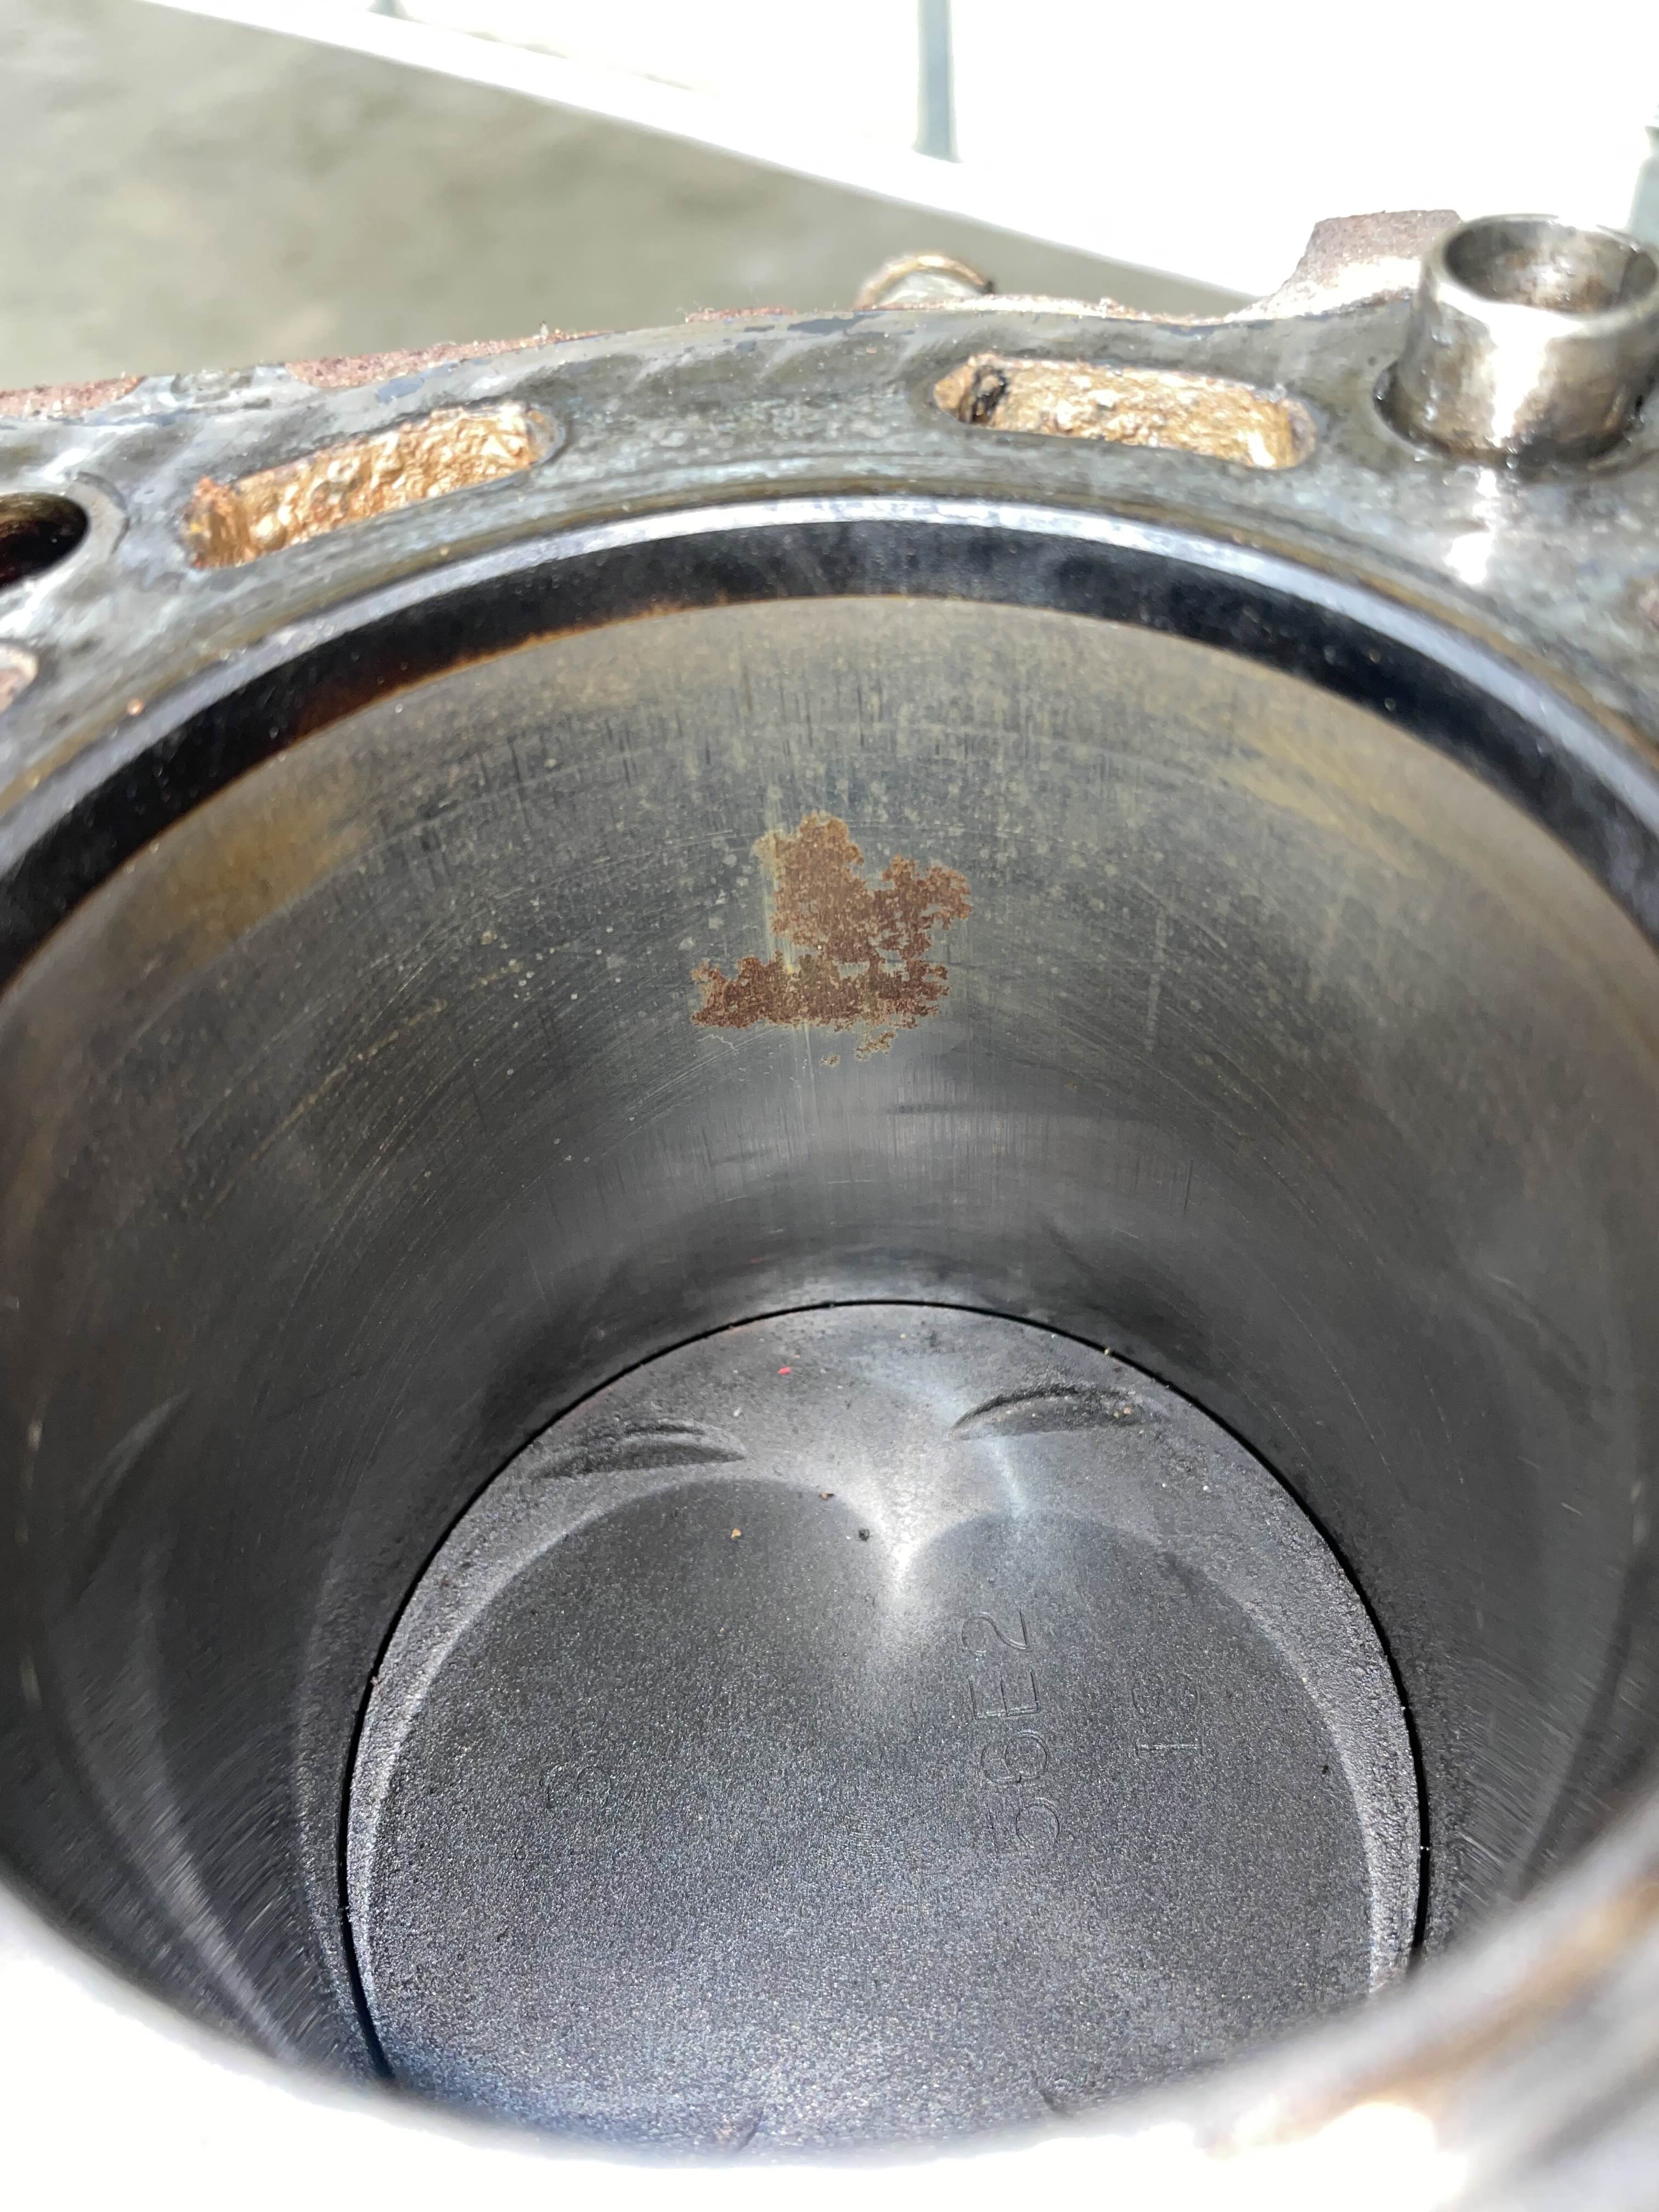
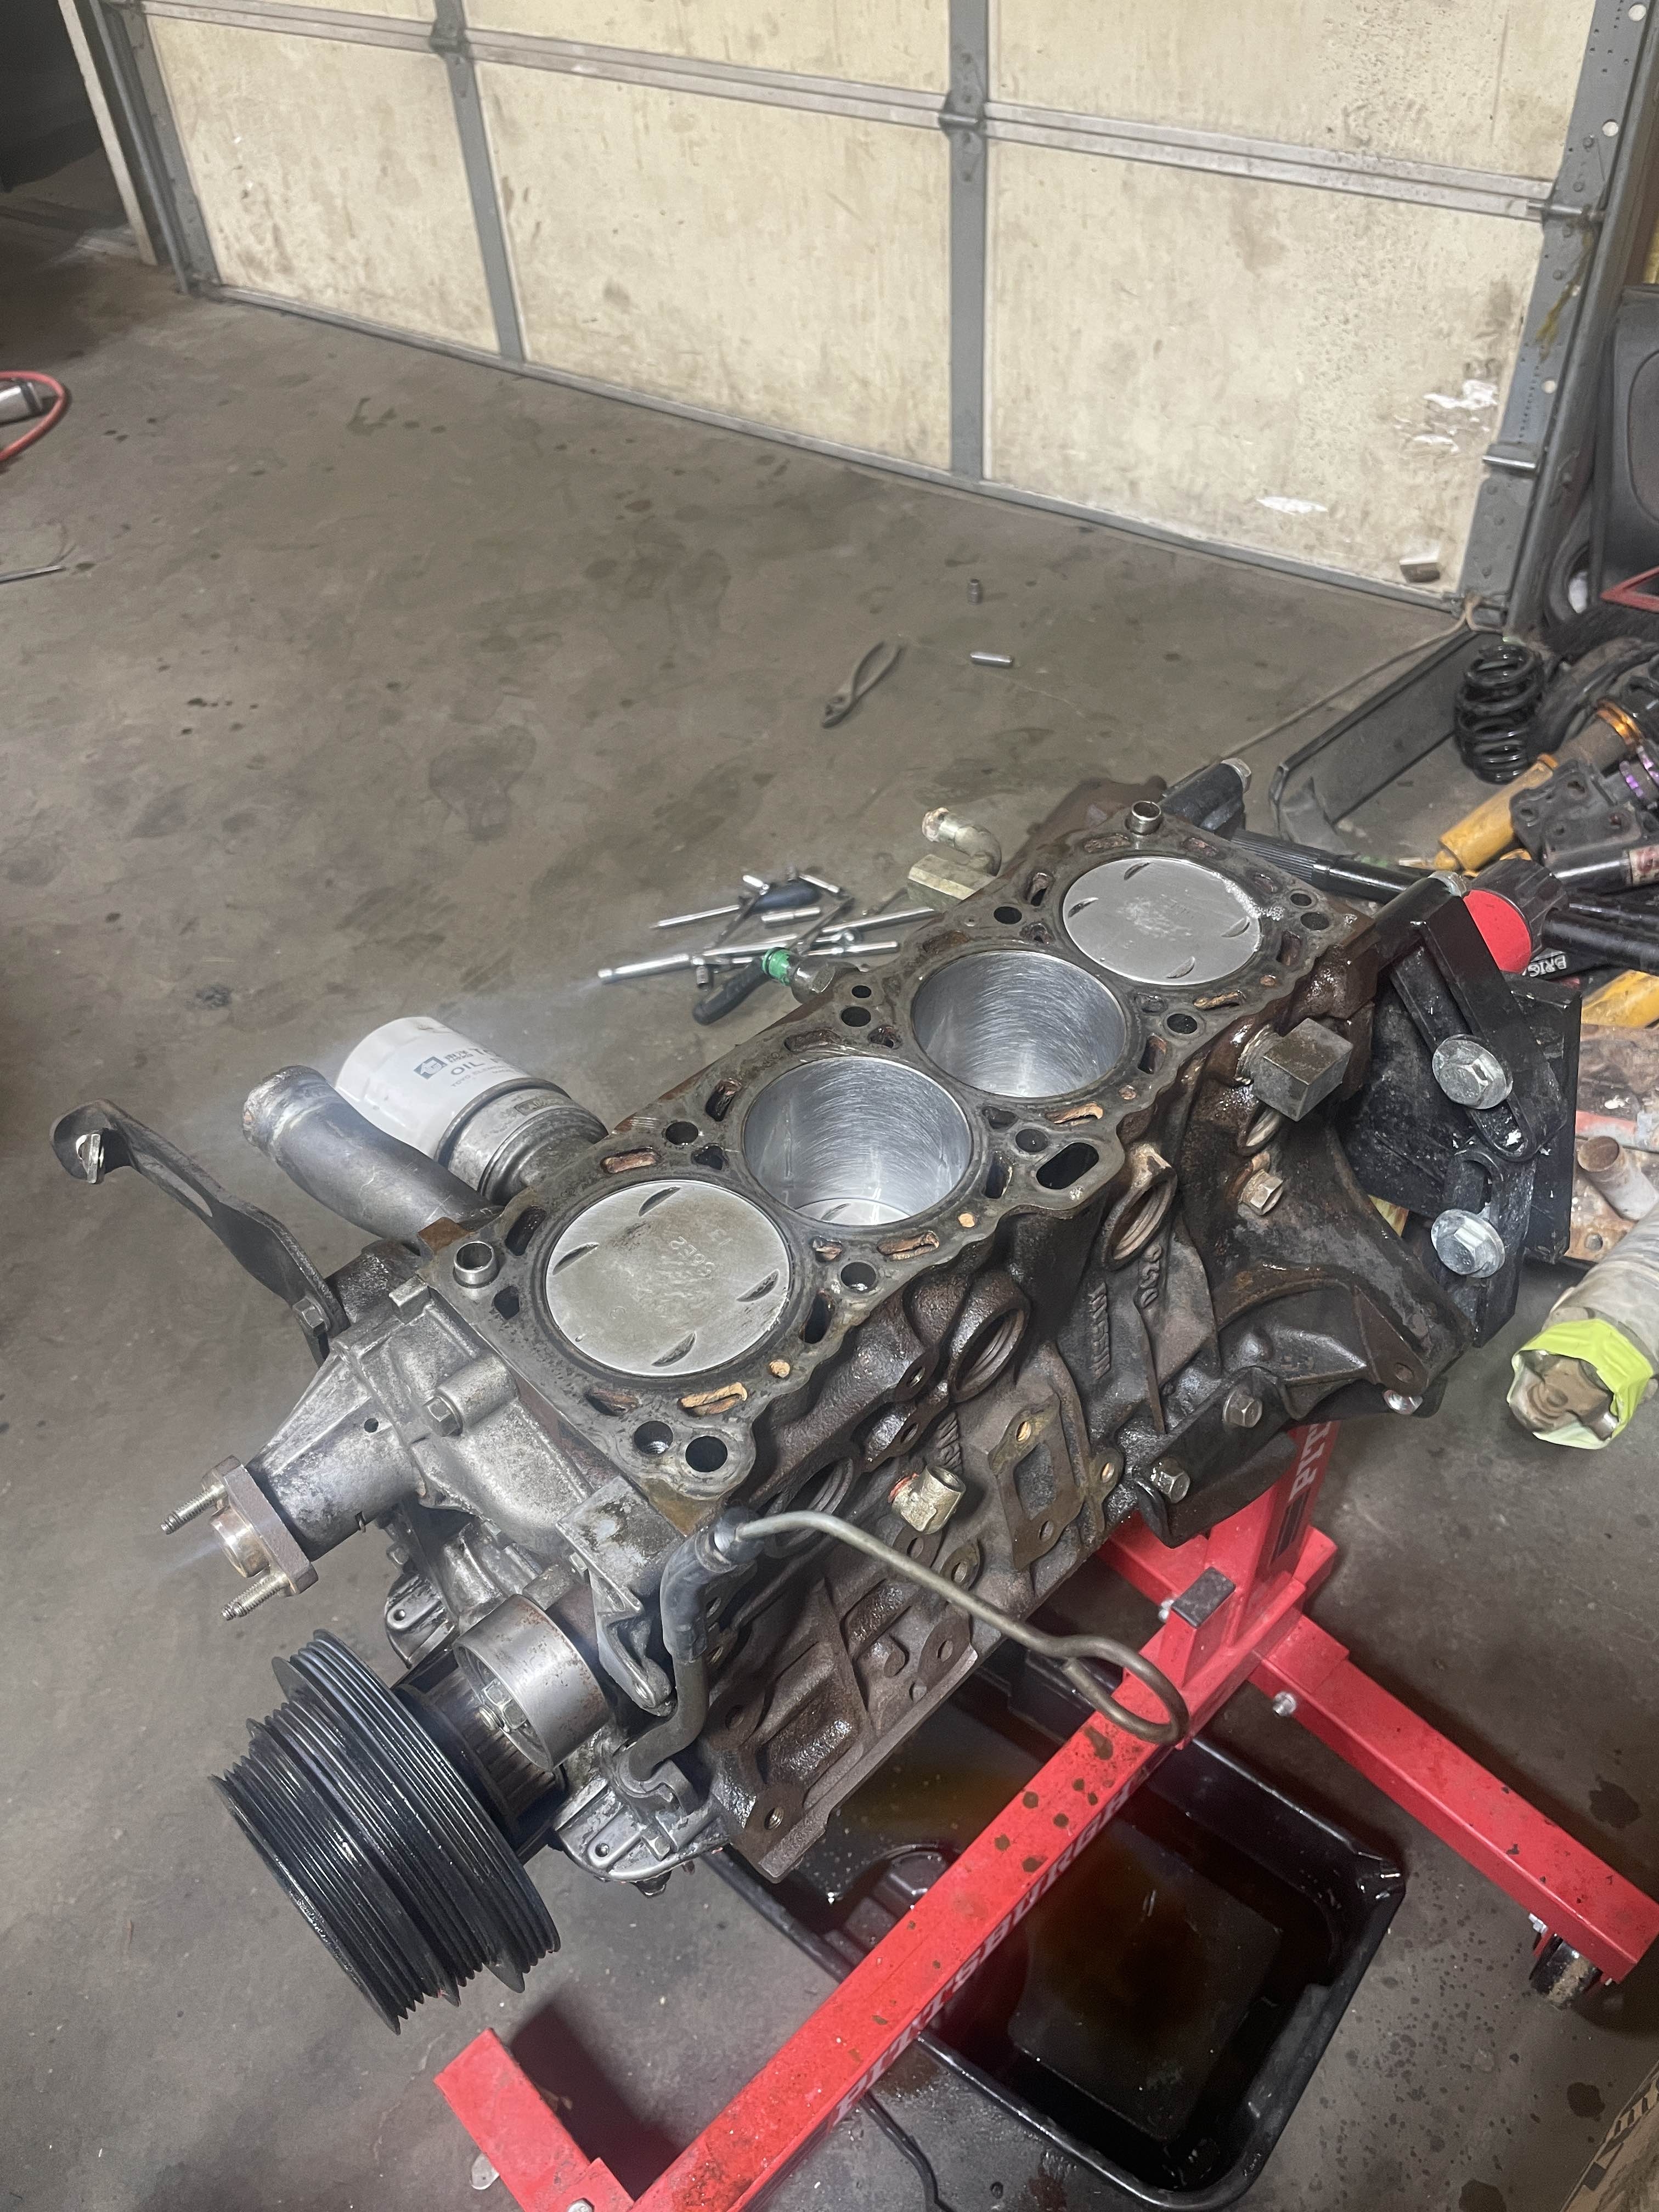
Once the head was off I could get a good look at the cylinder walls... could be worse, but from sitting for so long there was some concerning rust pitting beginning to eat away, so this needed a good hone to get all cleaned up.
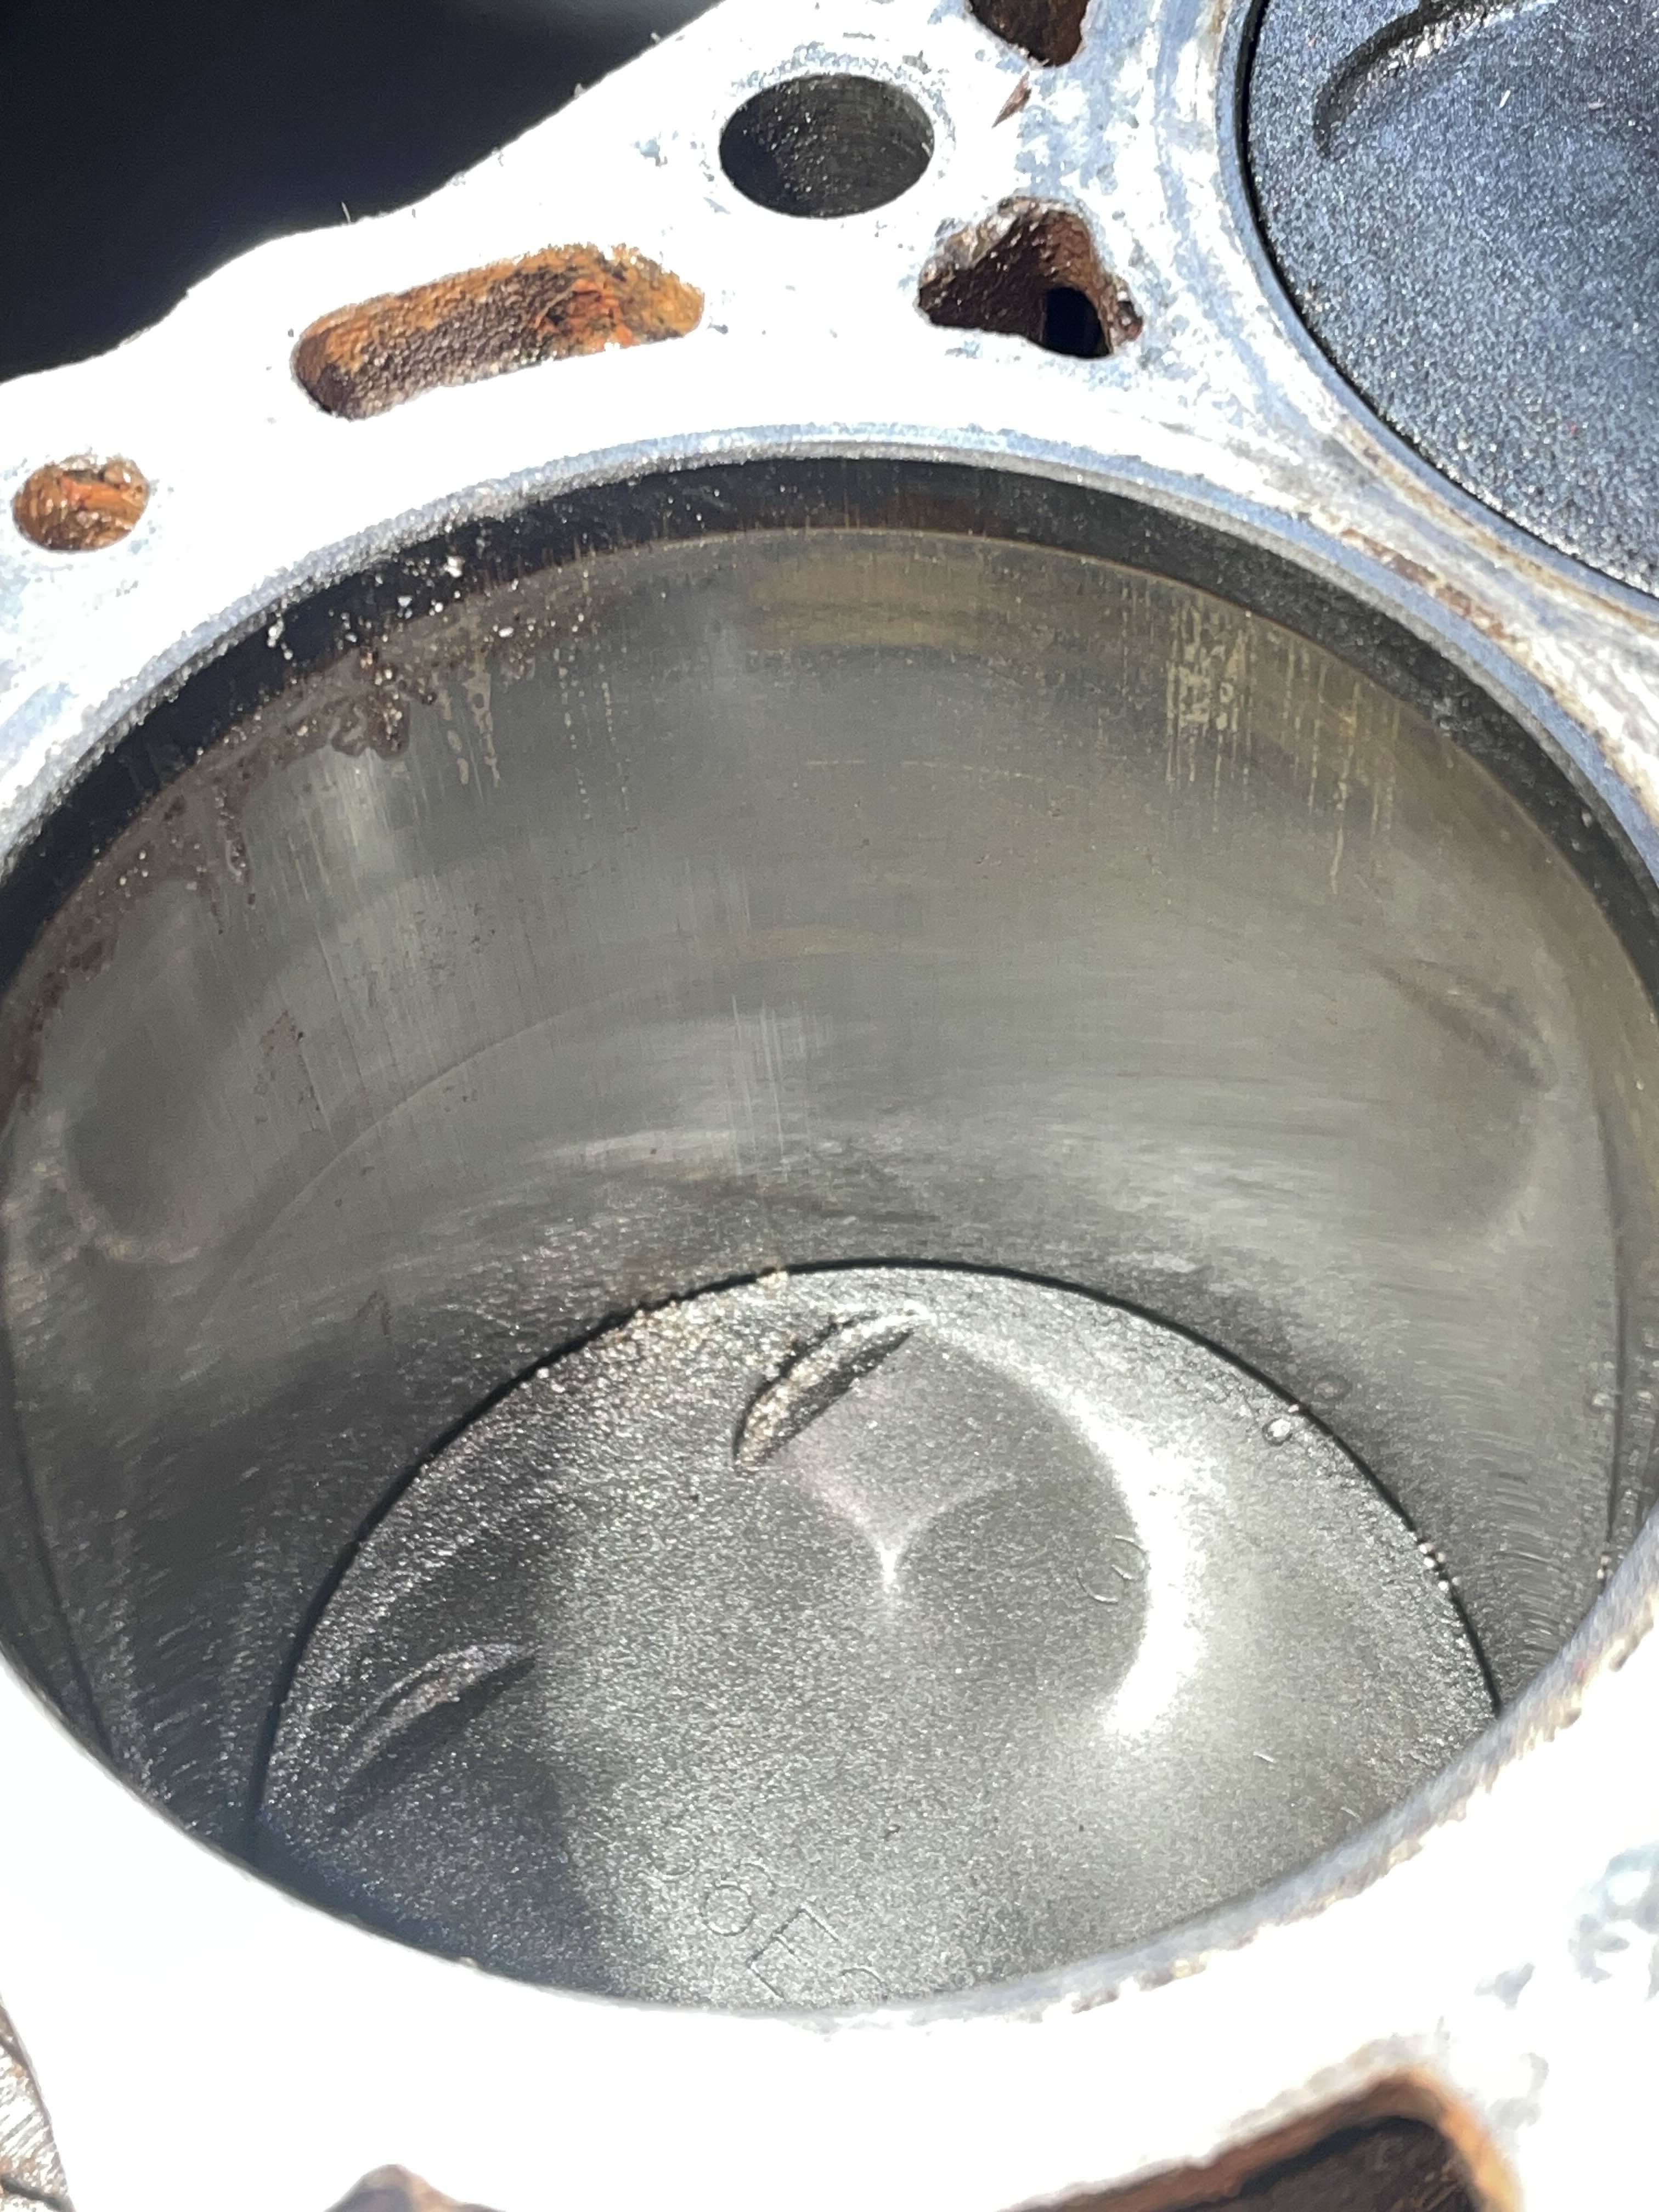
Wasn't too thrilled with the verical lines seen here, but they cleaned up nicely.
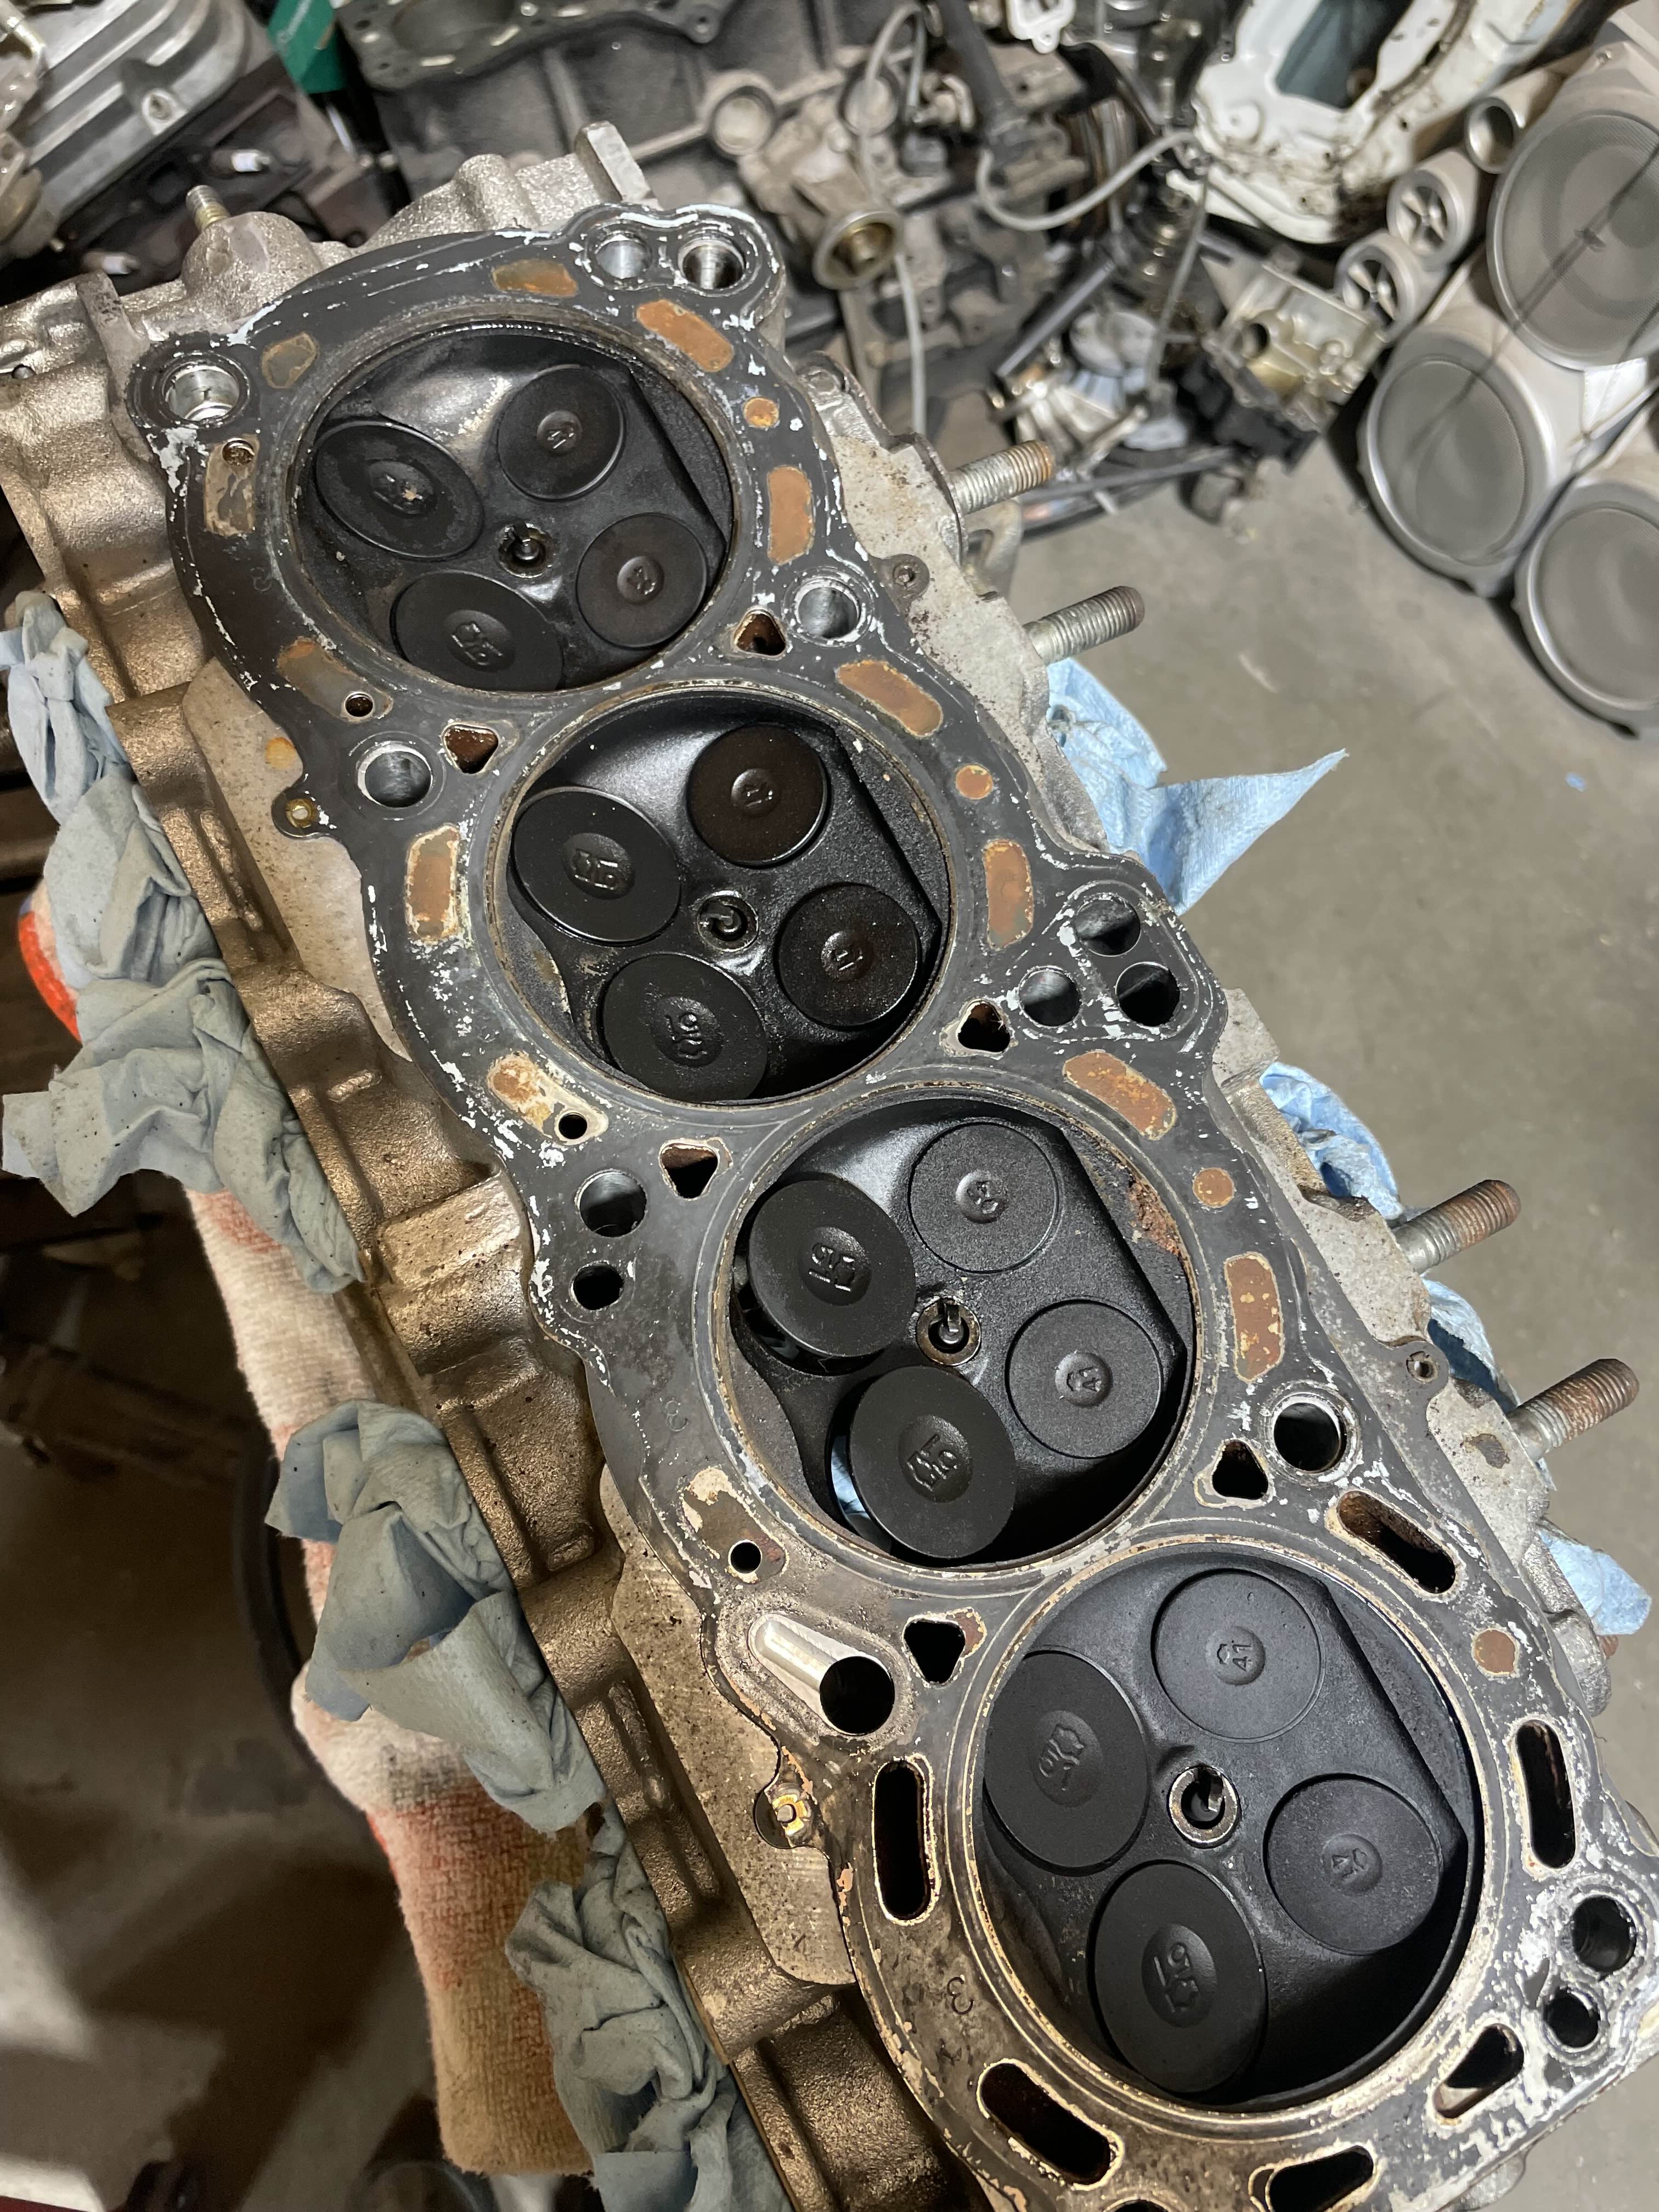
Annnd Heres the head, actually in really good shape!
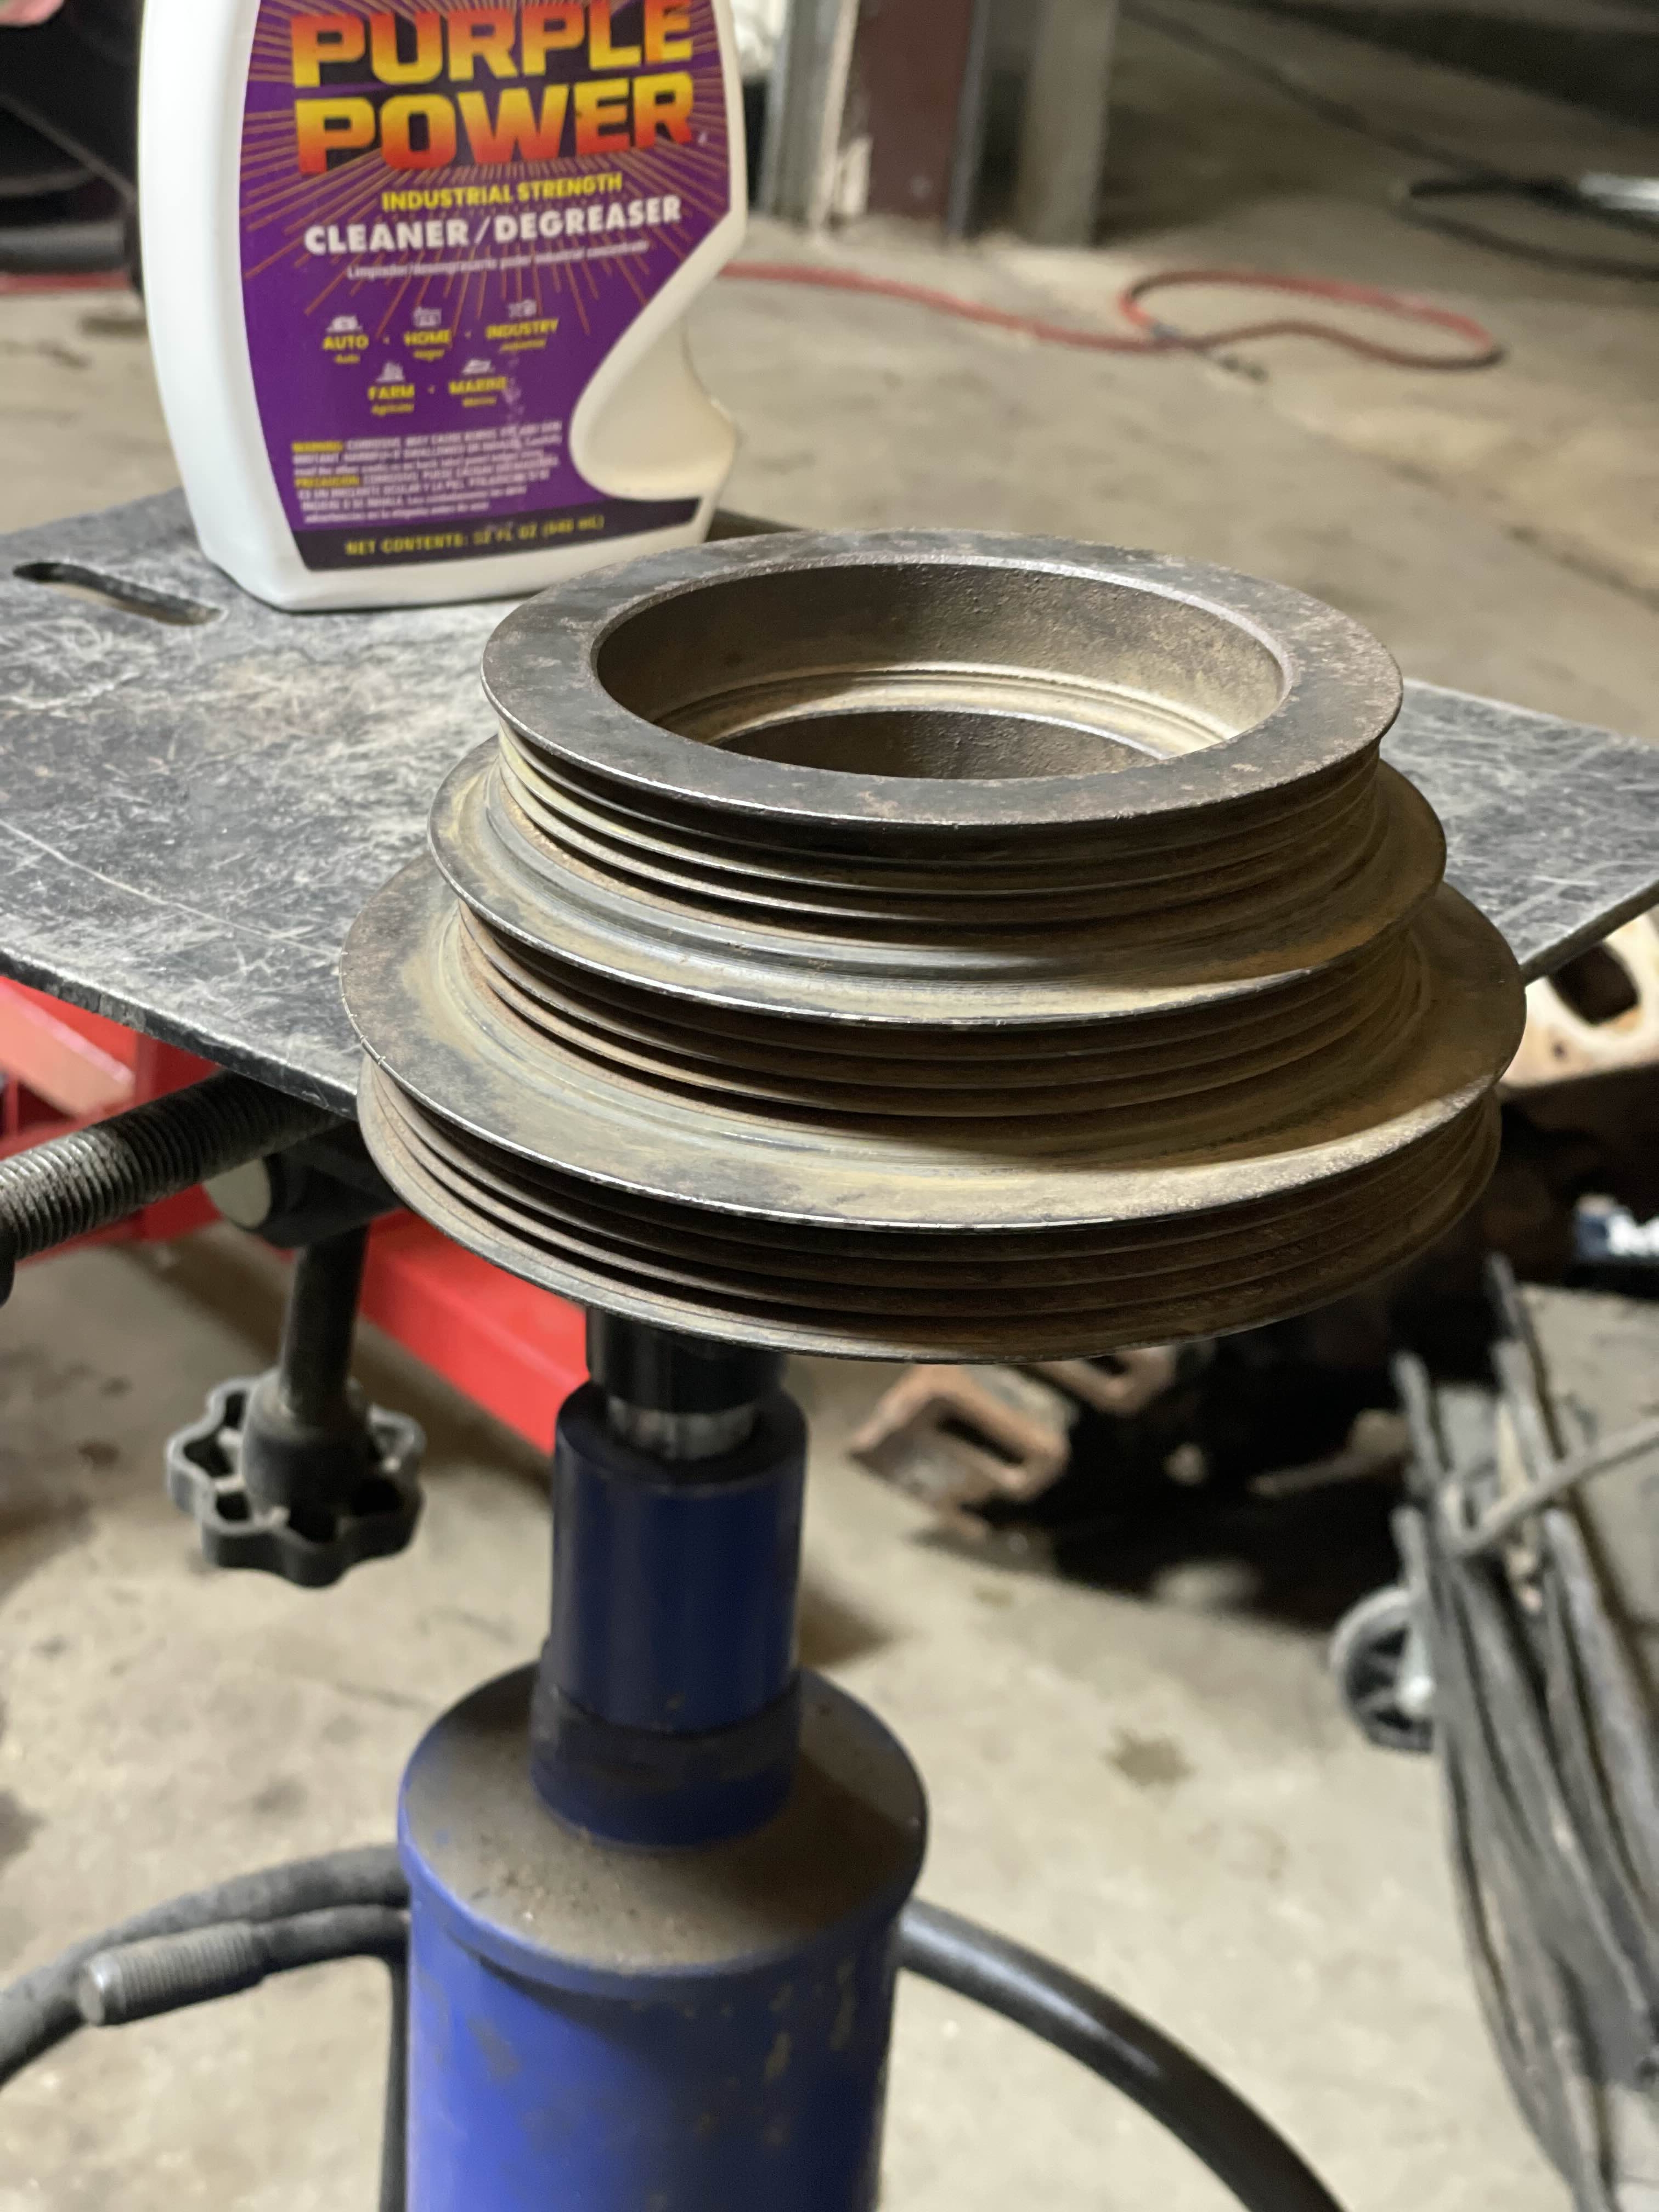
Took some time to clean up the harmonic balancer, I will be reusing this, although I would like to find a good replacement in the future.
All of the fluids drained, pistons out, started cleaning the deck surface while I waited on the head to be worked on at the machine shop for a basic once over.
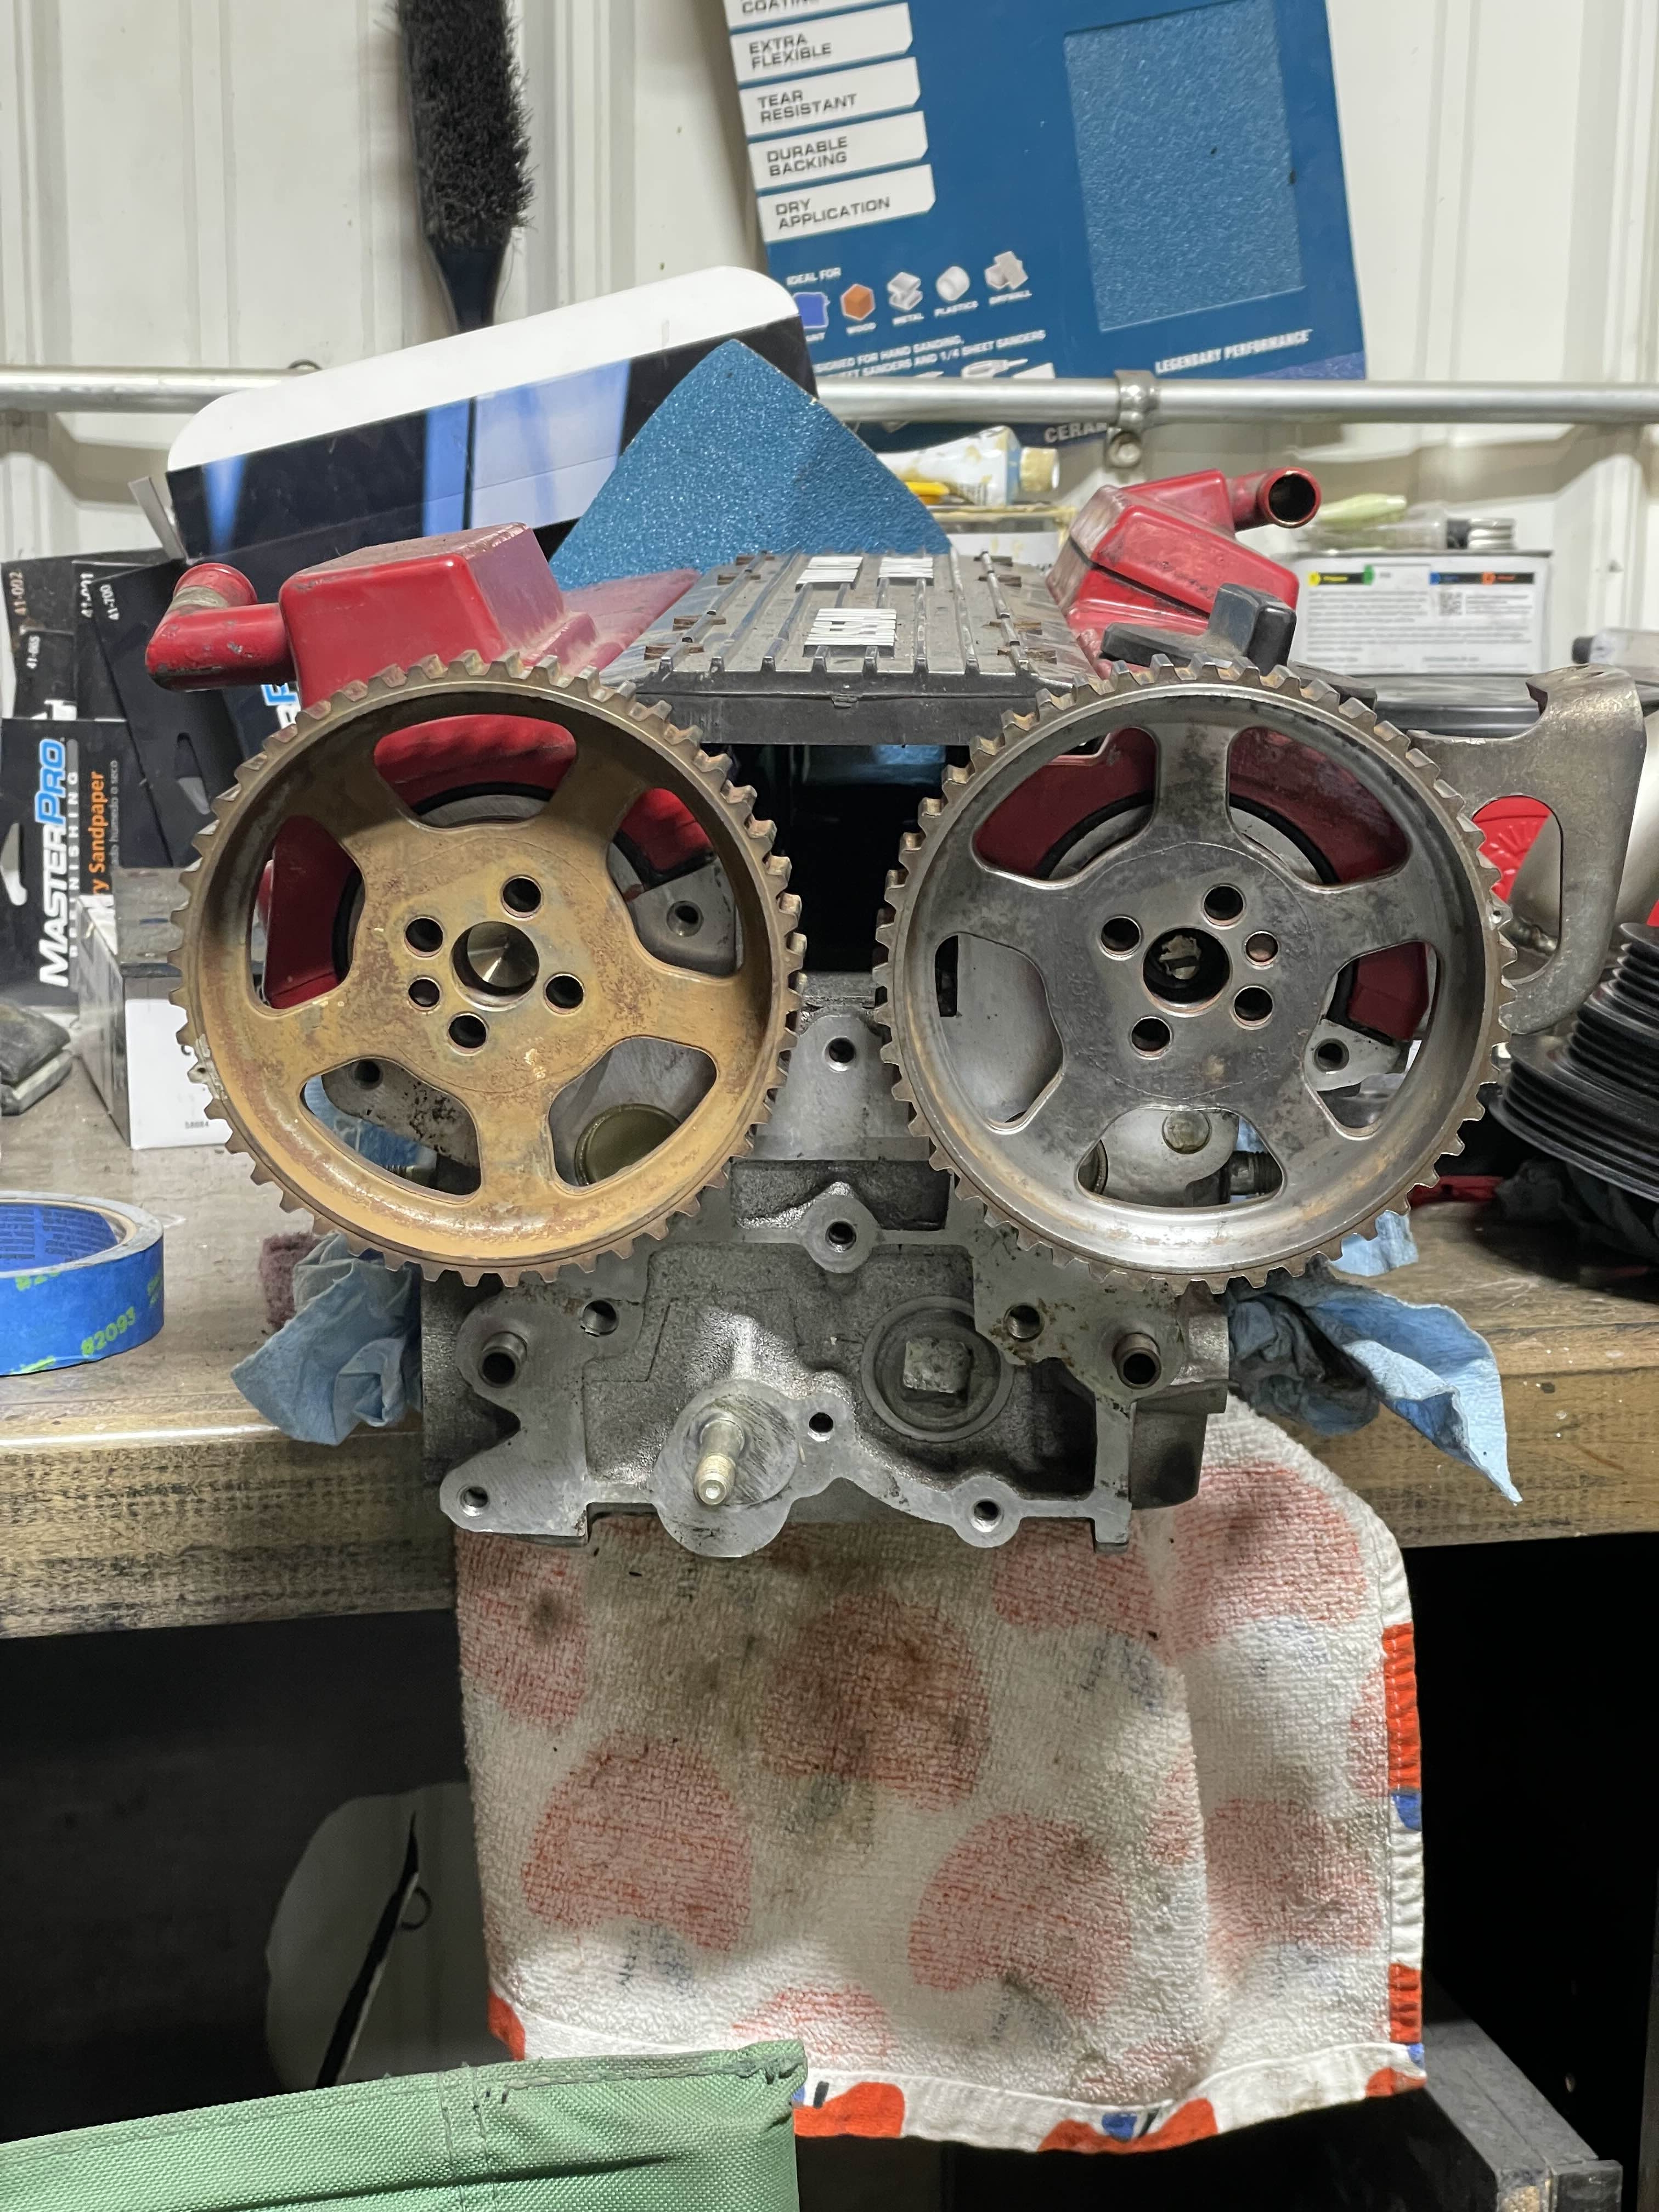
Started getting all of that rust off these cam gears.
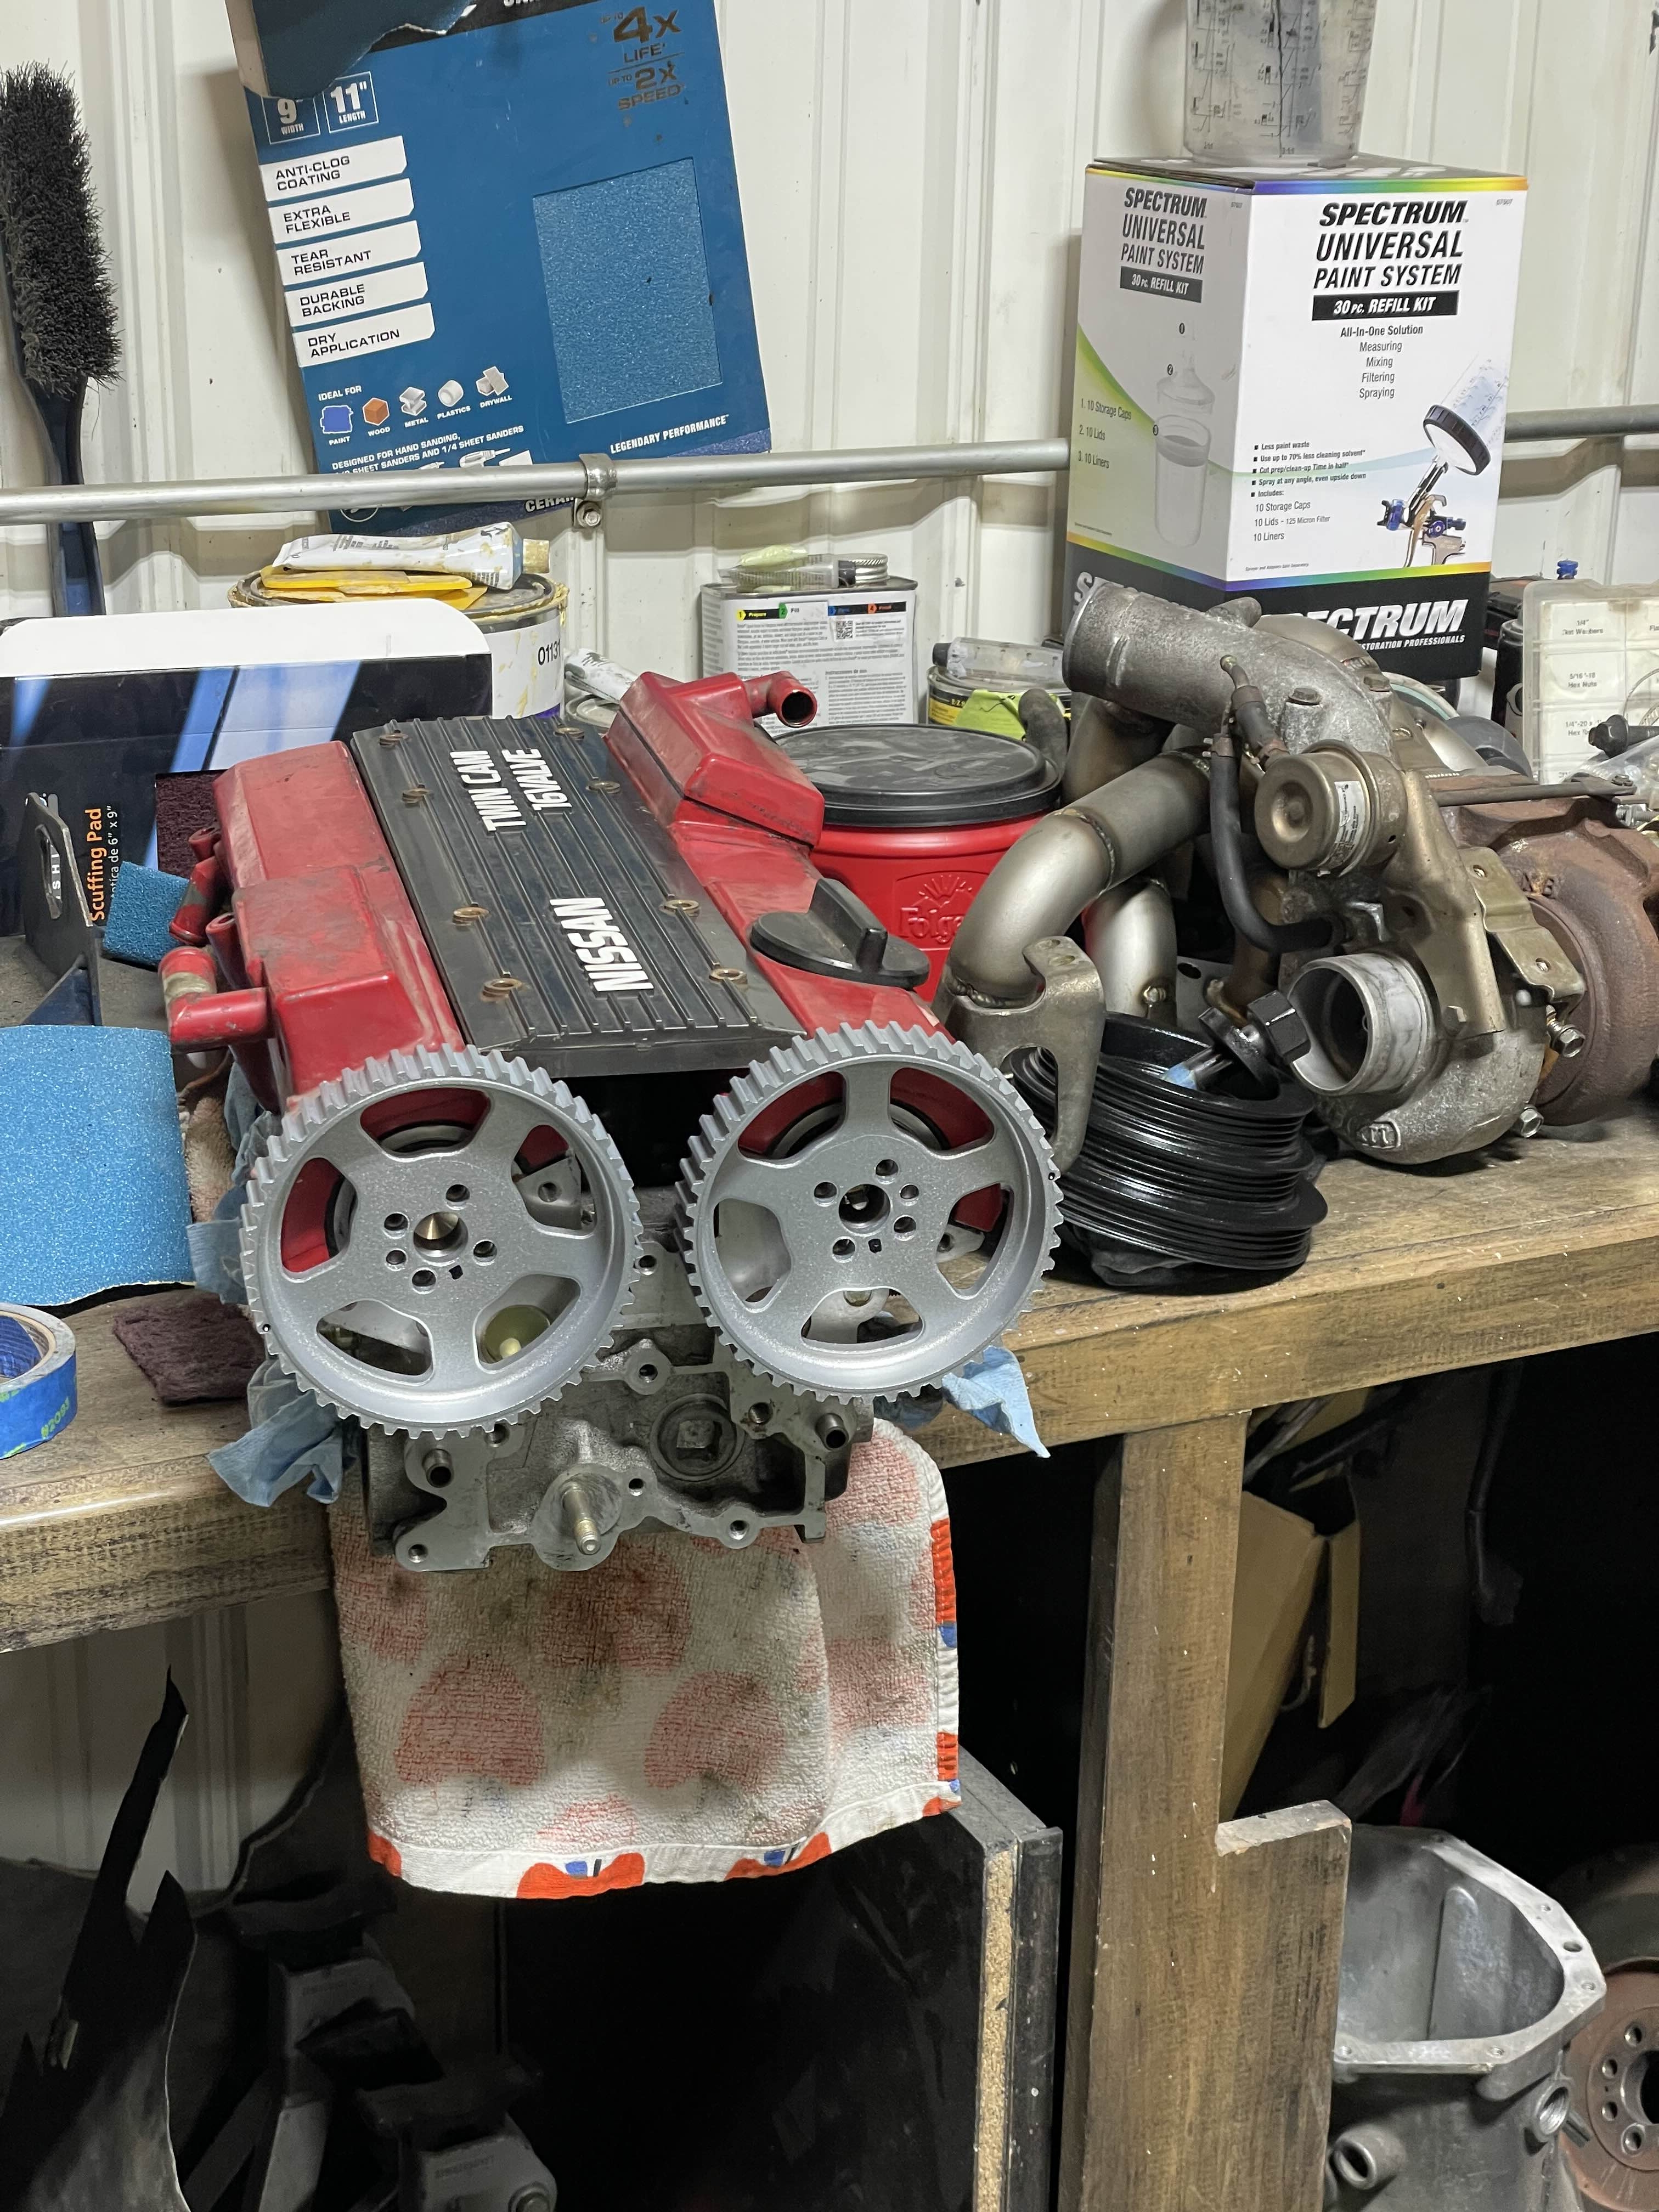
And all clean and painted!
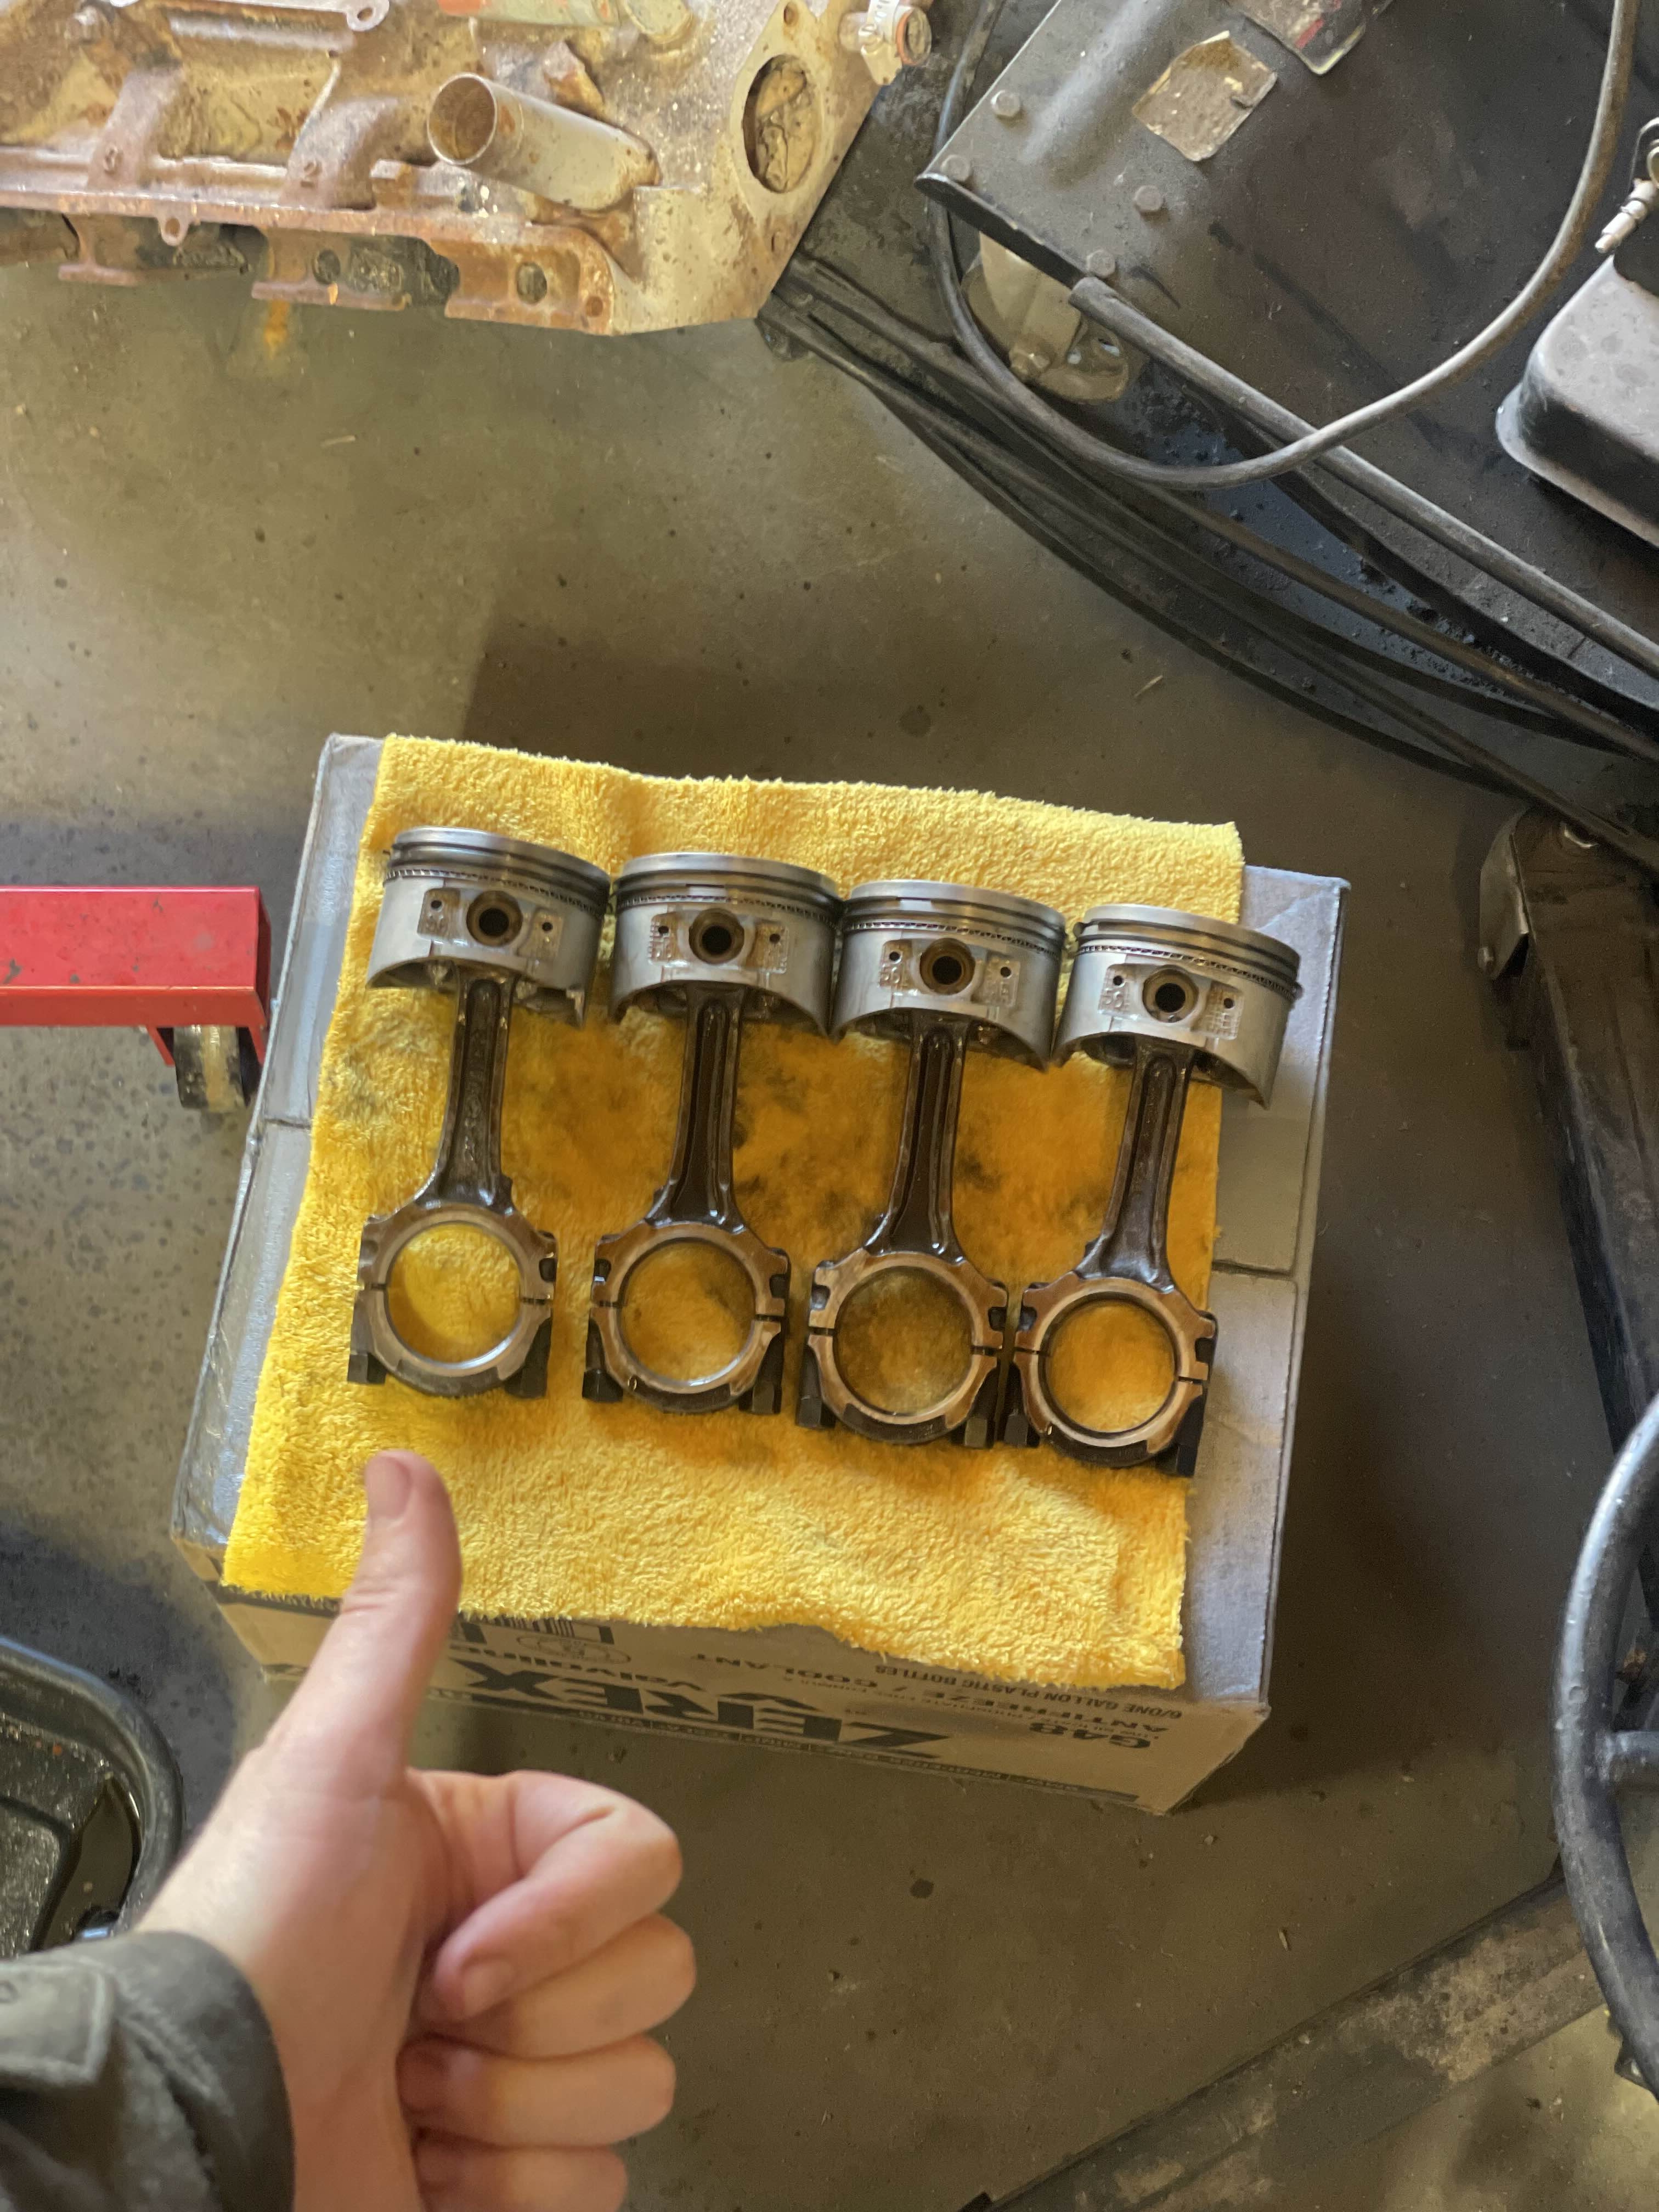
Pistons cleaned up and prepped with new rings and bearings!
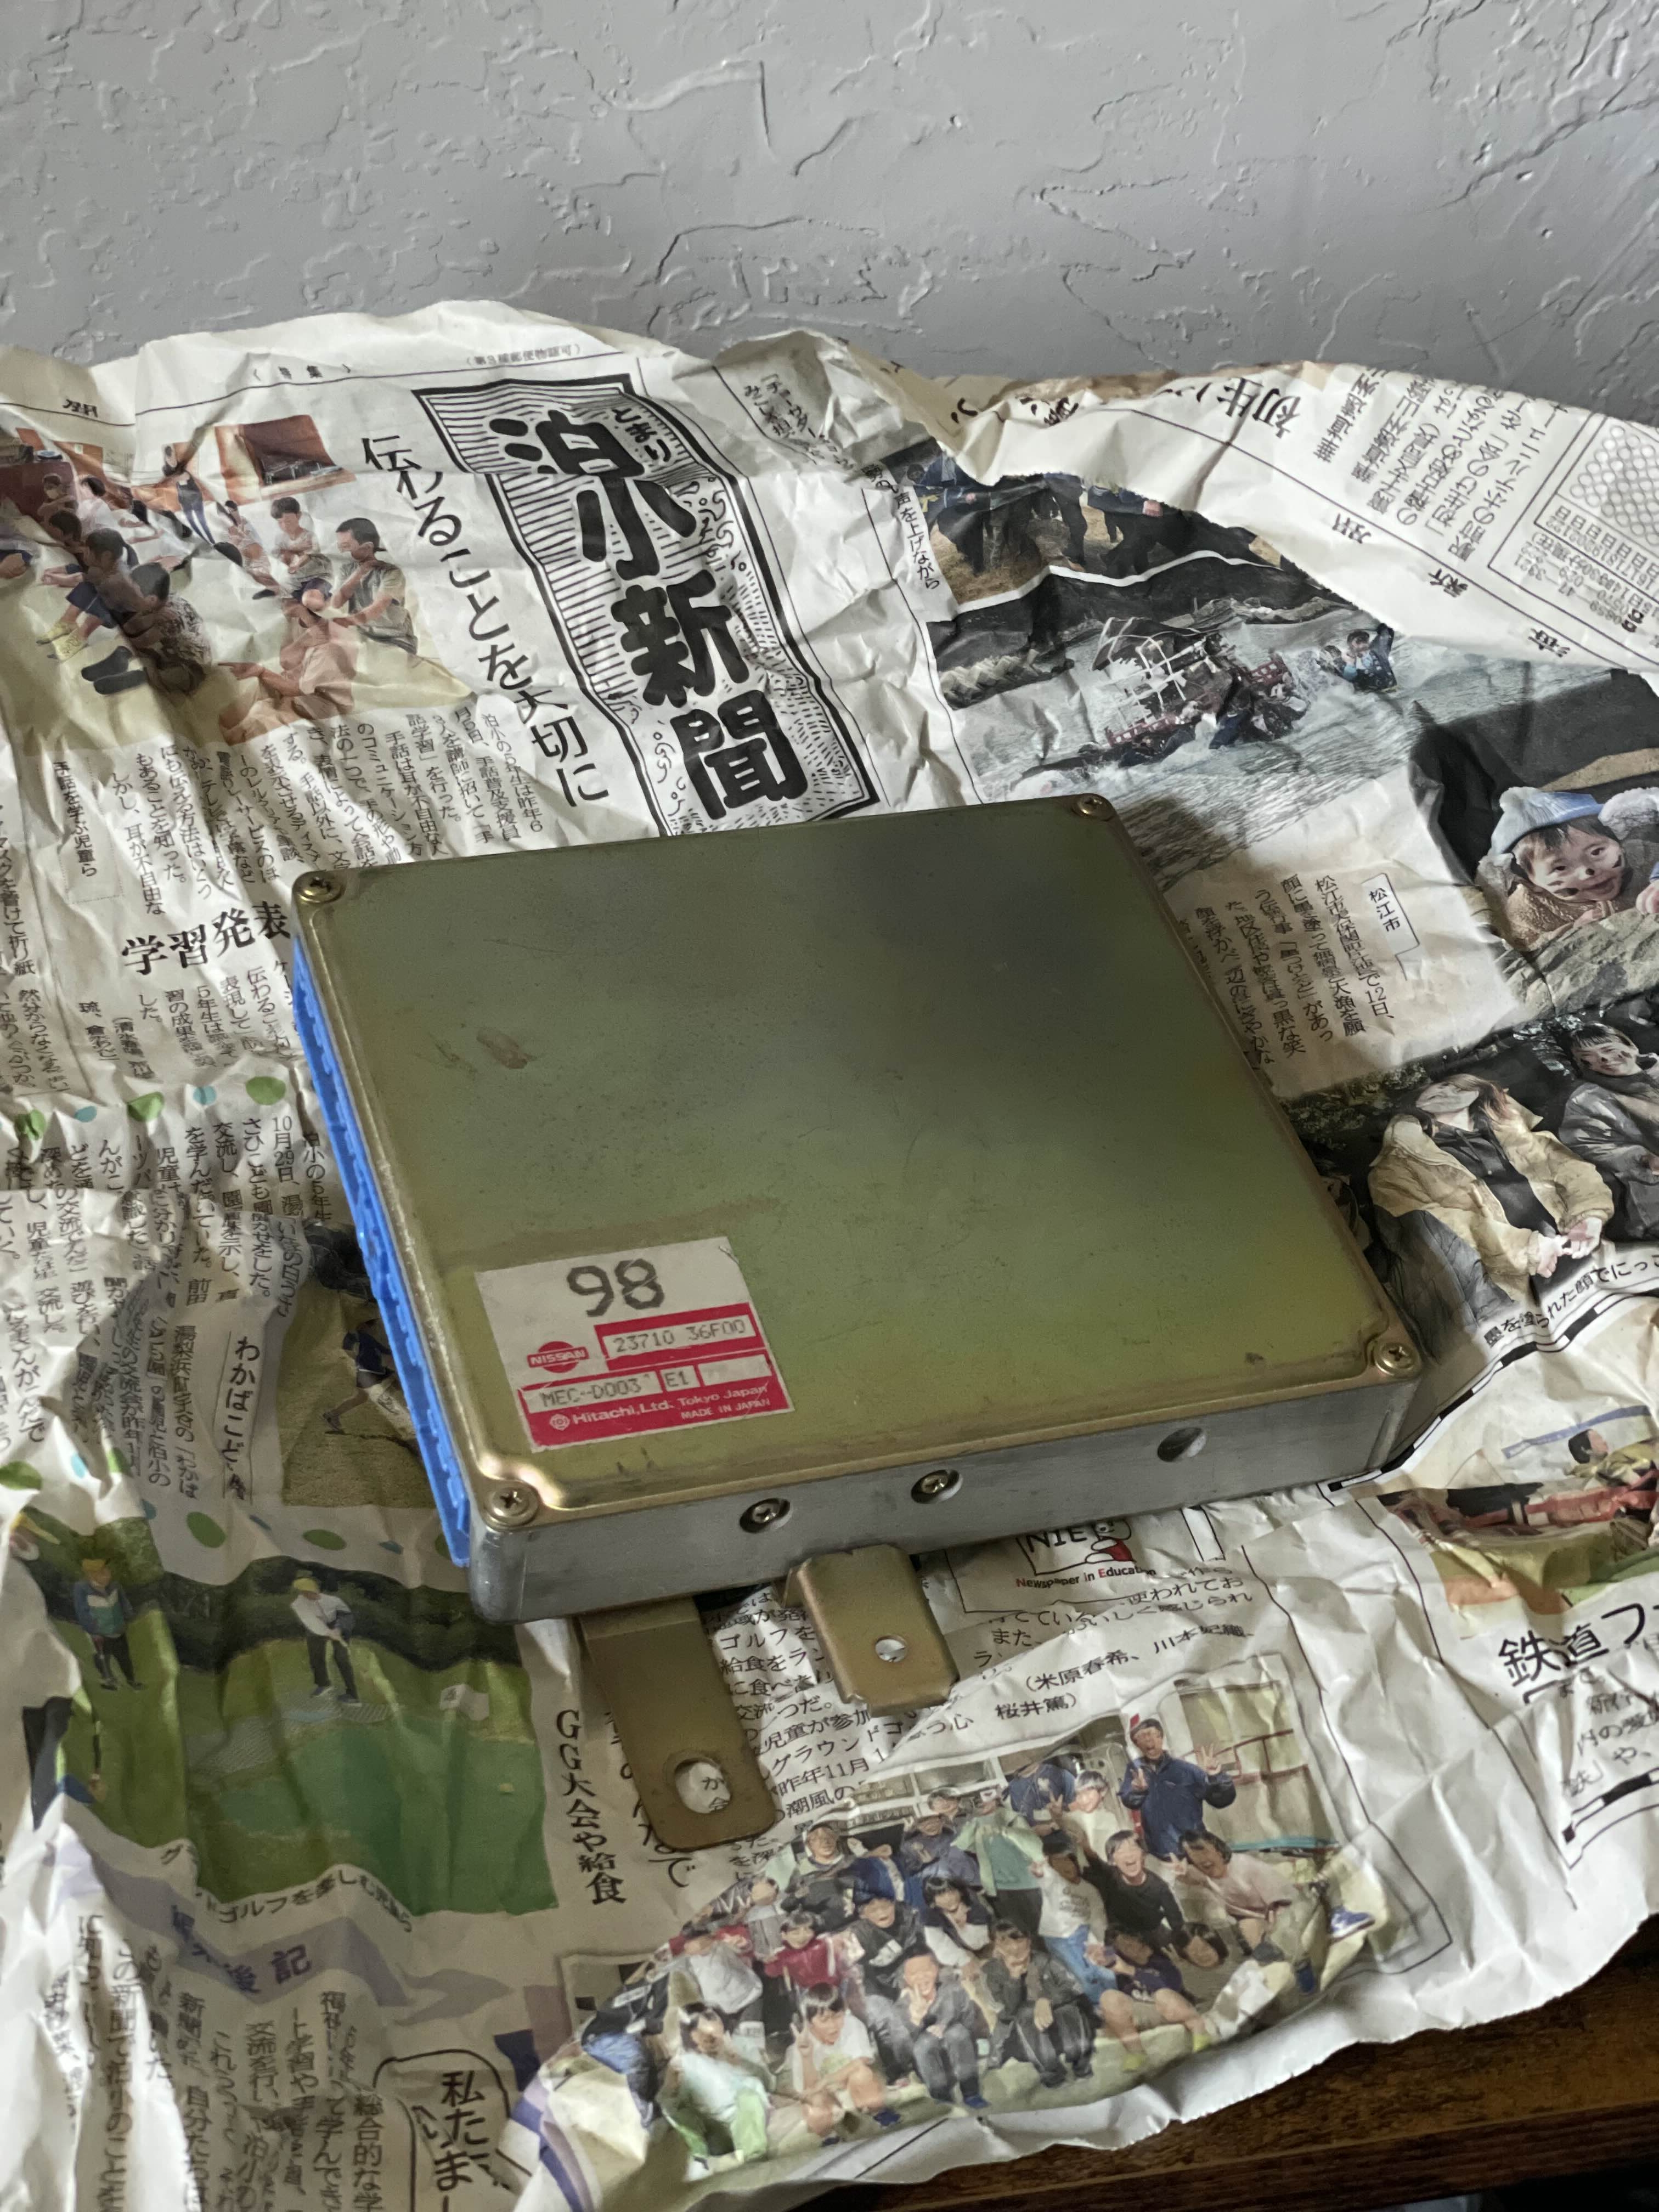
Nothing flashy but figured a factory ECU from a ps13 silvia/rs13 180sx would be more than enough to break in the motor with and keep me from doing anything too crazy in the short term while I deal with any potential issues post-swap.
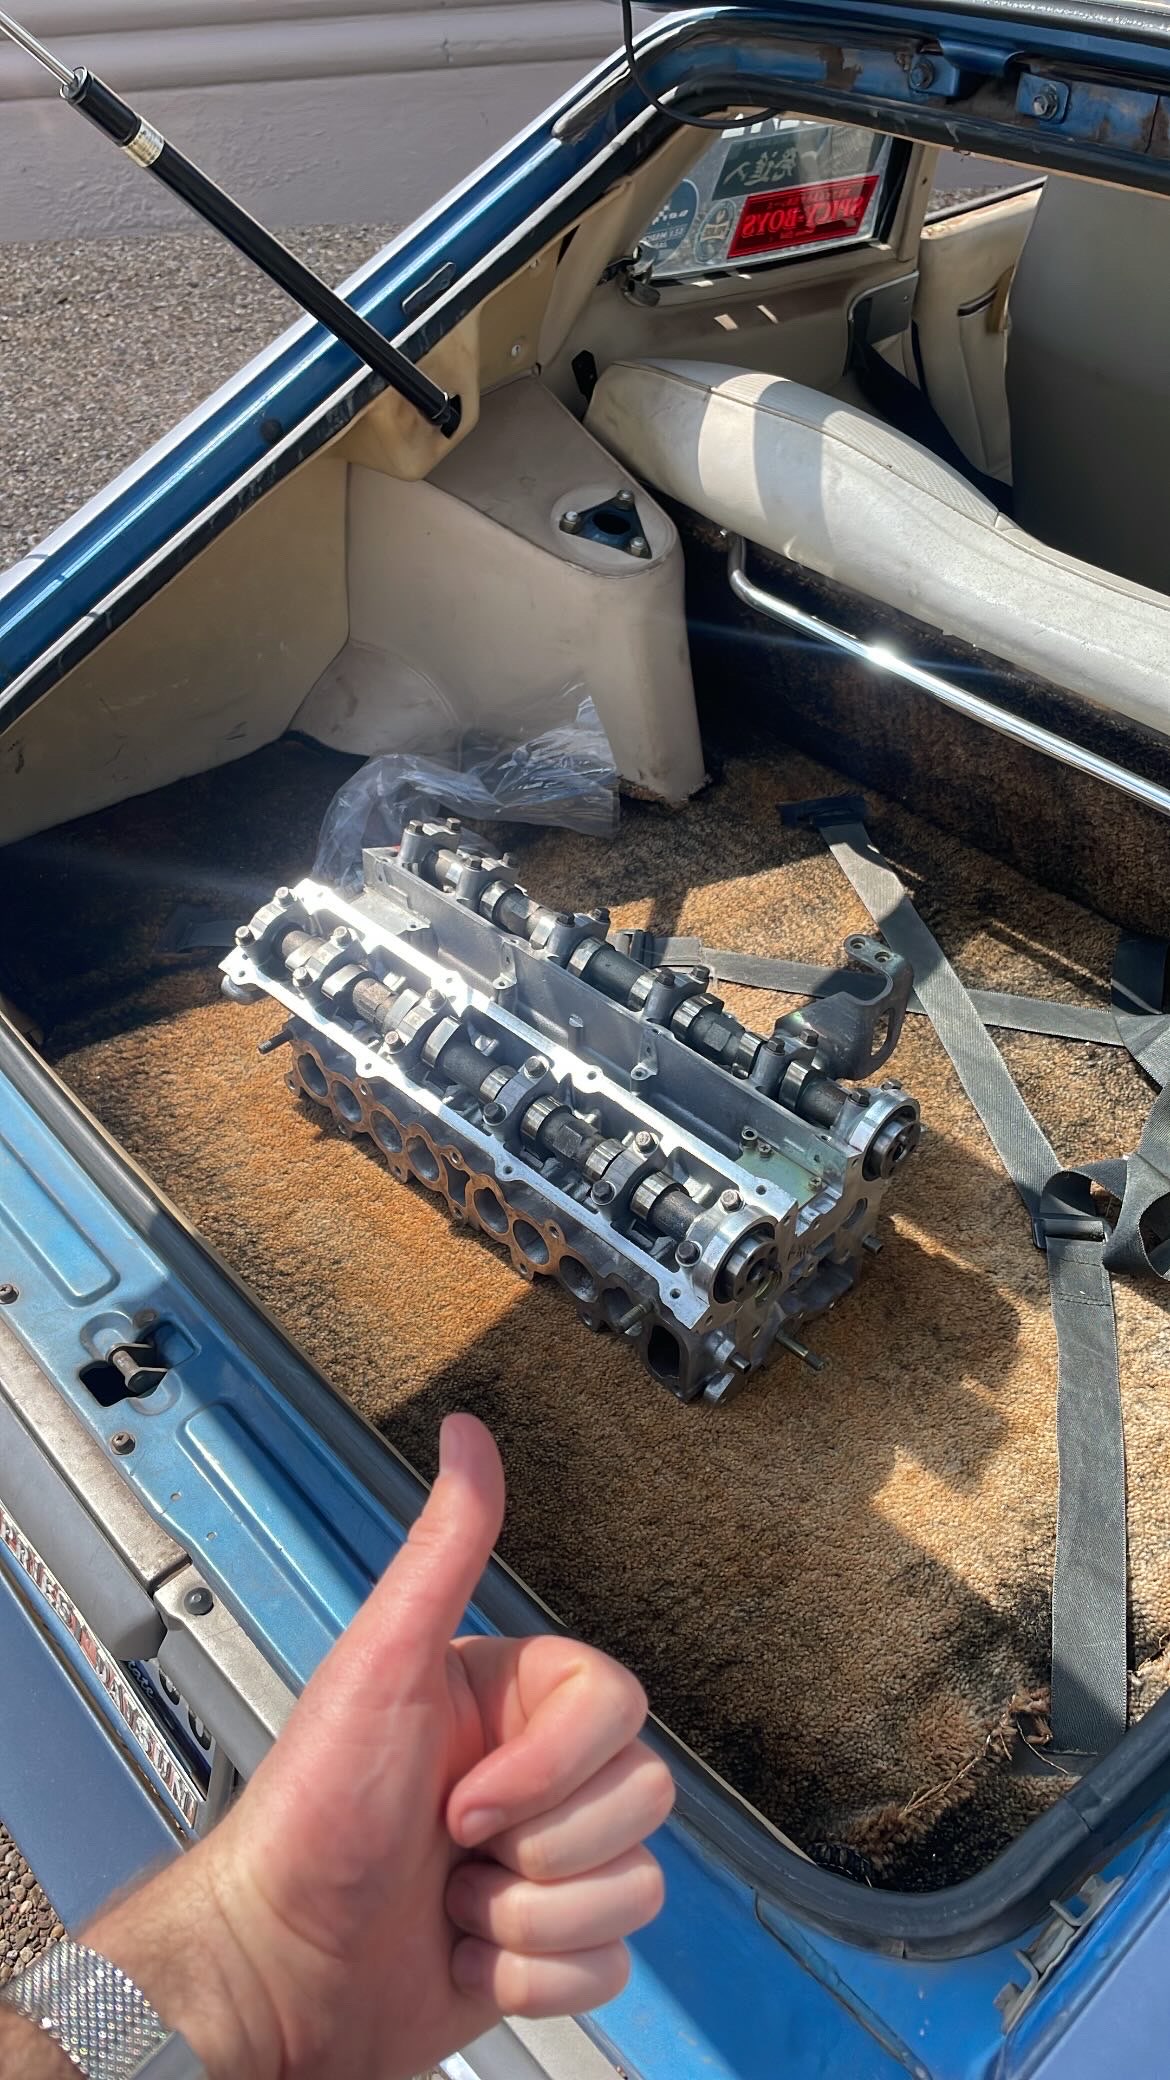
Cylinder head is back from the machine shop! all clean and checked out good! just decked it a little to get it flat.
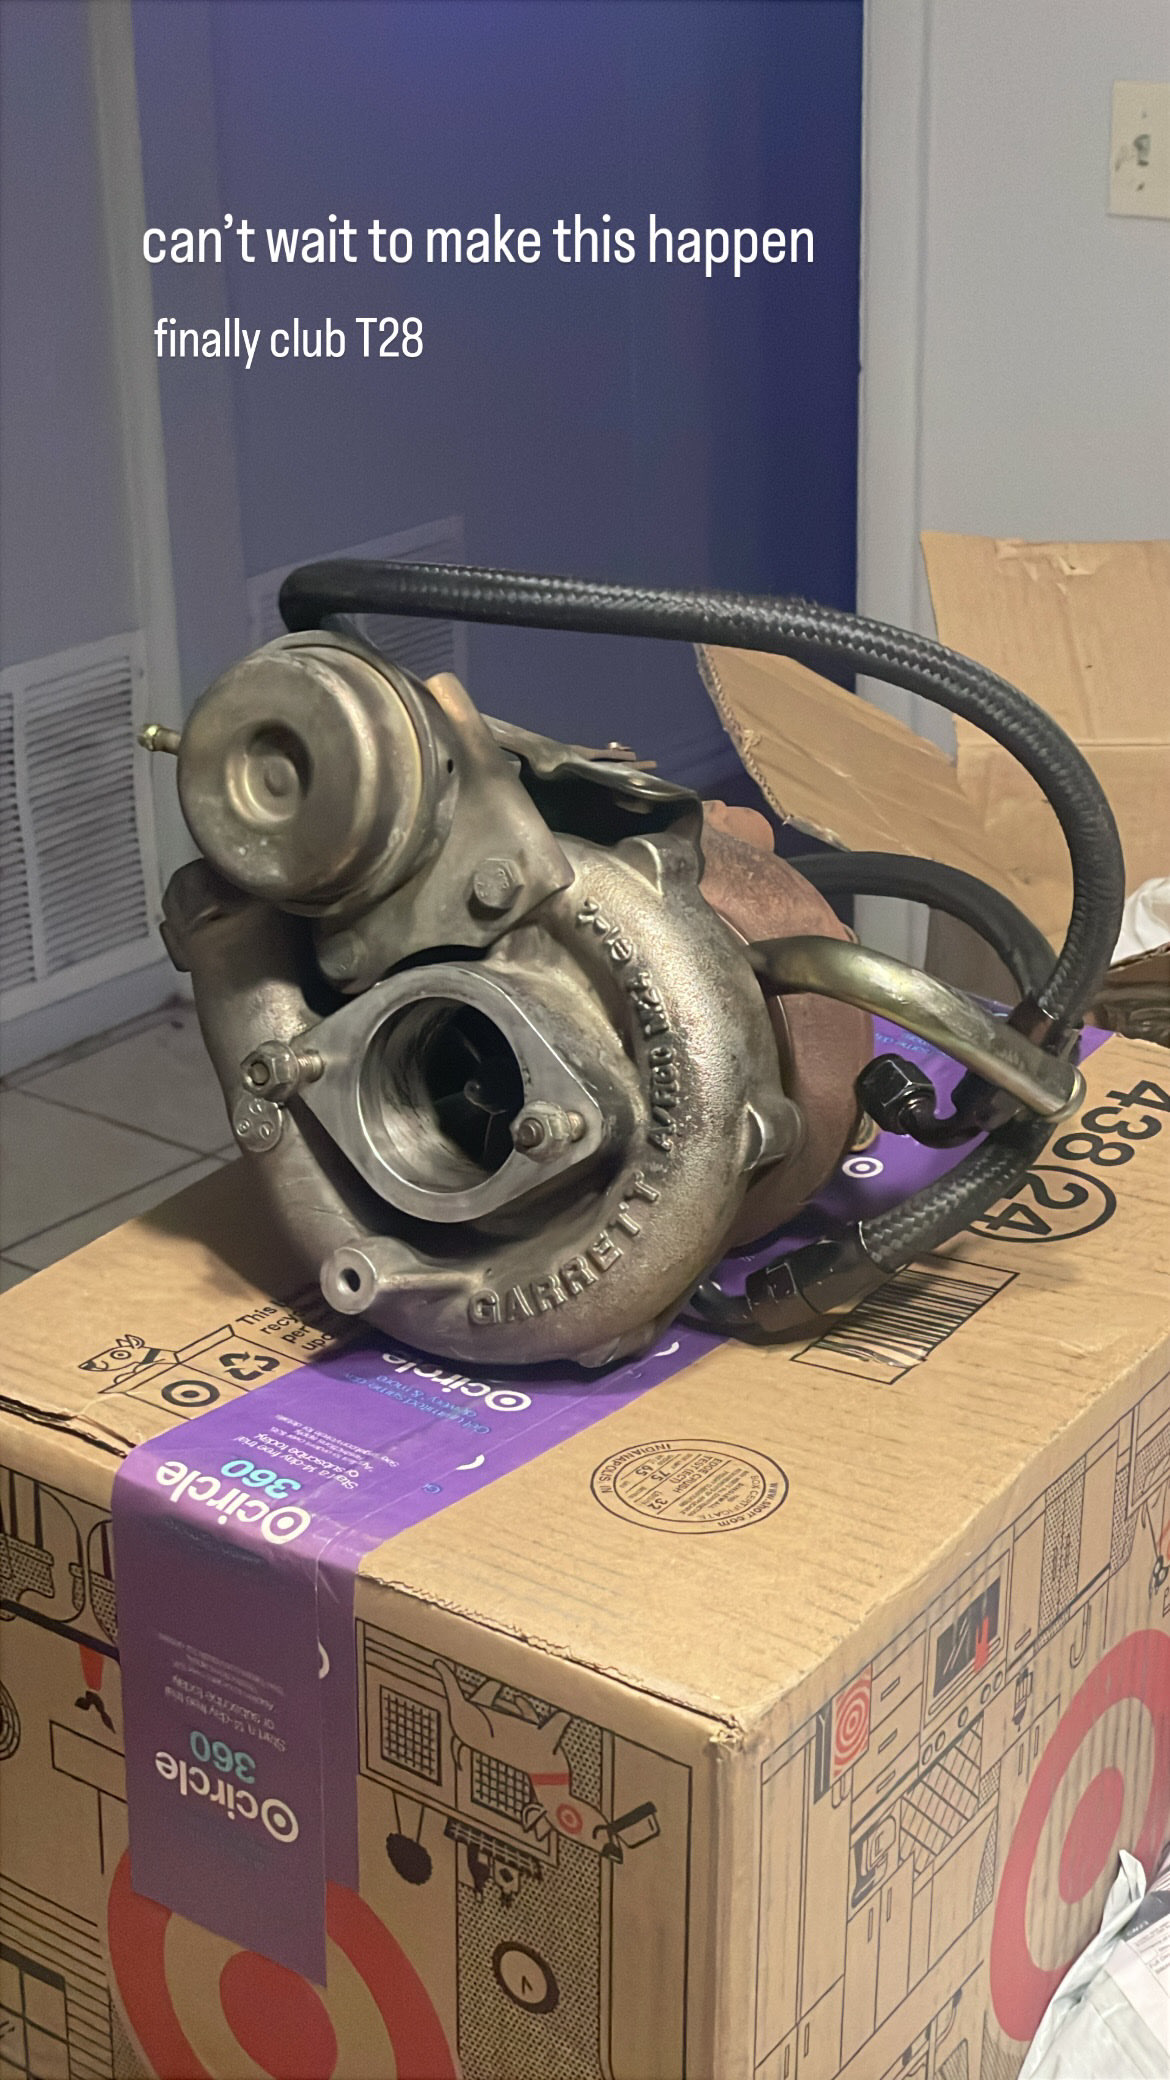
Because I will be running oem rods and pistons for now, a T28 off an S14 silvia seems like the upgrade to go with in the event I overboost on a larger setup or get a little too excited adjusting a boost controller- this one has a little more play than I'd like, but its going to go in for now and pray its not in dire need of a rebuild.
Pistons are back in! Like mentioned before- new rings, and rod bearings are in, which is much more love than what I put into my KA.
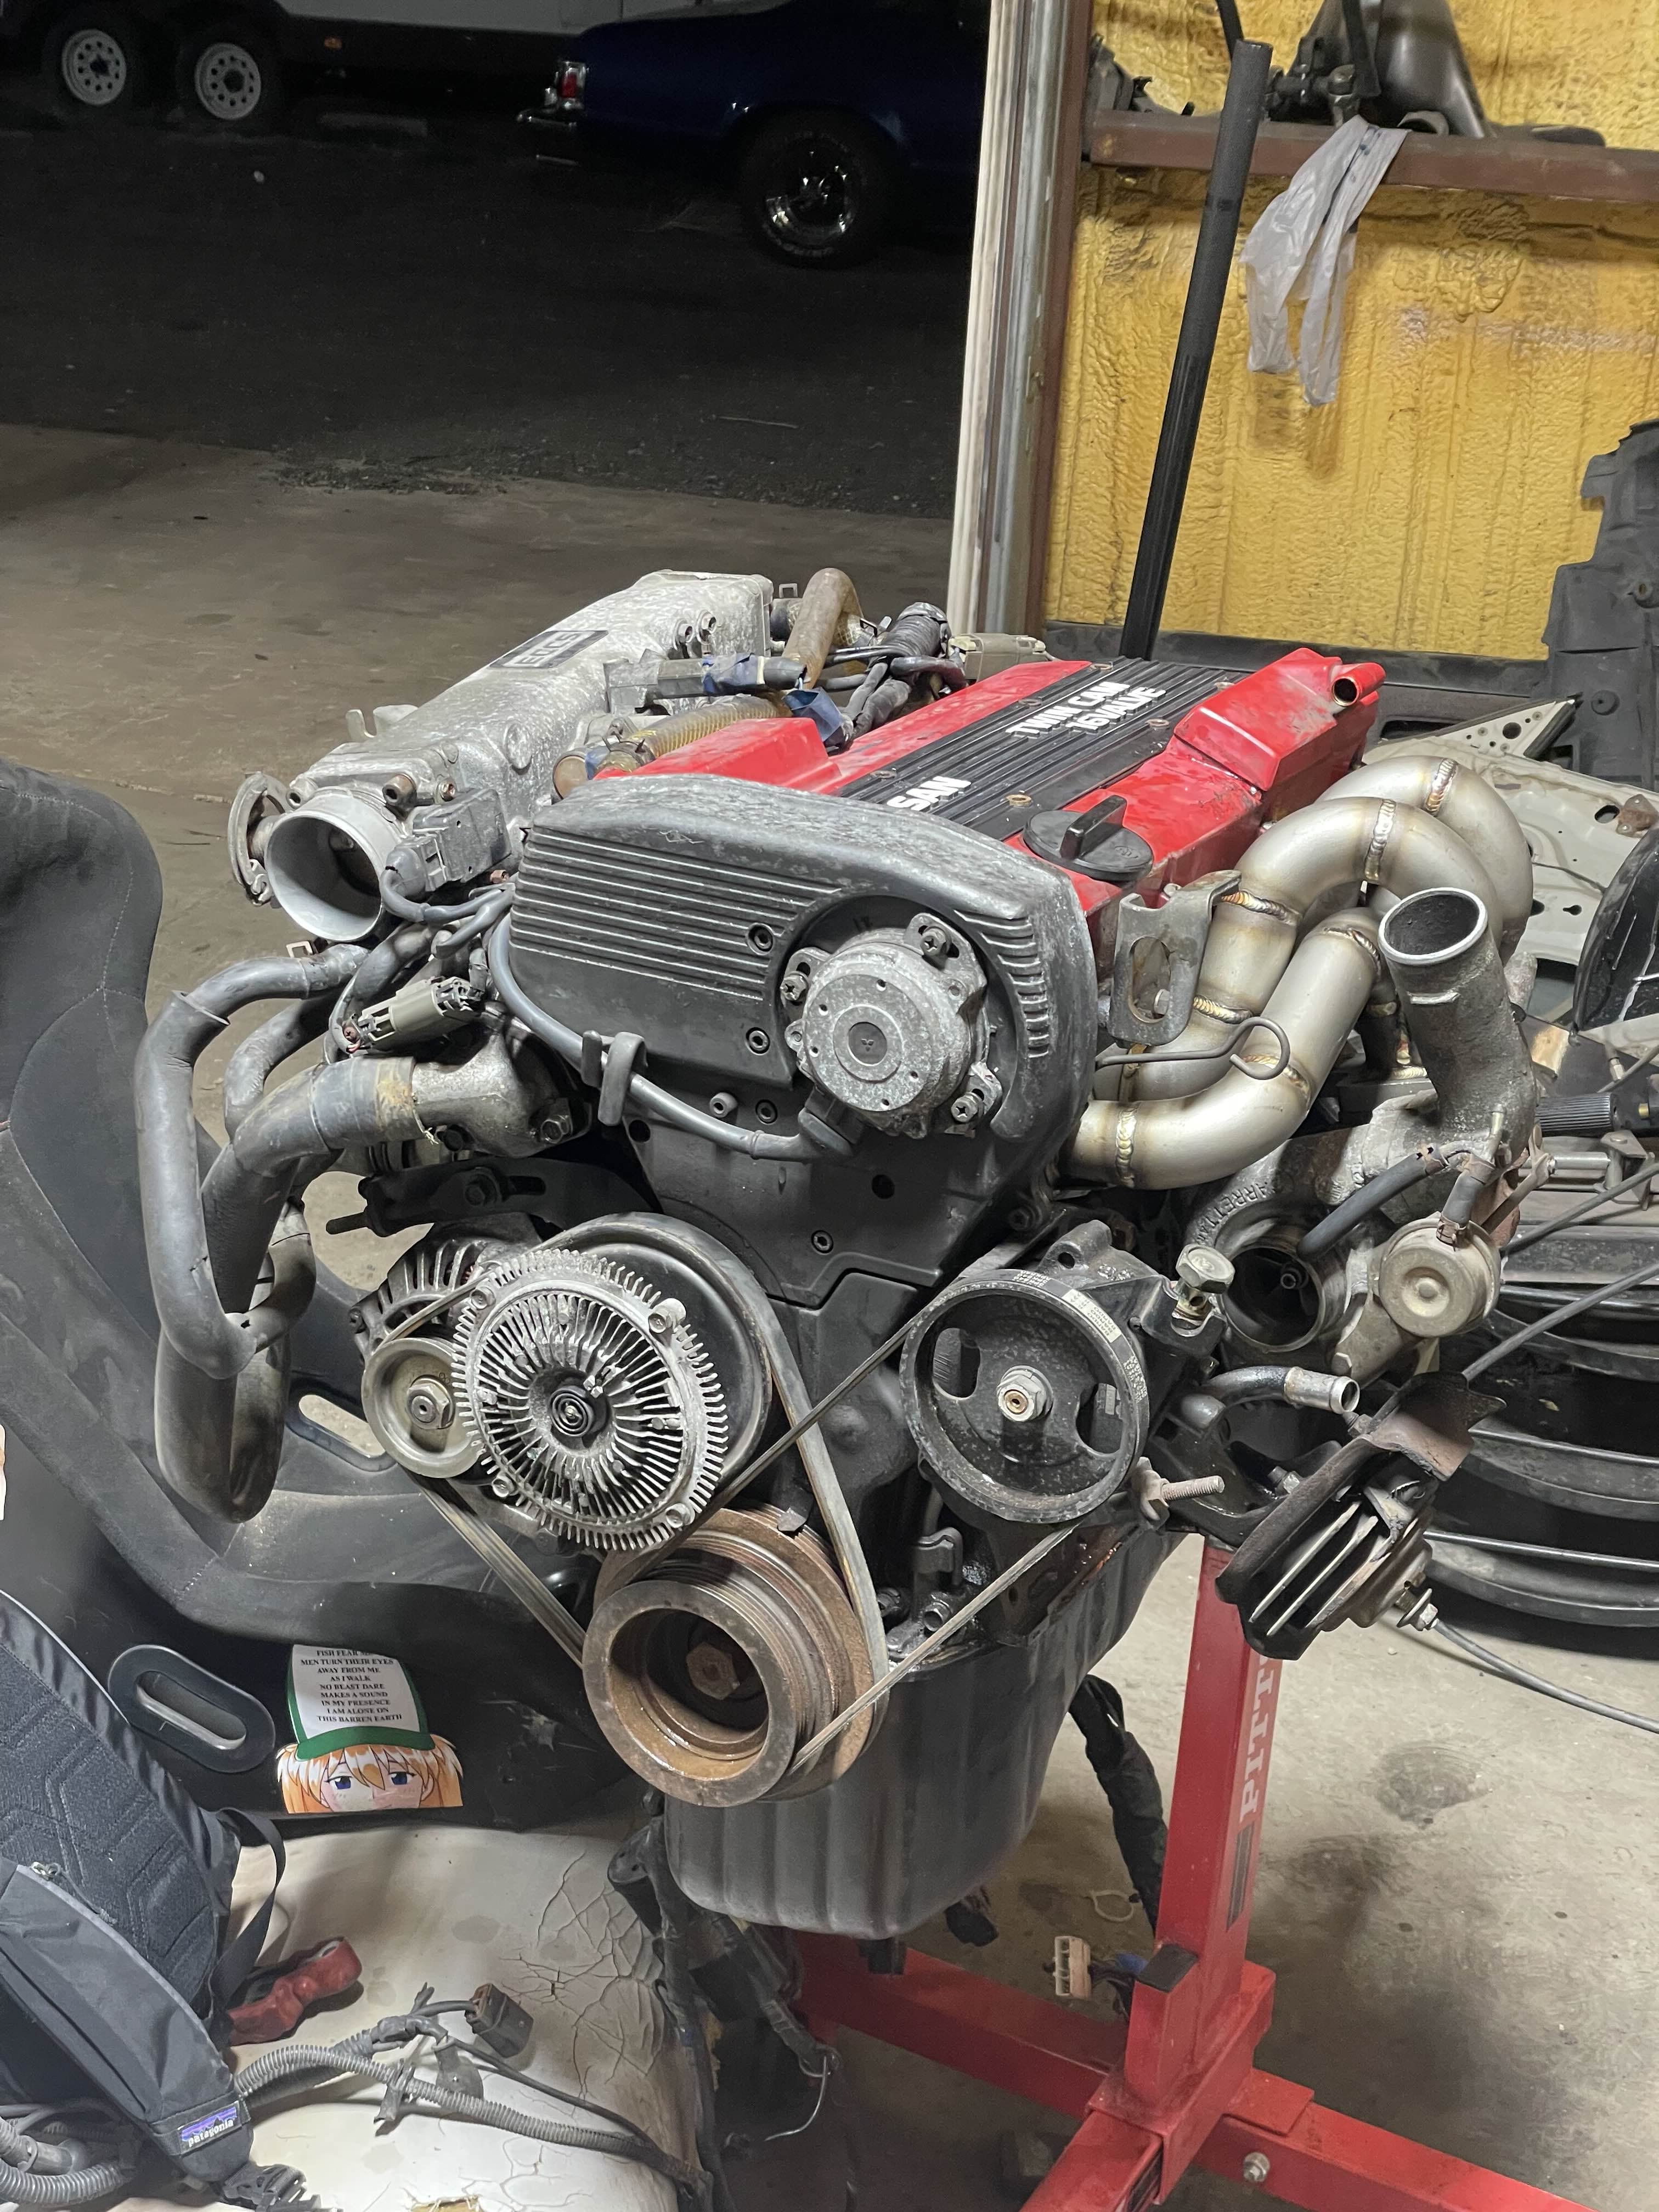
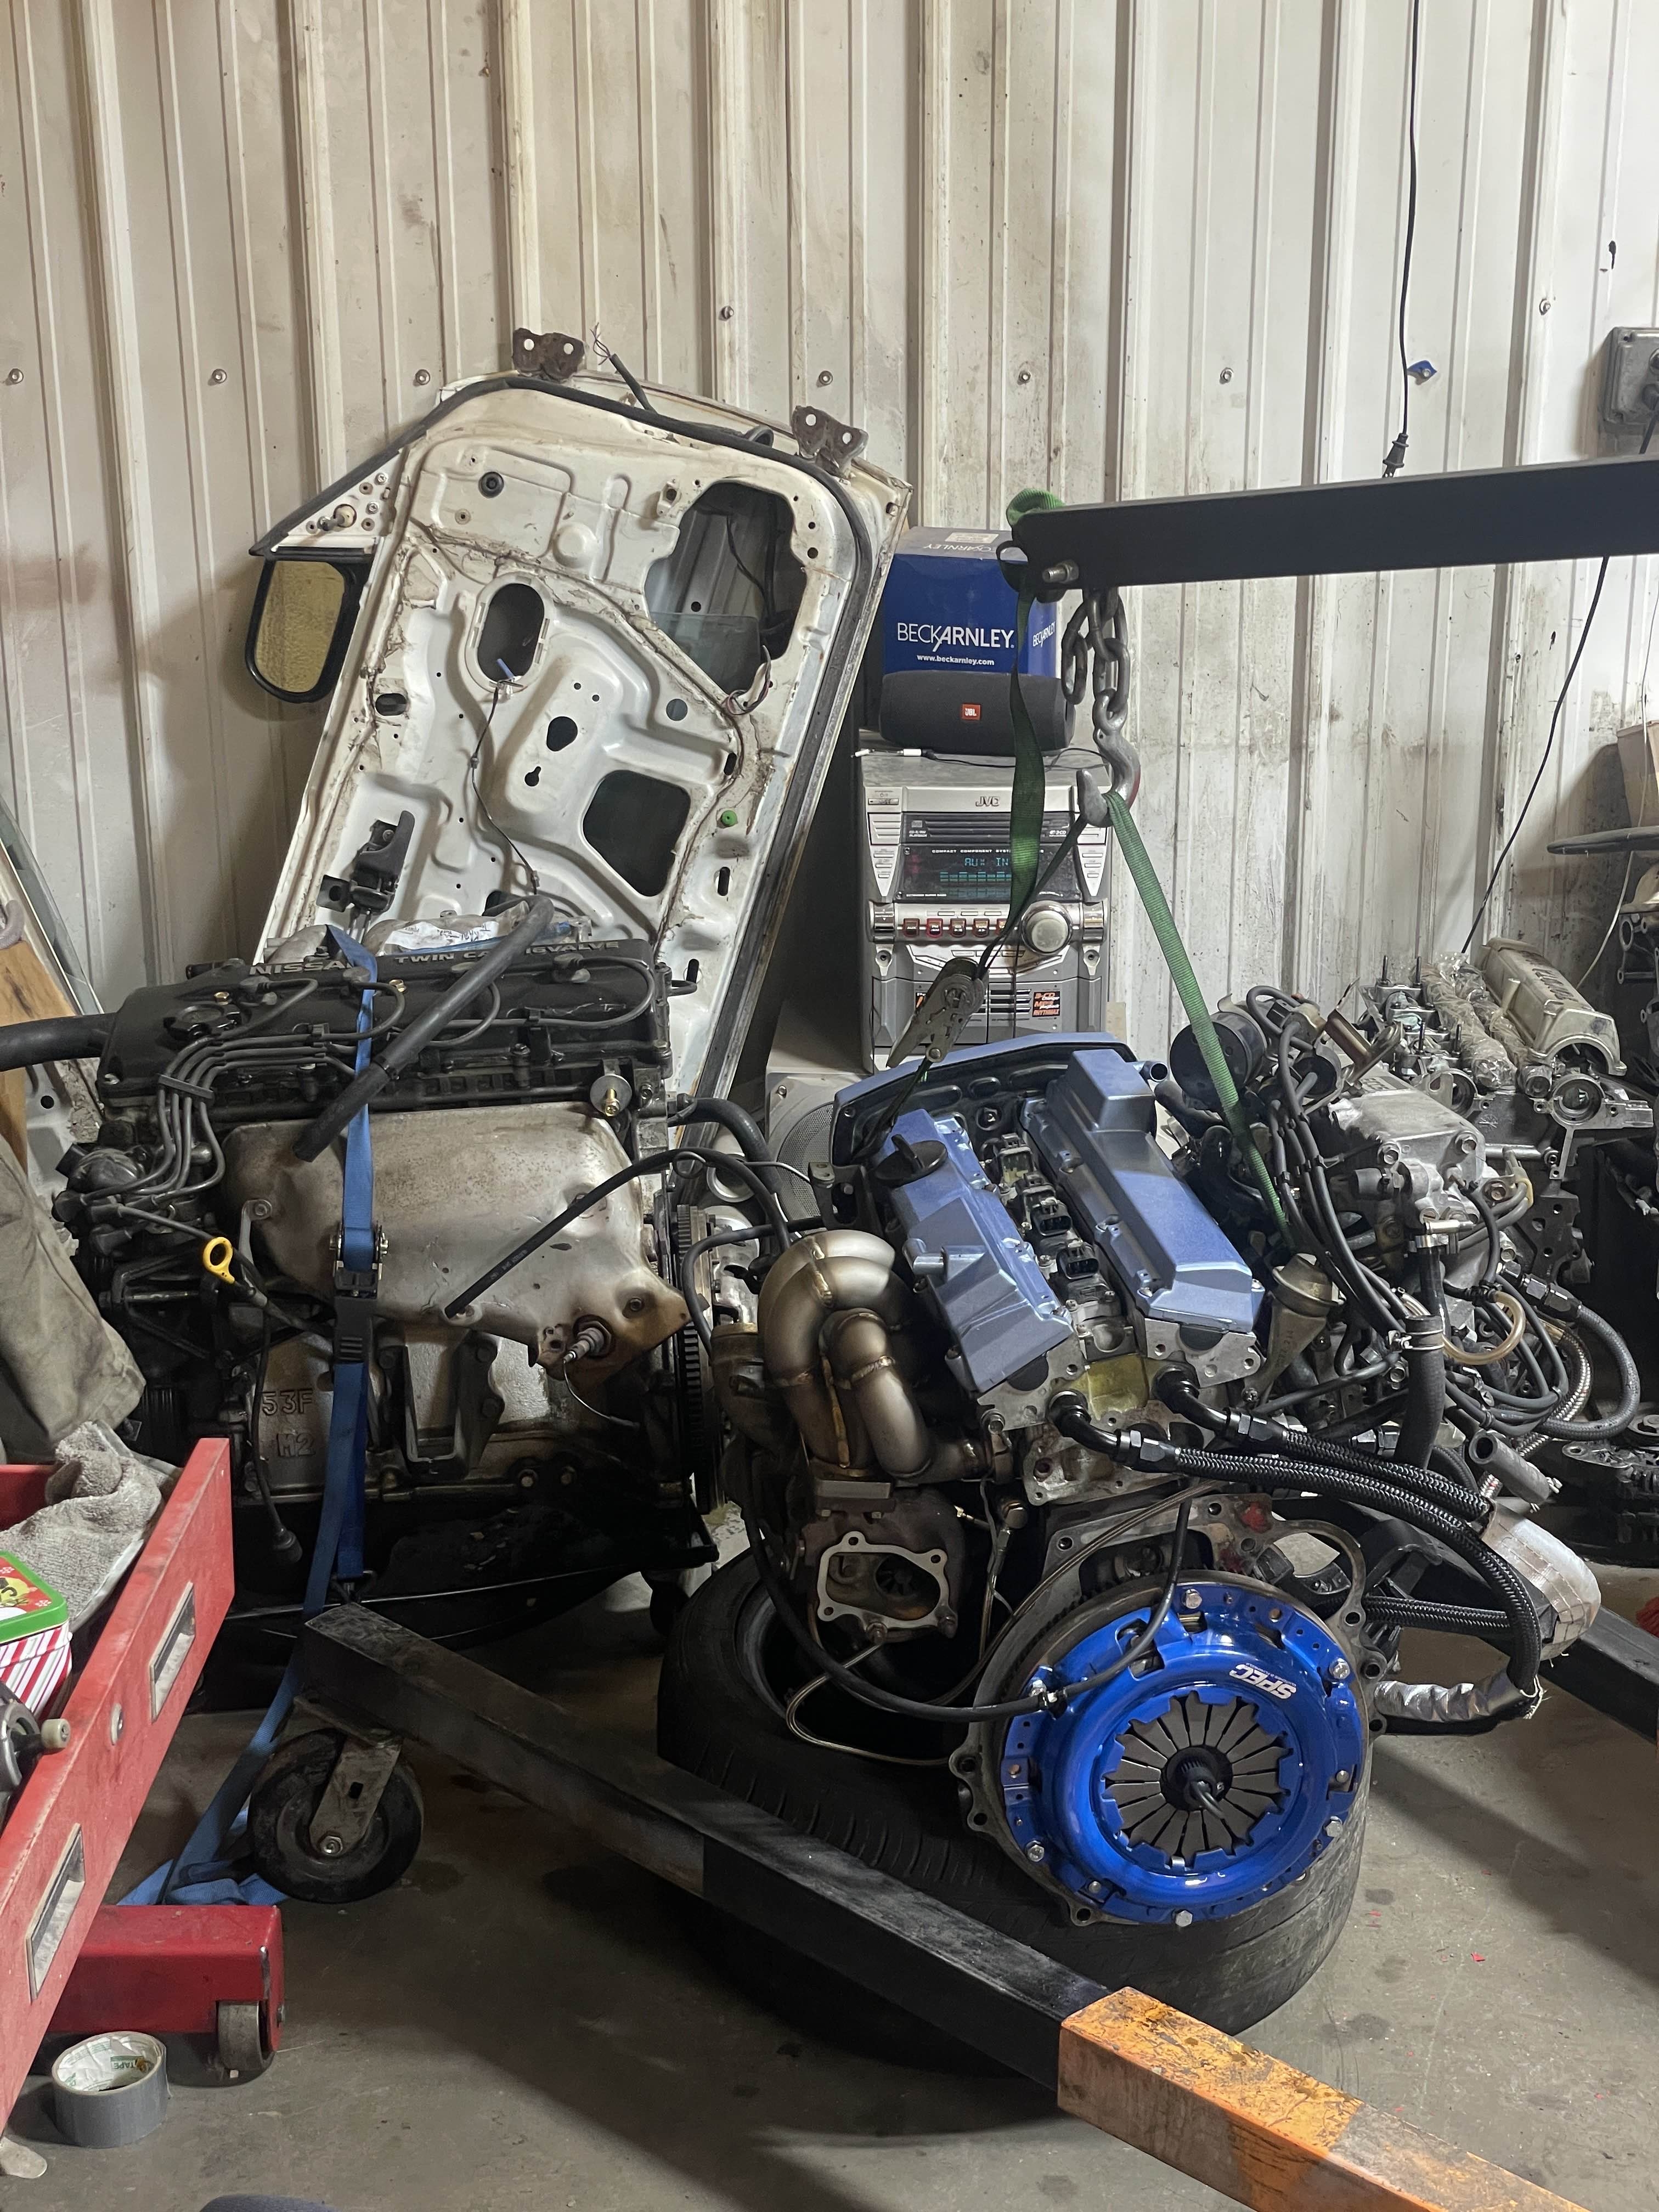
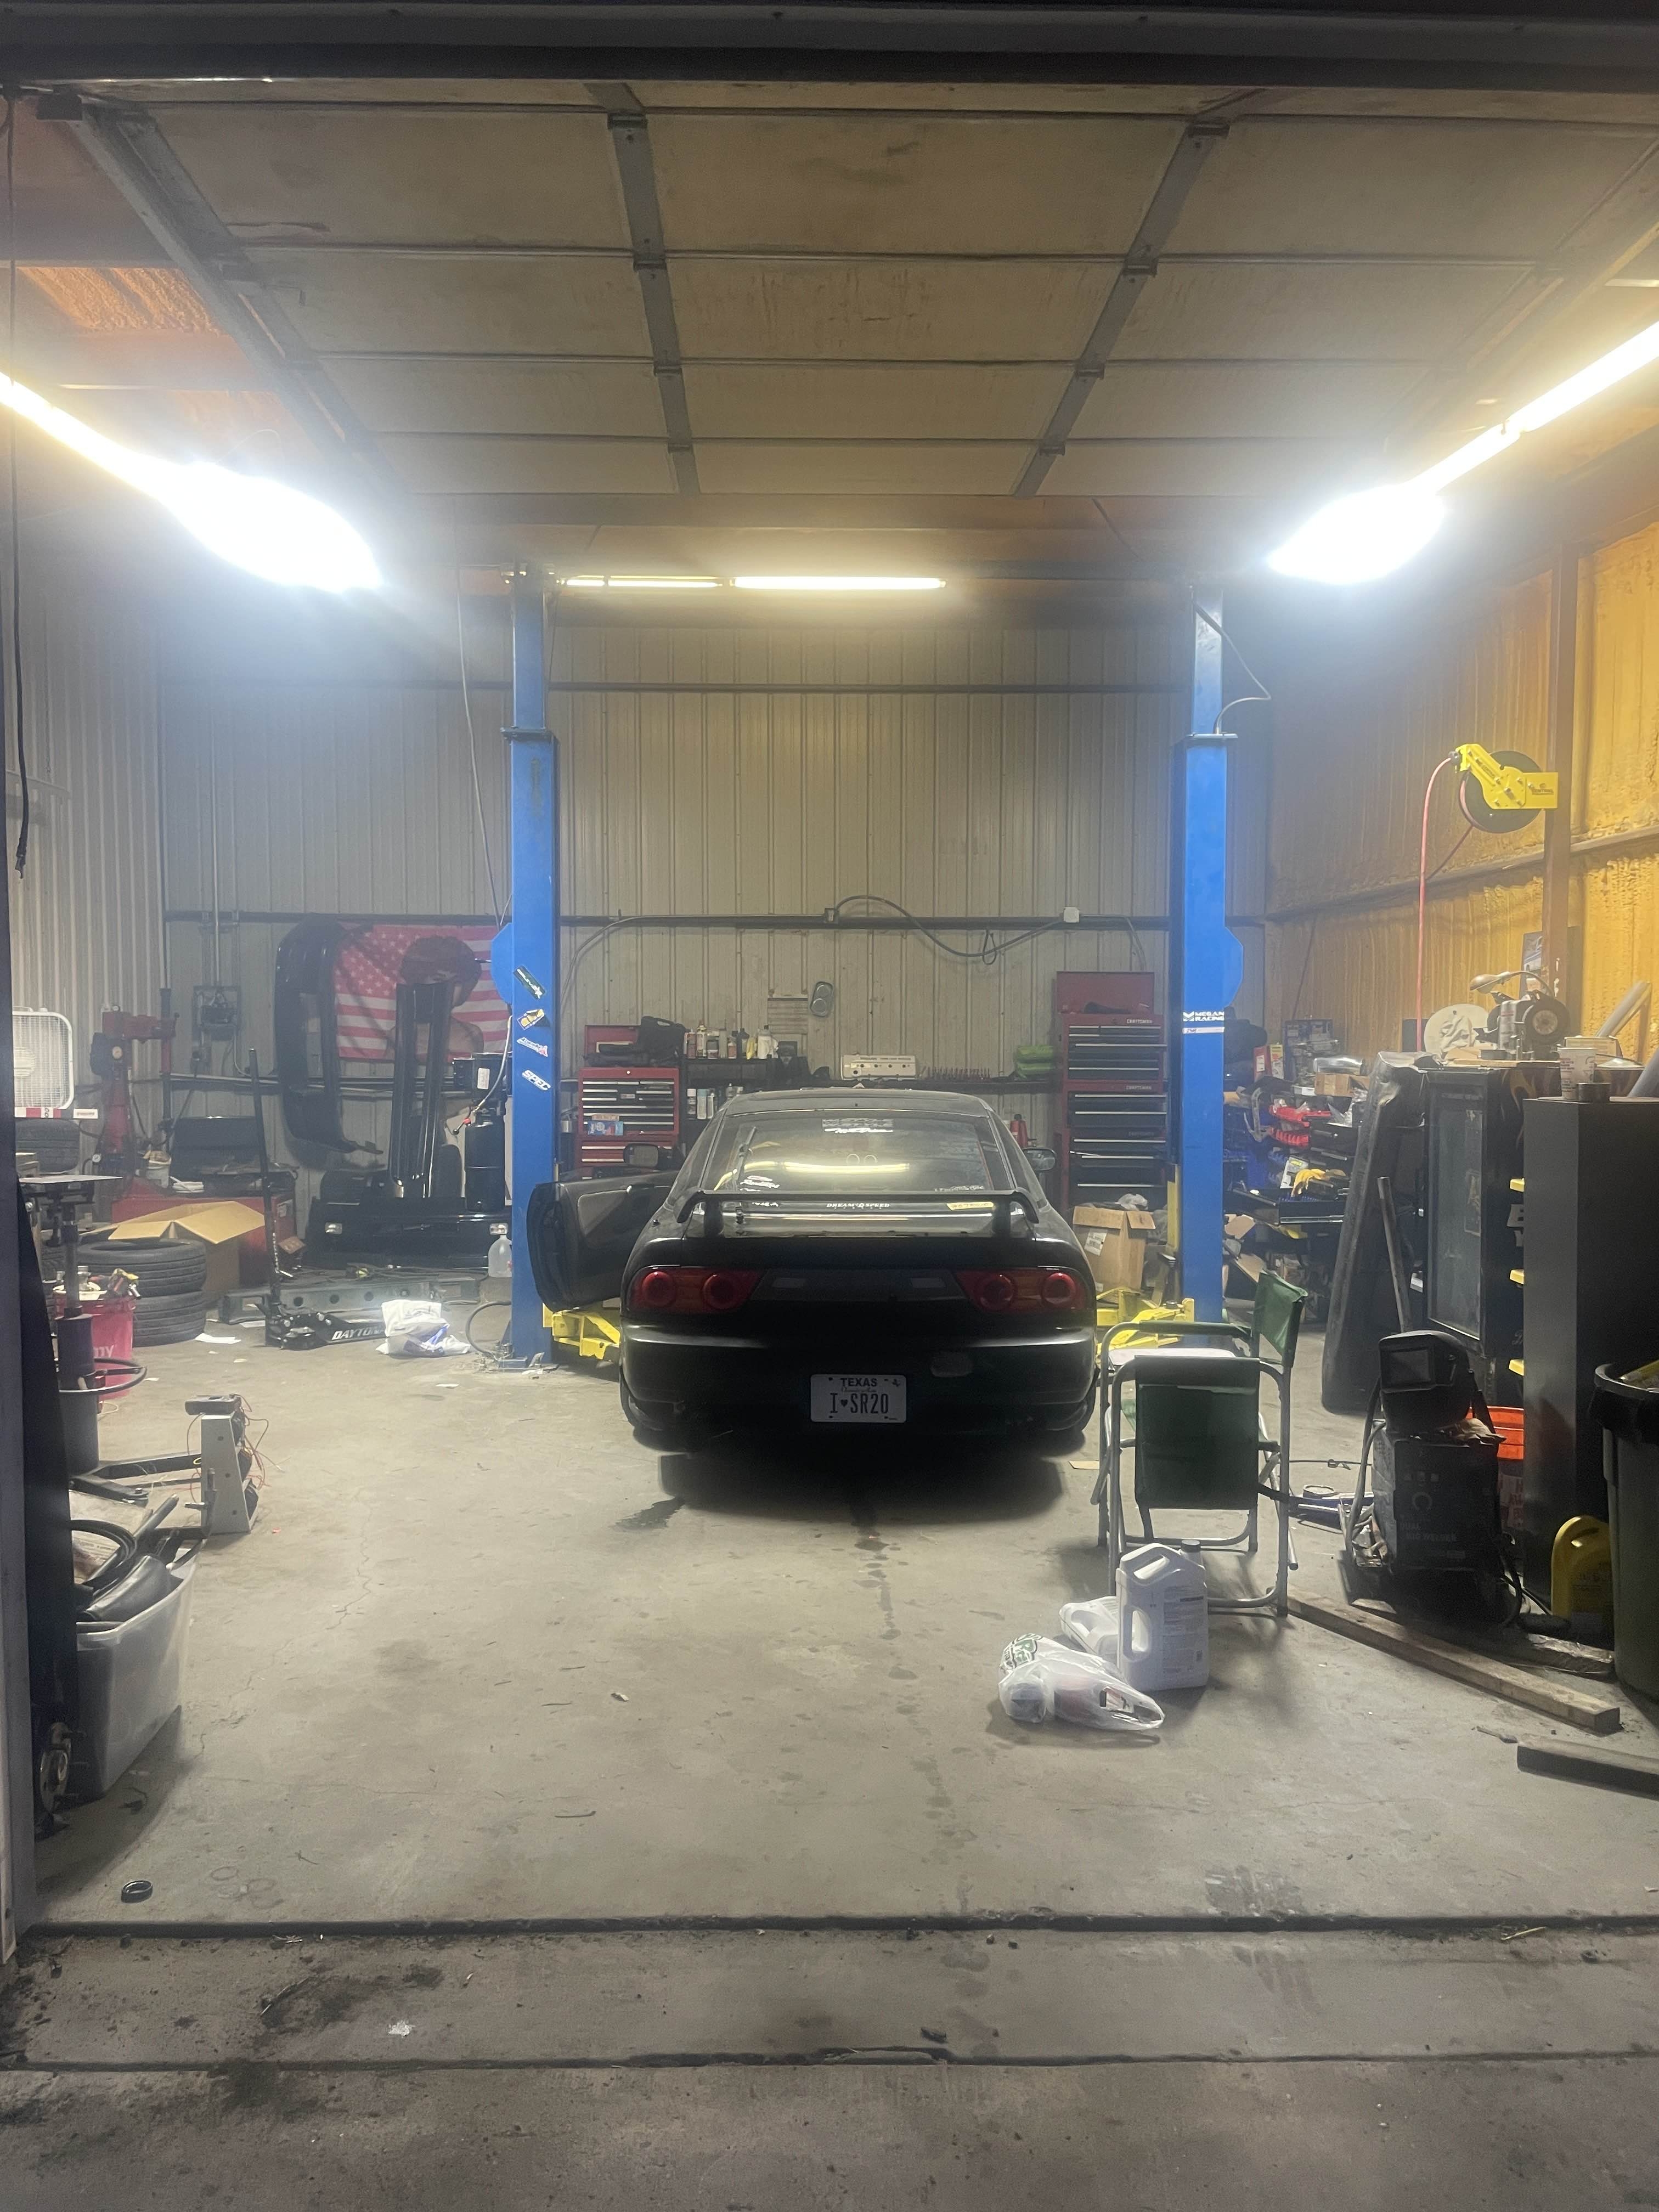
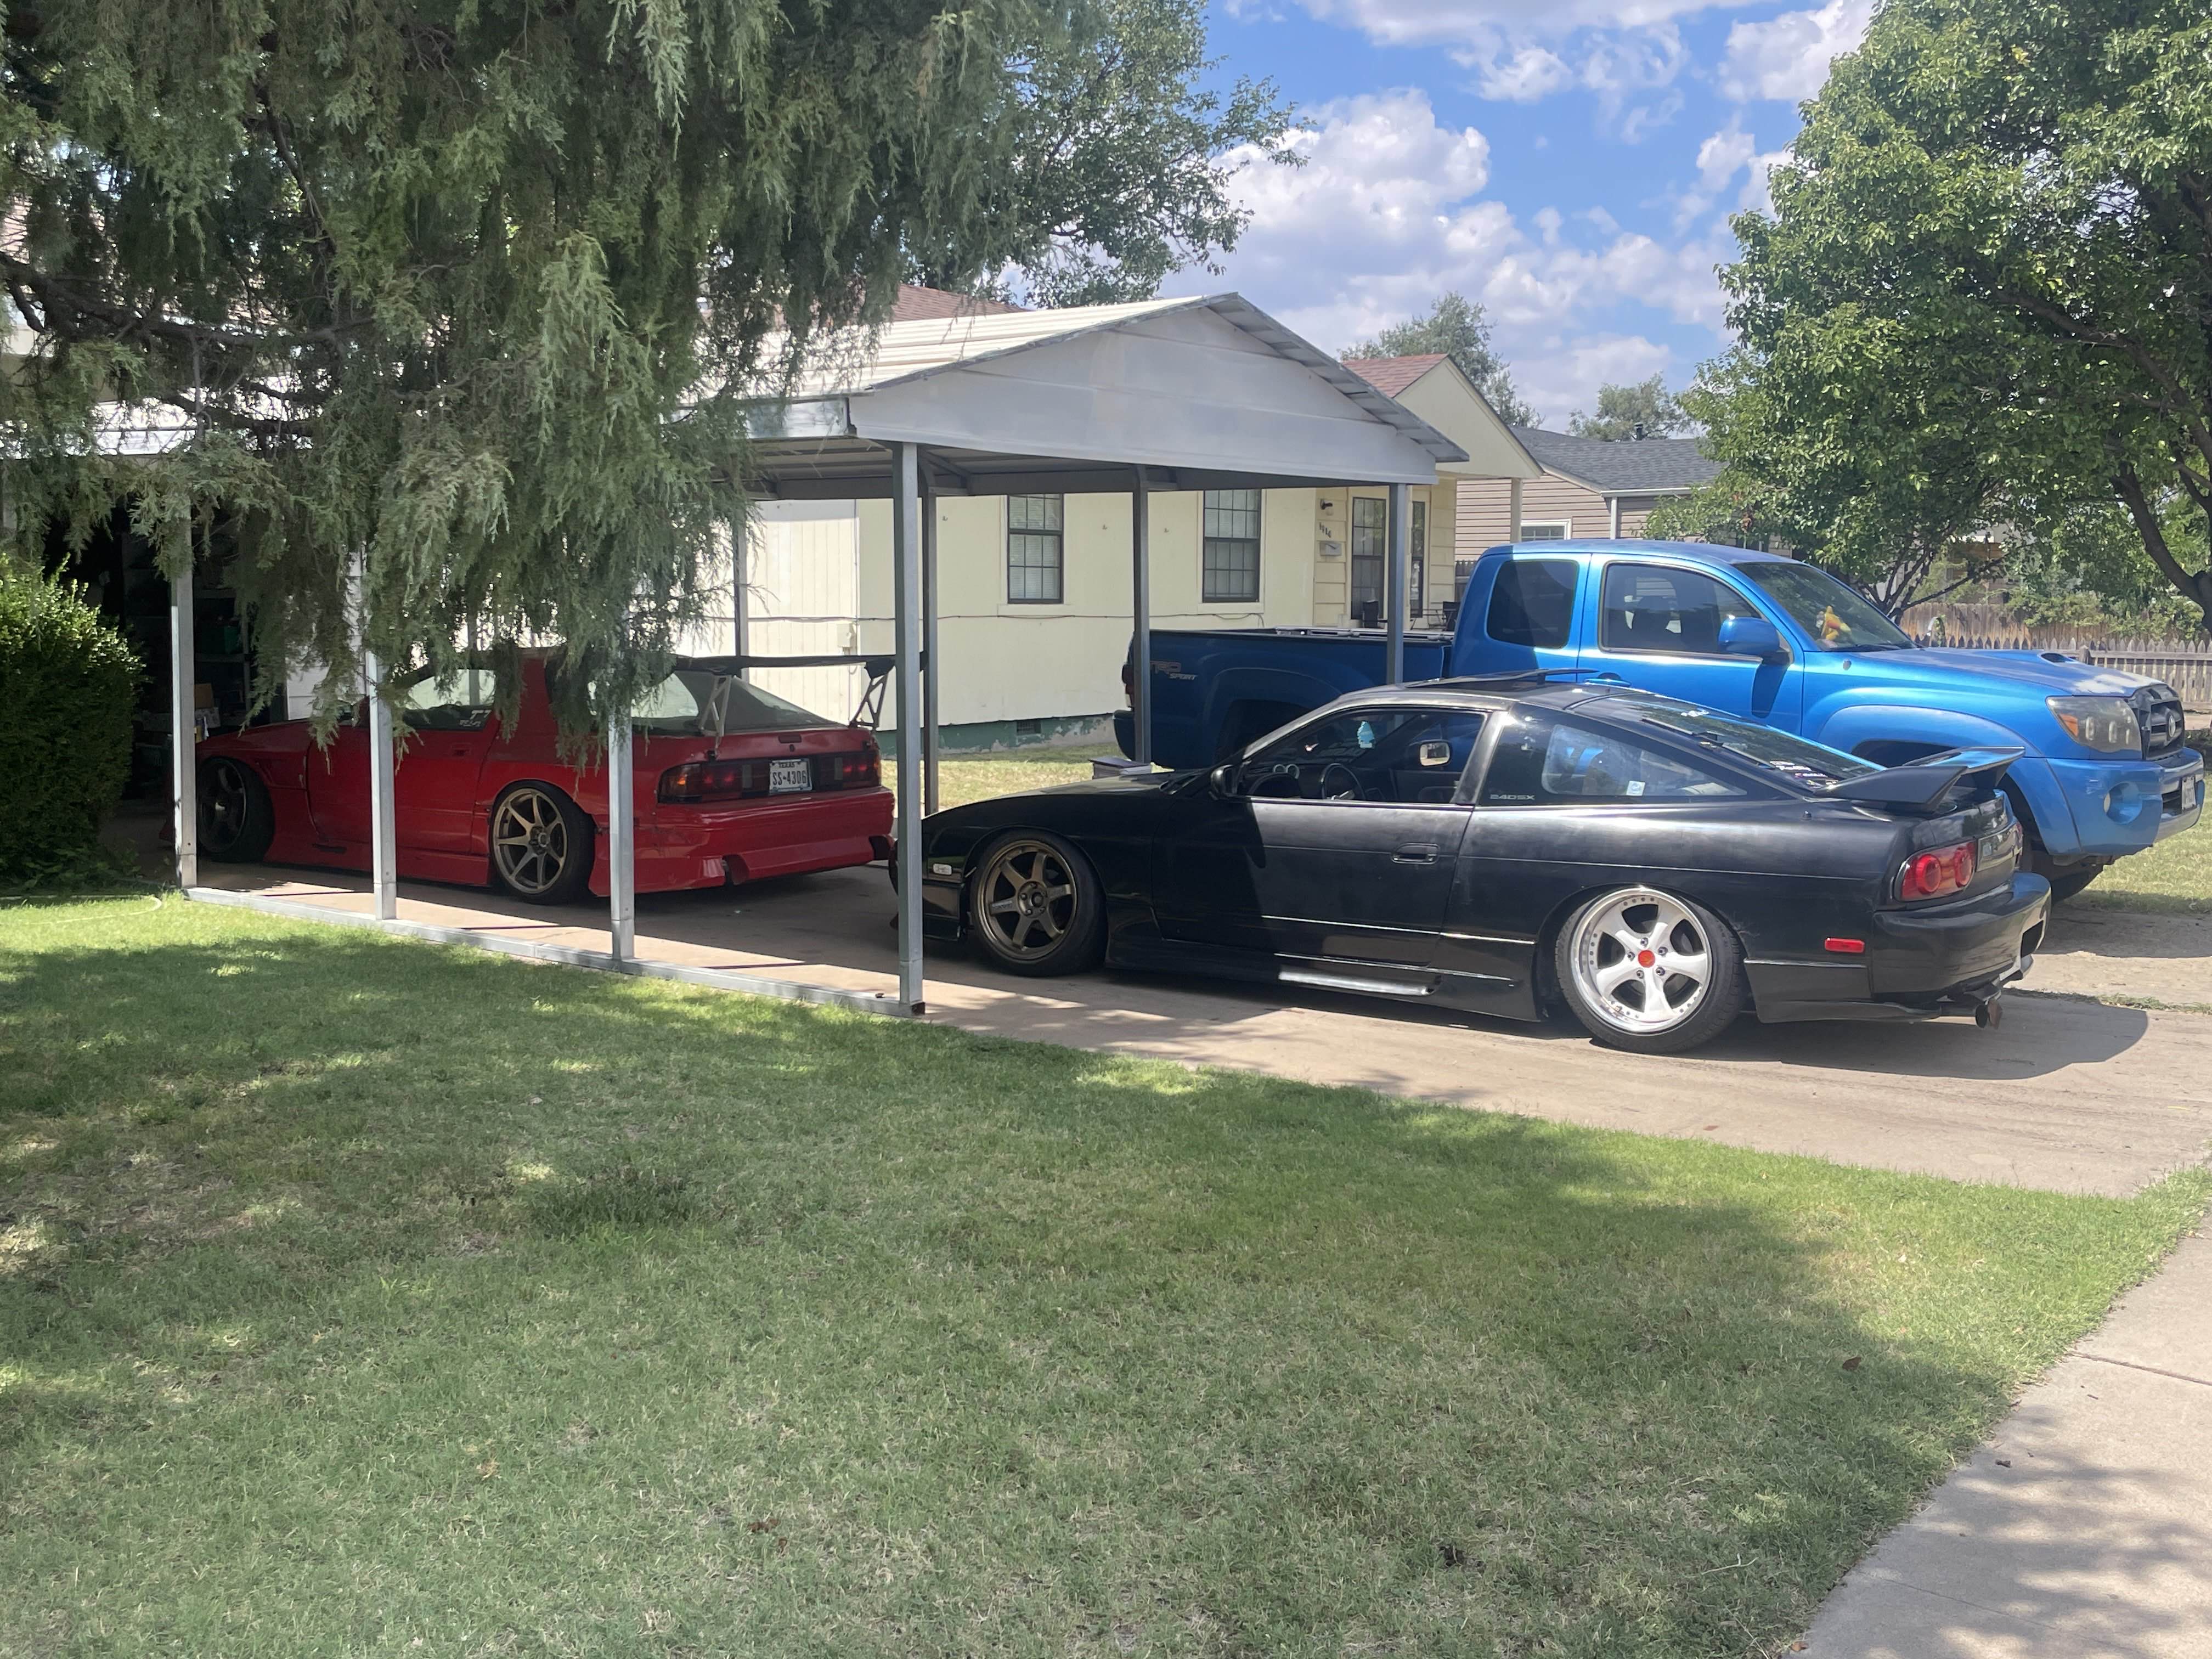
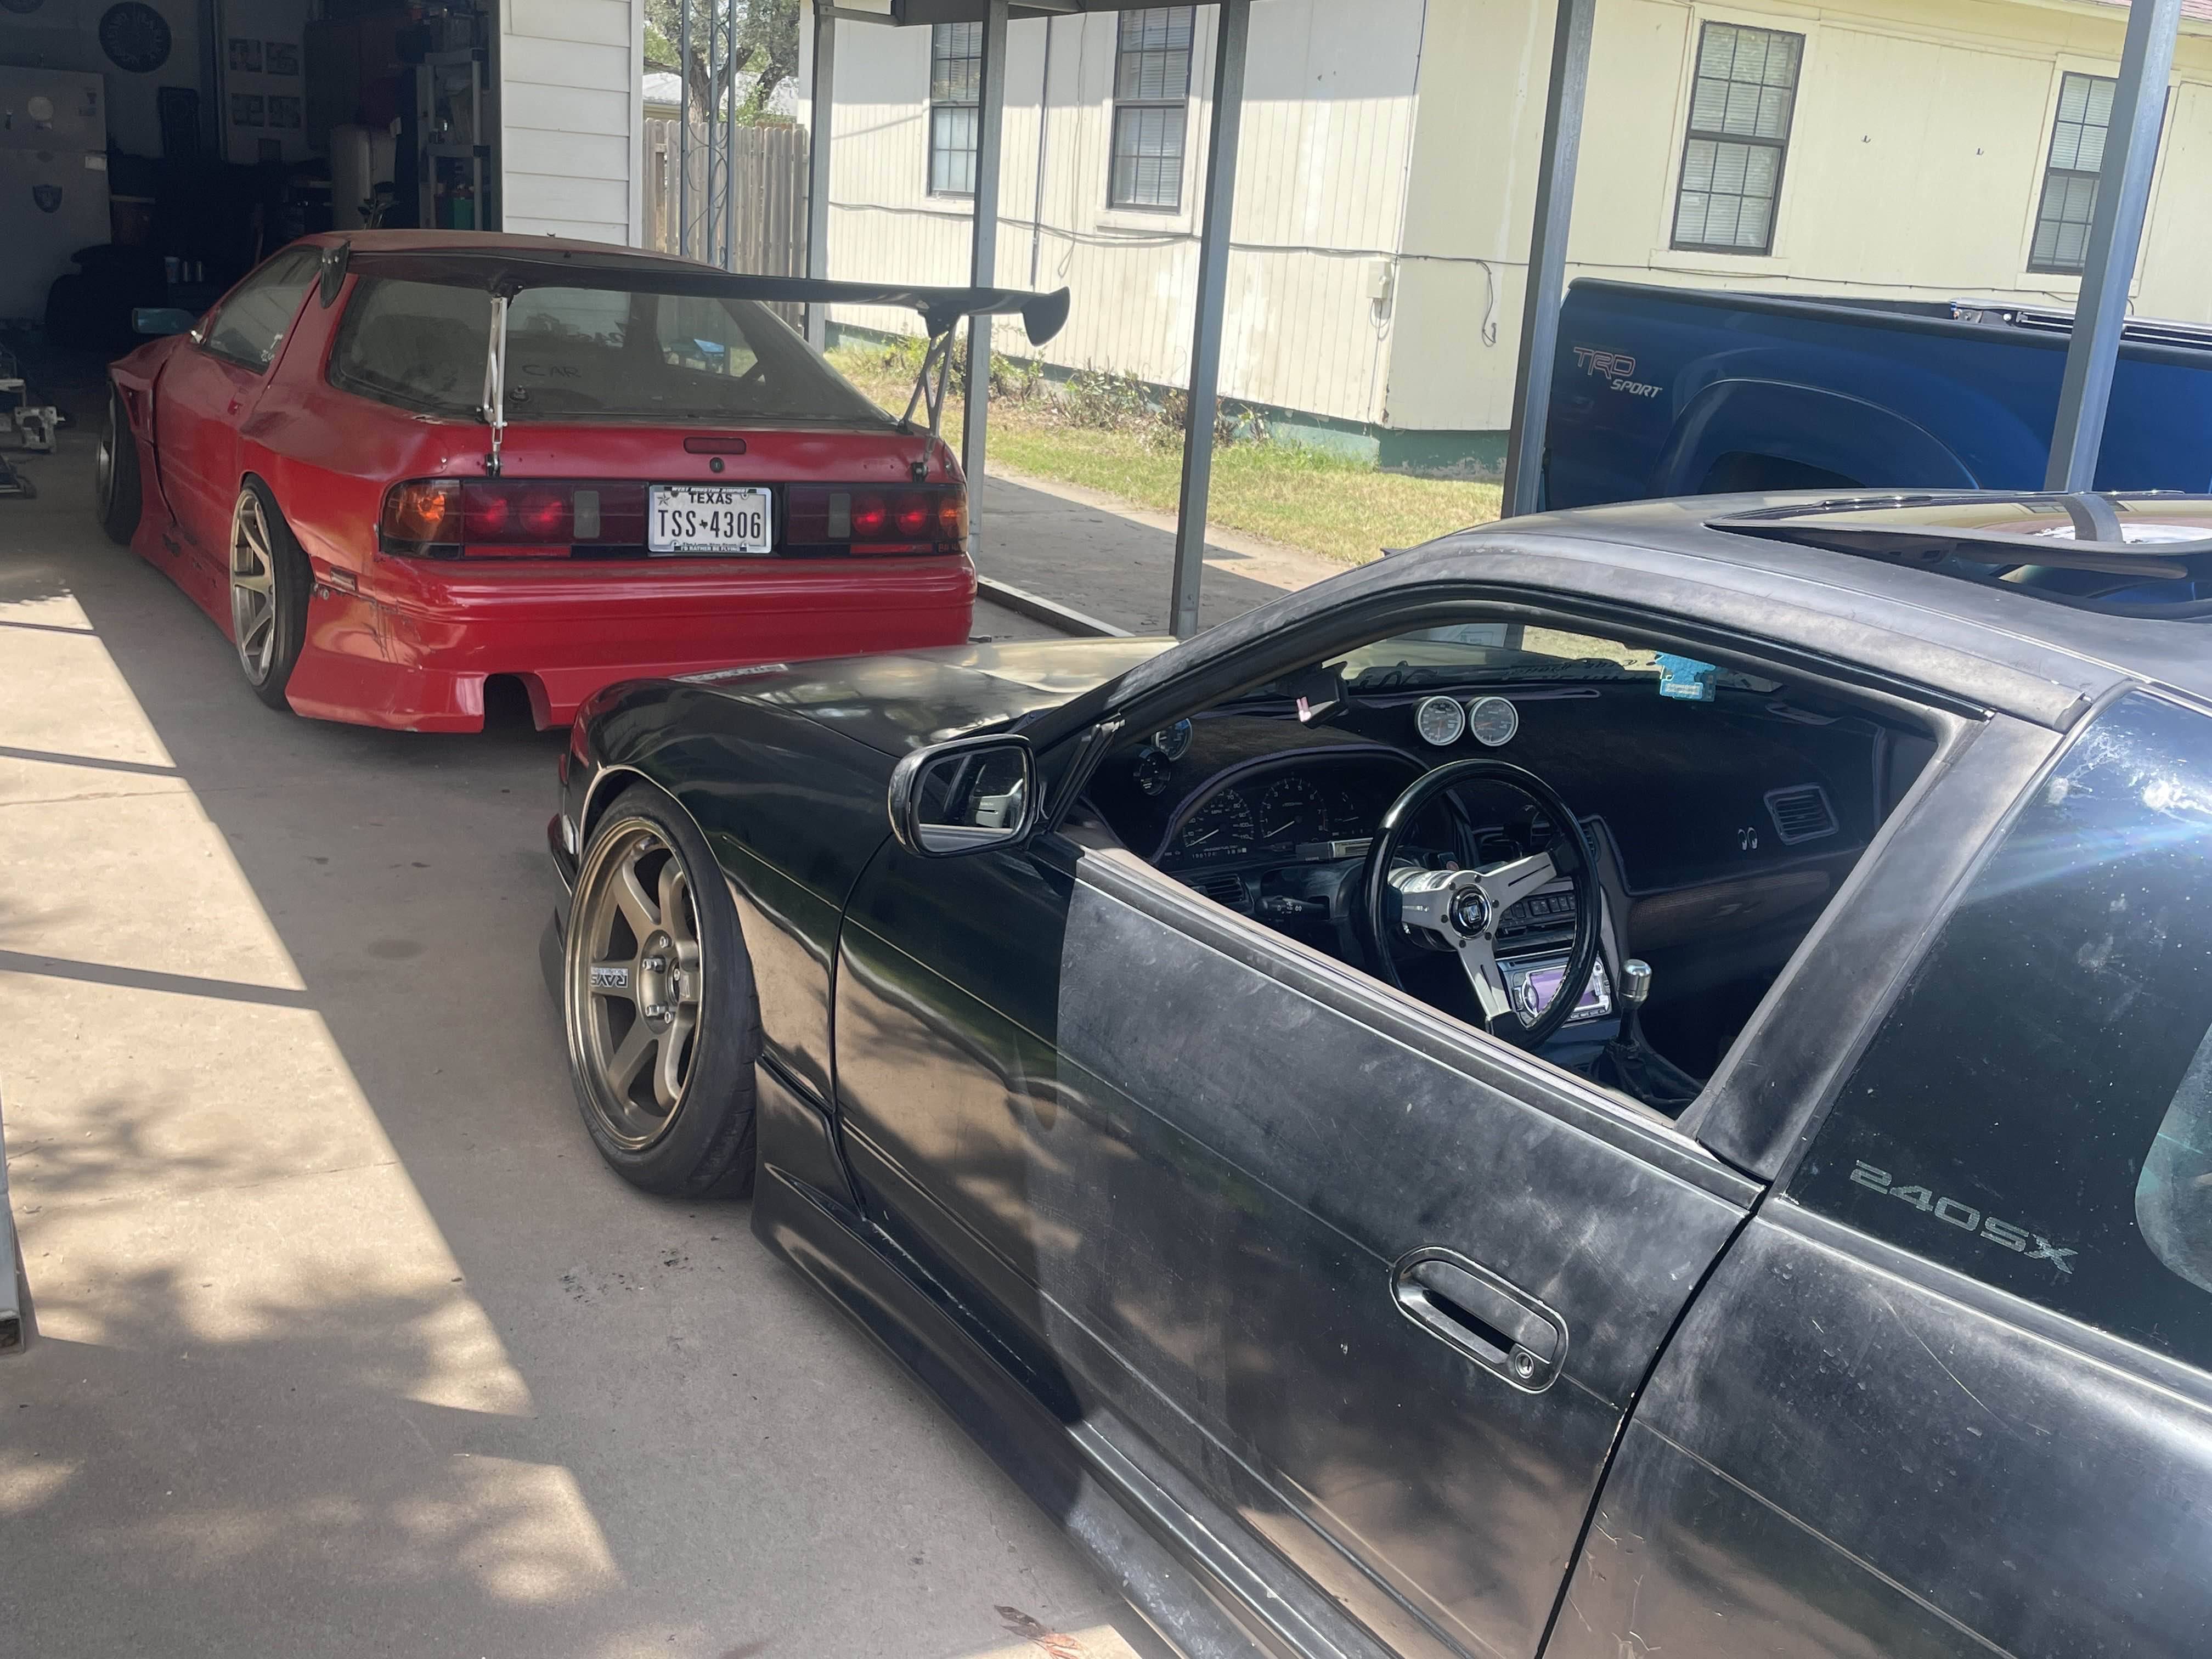
Always neat seeing the SR sitting next to it while the CA is under the knife.
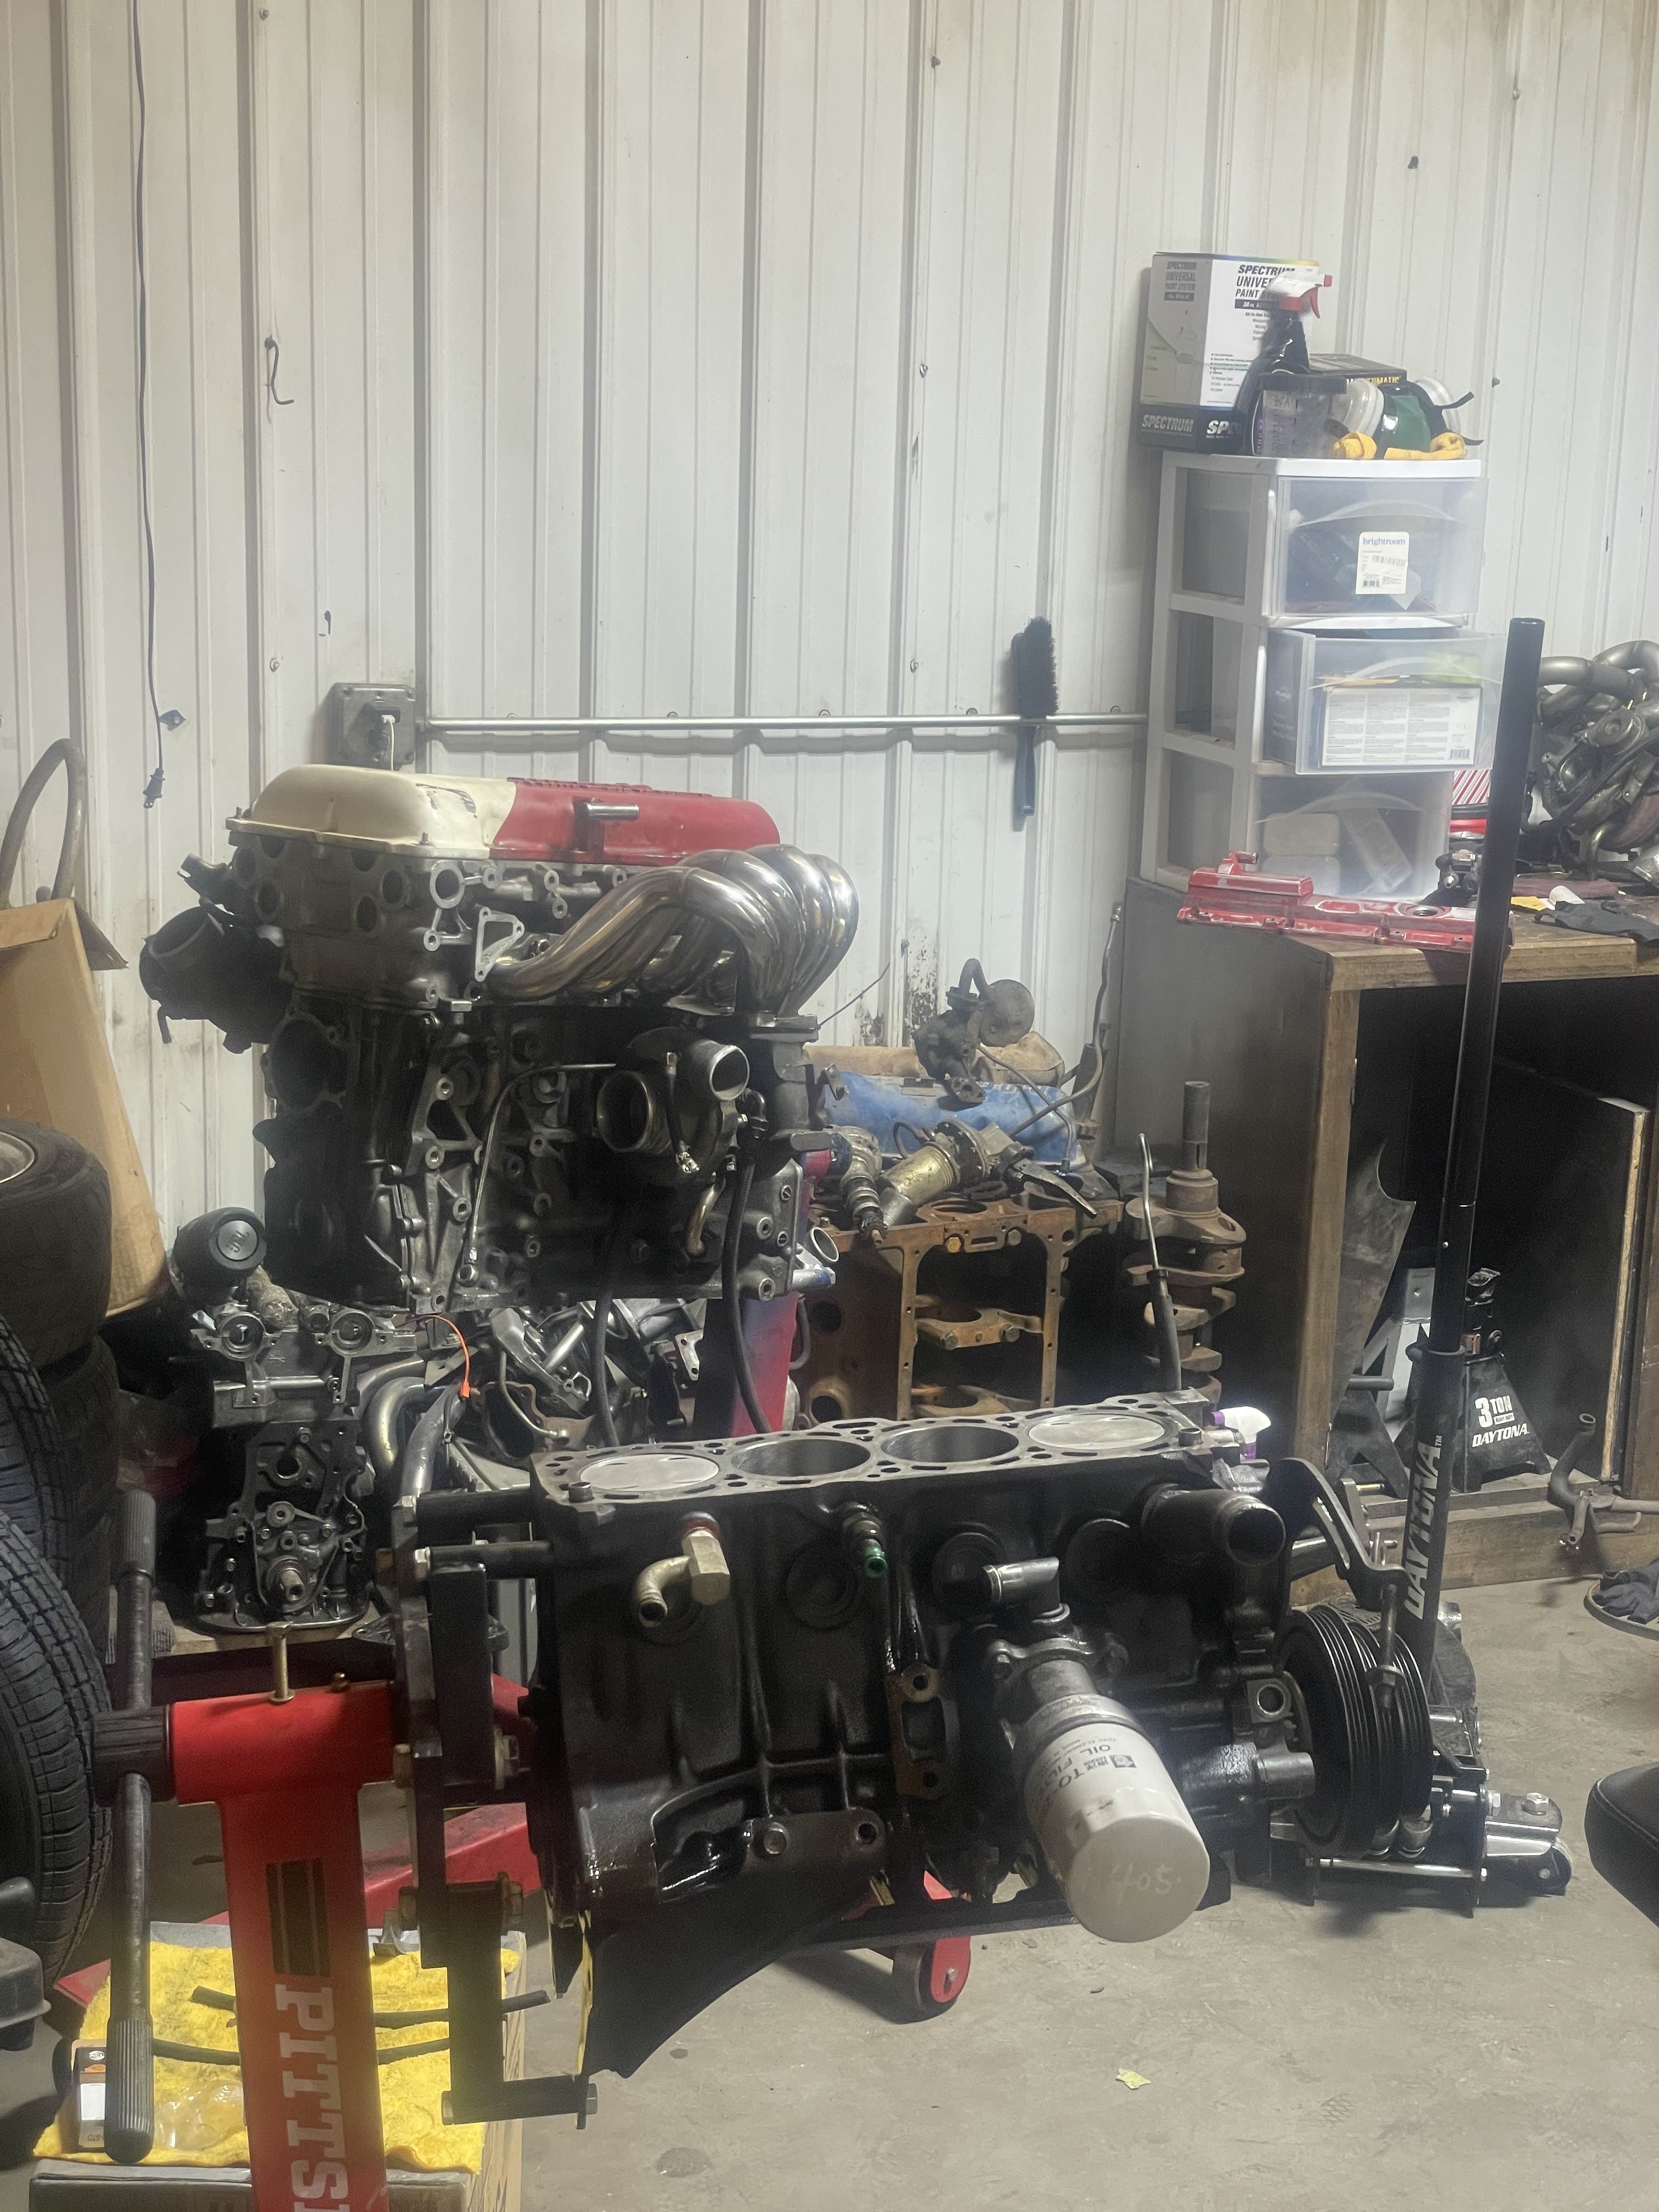
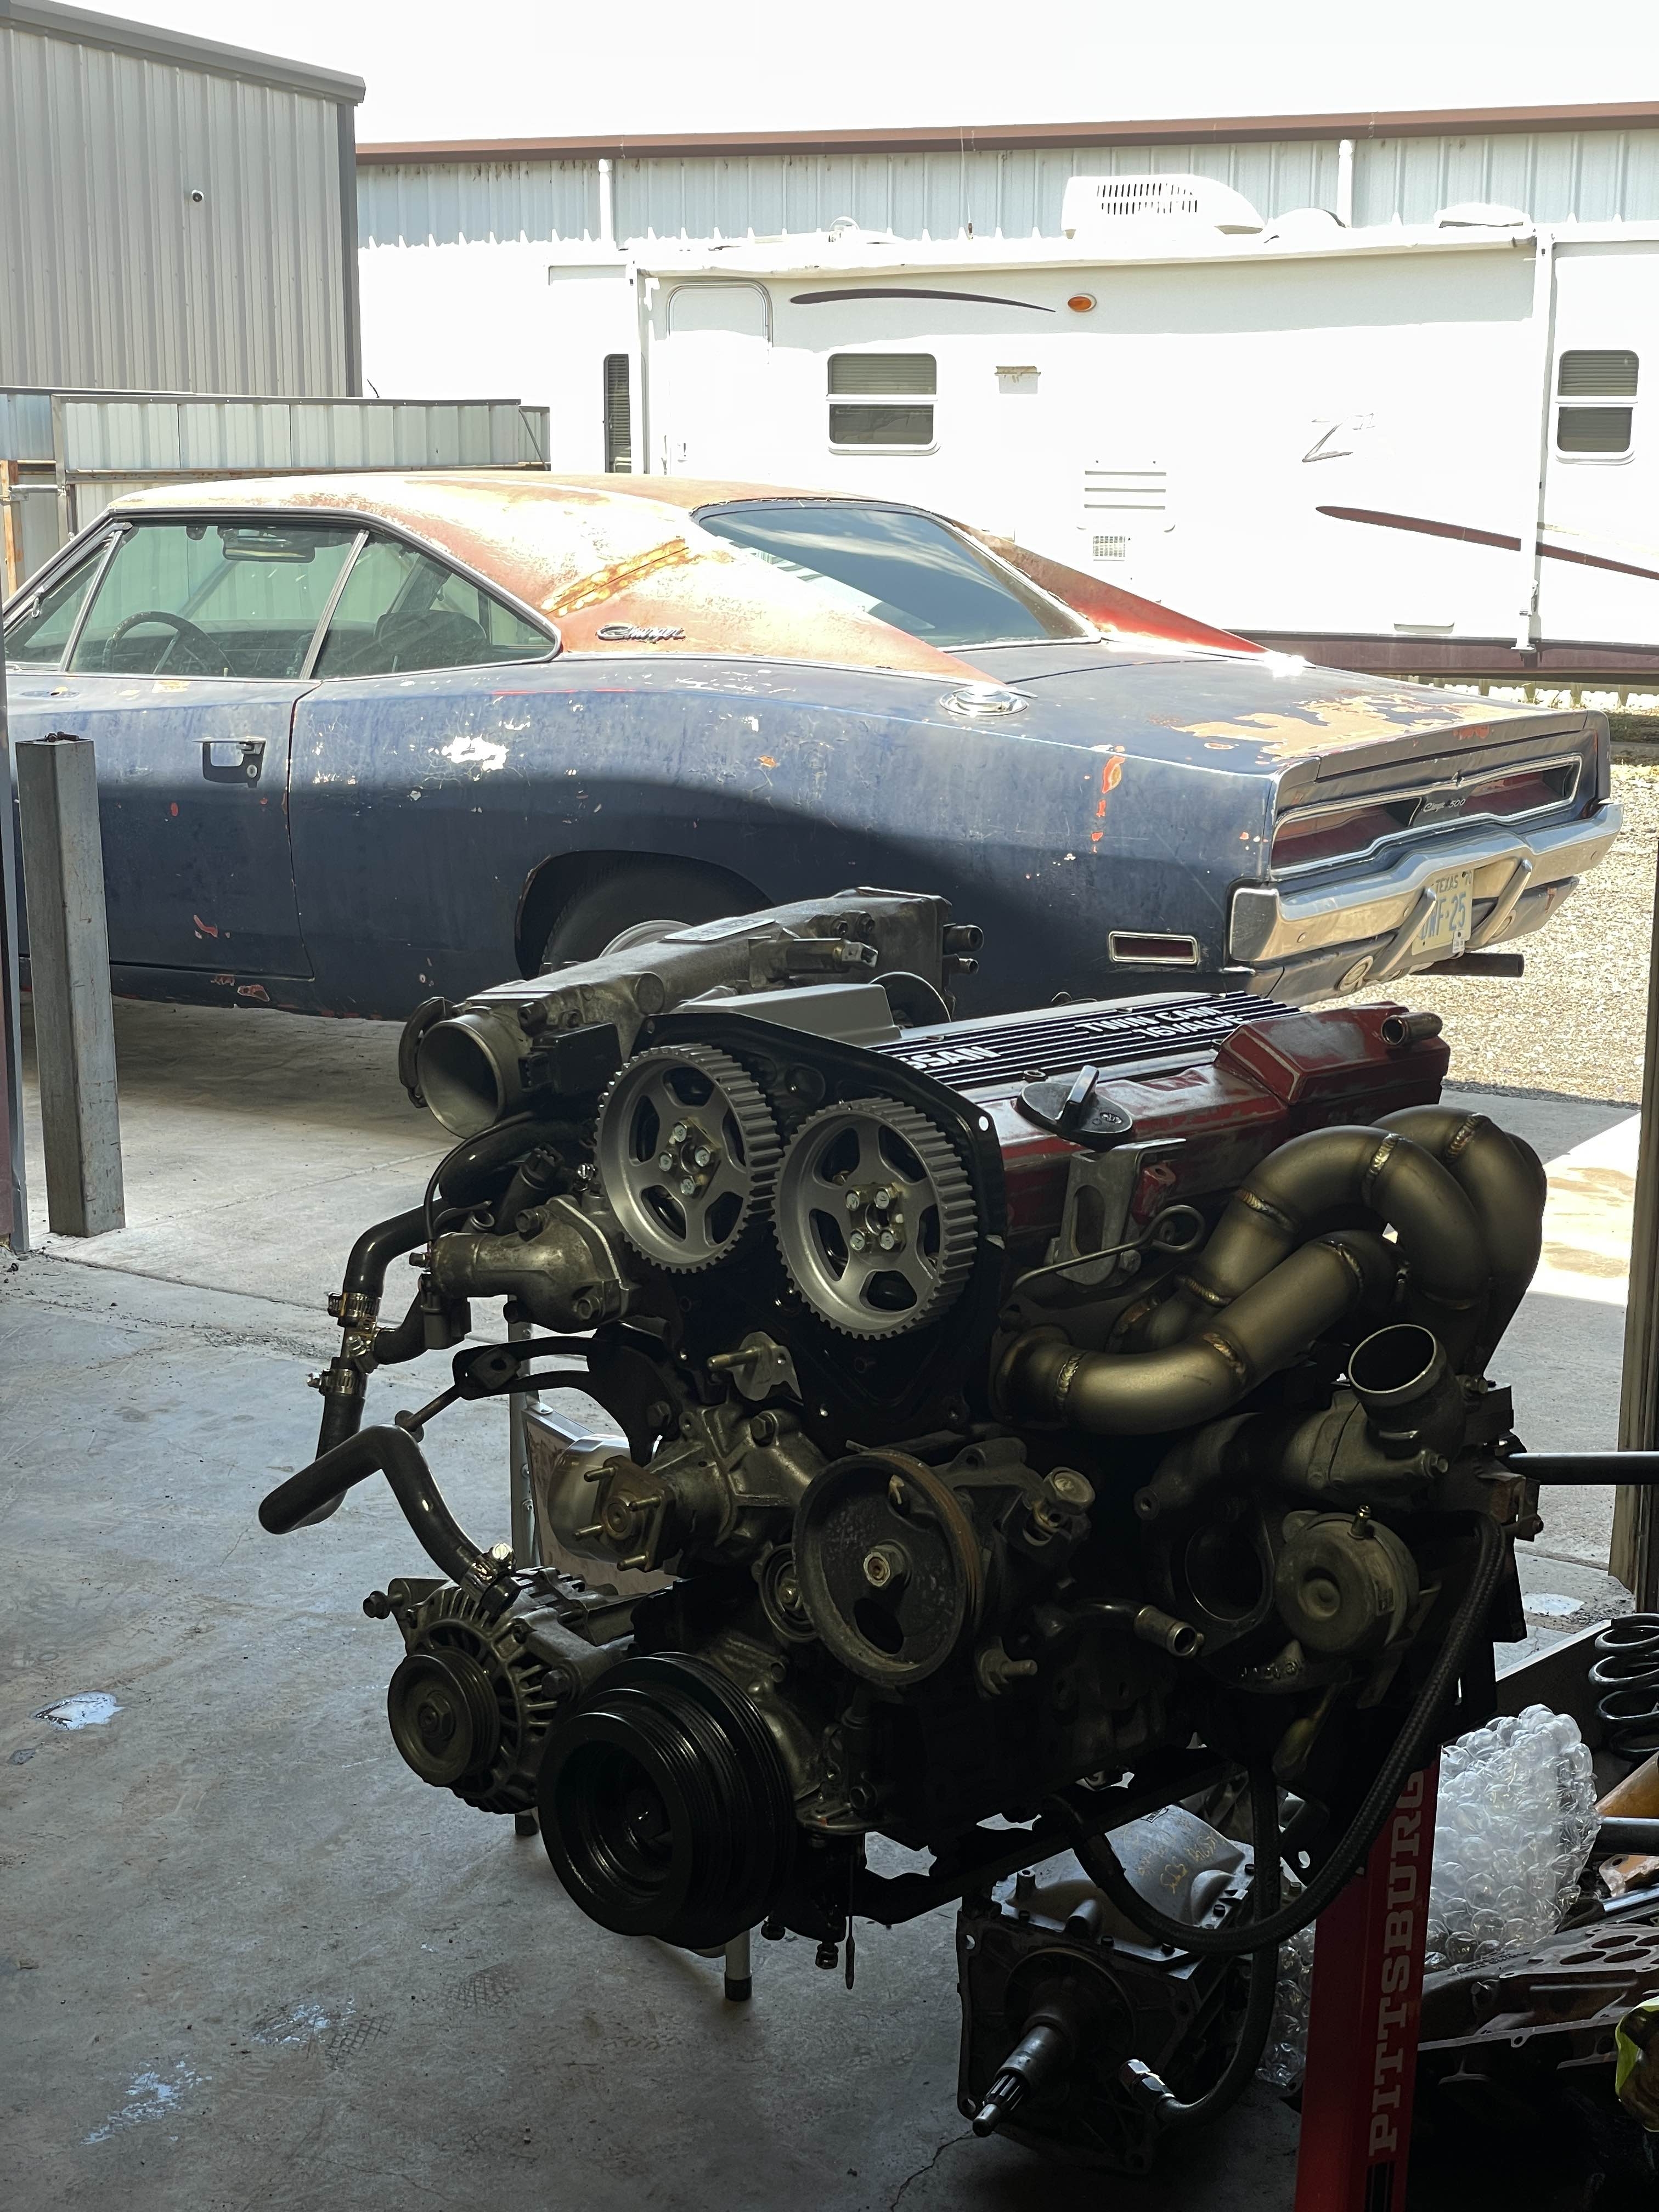
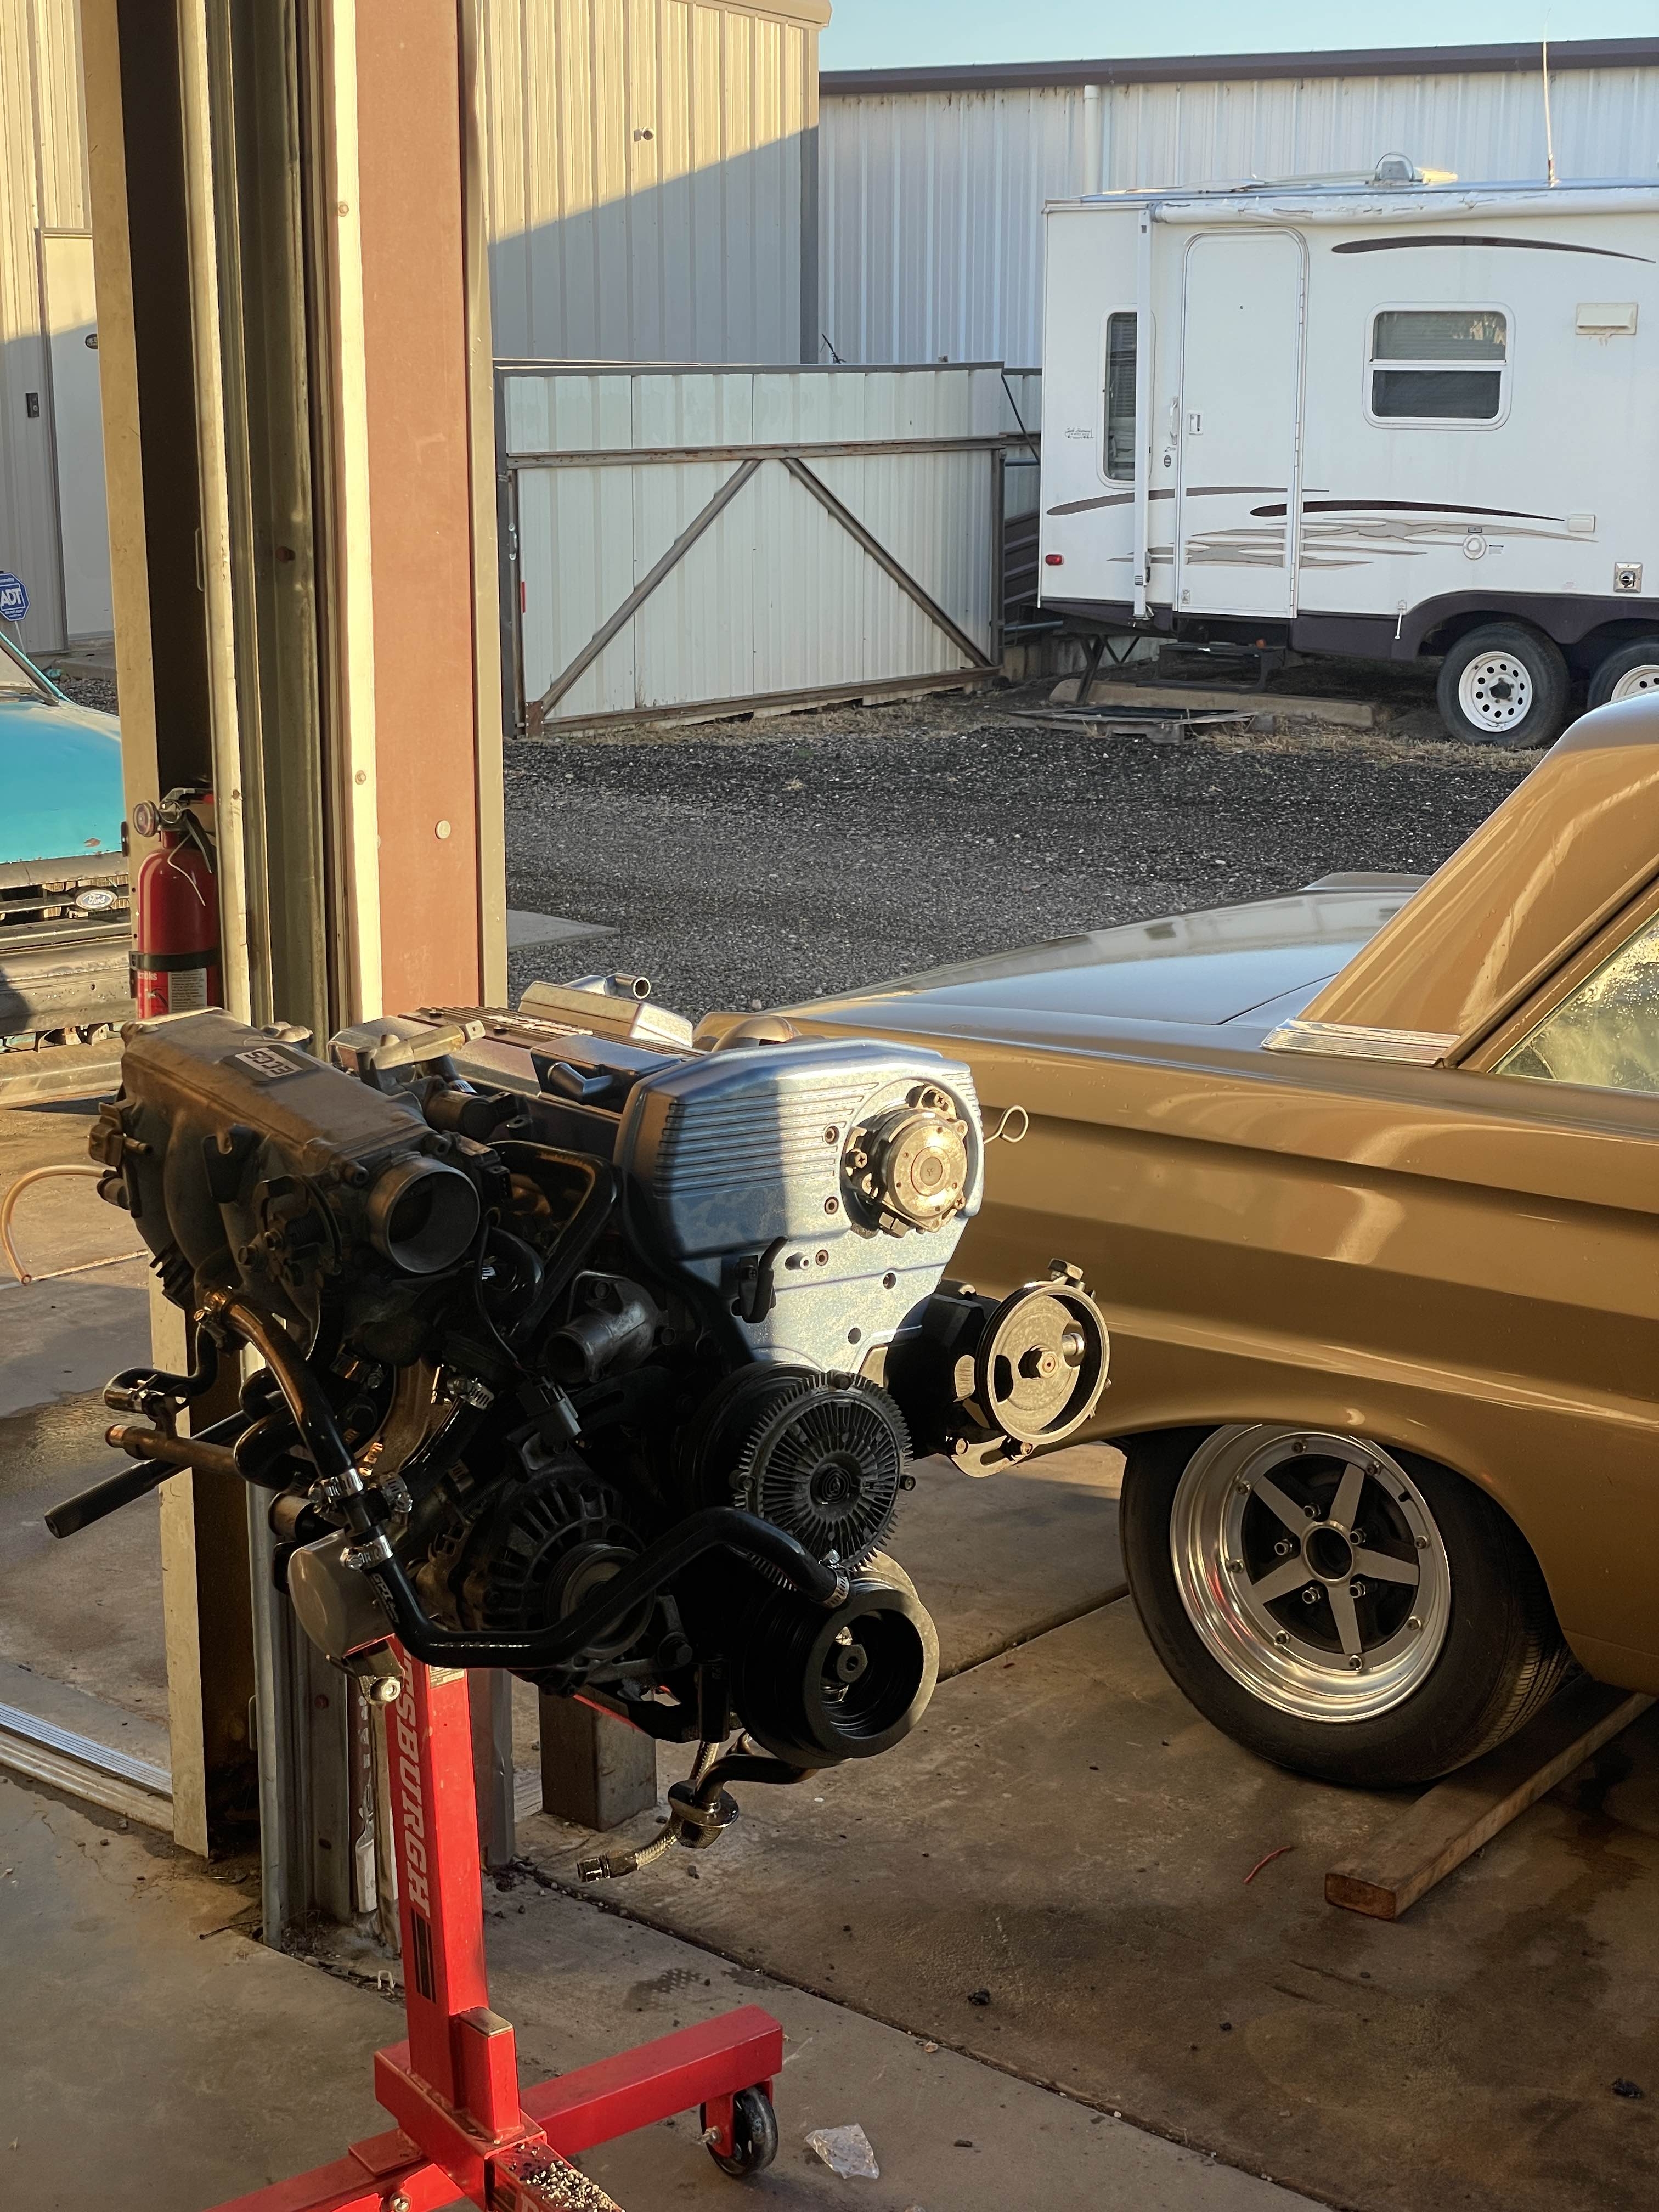
Cylinder Head is back on! started prepping the top covers for paint, shot primer on the left one here. We have a few other projects happening at the same time at the shop, the 65 Falcon on the lift with its engine out for an overhaul and the 70 Charger for a few maintenance jobs.
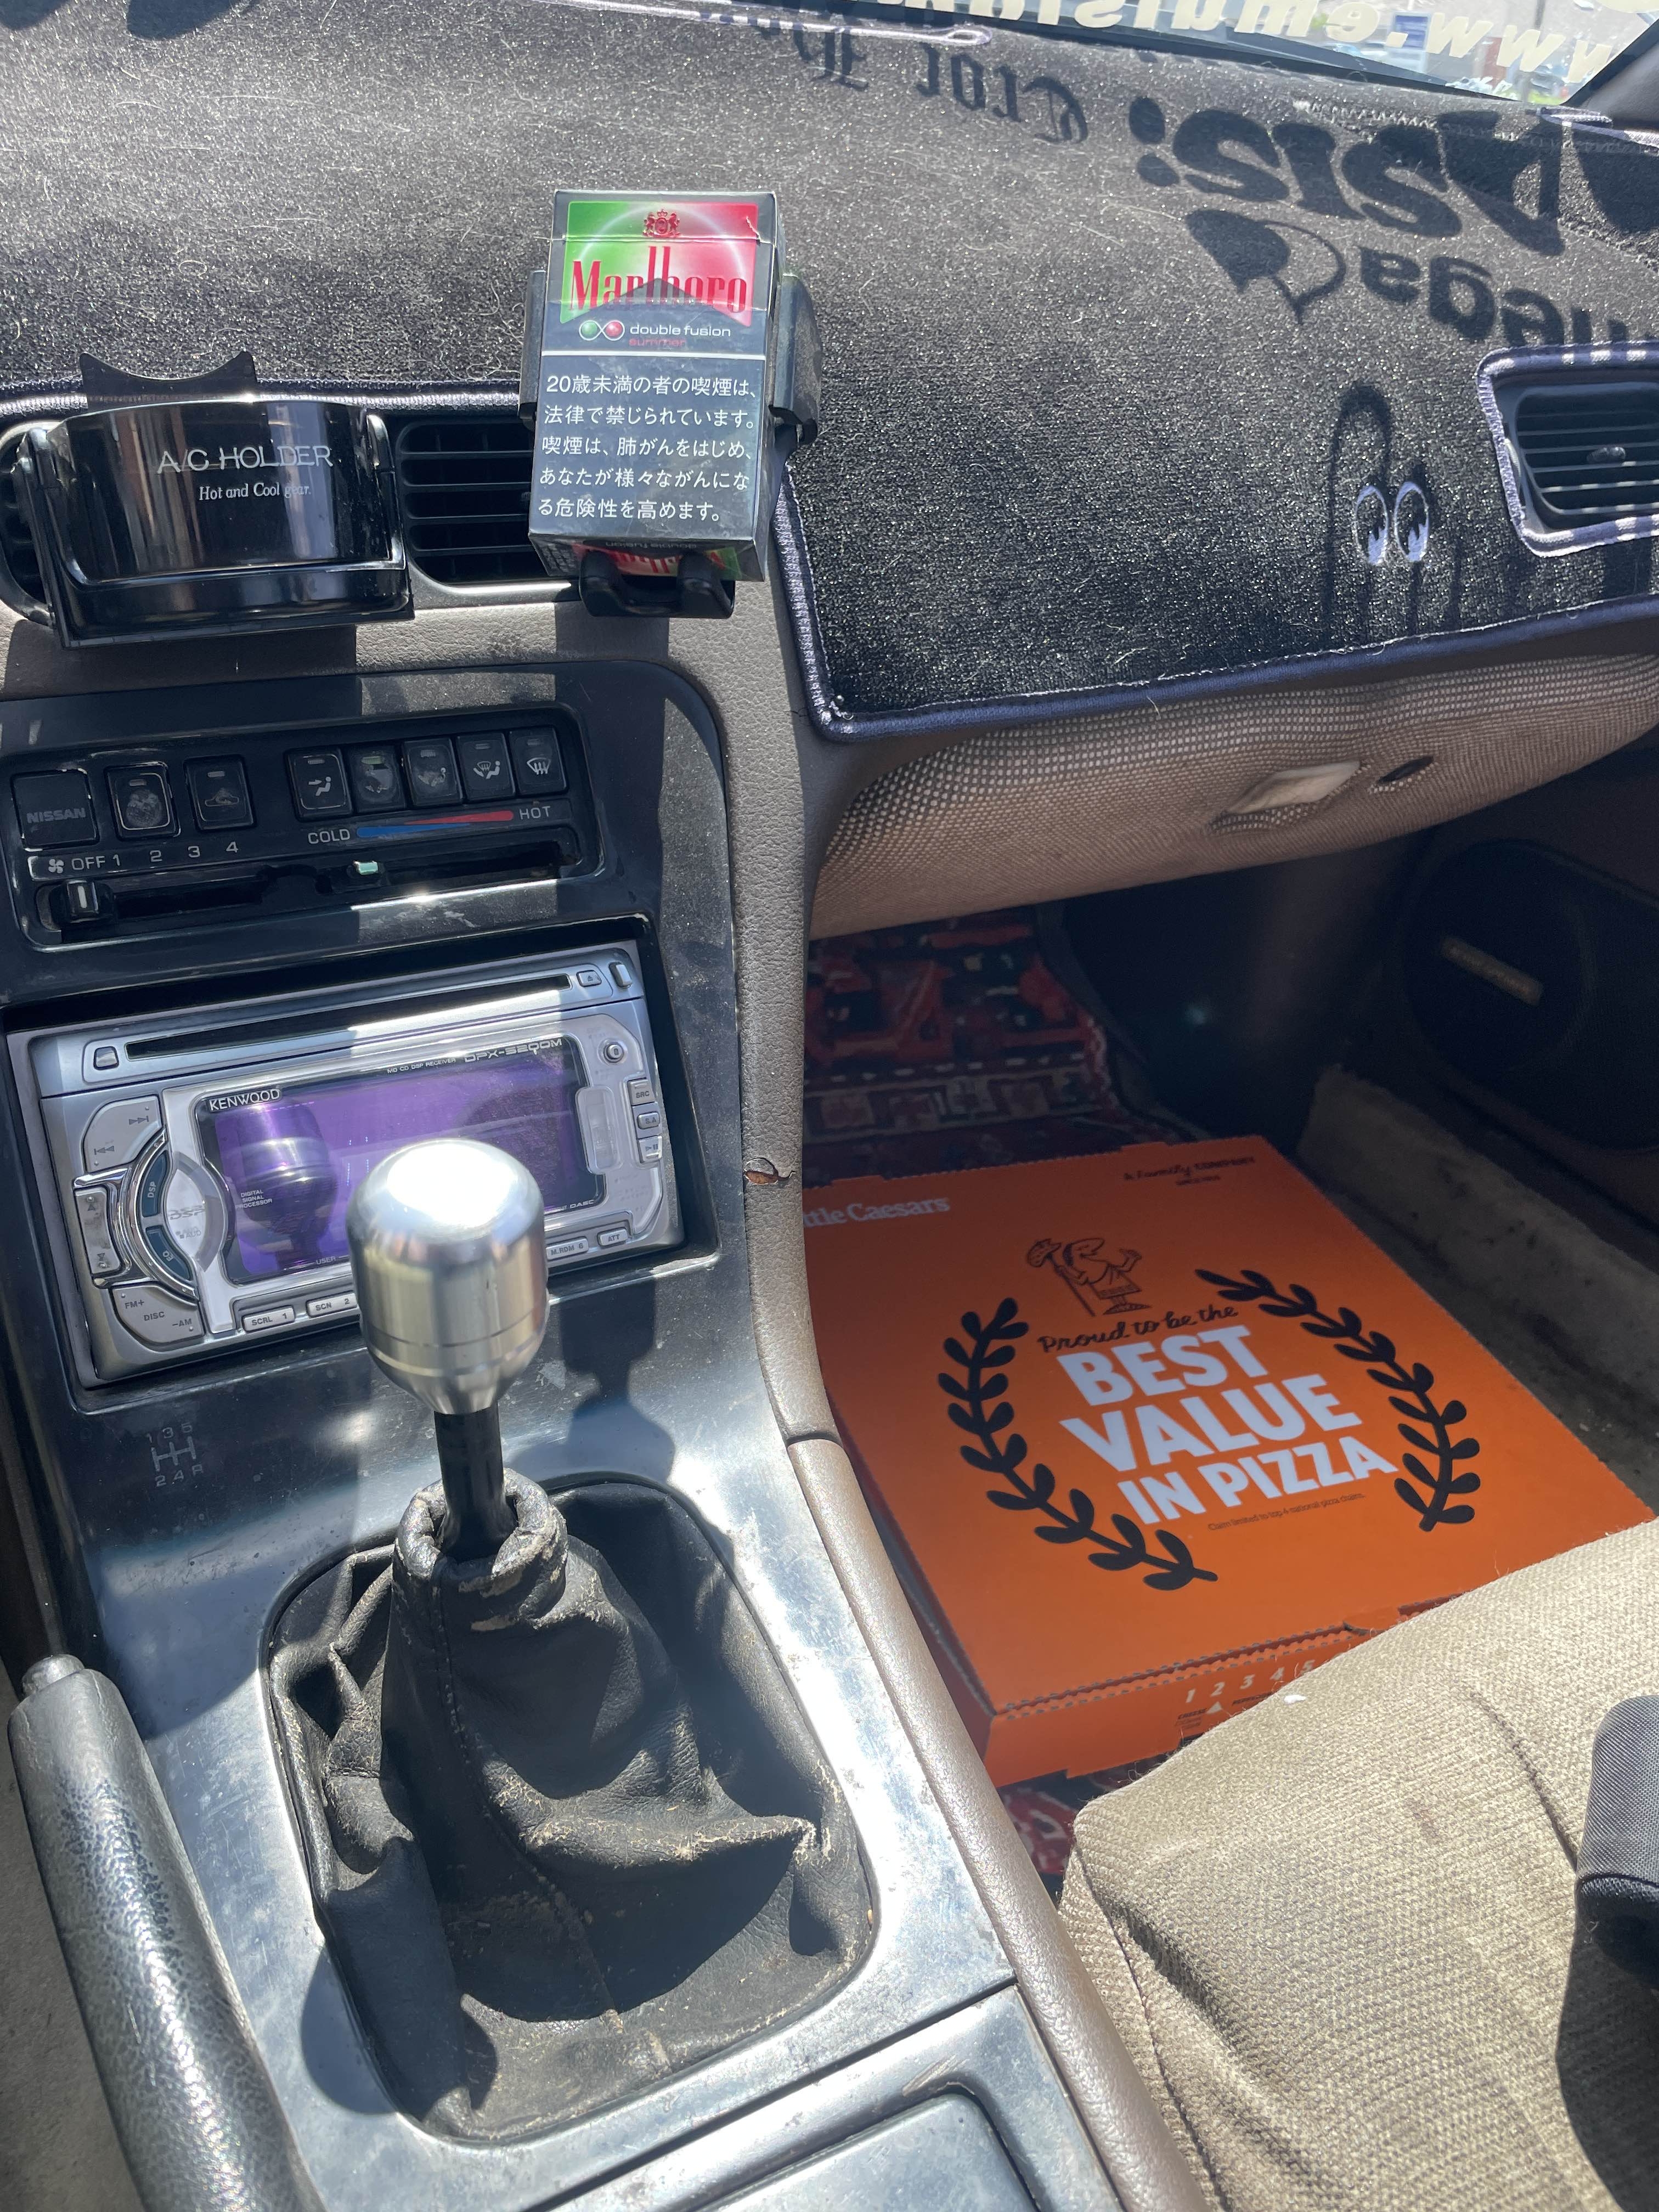
Little Ceasars and Taco bell are the diet of the proletariet.
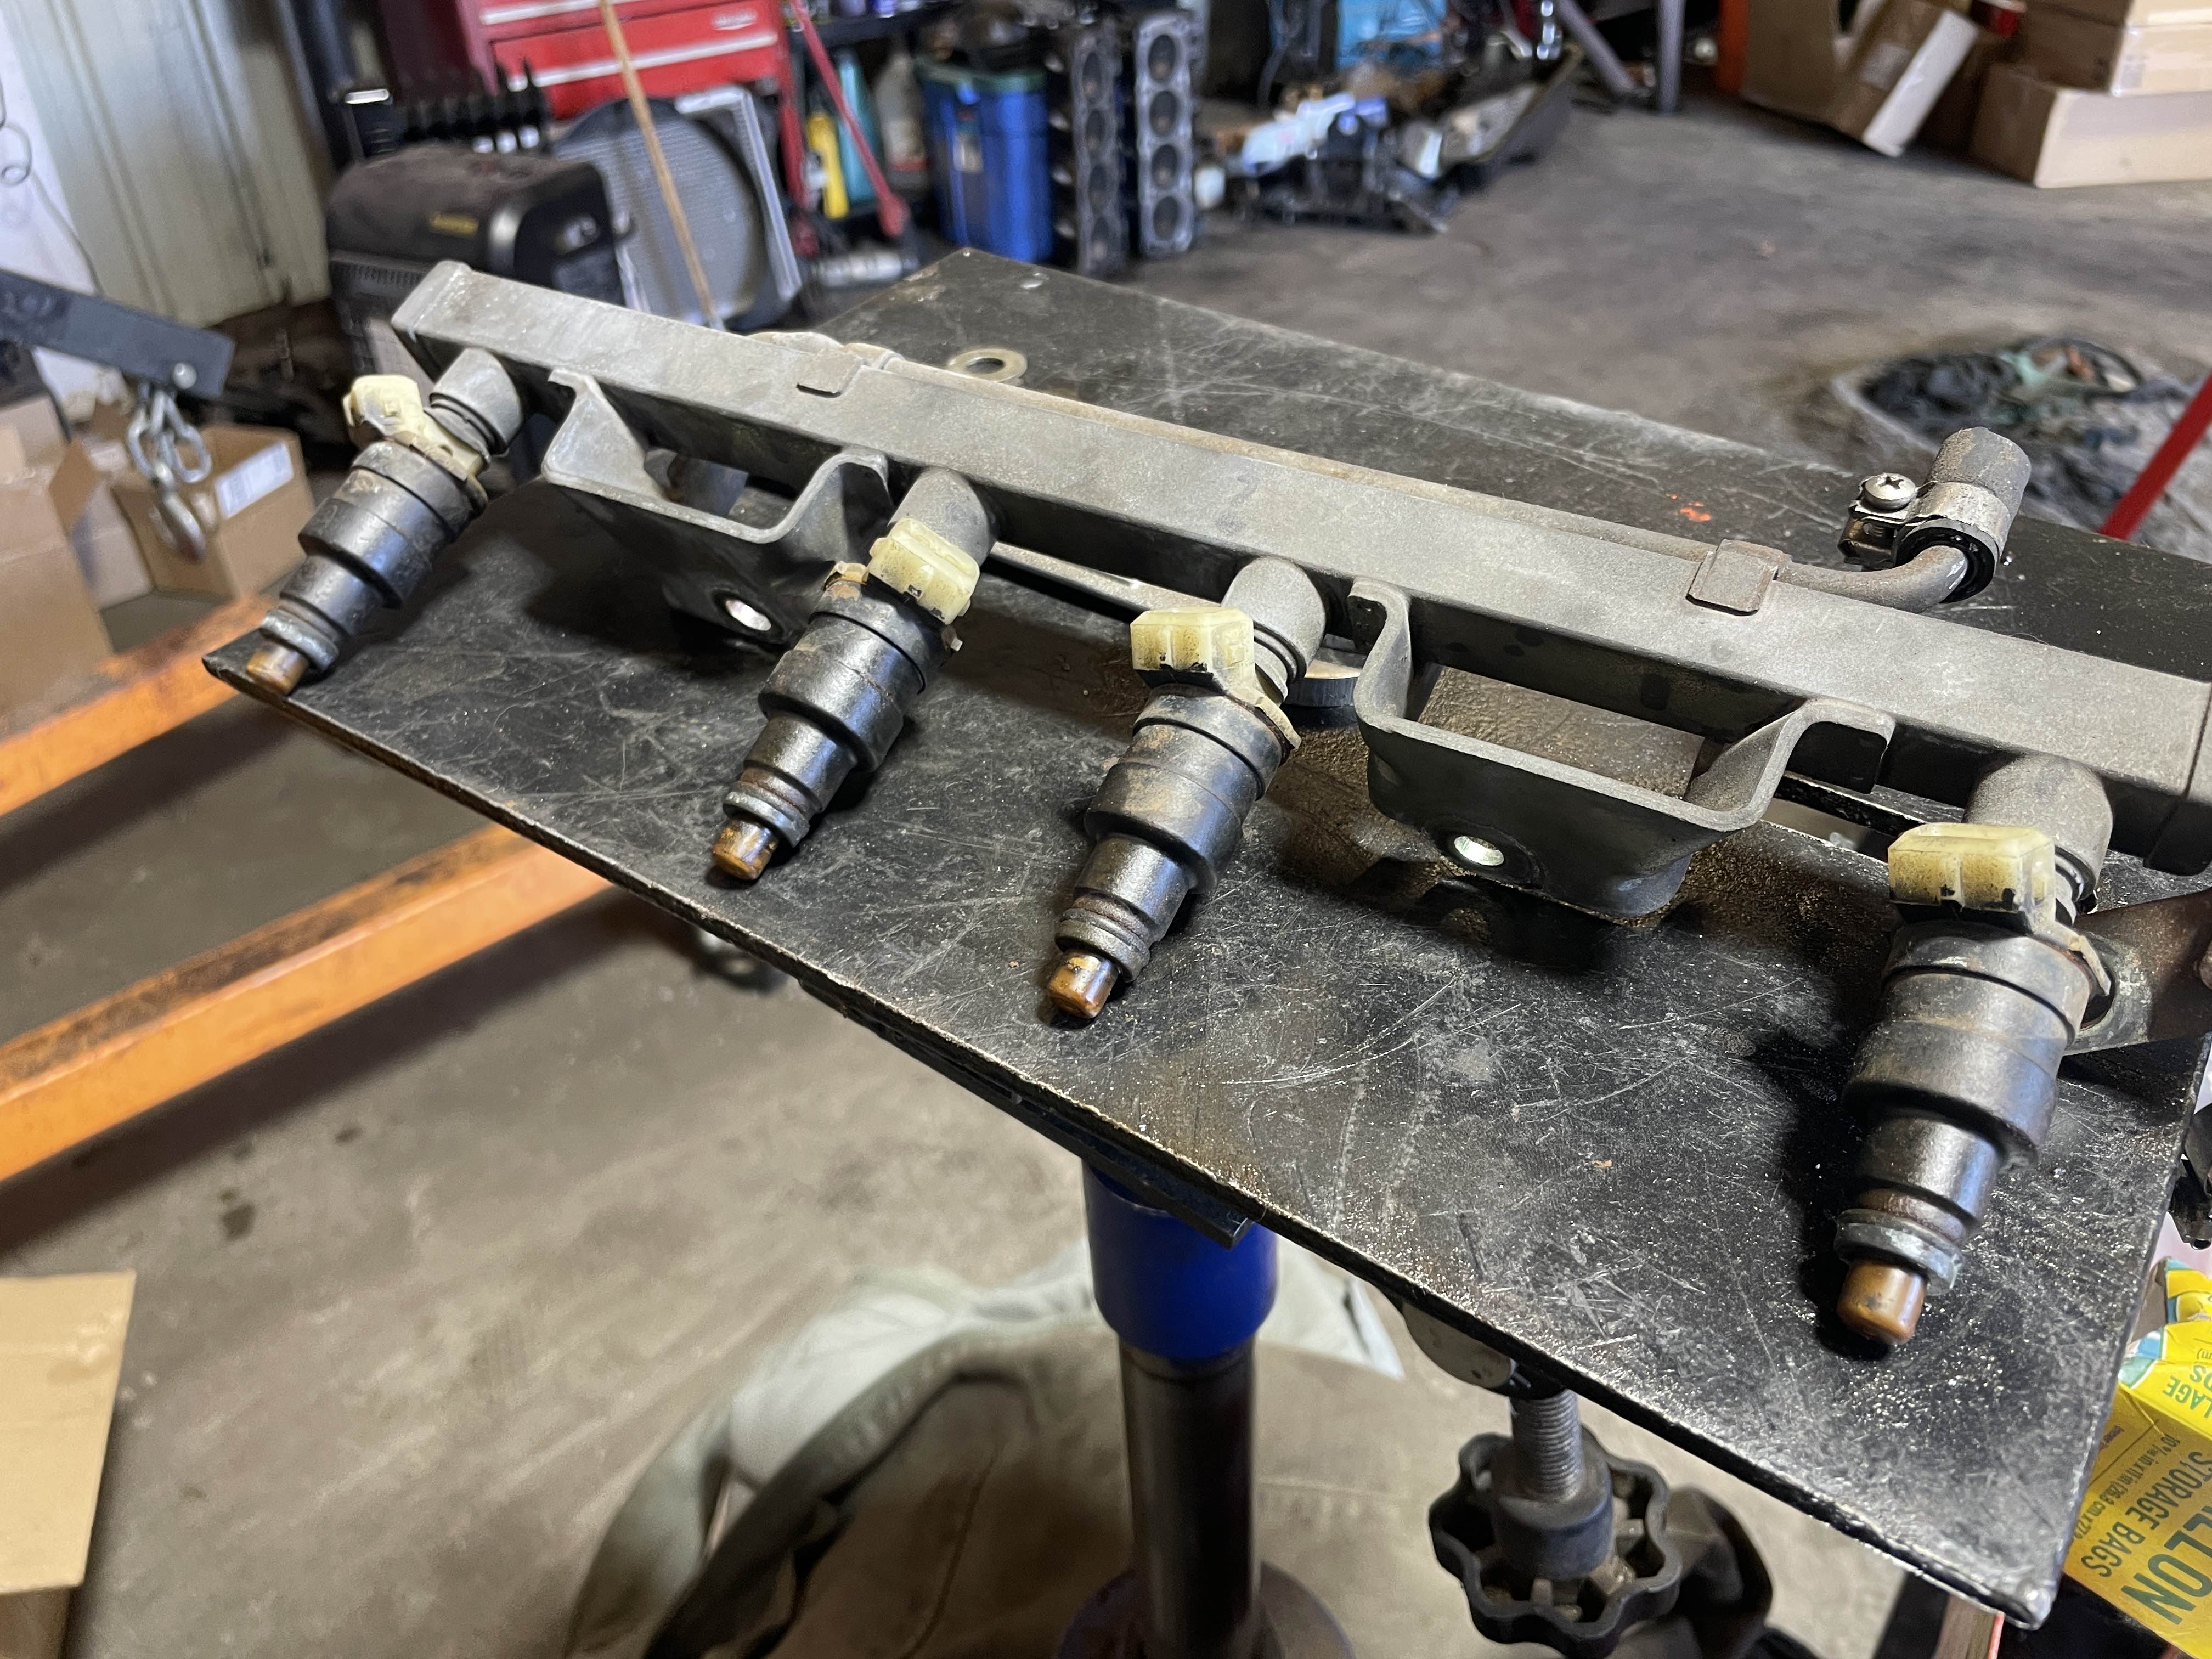
Fuel Injectors out, these I am looking to have tested and cleaned out to prevent any issues on first start since they have been sitting for a long time.
Intake manifold on, regasketed a lot of this, and began working on replacing and researching where all of the coolant and vacuum lines go. This engine is a JDM 8 Port CA18det, which means it has the butterfly valves in the intake runners controlled by a vacuum canister which was thankfully included when I picked this thing up. so that got all new hoses, praying that works...
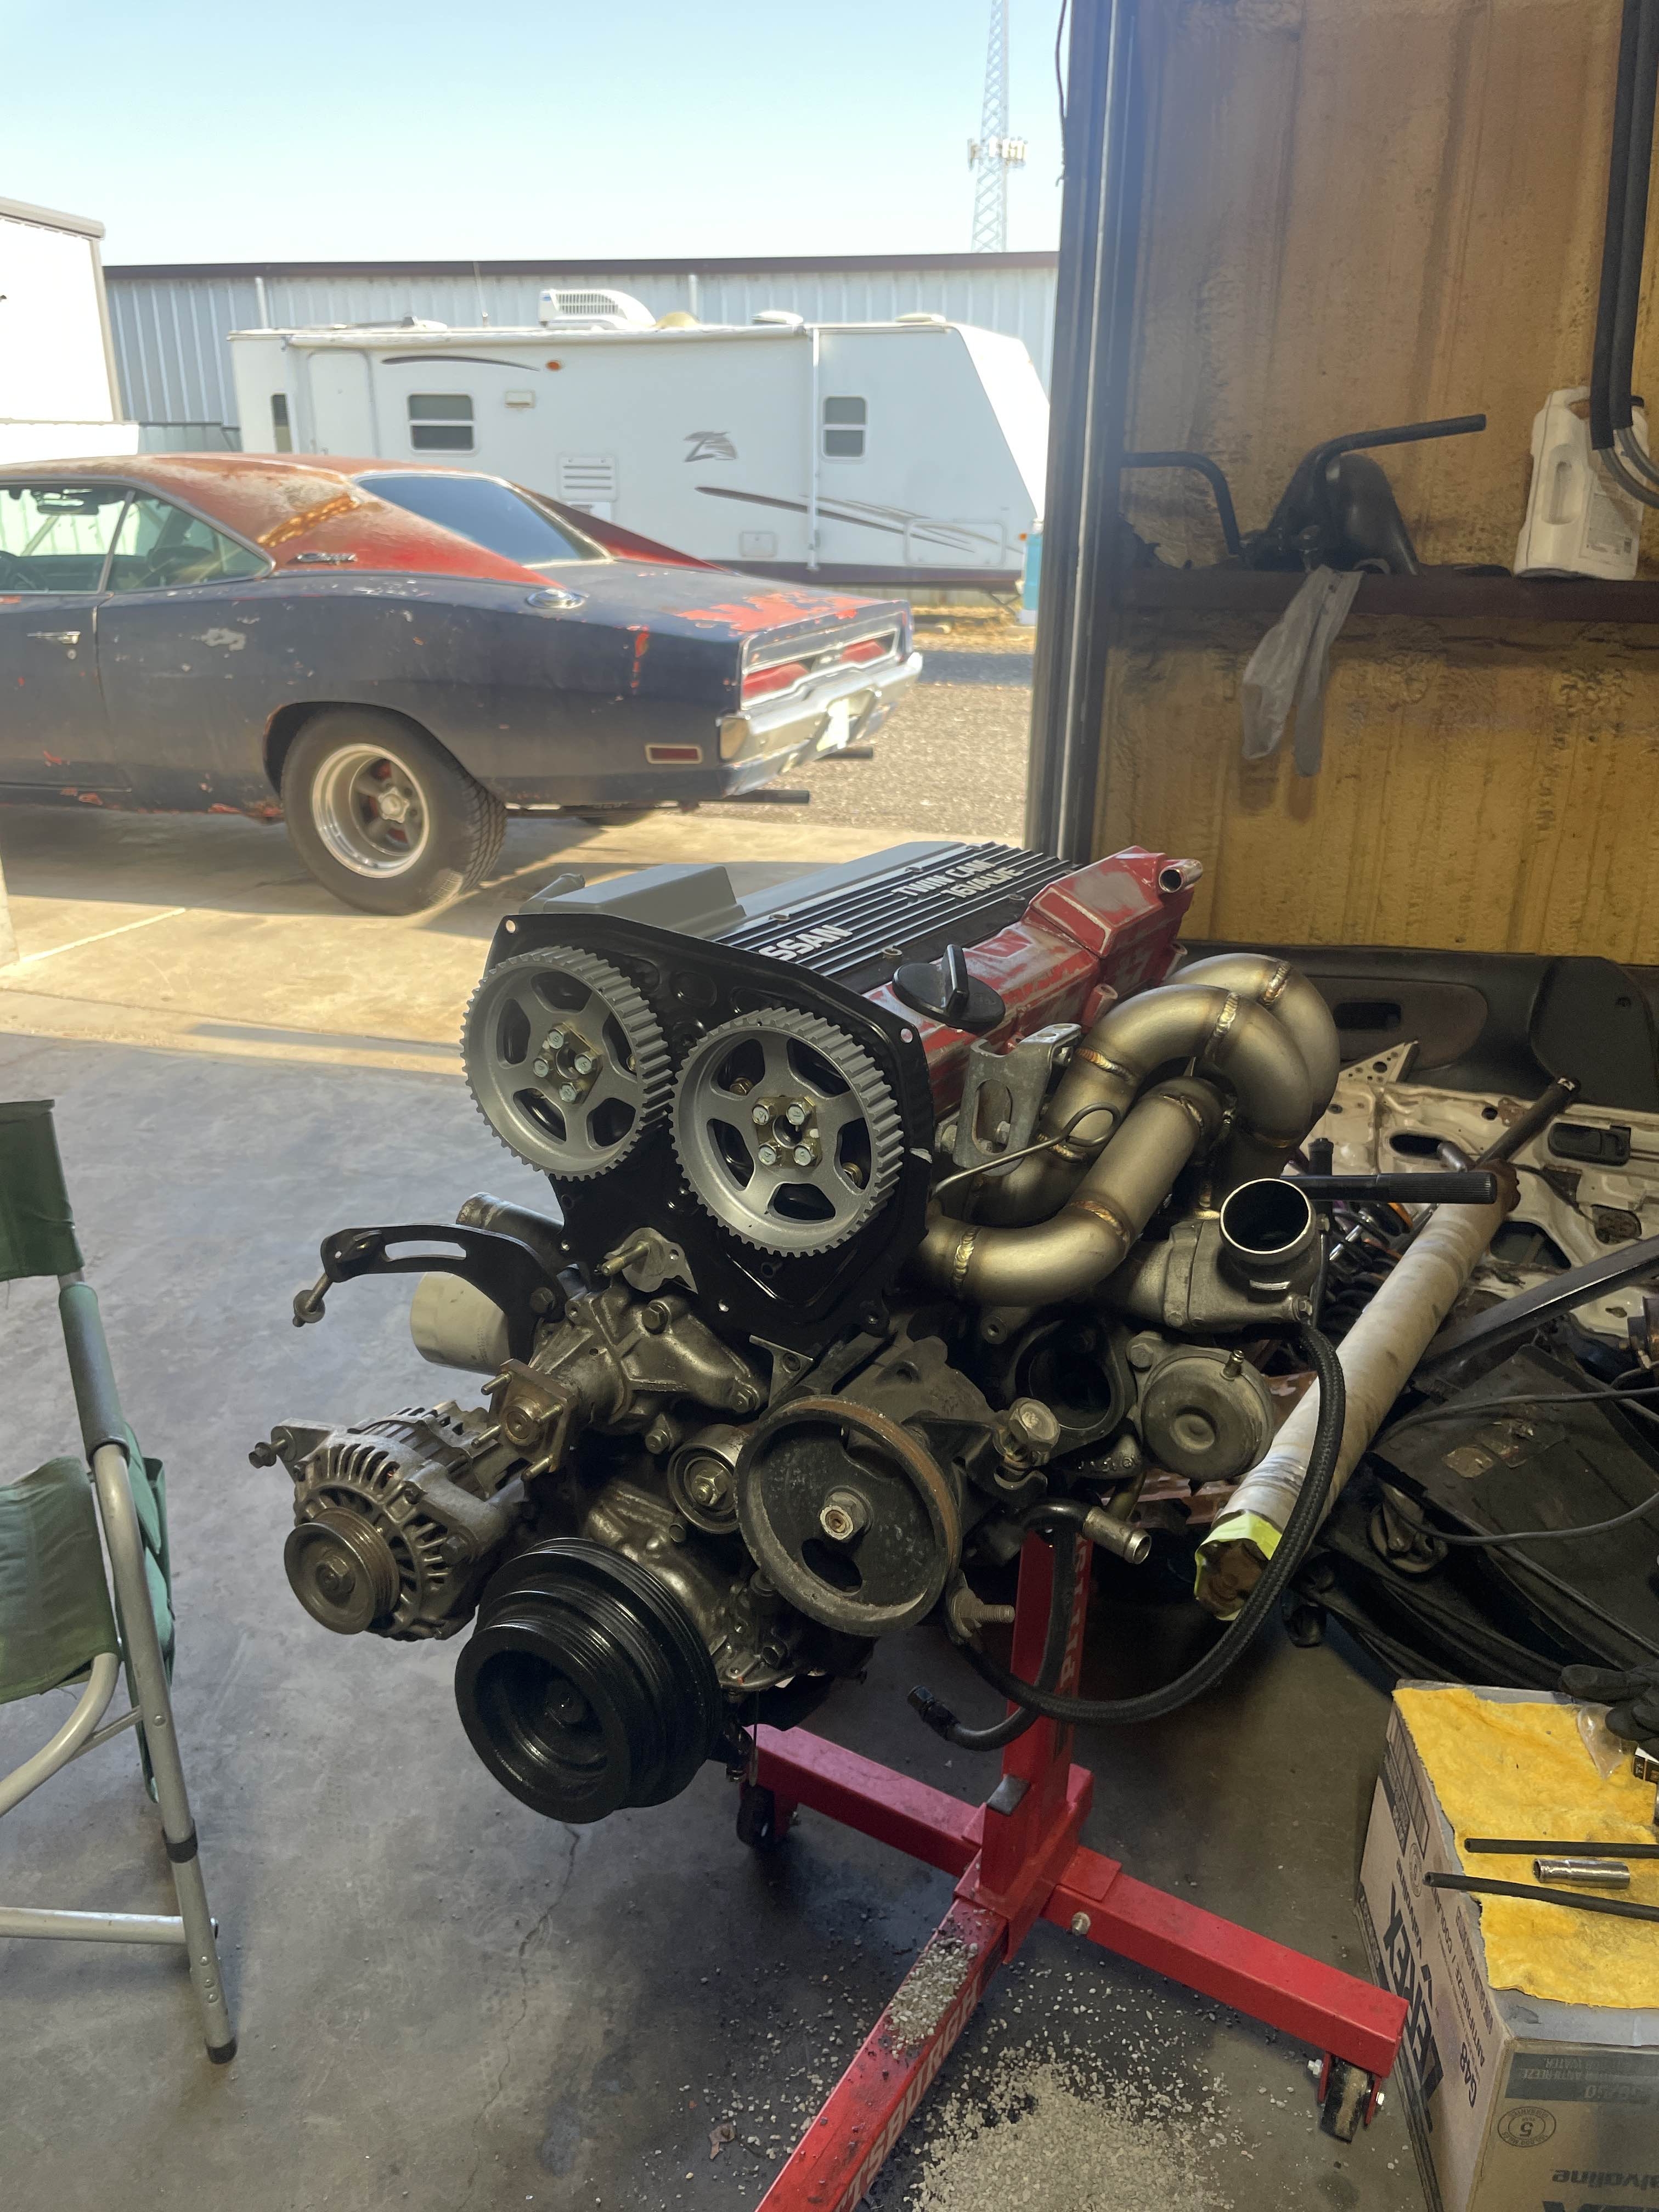
Accessories on, most of the hoses are all routed, primered both of the top valve covers (mistakenly different primer so this was redone)
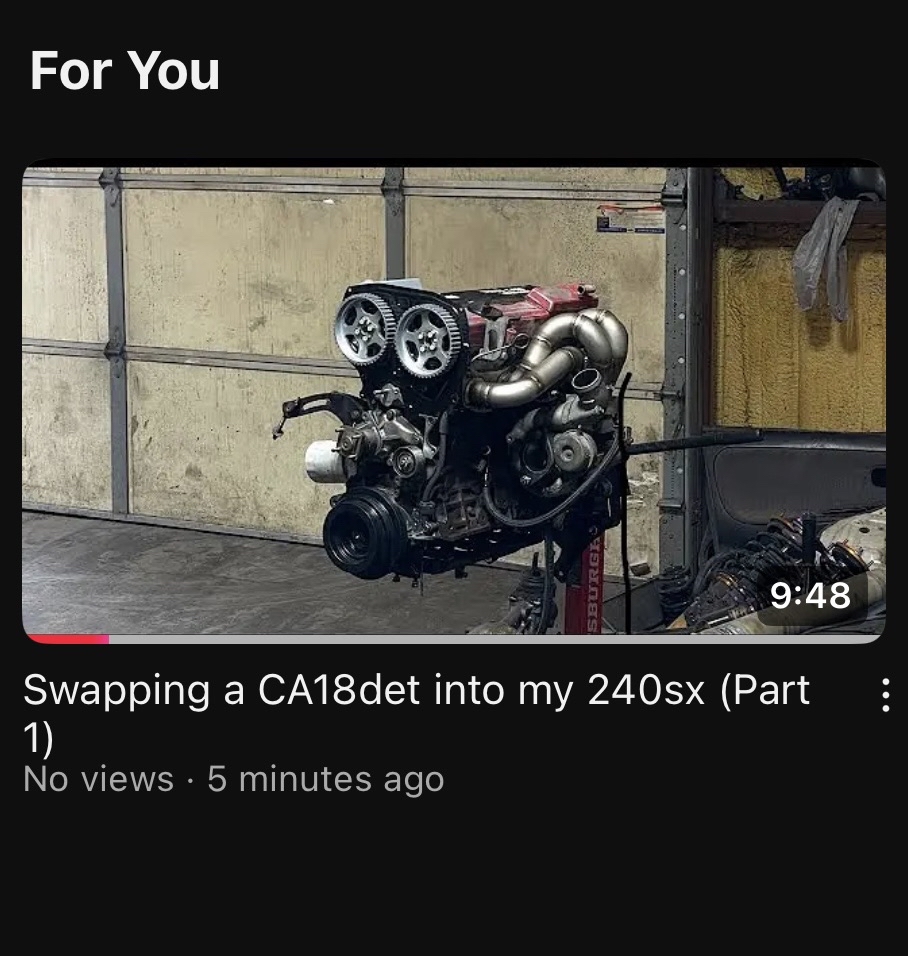
At this point I released a video on the YT channel giving an update on how this CA is coming along, not quite as in depth but shows some more of the process. You can watch it here if interested
New timing belt tensioner and idler pulley arrived from Lithuania! It was at this point I realized the cams were way off the TDC timing marks I thought they were at, after some tinkering with it branson helped me get the timing all set and I don't think the valves were damaged from this. Also note: the head is now torqued down with ARP Head Studs, which are known to have a weird issues with the front stud above the water pump extending further than the rest. I installed them as normal with no extra washer or cutting any material off as it seems no one on facebook or the forums can decide what the right way of dealing with this is.
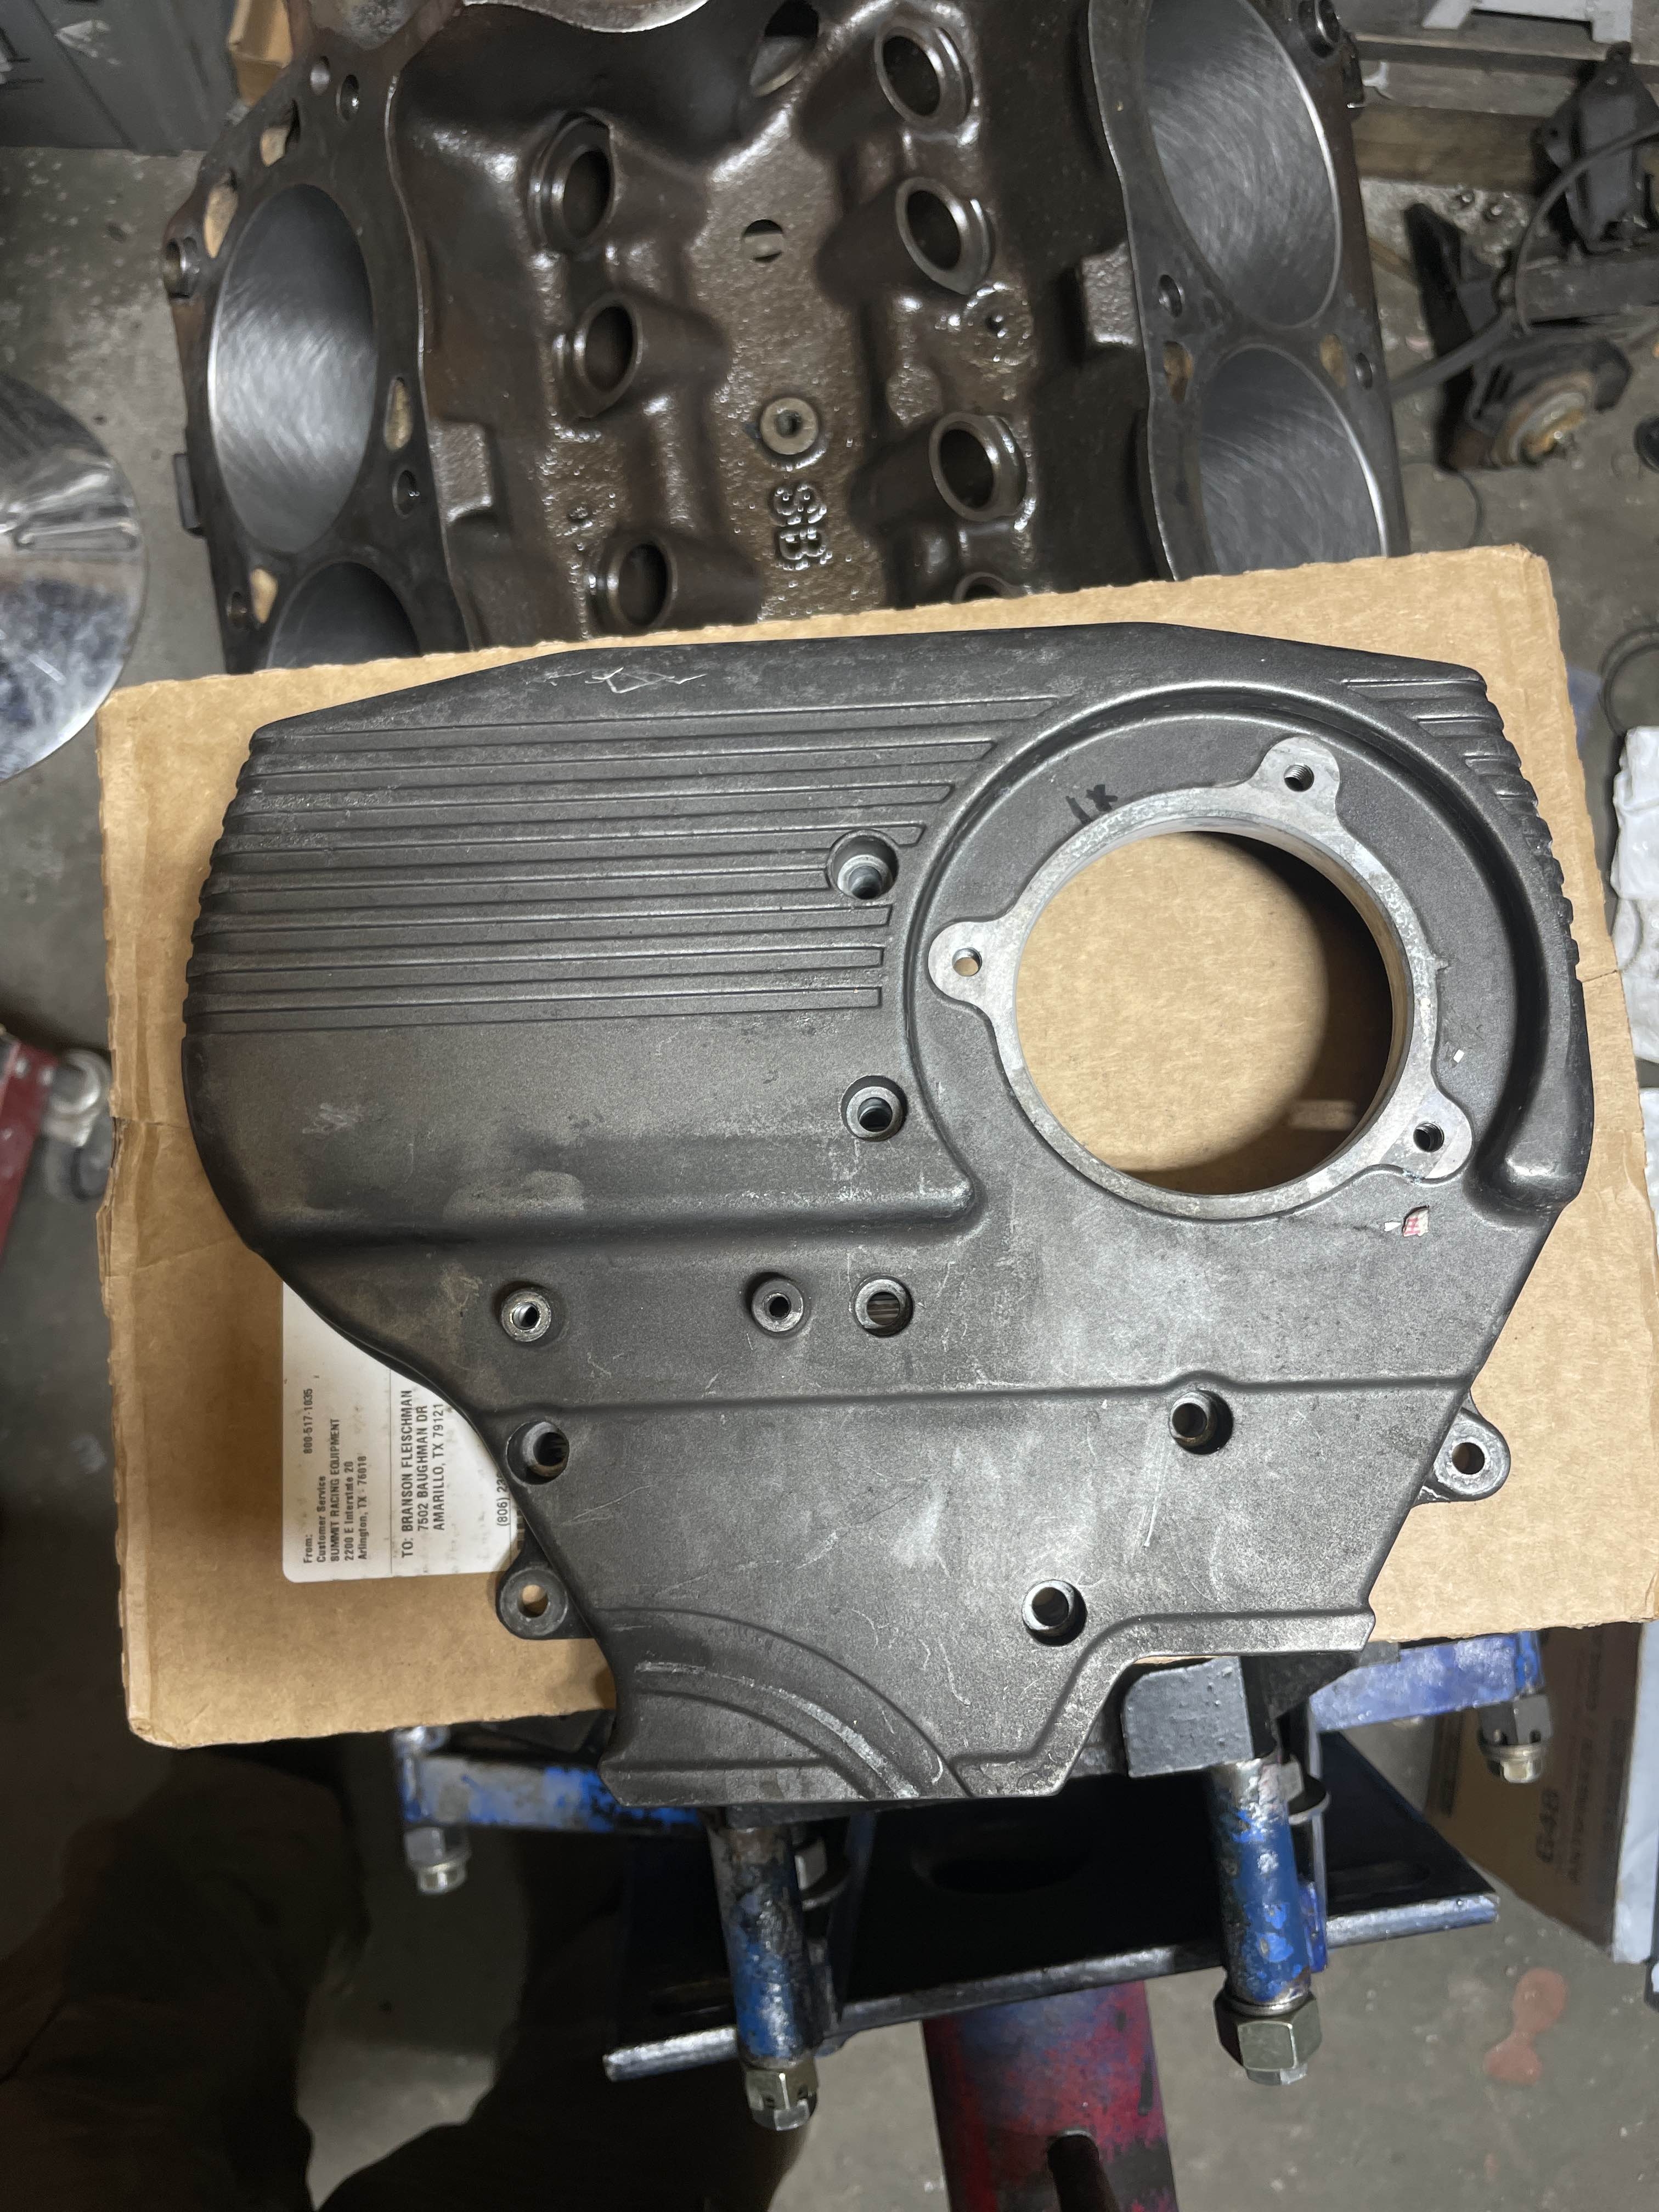
My paint for the valve covers finally came in, so time to take the front cover off to begin prep work and reprimer the top covers to be ready for paint.
Attempting to do a lace paint job, it came out alright.
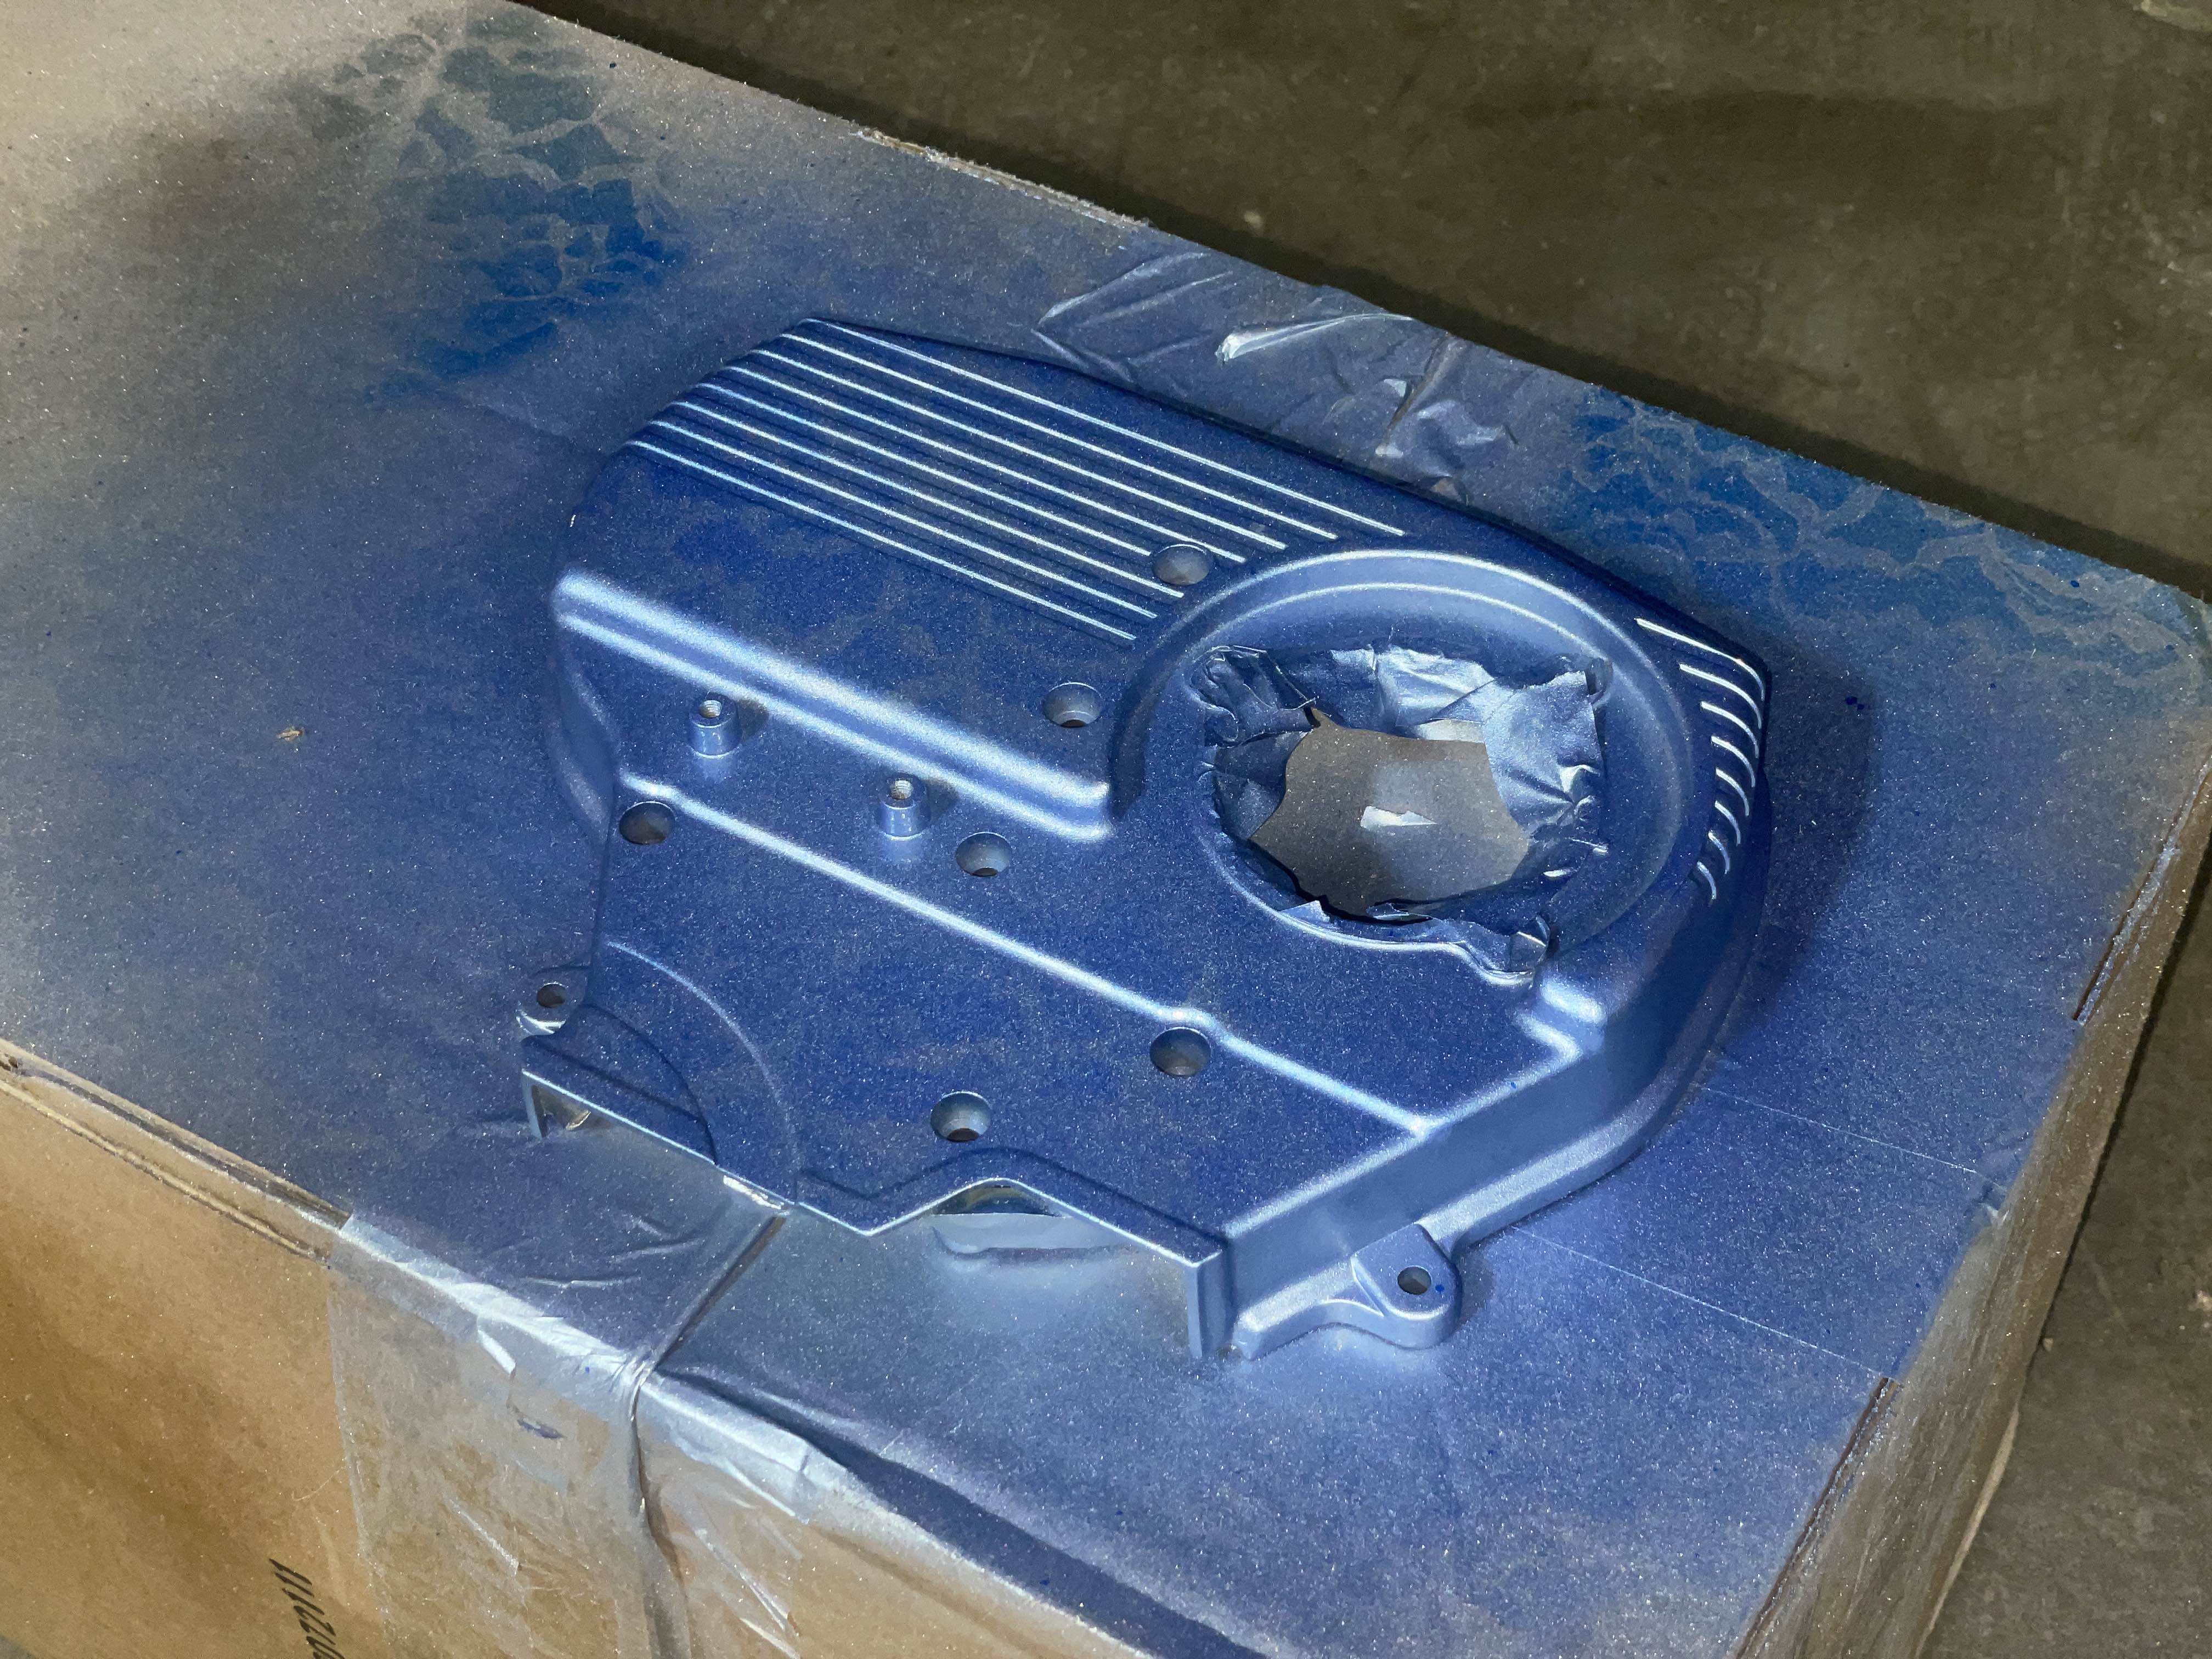
Final form of the Front timing cover.
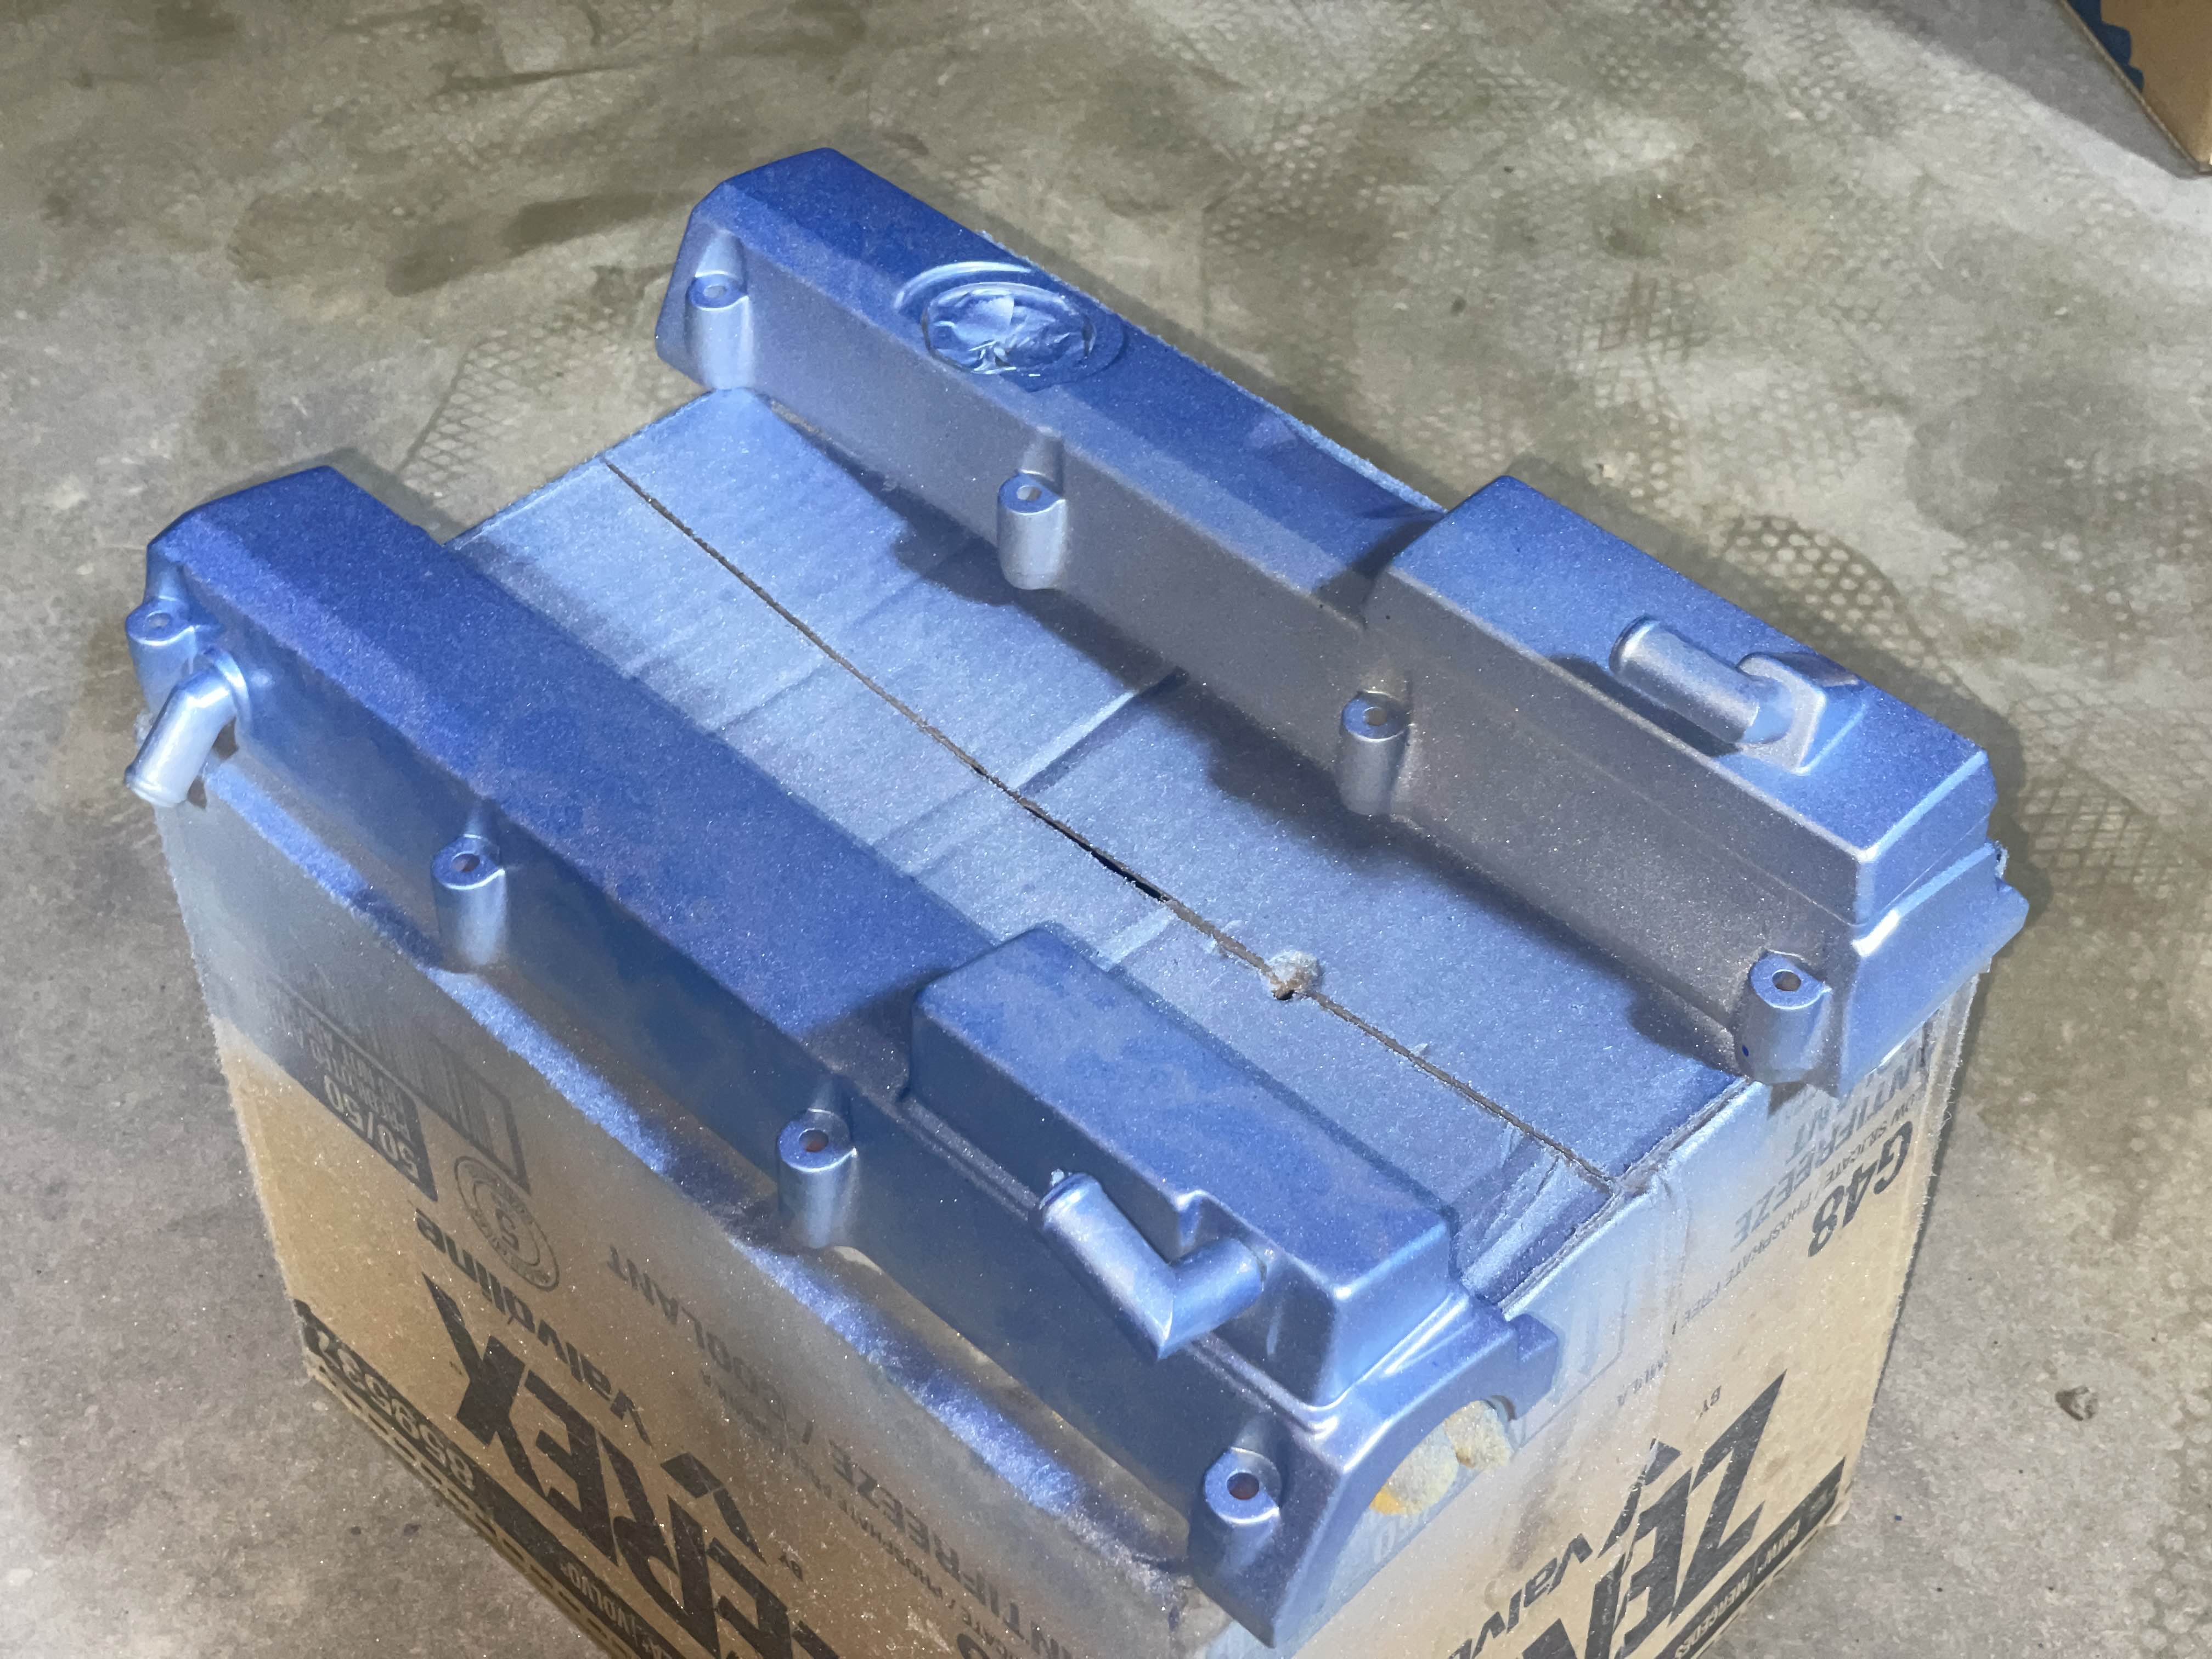
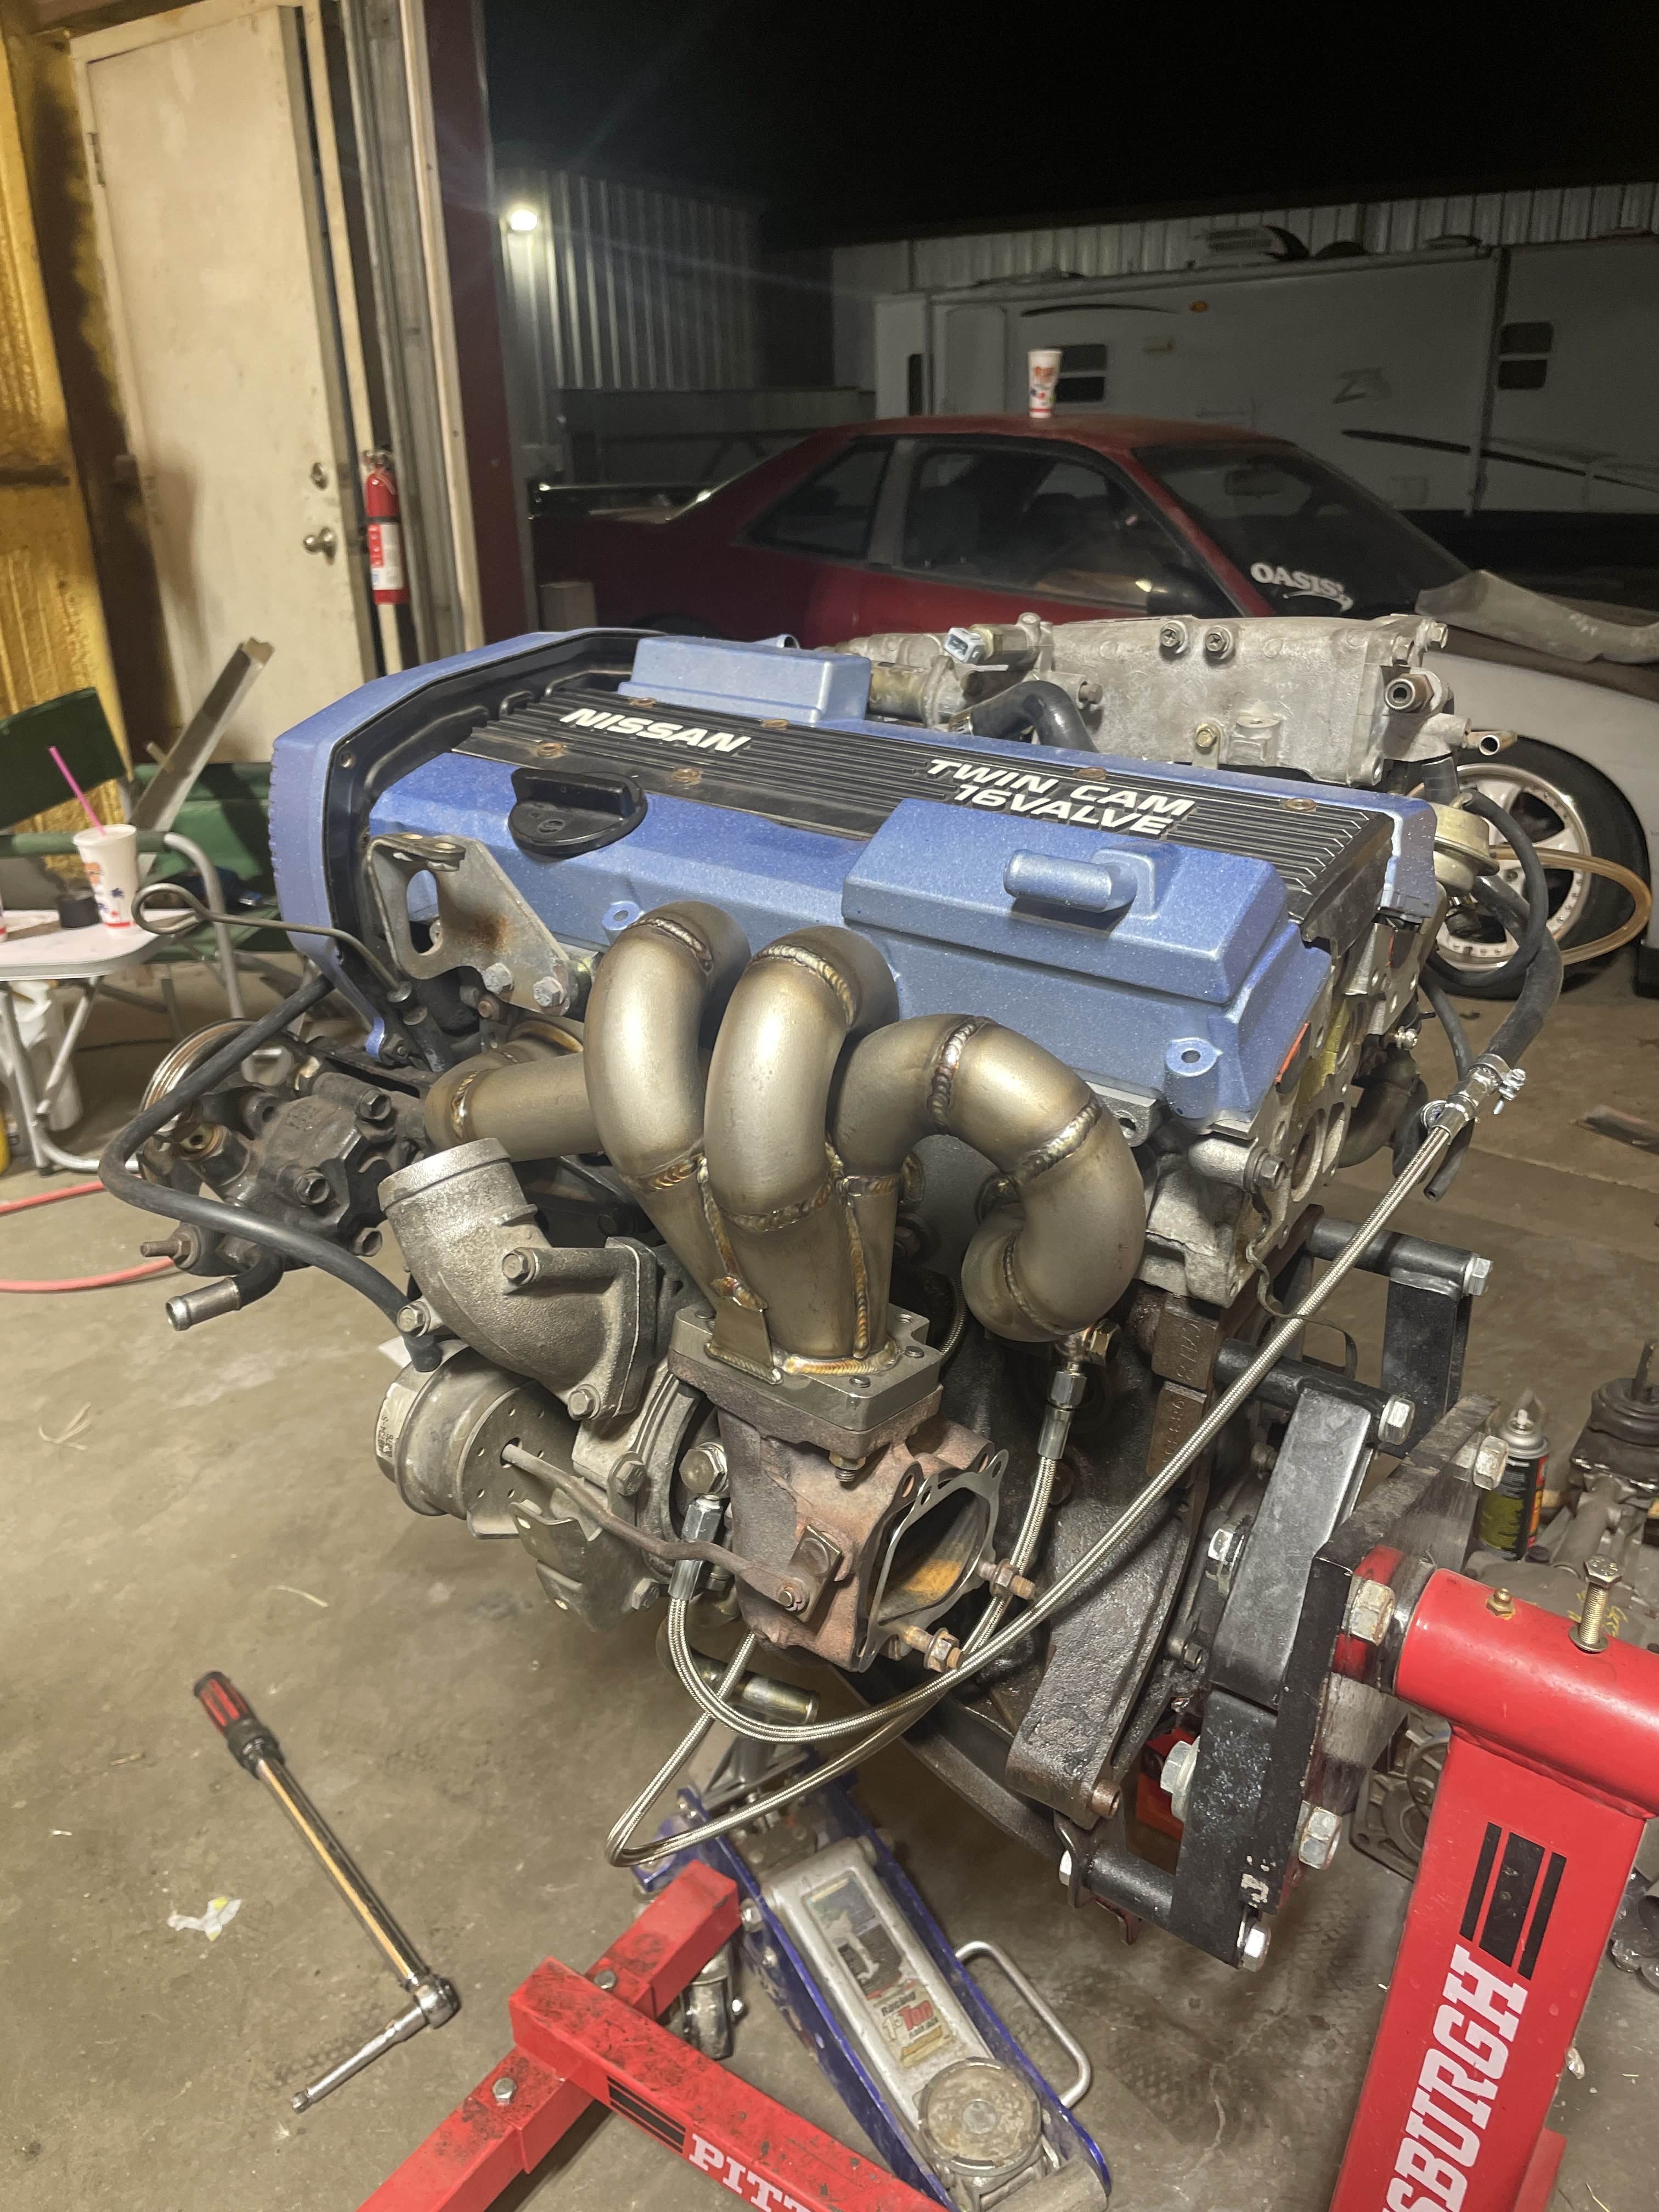
Finished valve covers.
The paint I wound up using was some silver metal flake, then a can of Honda Jazz Ice Blue, and laced with some GM blue metallic from the parts store, topped with a bunch of 2k clear.
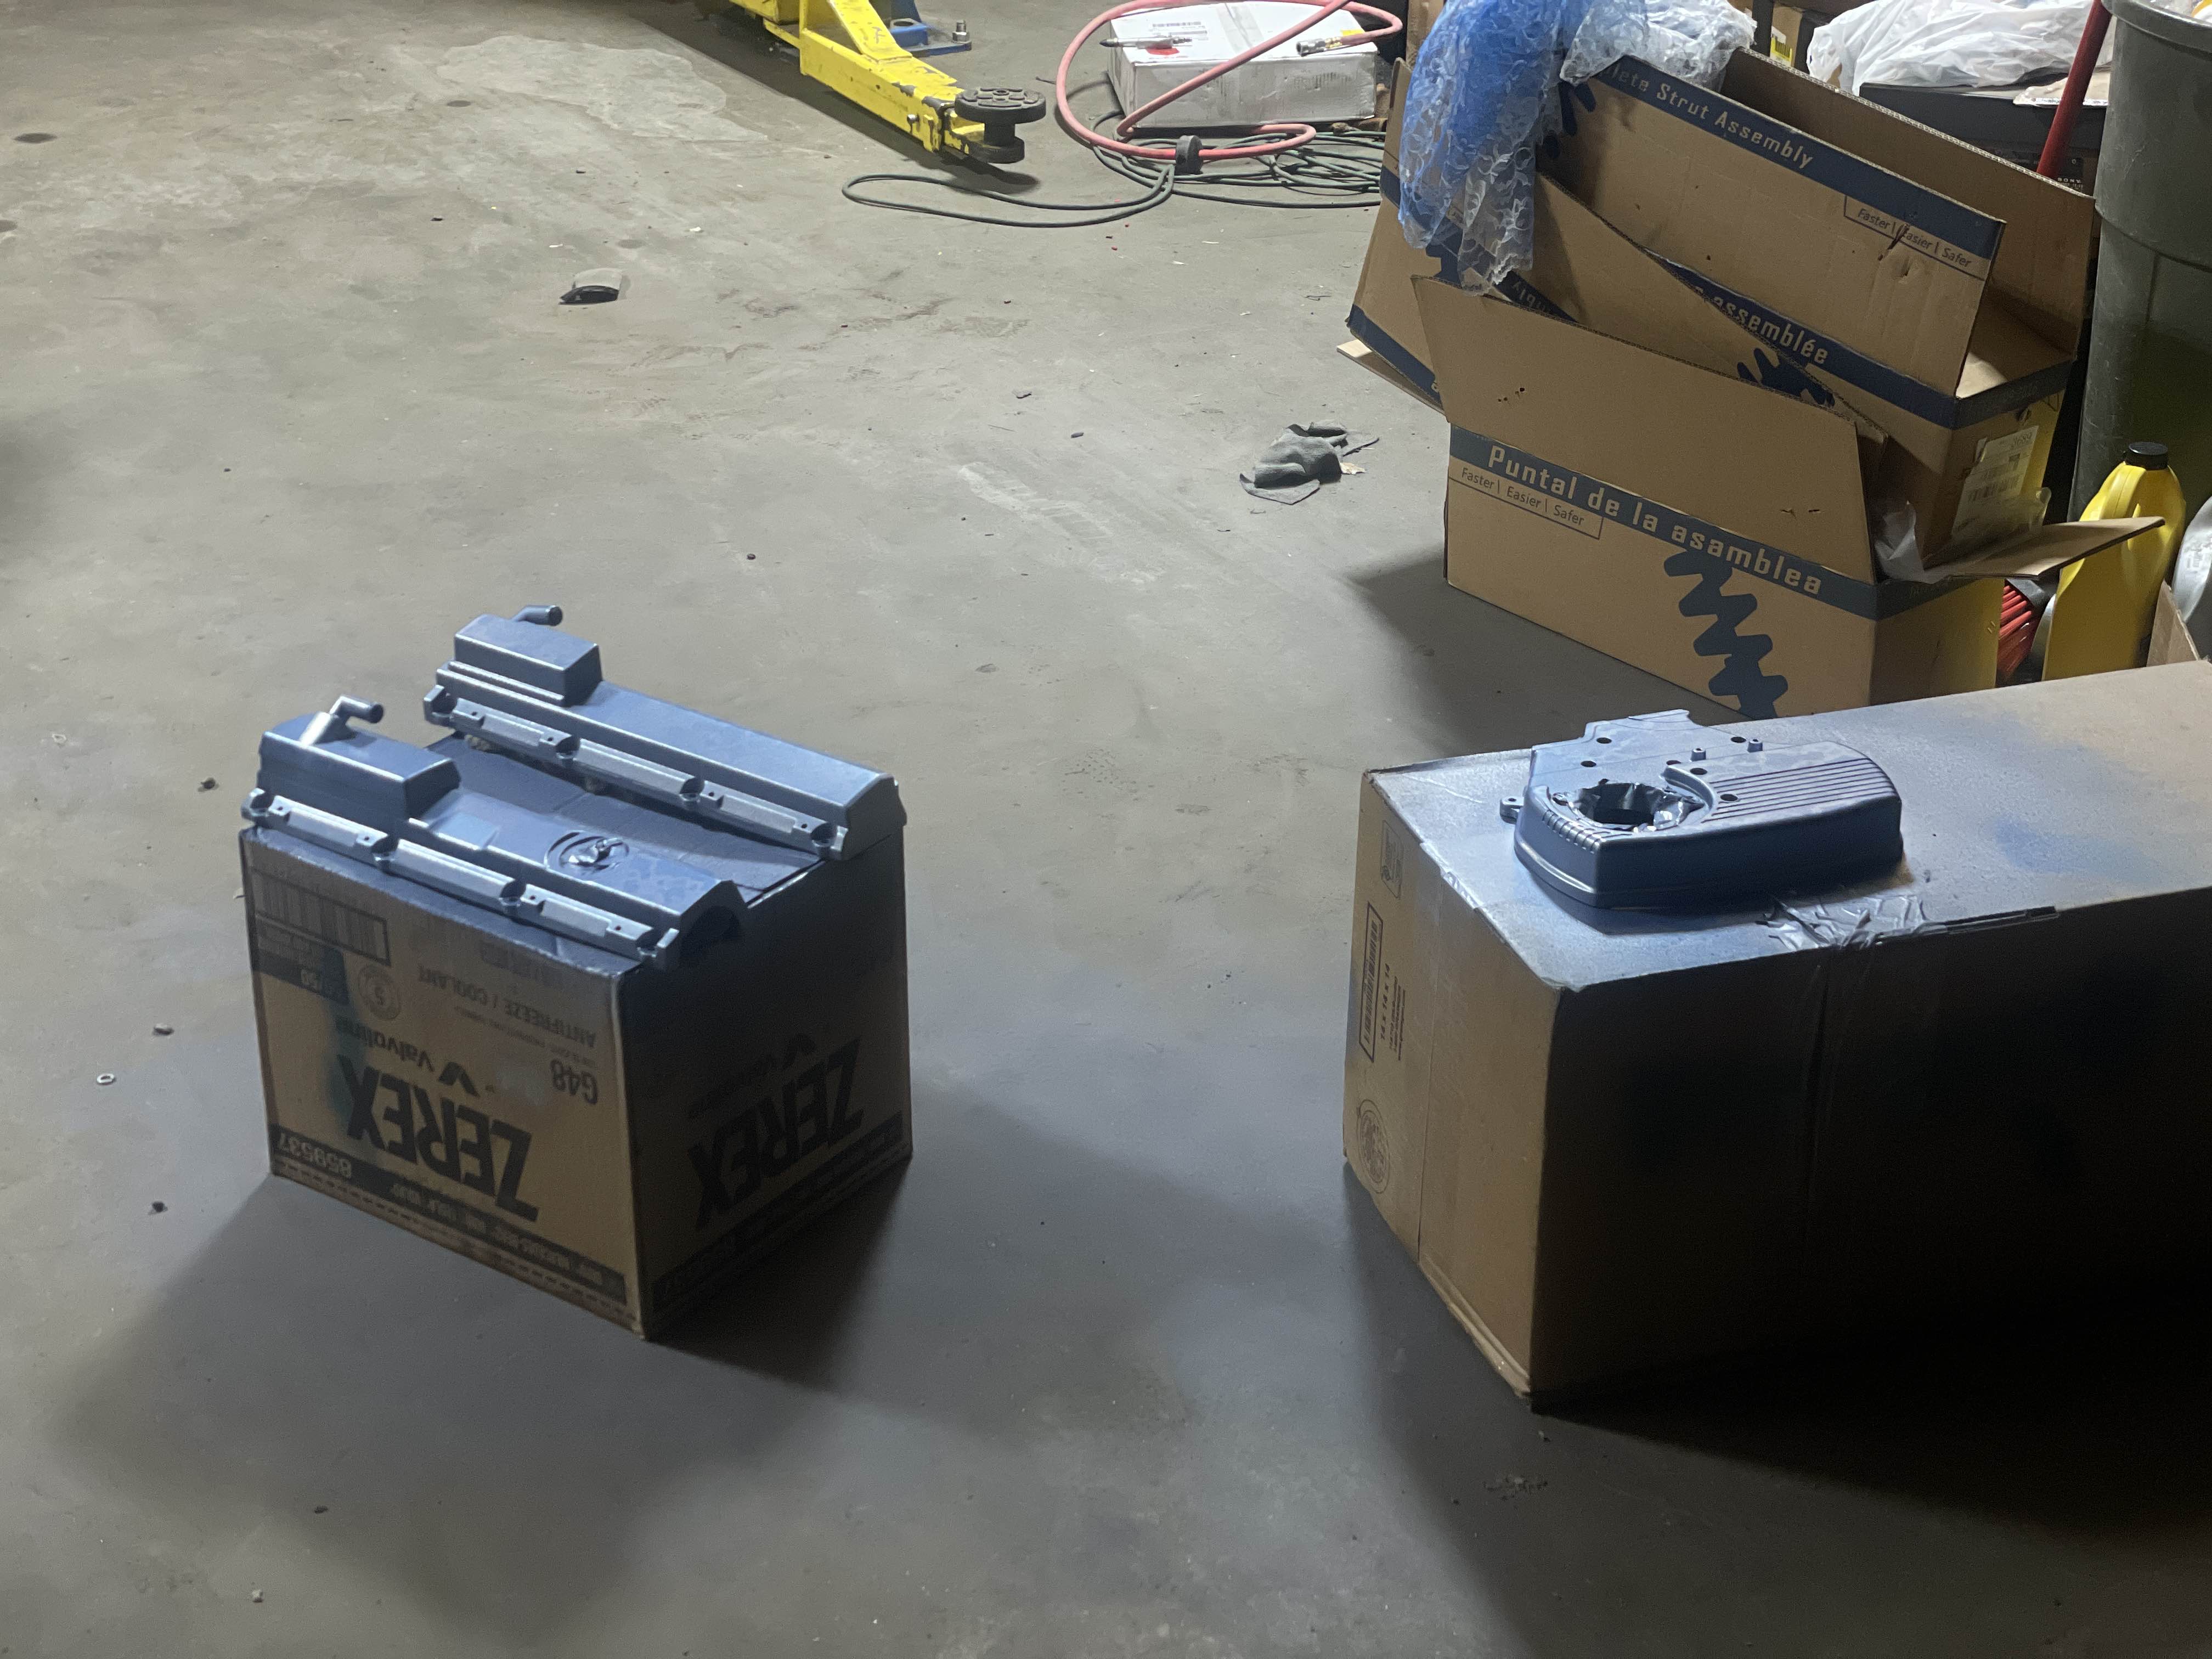
Mocked up all the covers, actually really happy with this.

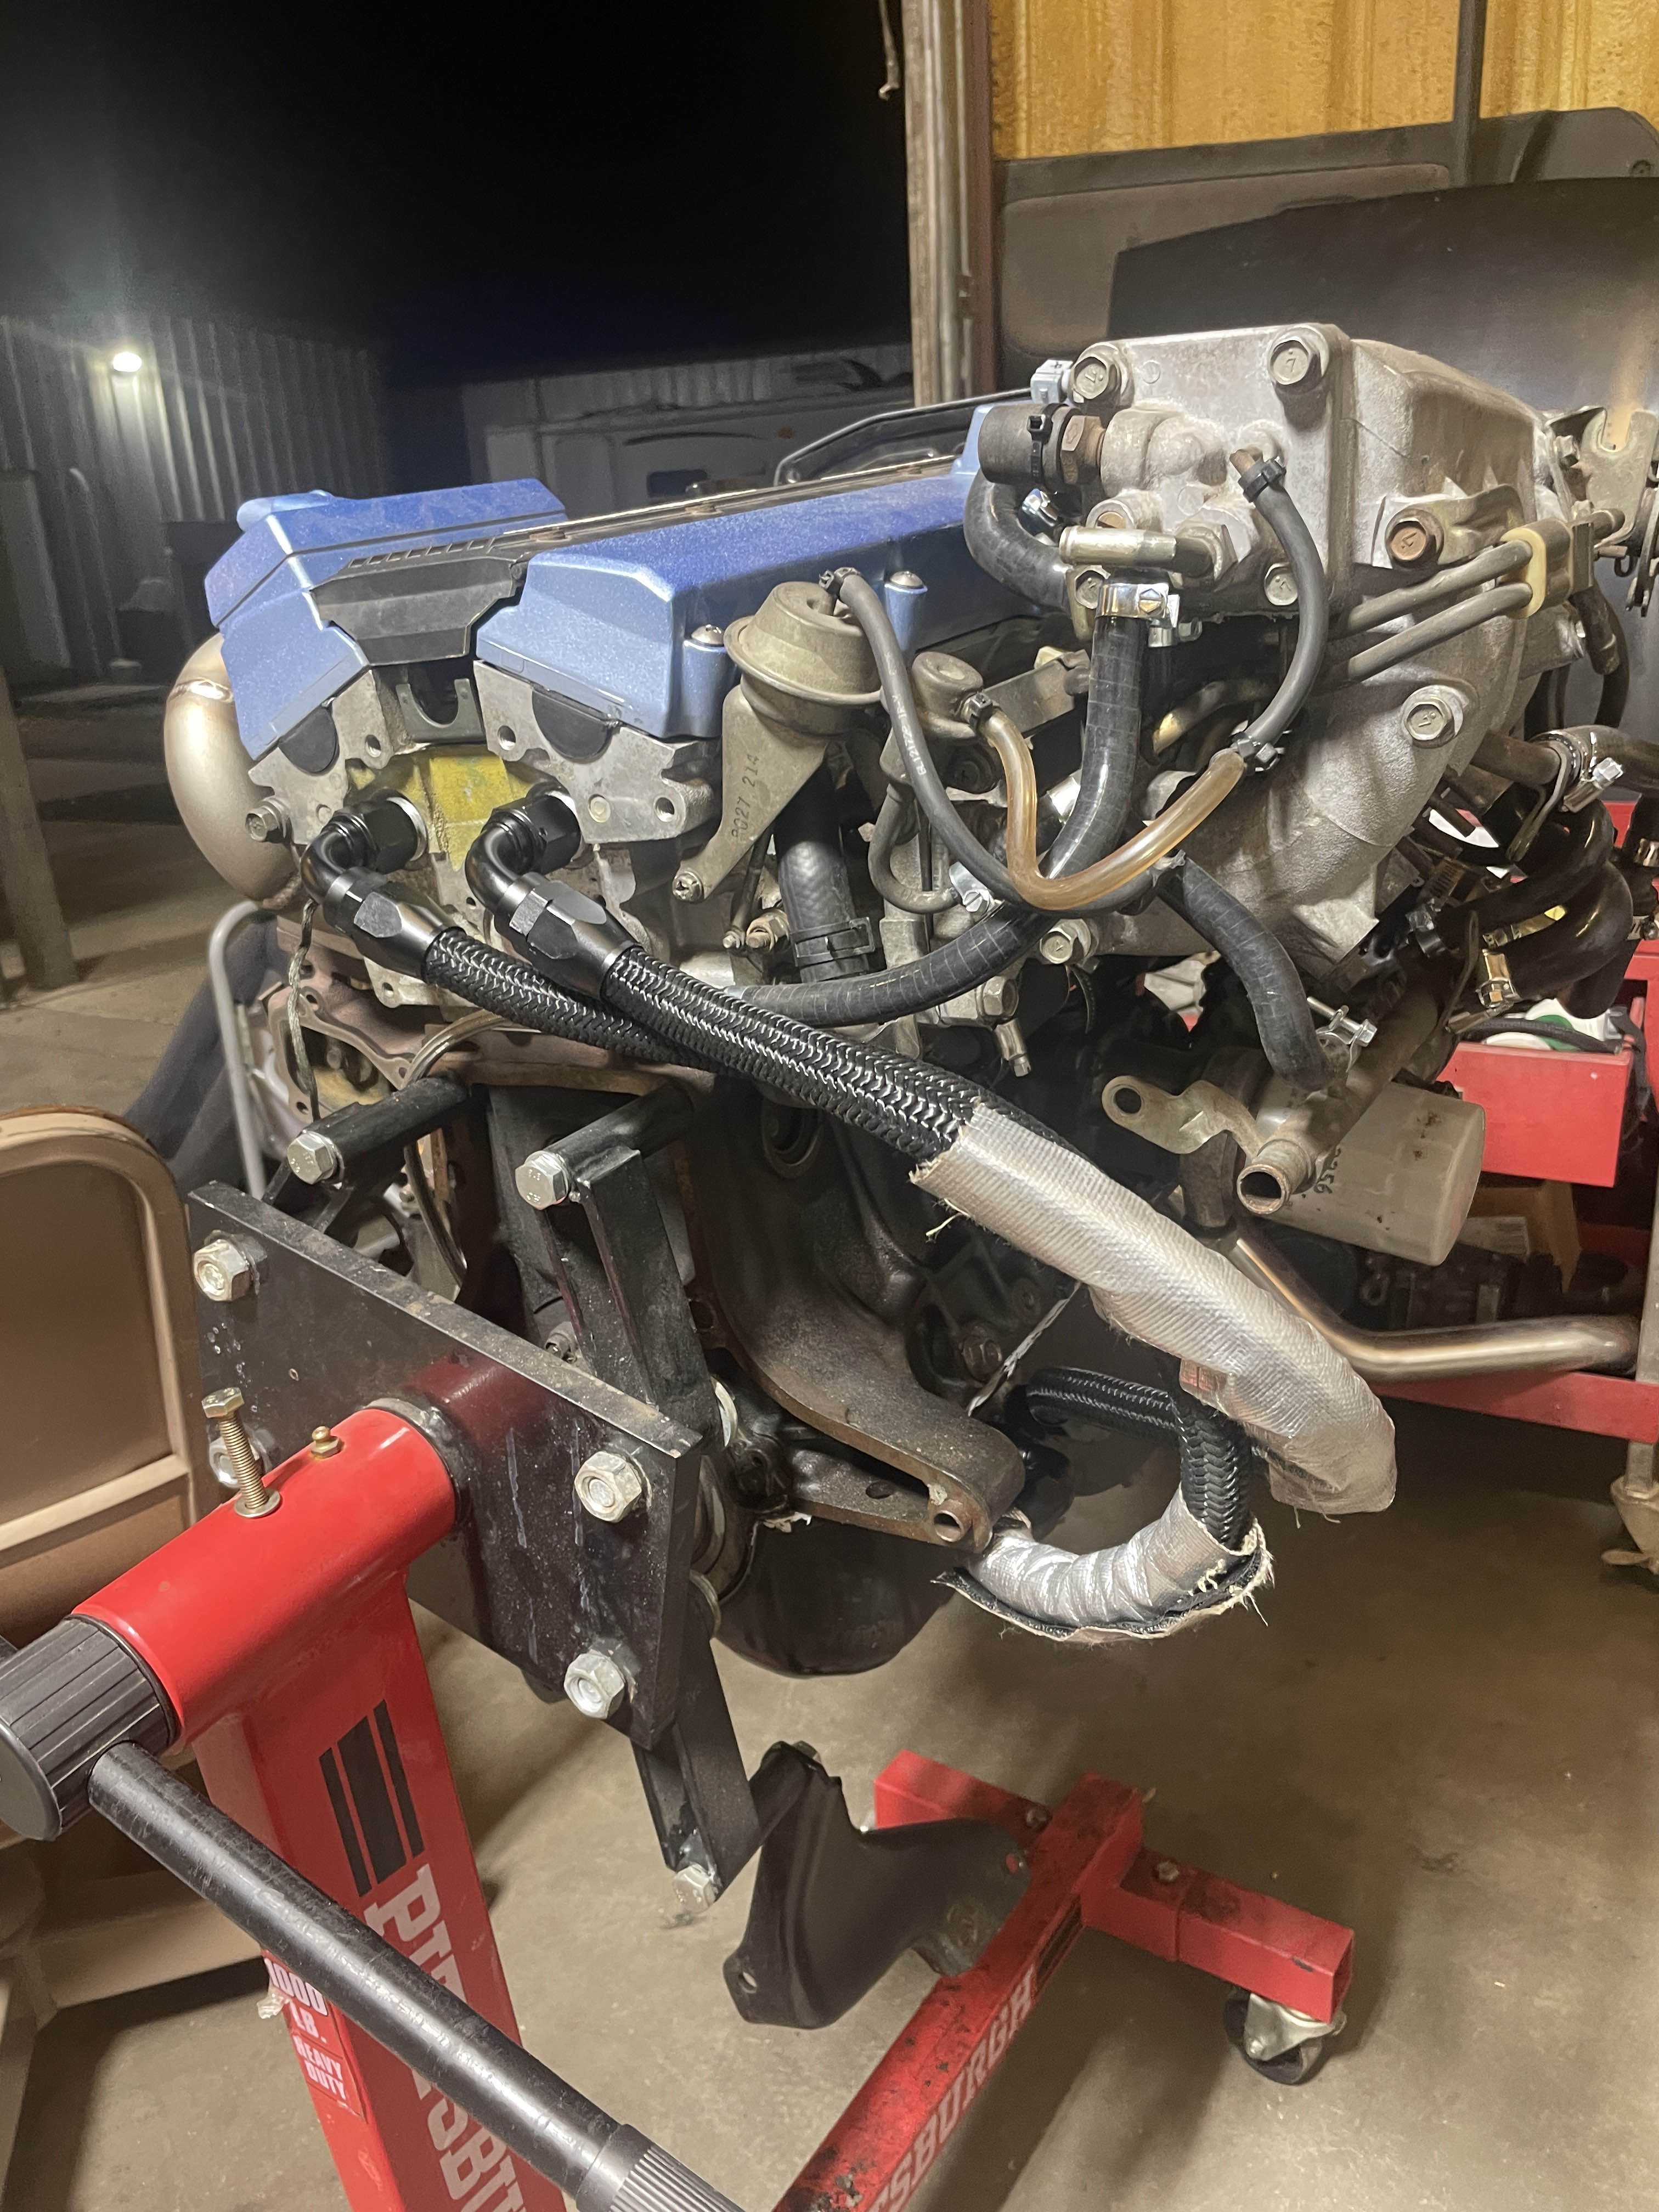
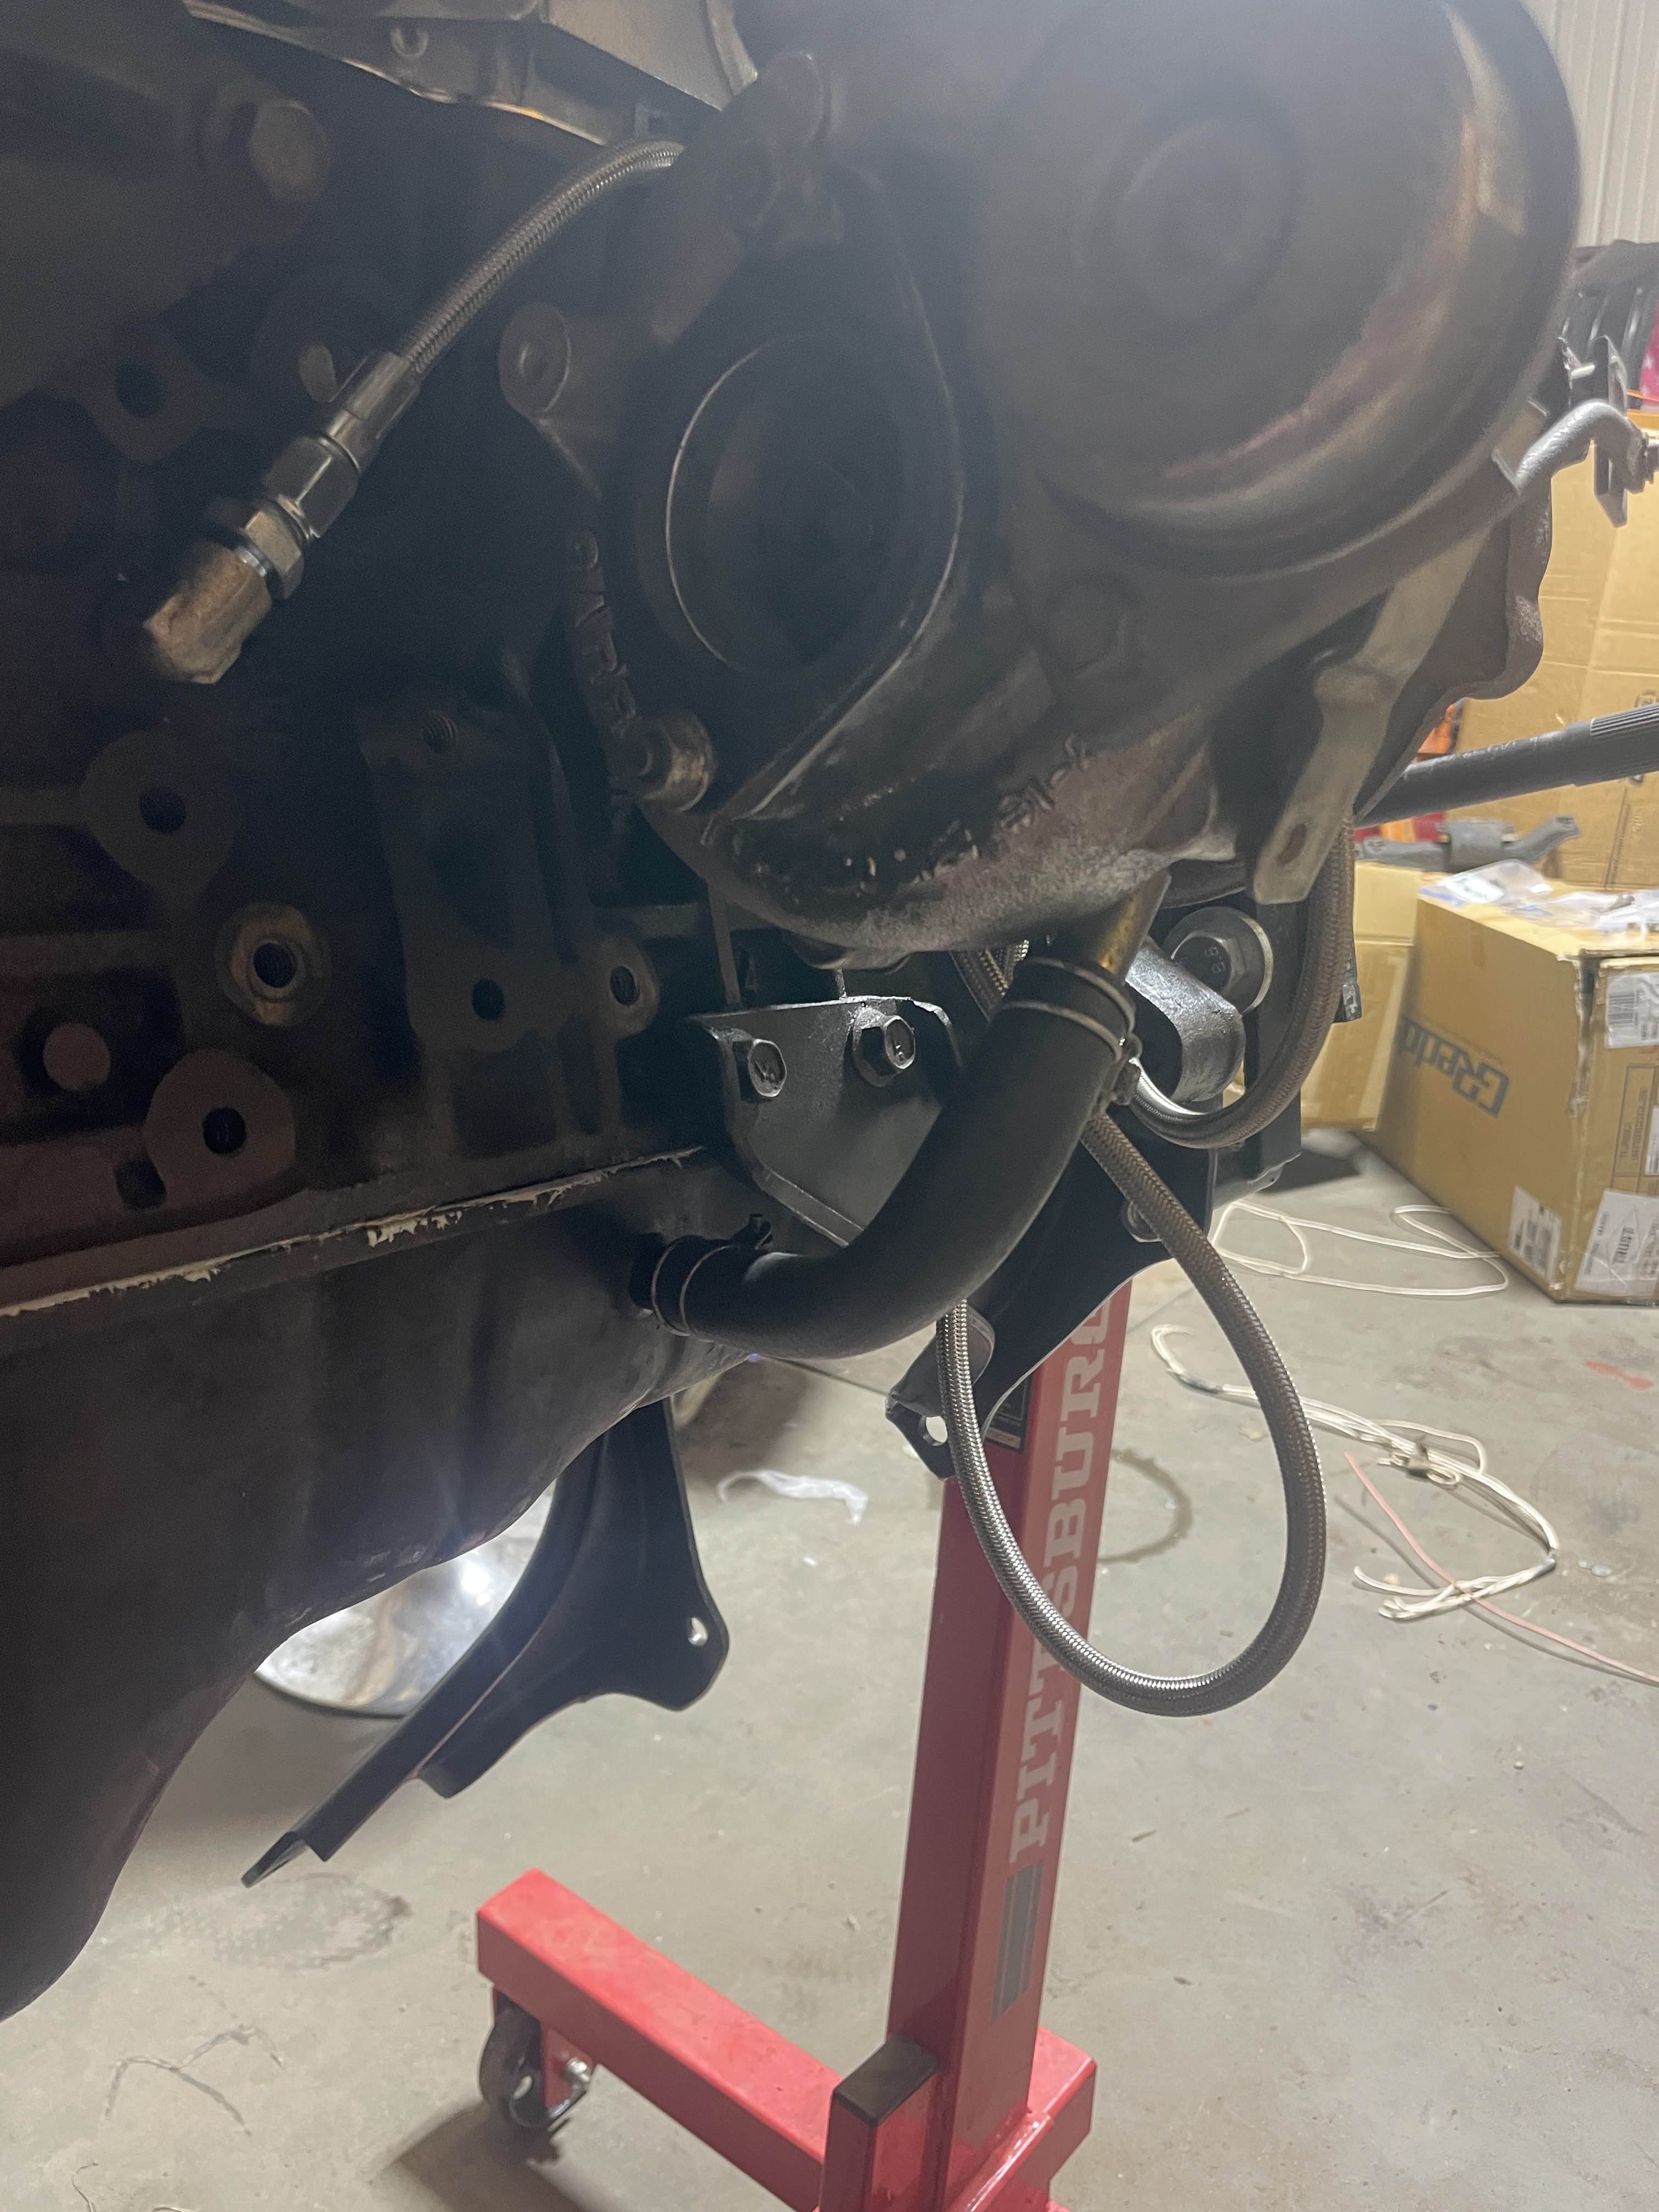
Turbo Lines came in, mounted those up and torqued down the manifold with fresh gaskets. A little nervous with how the oil feed line fit, hoping it isn't too squished against the block to cause issues.
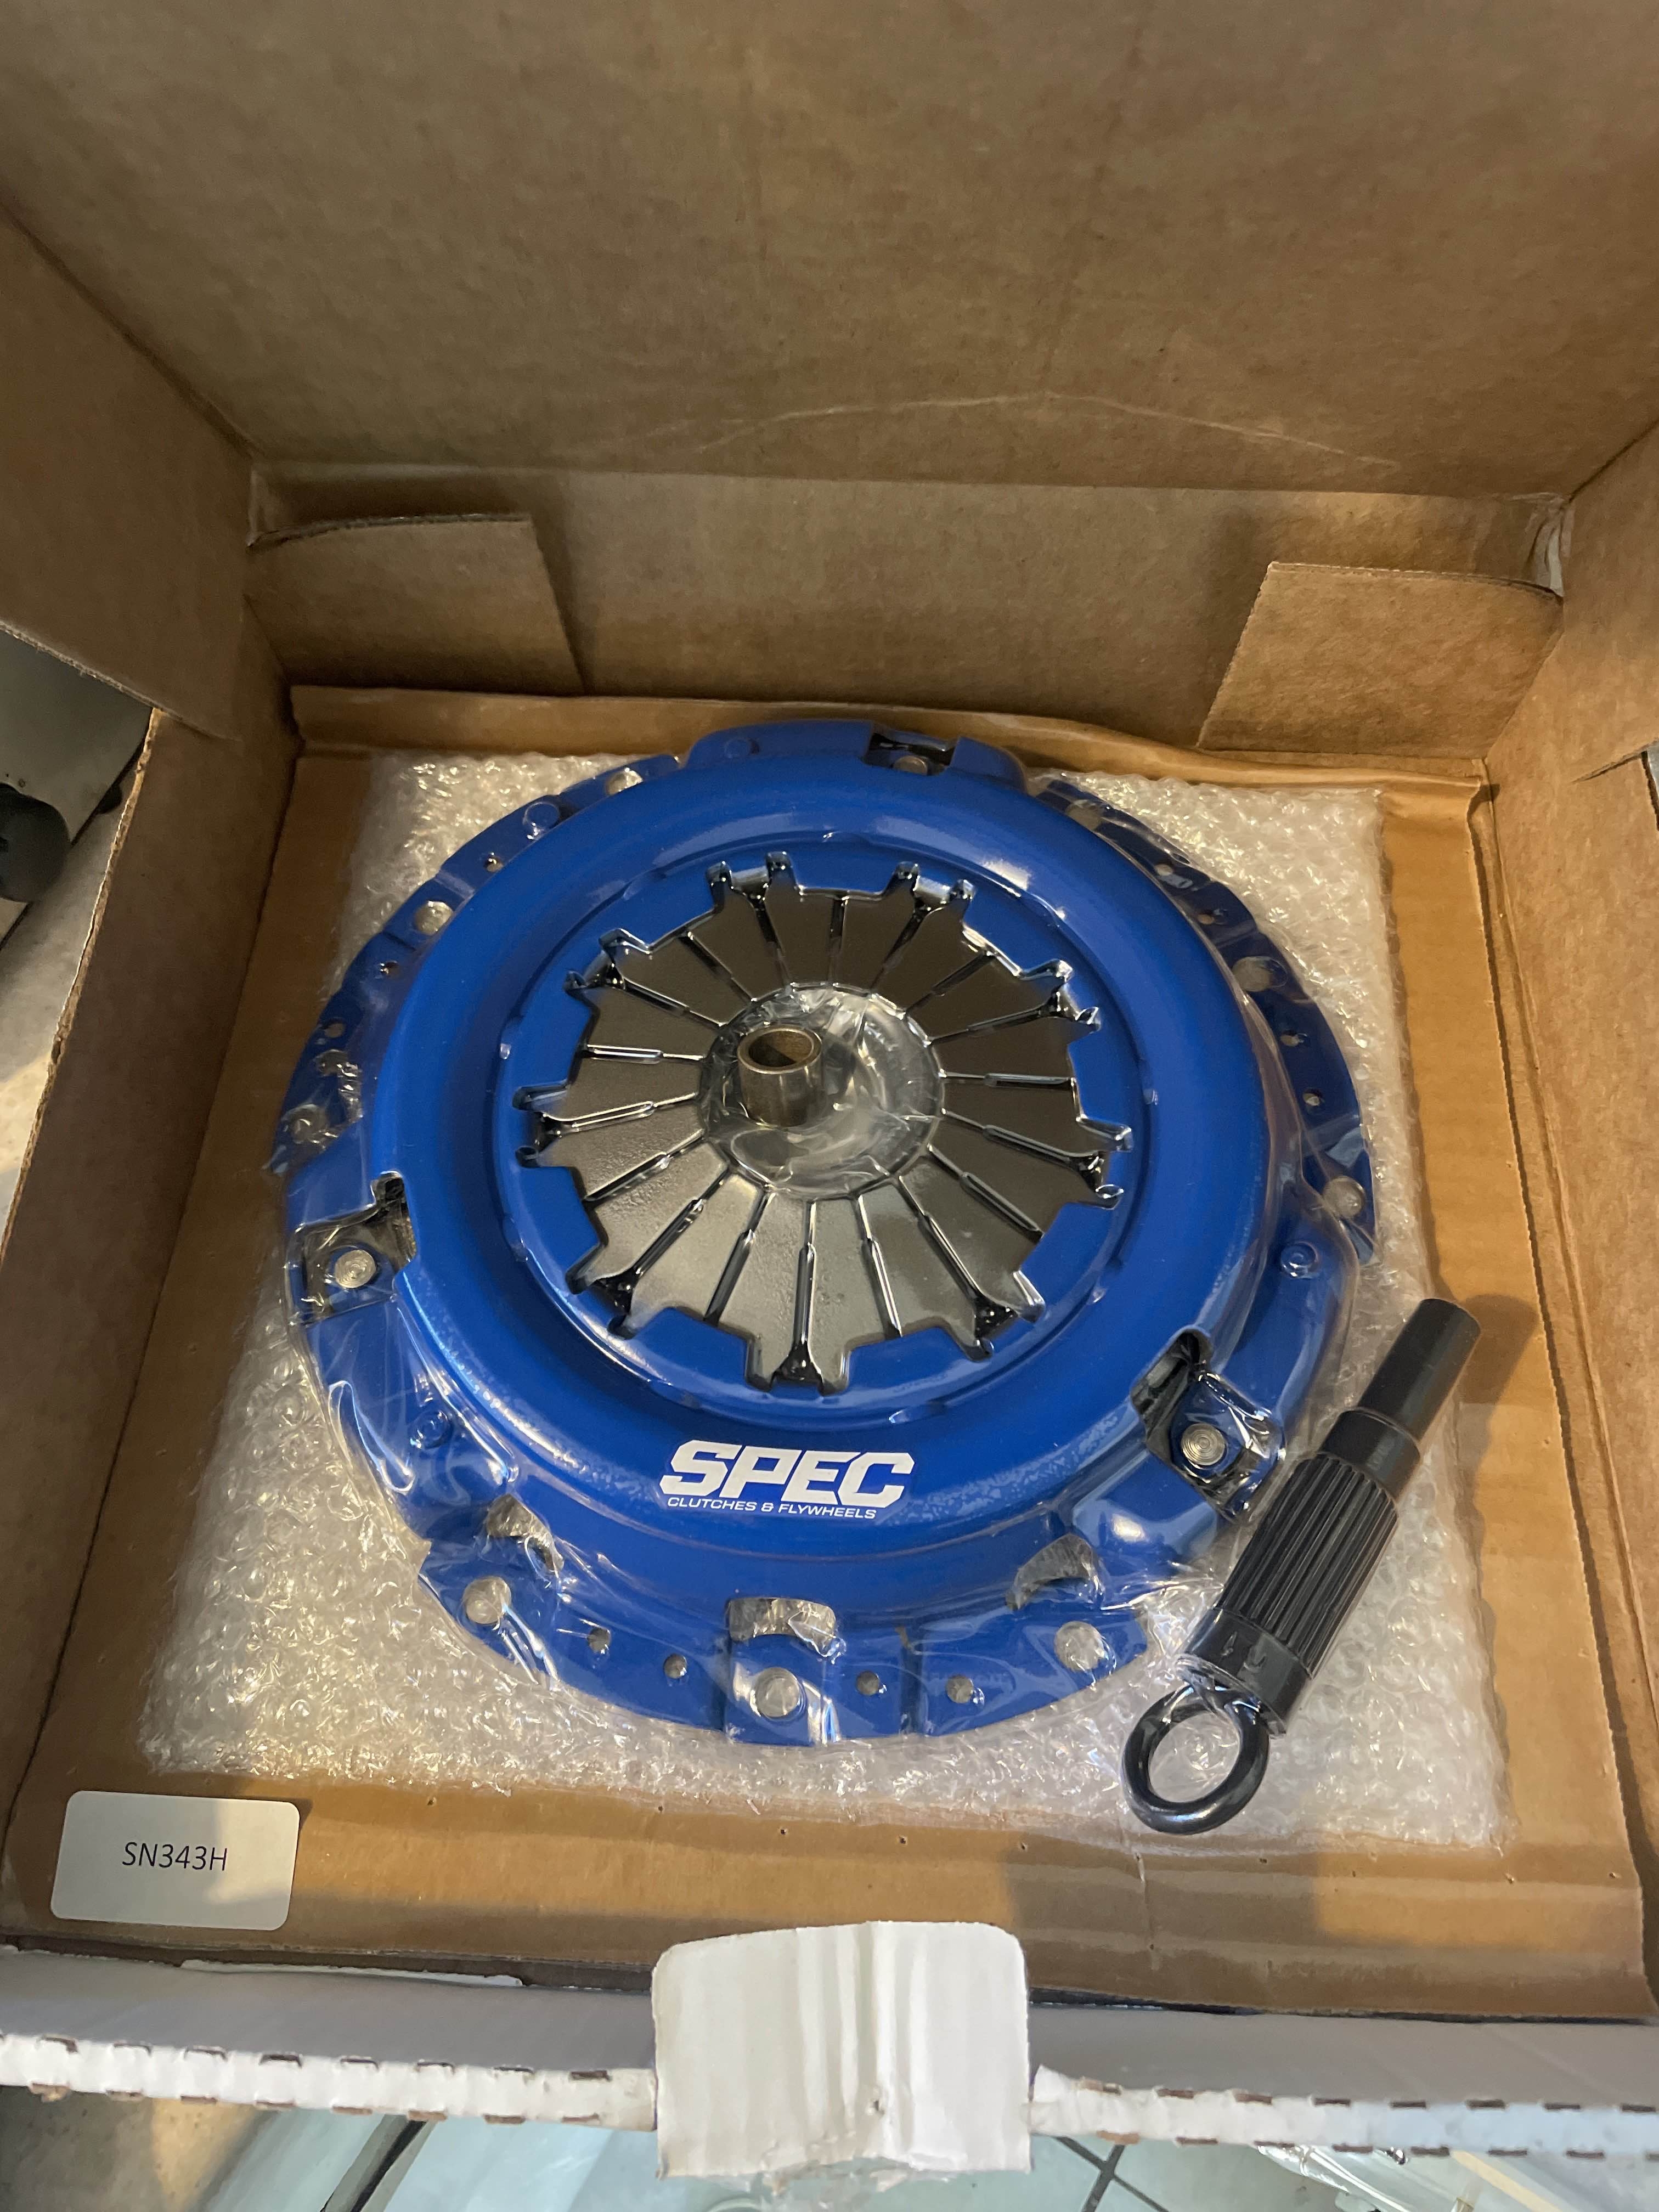
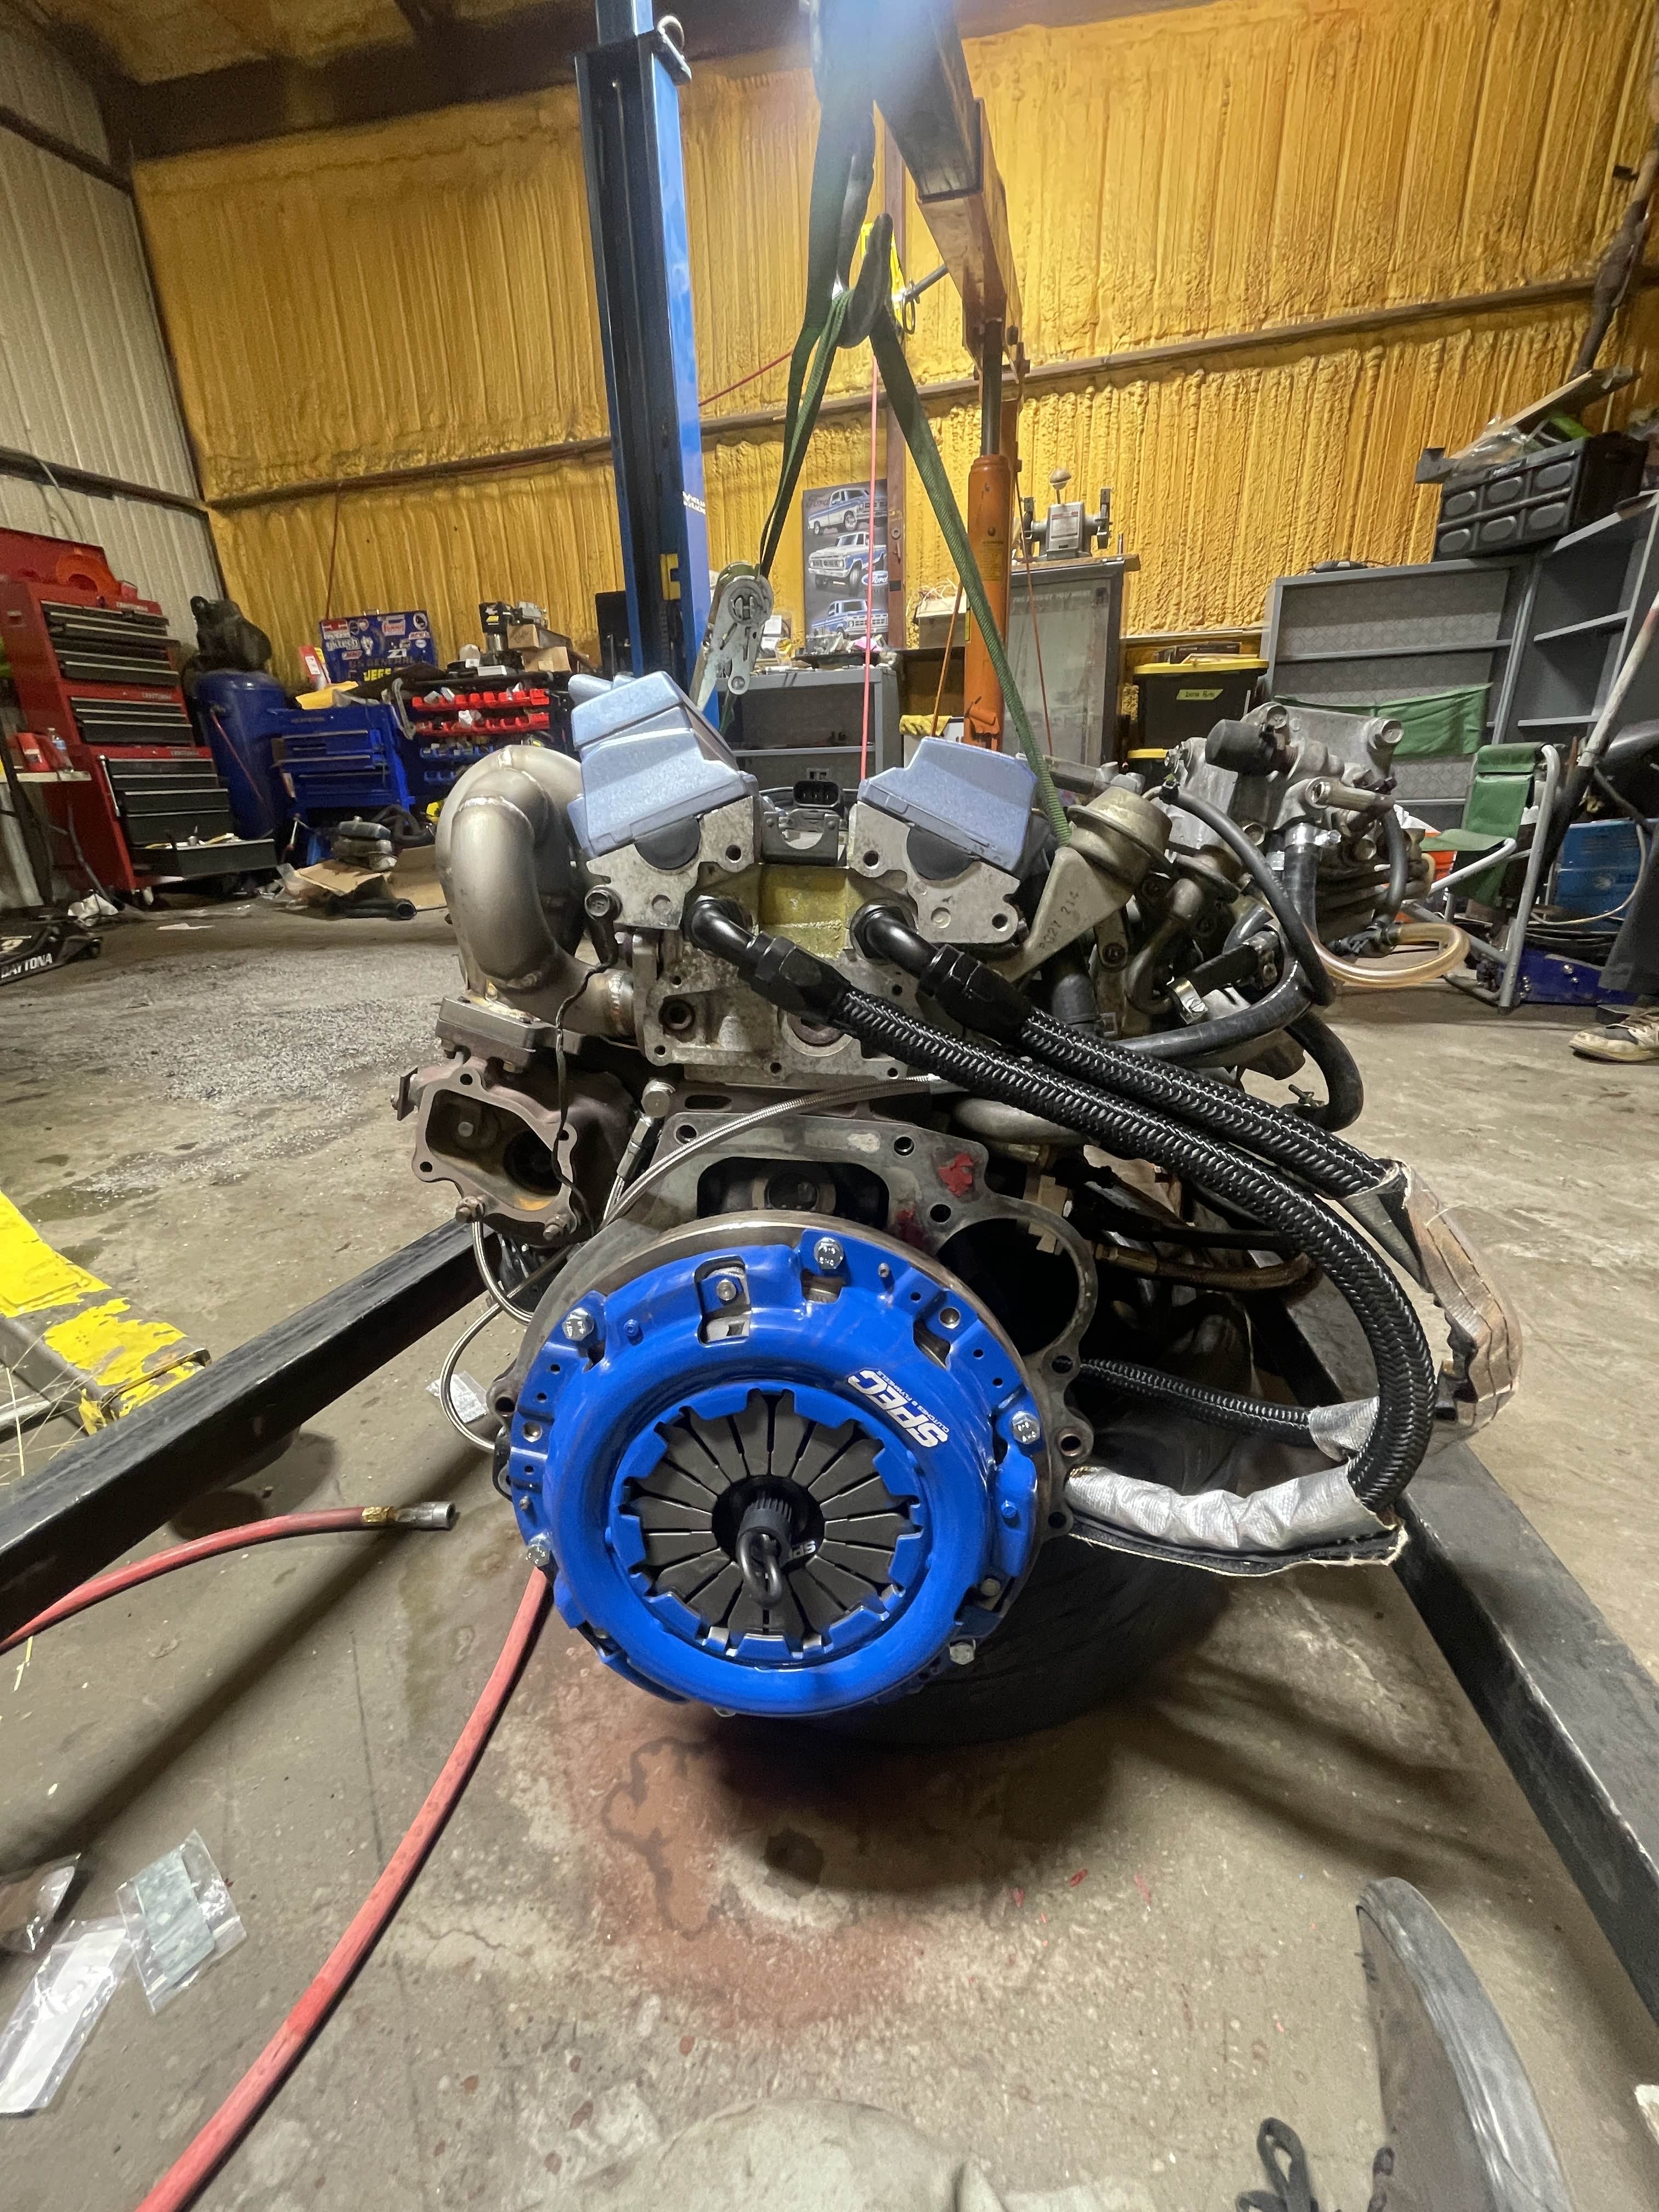
New Clutch is in! Spec Stage 2+, advertised to be more streetable than the normal stage 2, but will have to see once it's in the car how it compares to my factory one.
Ran the vacuum line for the wastegate similar to how branson's SR is set up.
Mounted up the Head drains, just need to mock it up with the pan and get the bungs welded to it! Also rebuilt my fuel injectors and went ahead and put the rail in, crossing fingers they all work. Was about to put the valve cover gaskets on to finish up the top of the motor but turns out the ones supplied in the cometic kit were totally wrong! So got some ordered off Rockauto and will get those buttoned up next time I'm out there.
While I wait on parts and recoup funds from this all of this mess, trying to get some rest before the next wave of classes begin right as I want to throw this engine in ٭(•﹏•)٭
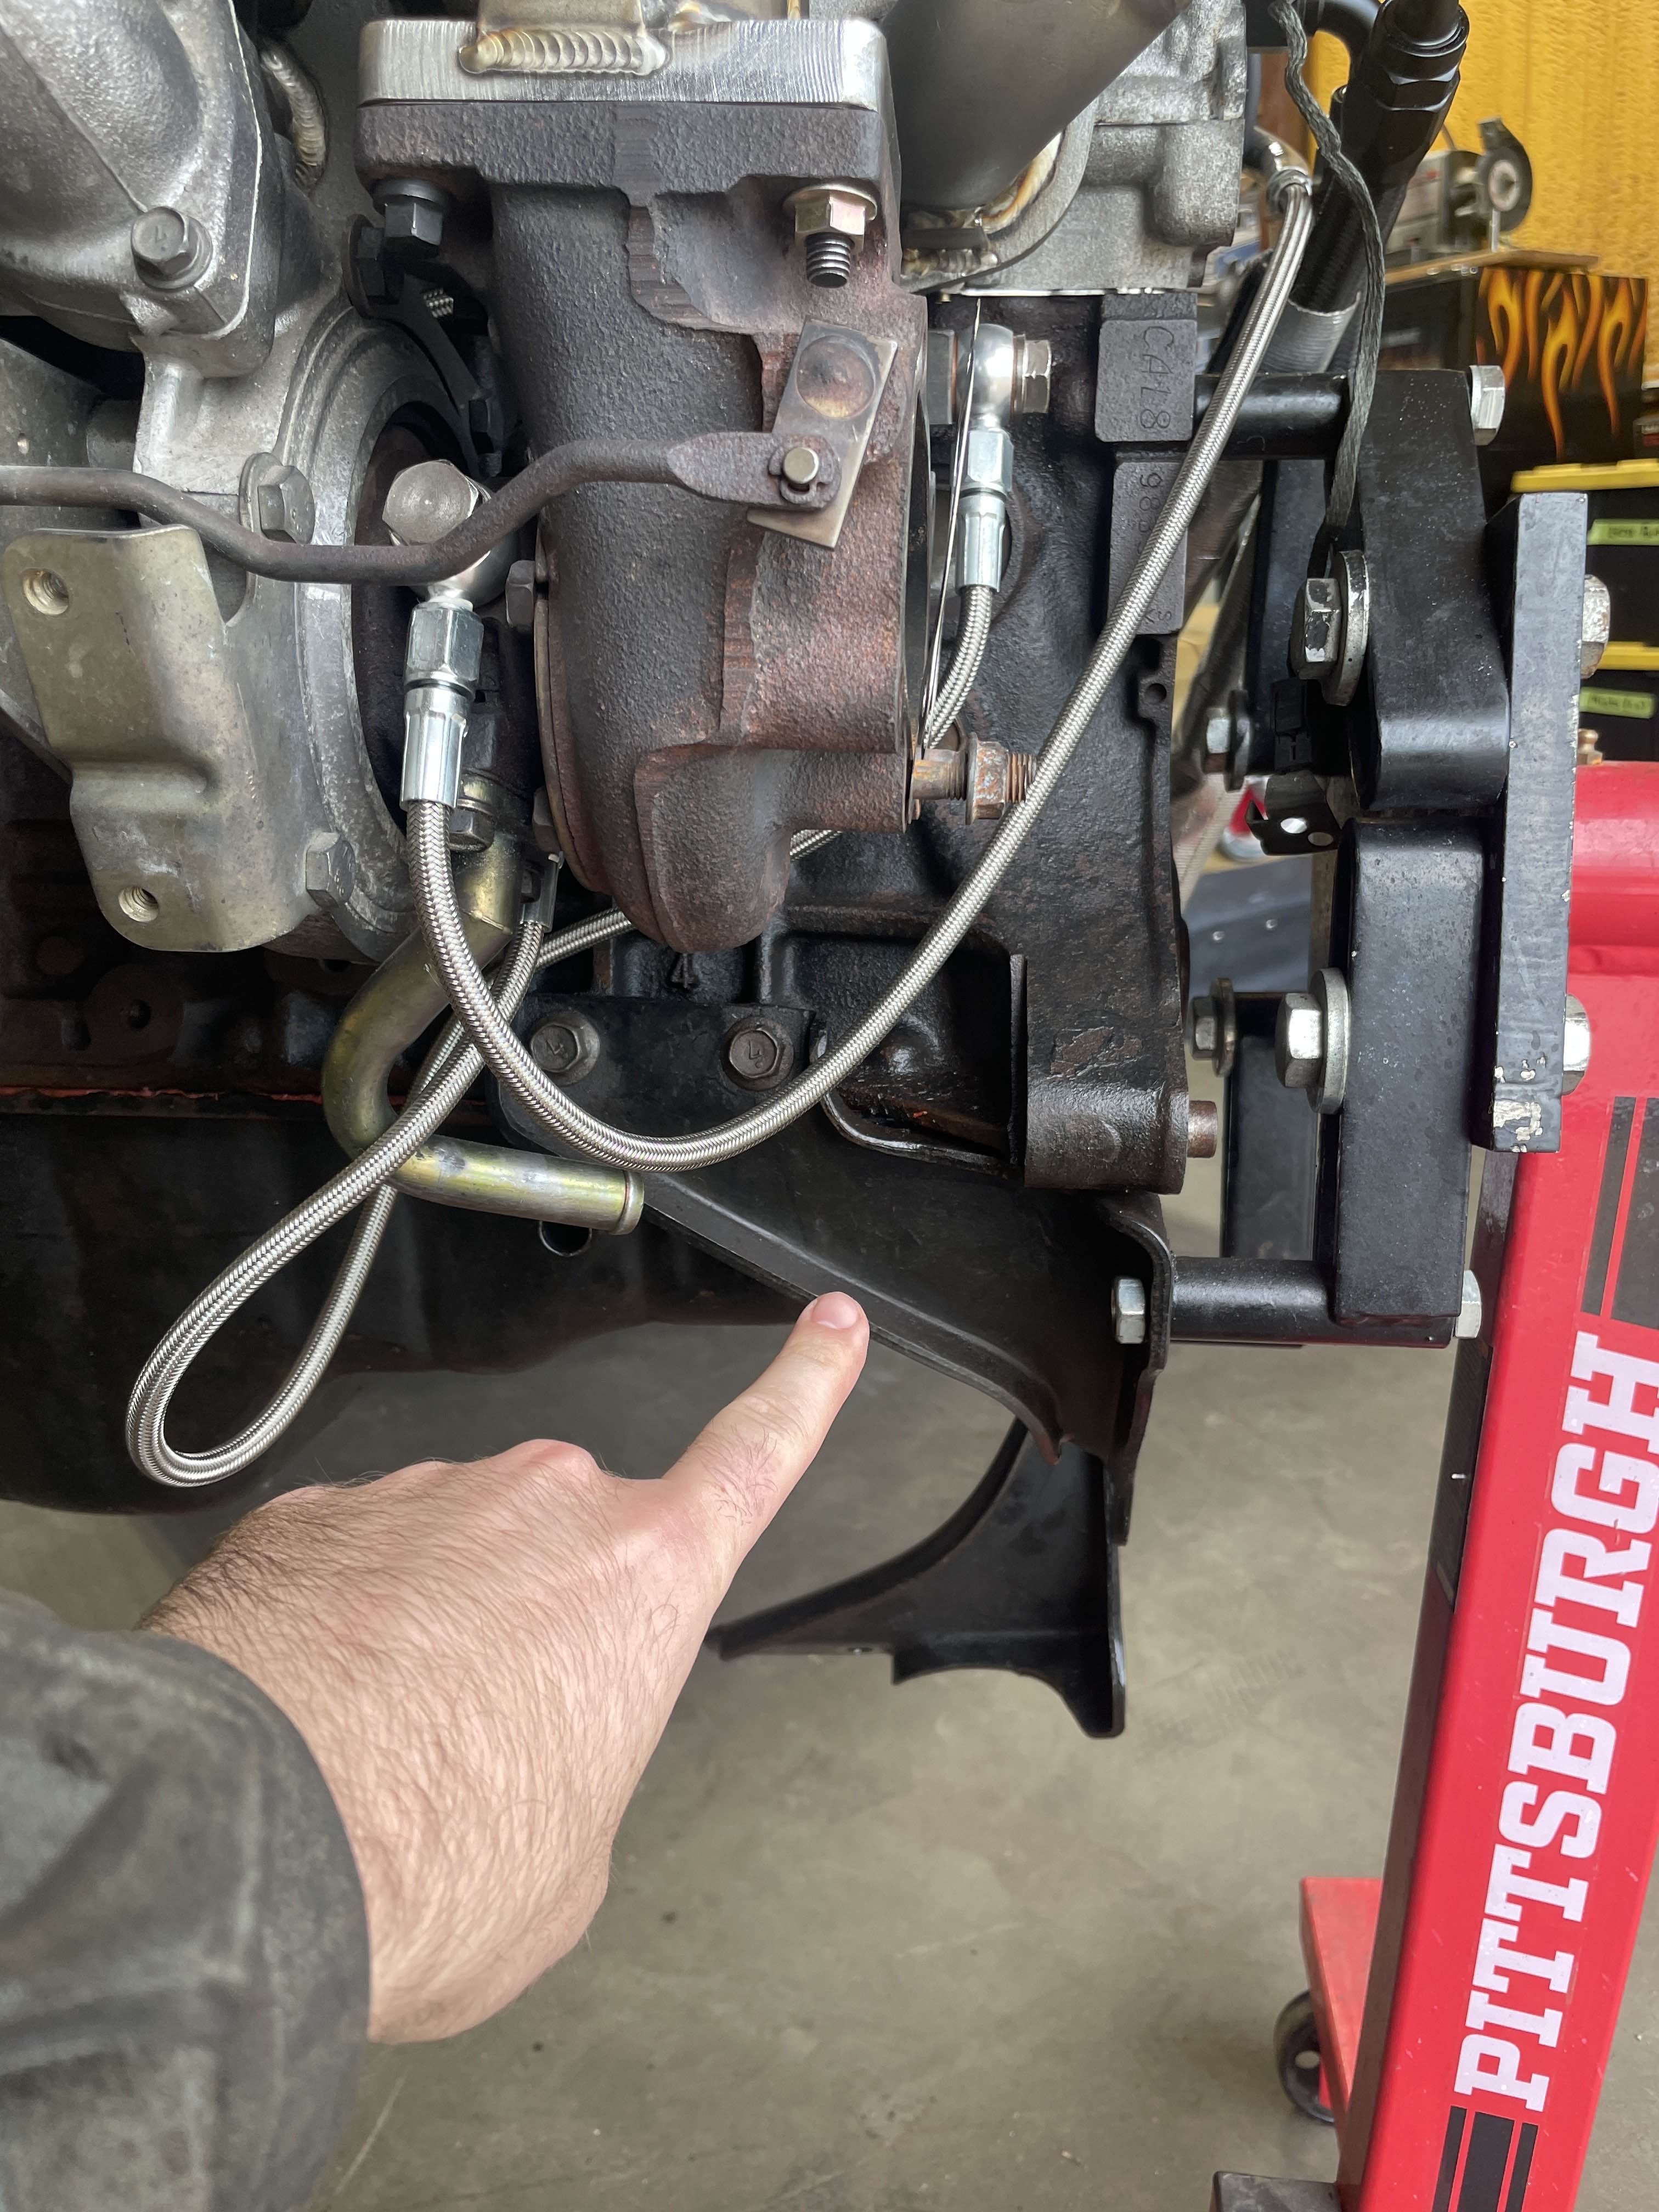
As I was deciding where to put the bungs to weld in for my head drain kit, I found that the pre-made AN lines were far too short to go past the transmission brackets, so after consulting the facebook group I decided to remove one, however people typically install these on the hot side because "the rotation of the crank" Instead I found it much easier to just put them on the cold side so that if I ever need to remove them in the future while its in the car its not a major pain in the ass. Also this keeps the hot side from being more cluttered than it already is.
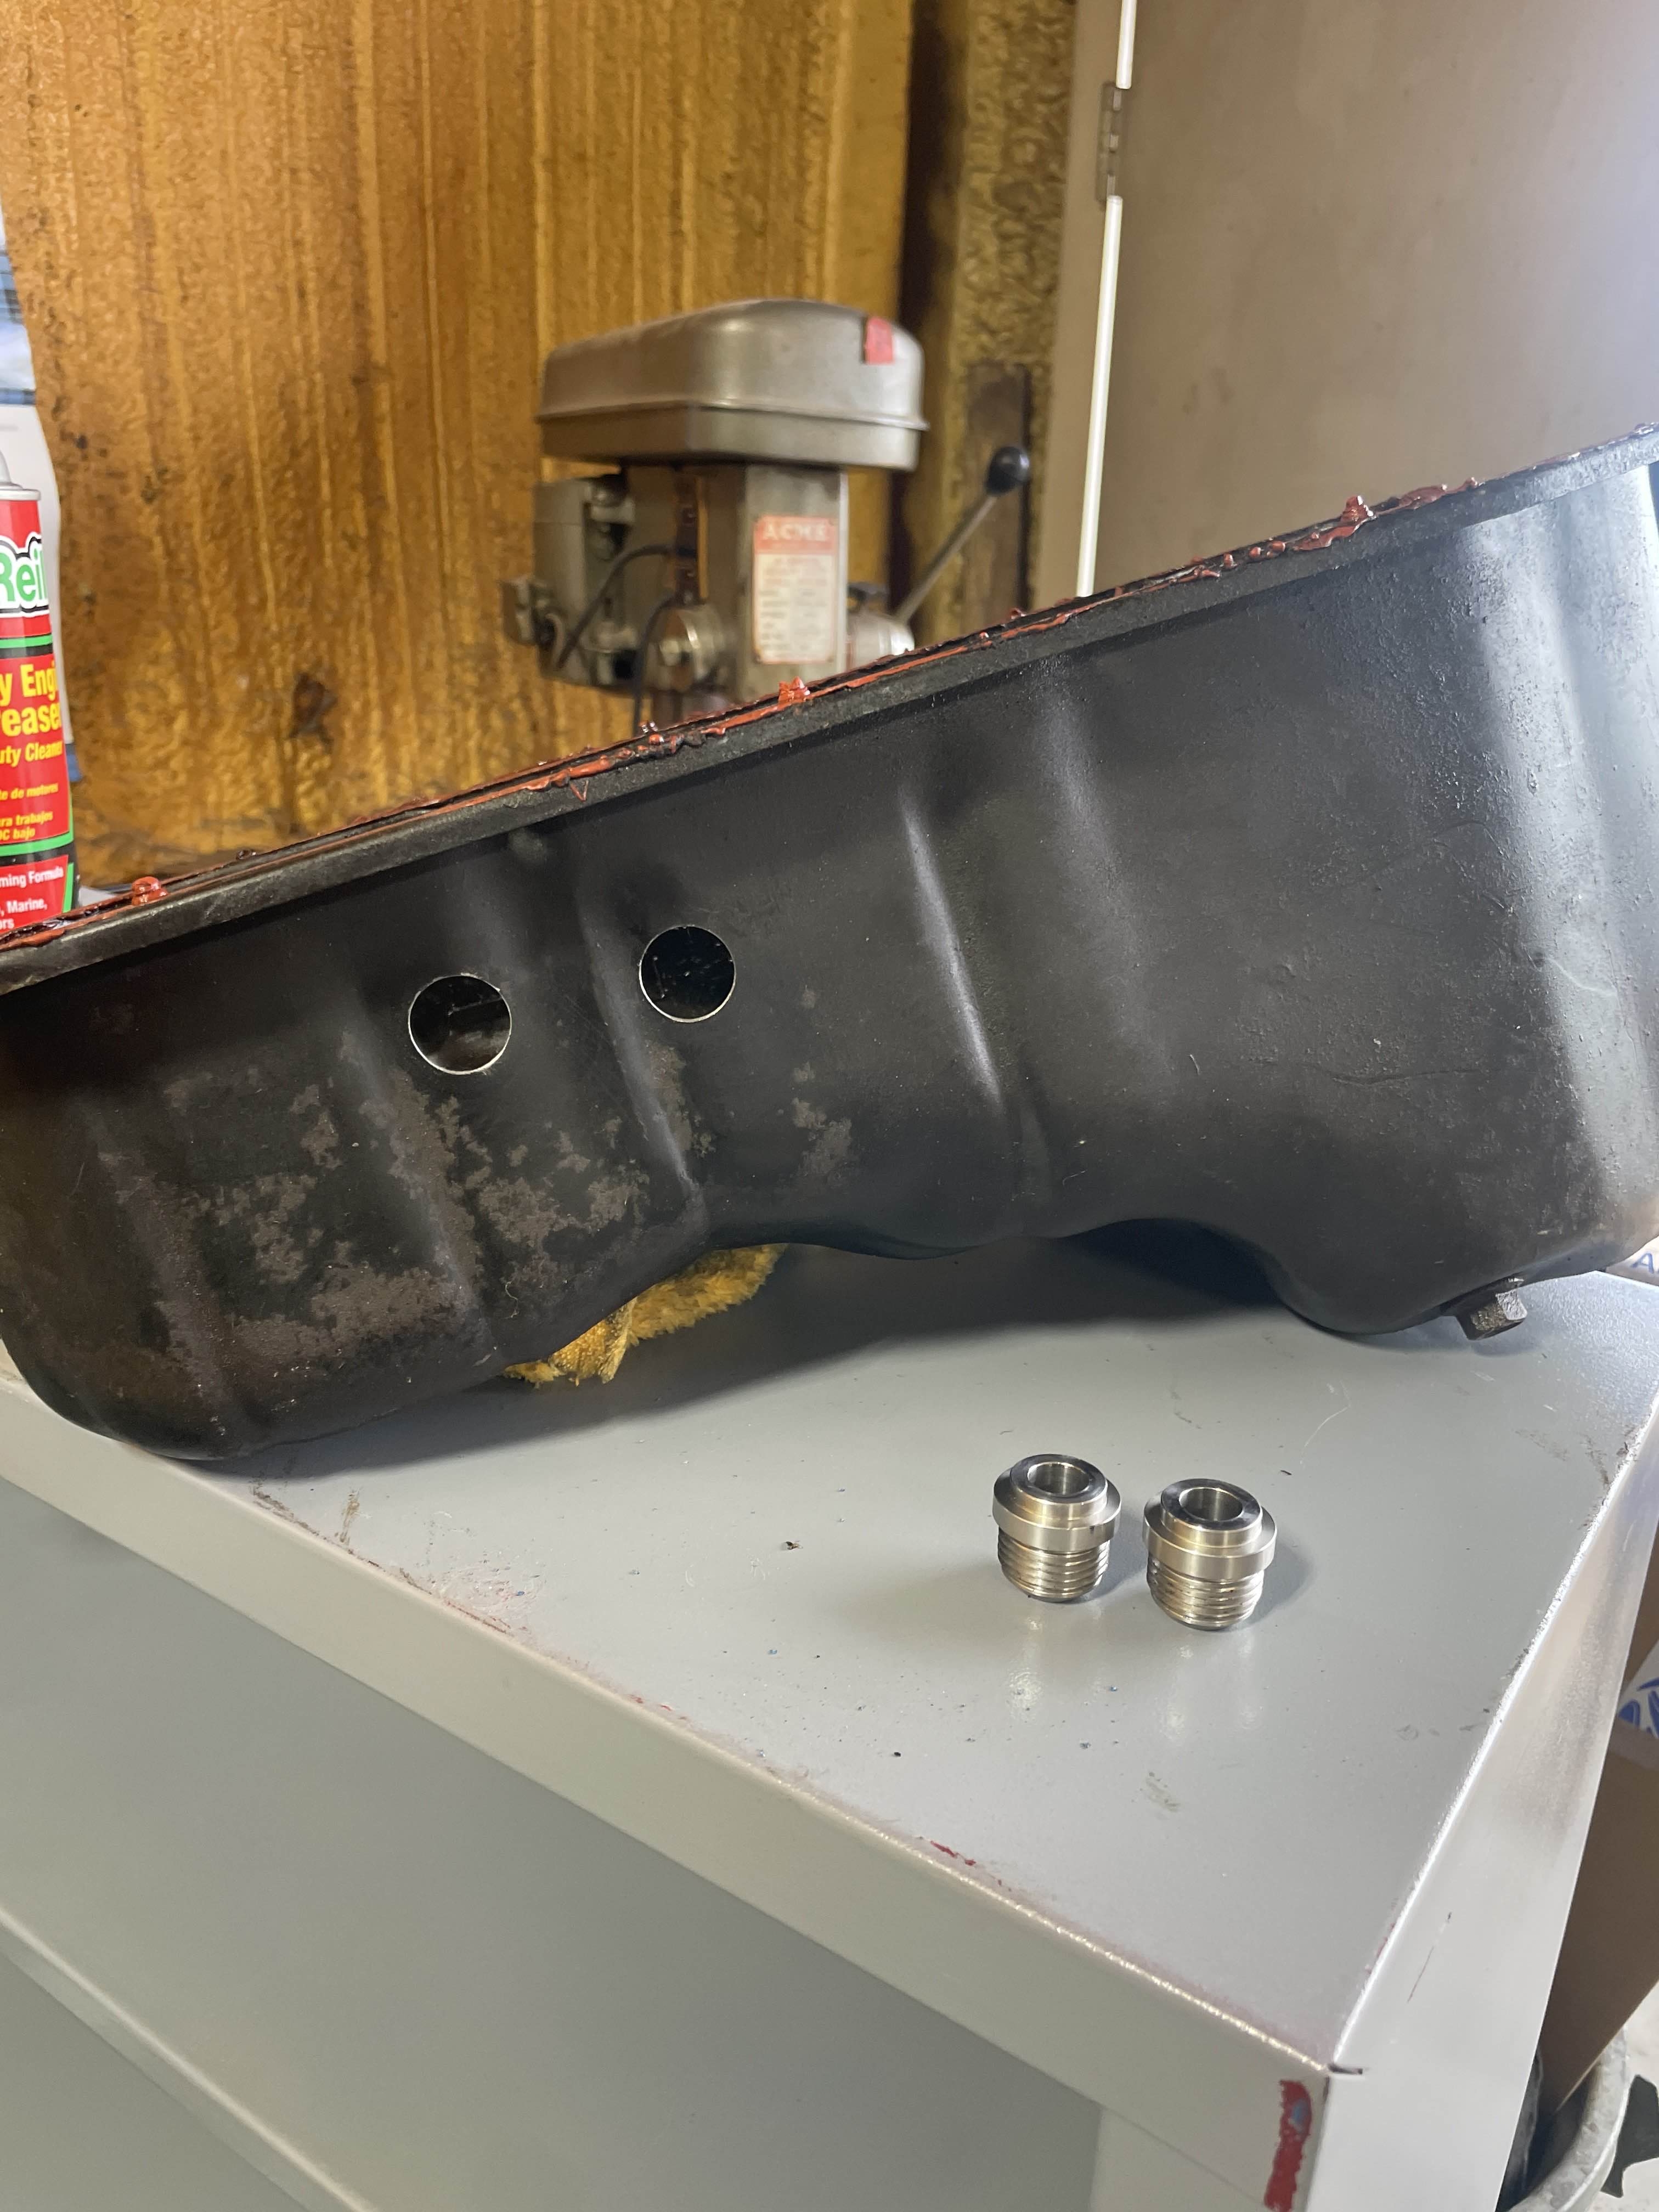
I cut my pan! the christmas tree drill bits worked great, pushing the largest one all the way through gave me the exact clearance I needed!
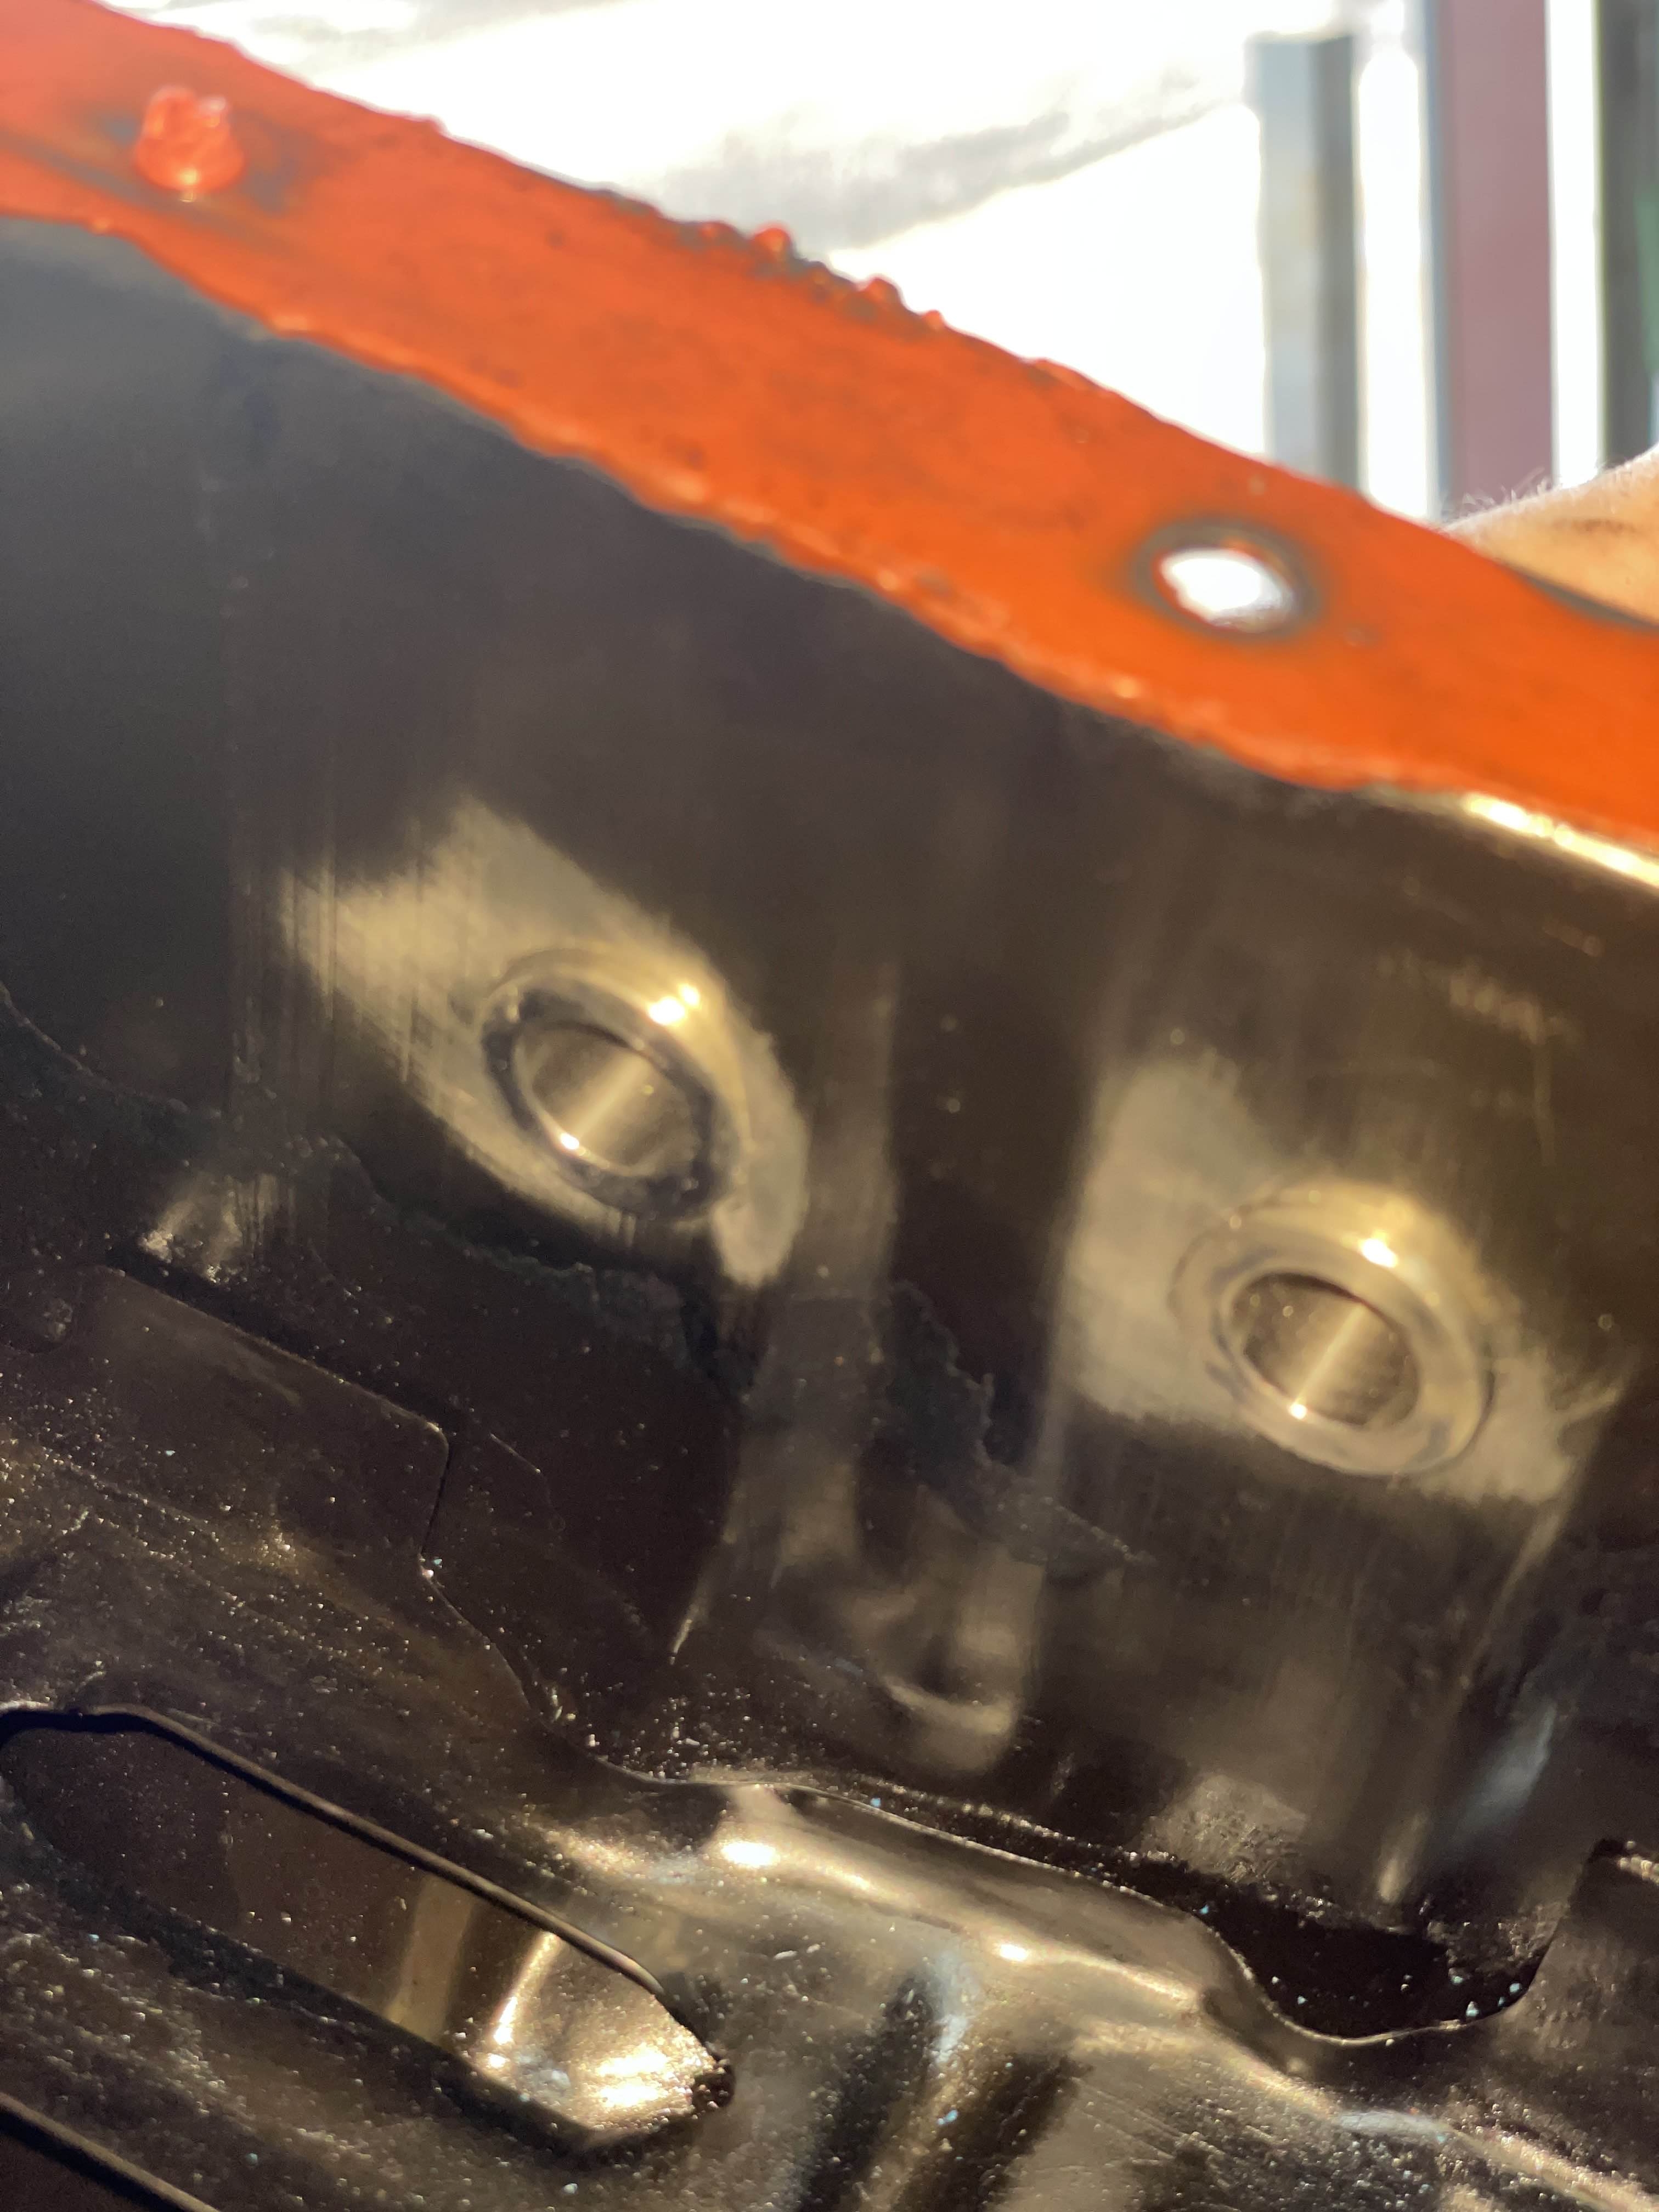
view from inside with bungs in place.
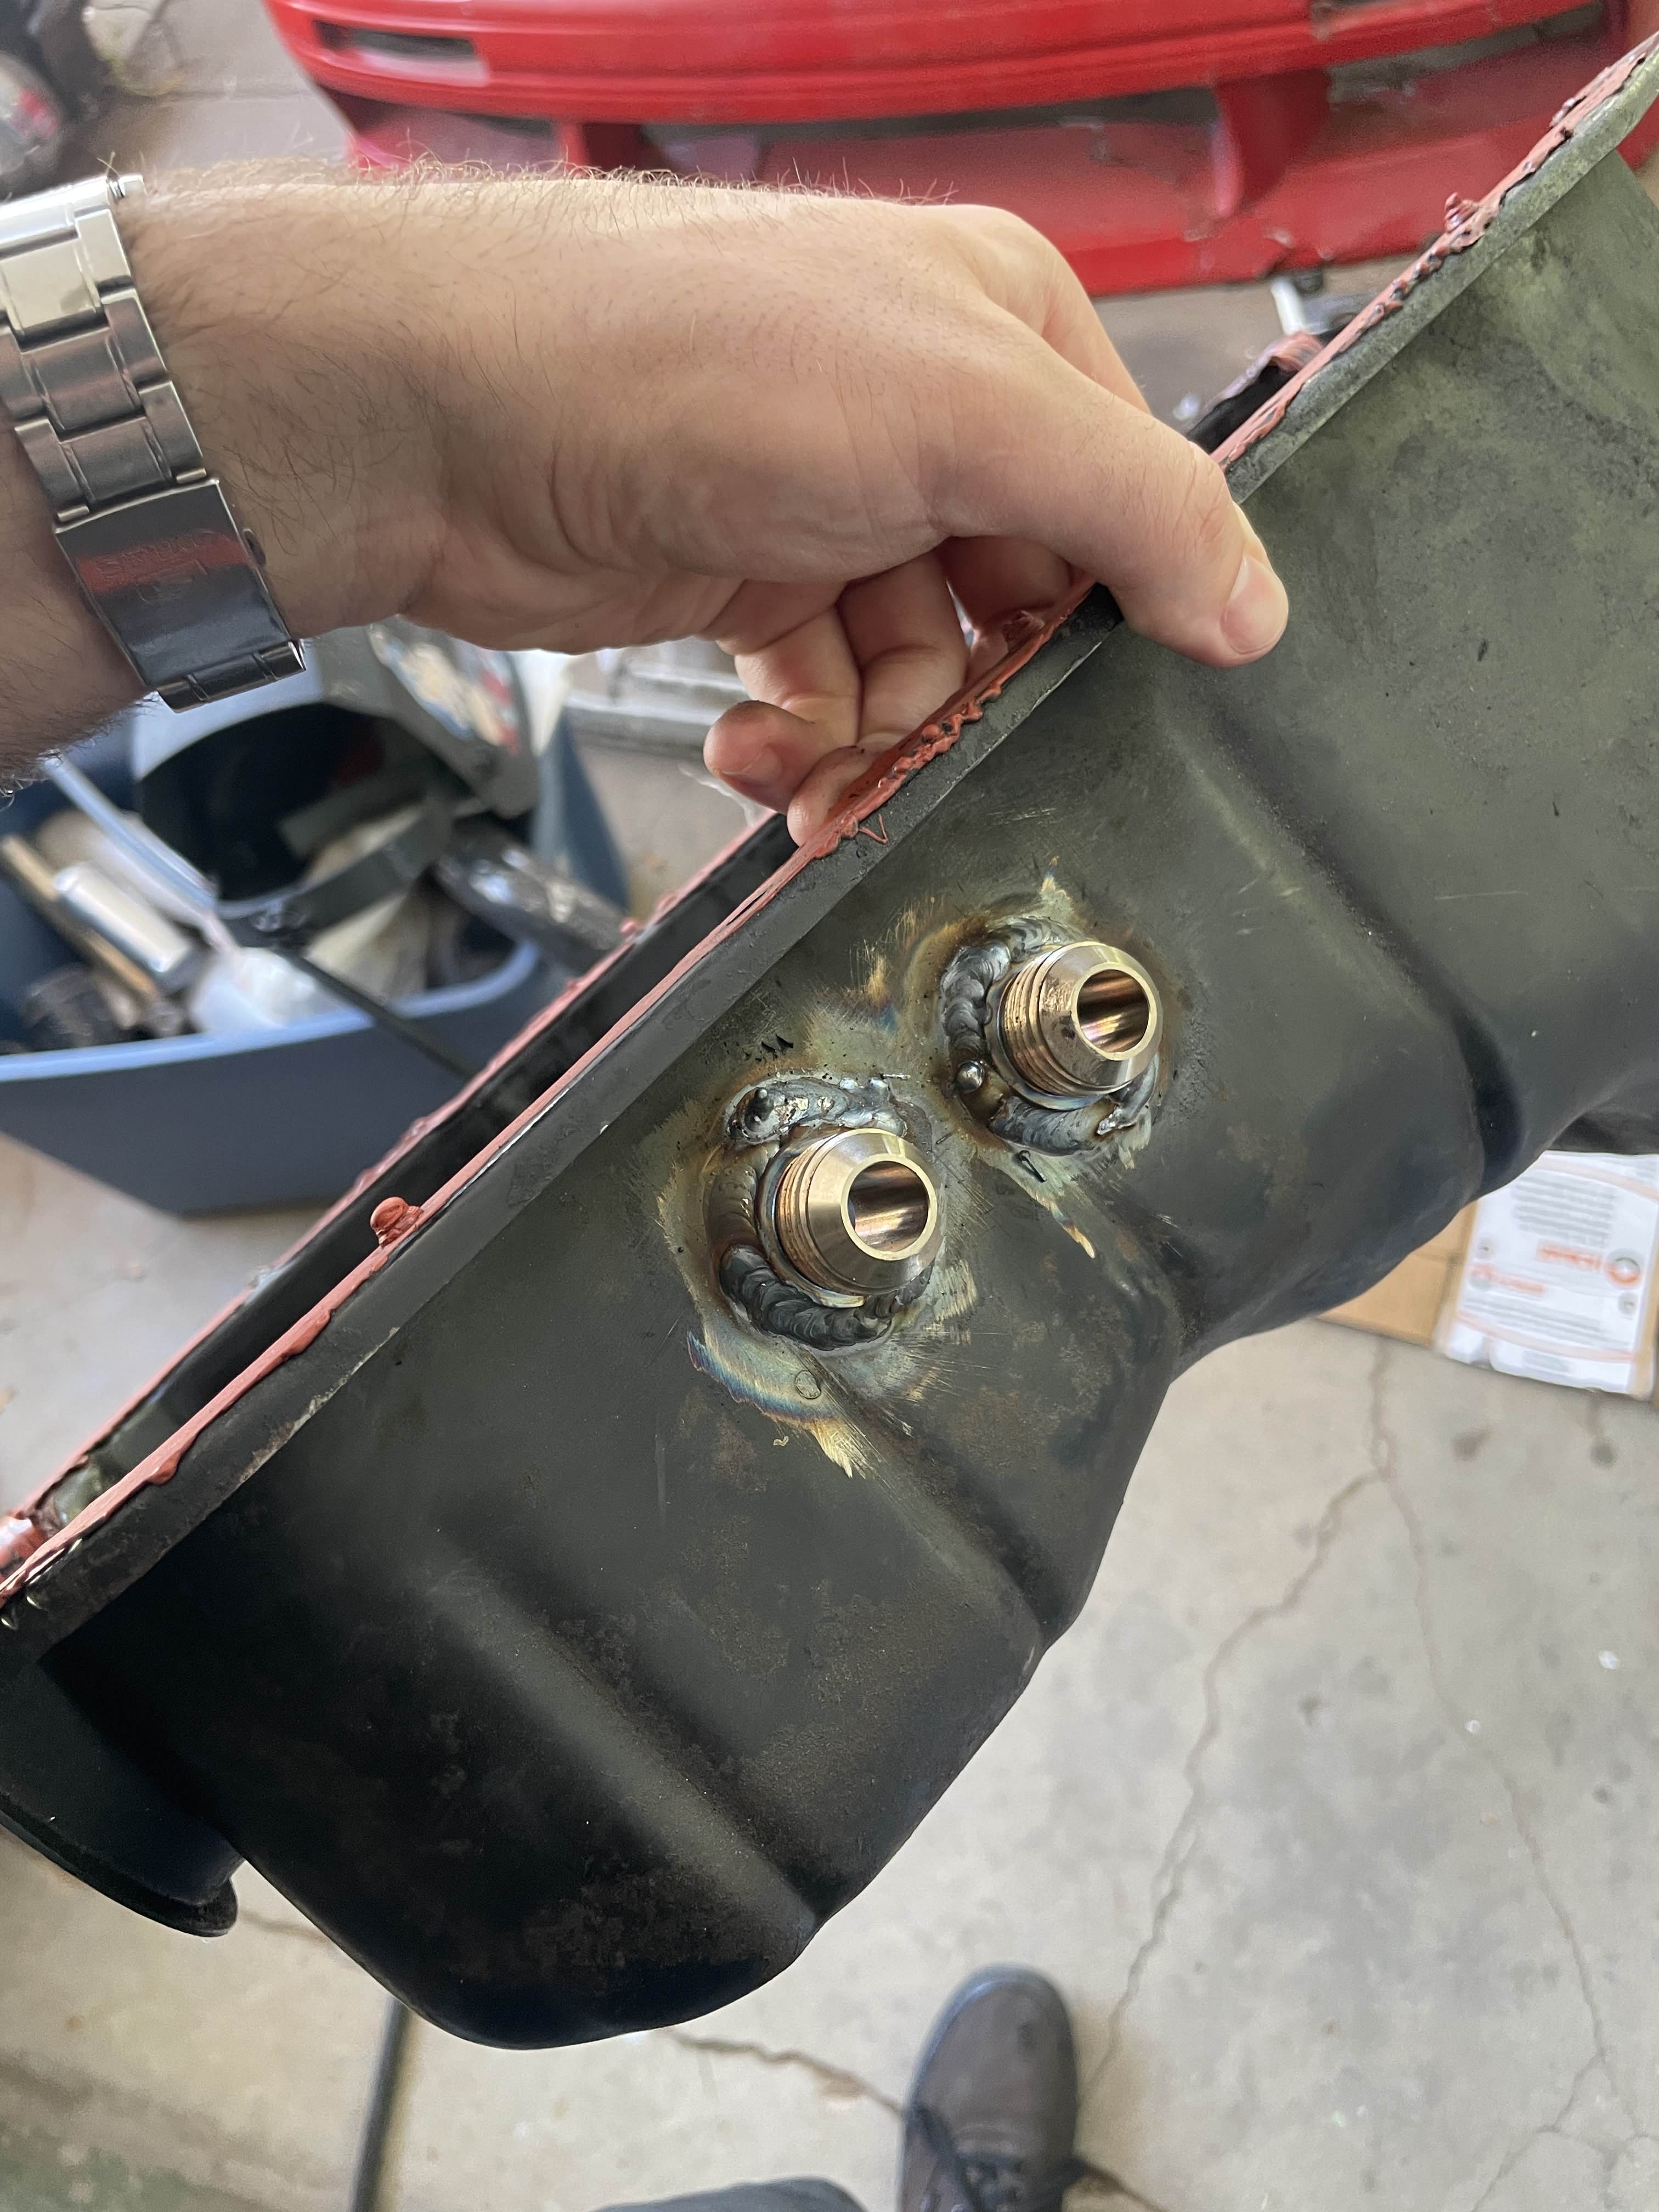
Ty was insistent on letting him weld these little guys in, I was far too nervous to do it myself with this being a fairly important piece. Thank you.
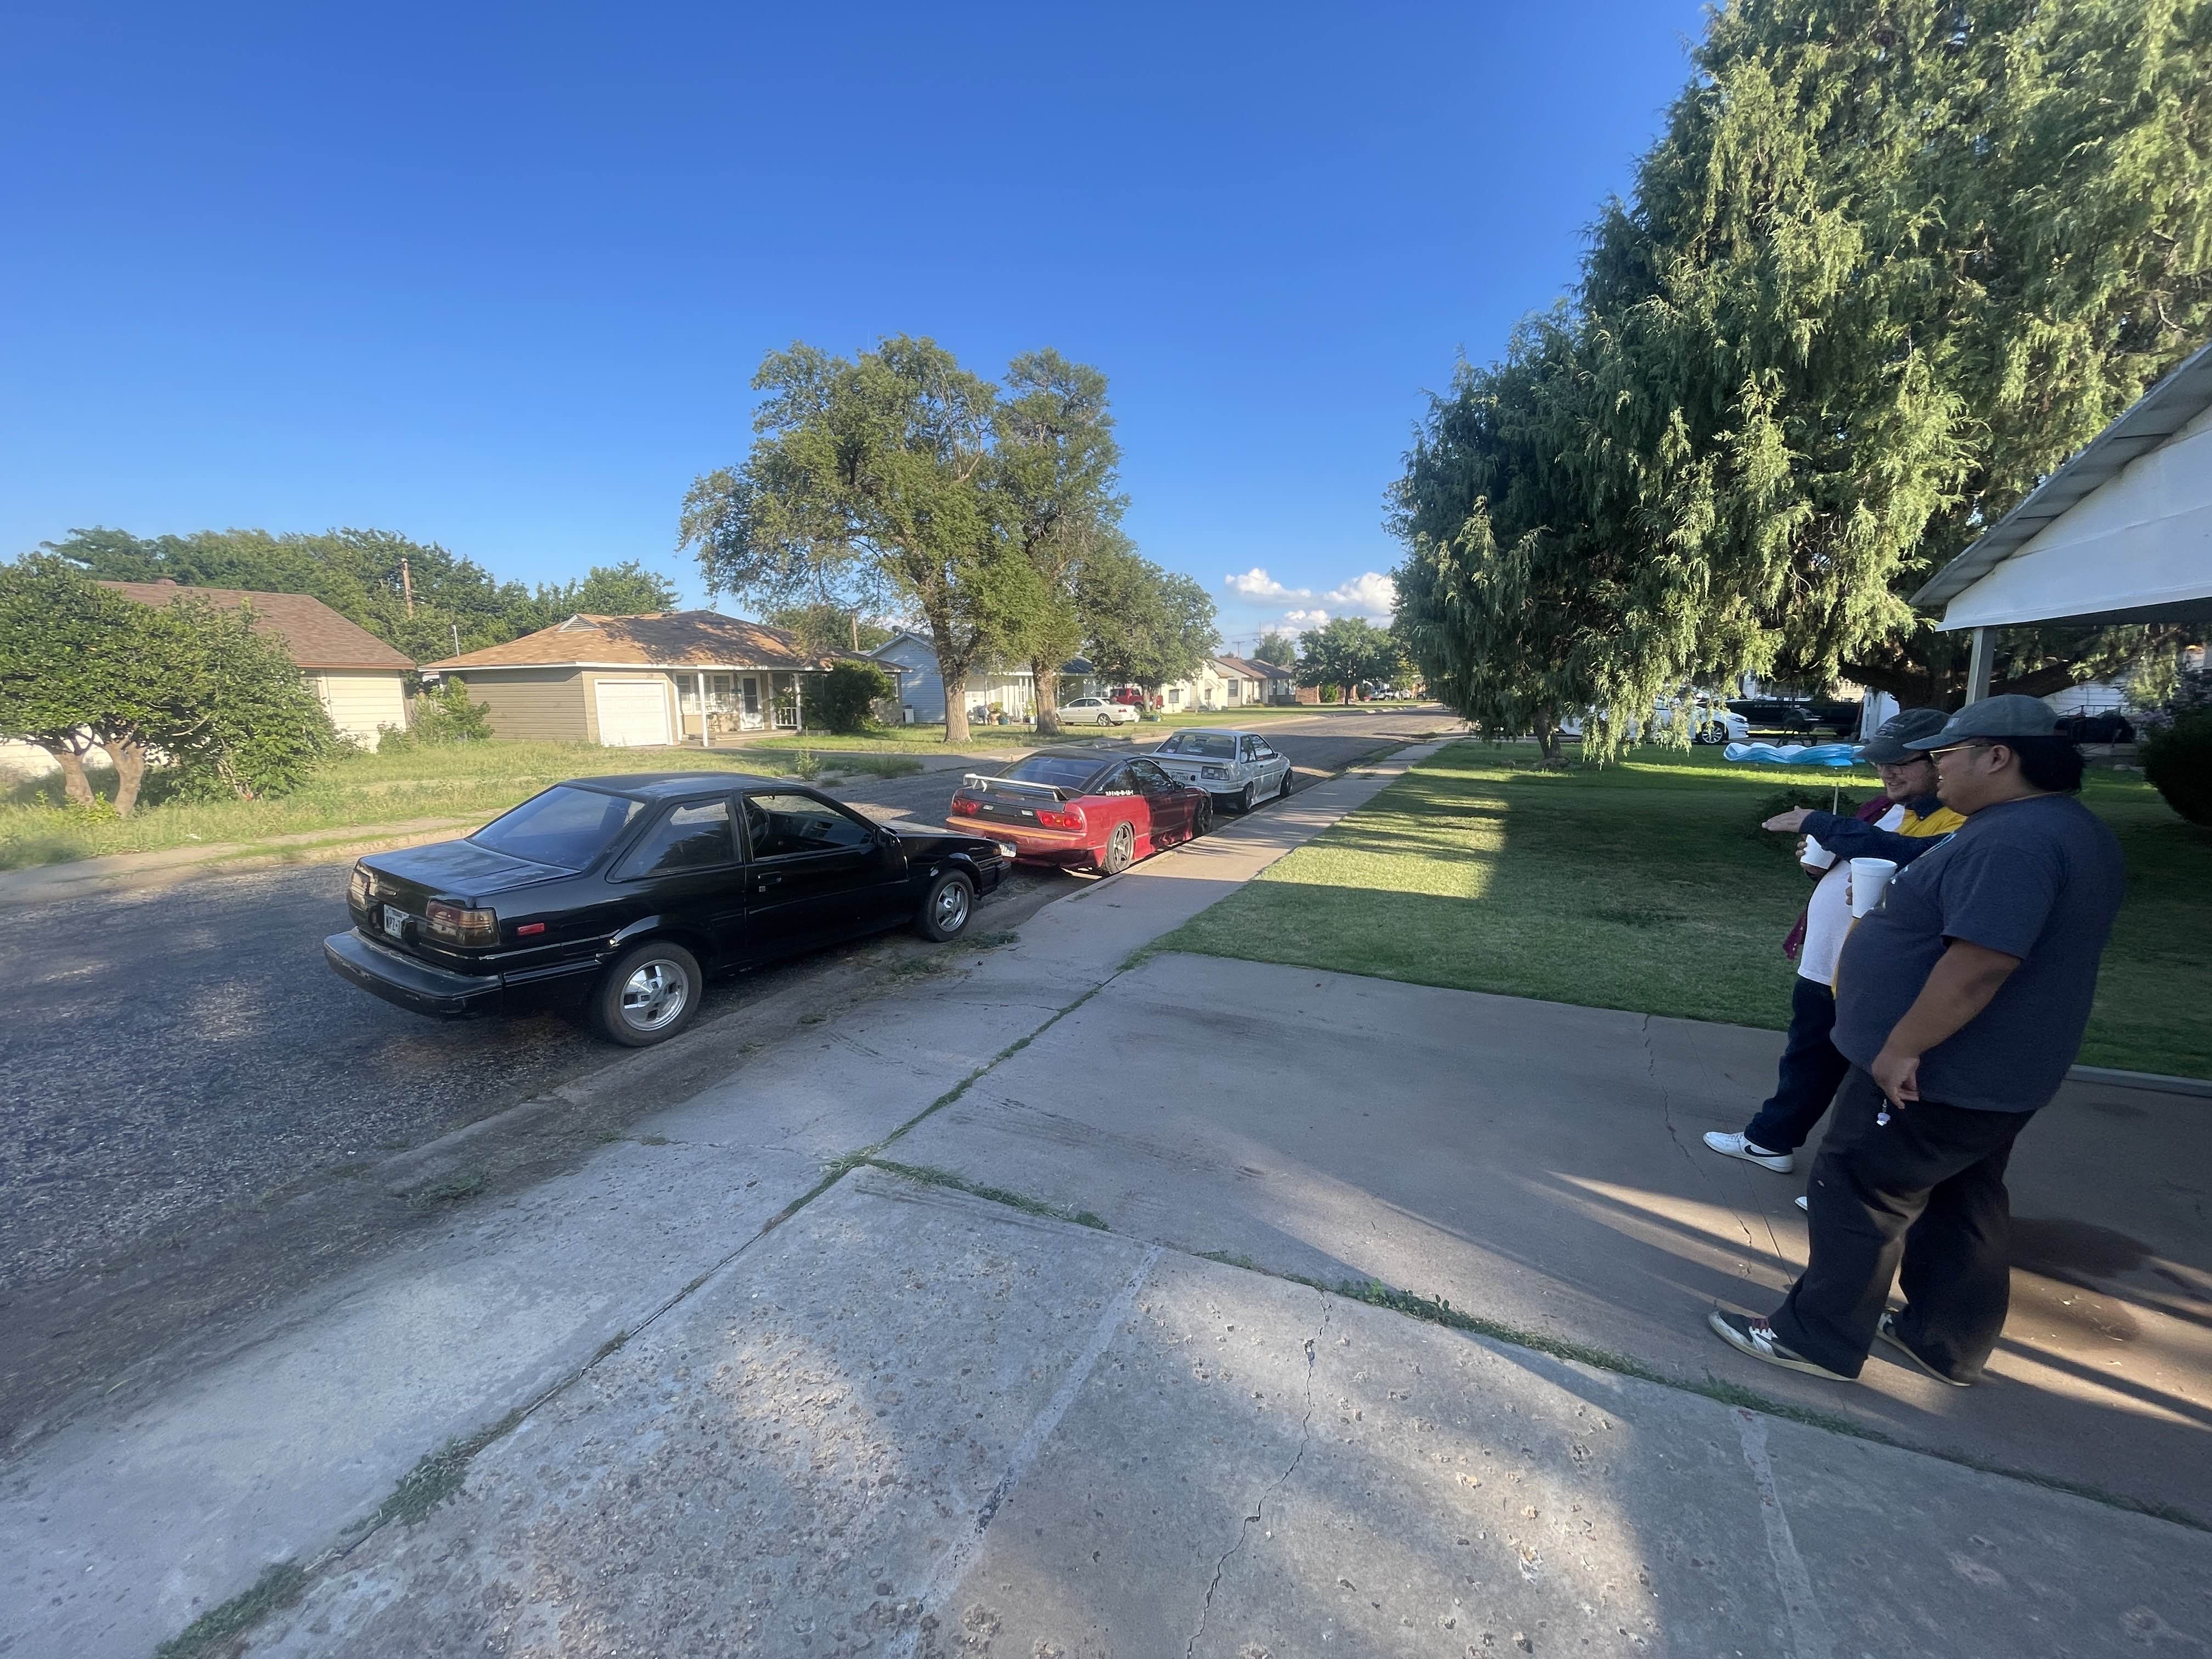
Rode with Branson in his new corolla! (to pick up the pan), took both of the corollas to get some food just after this :)
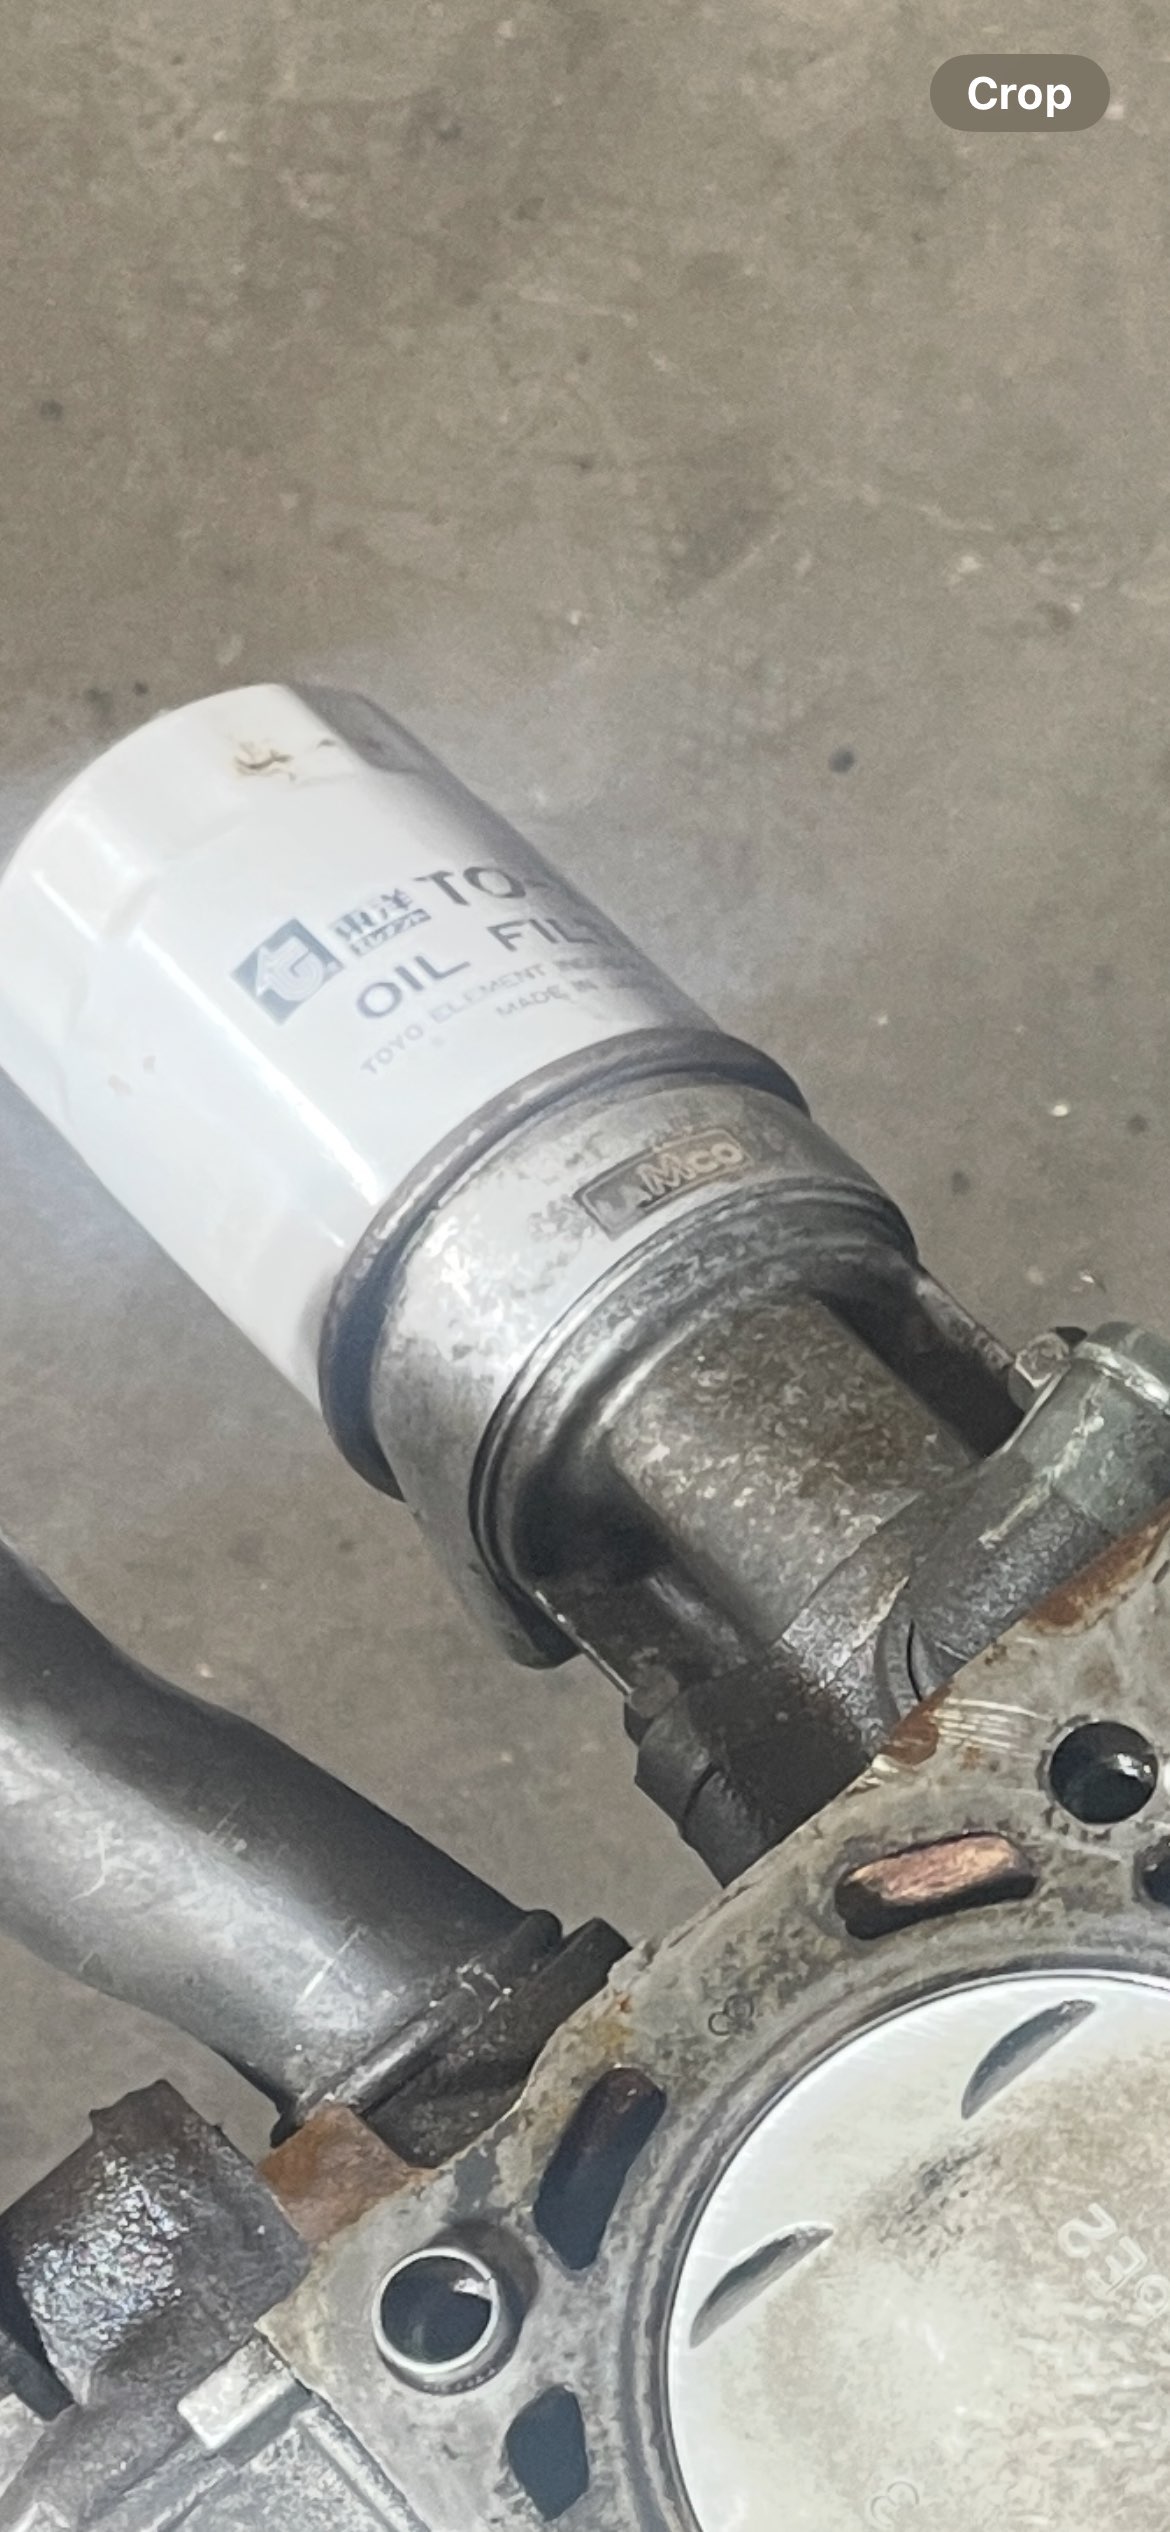
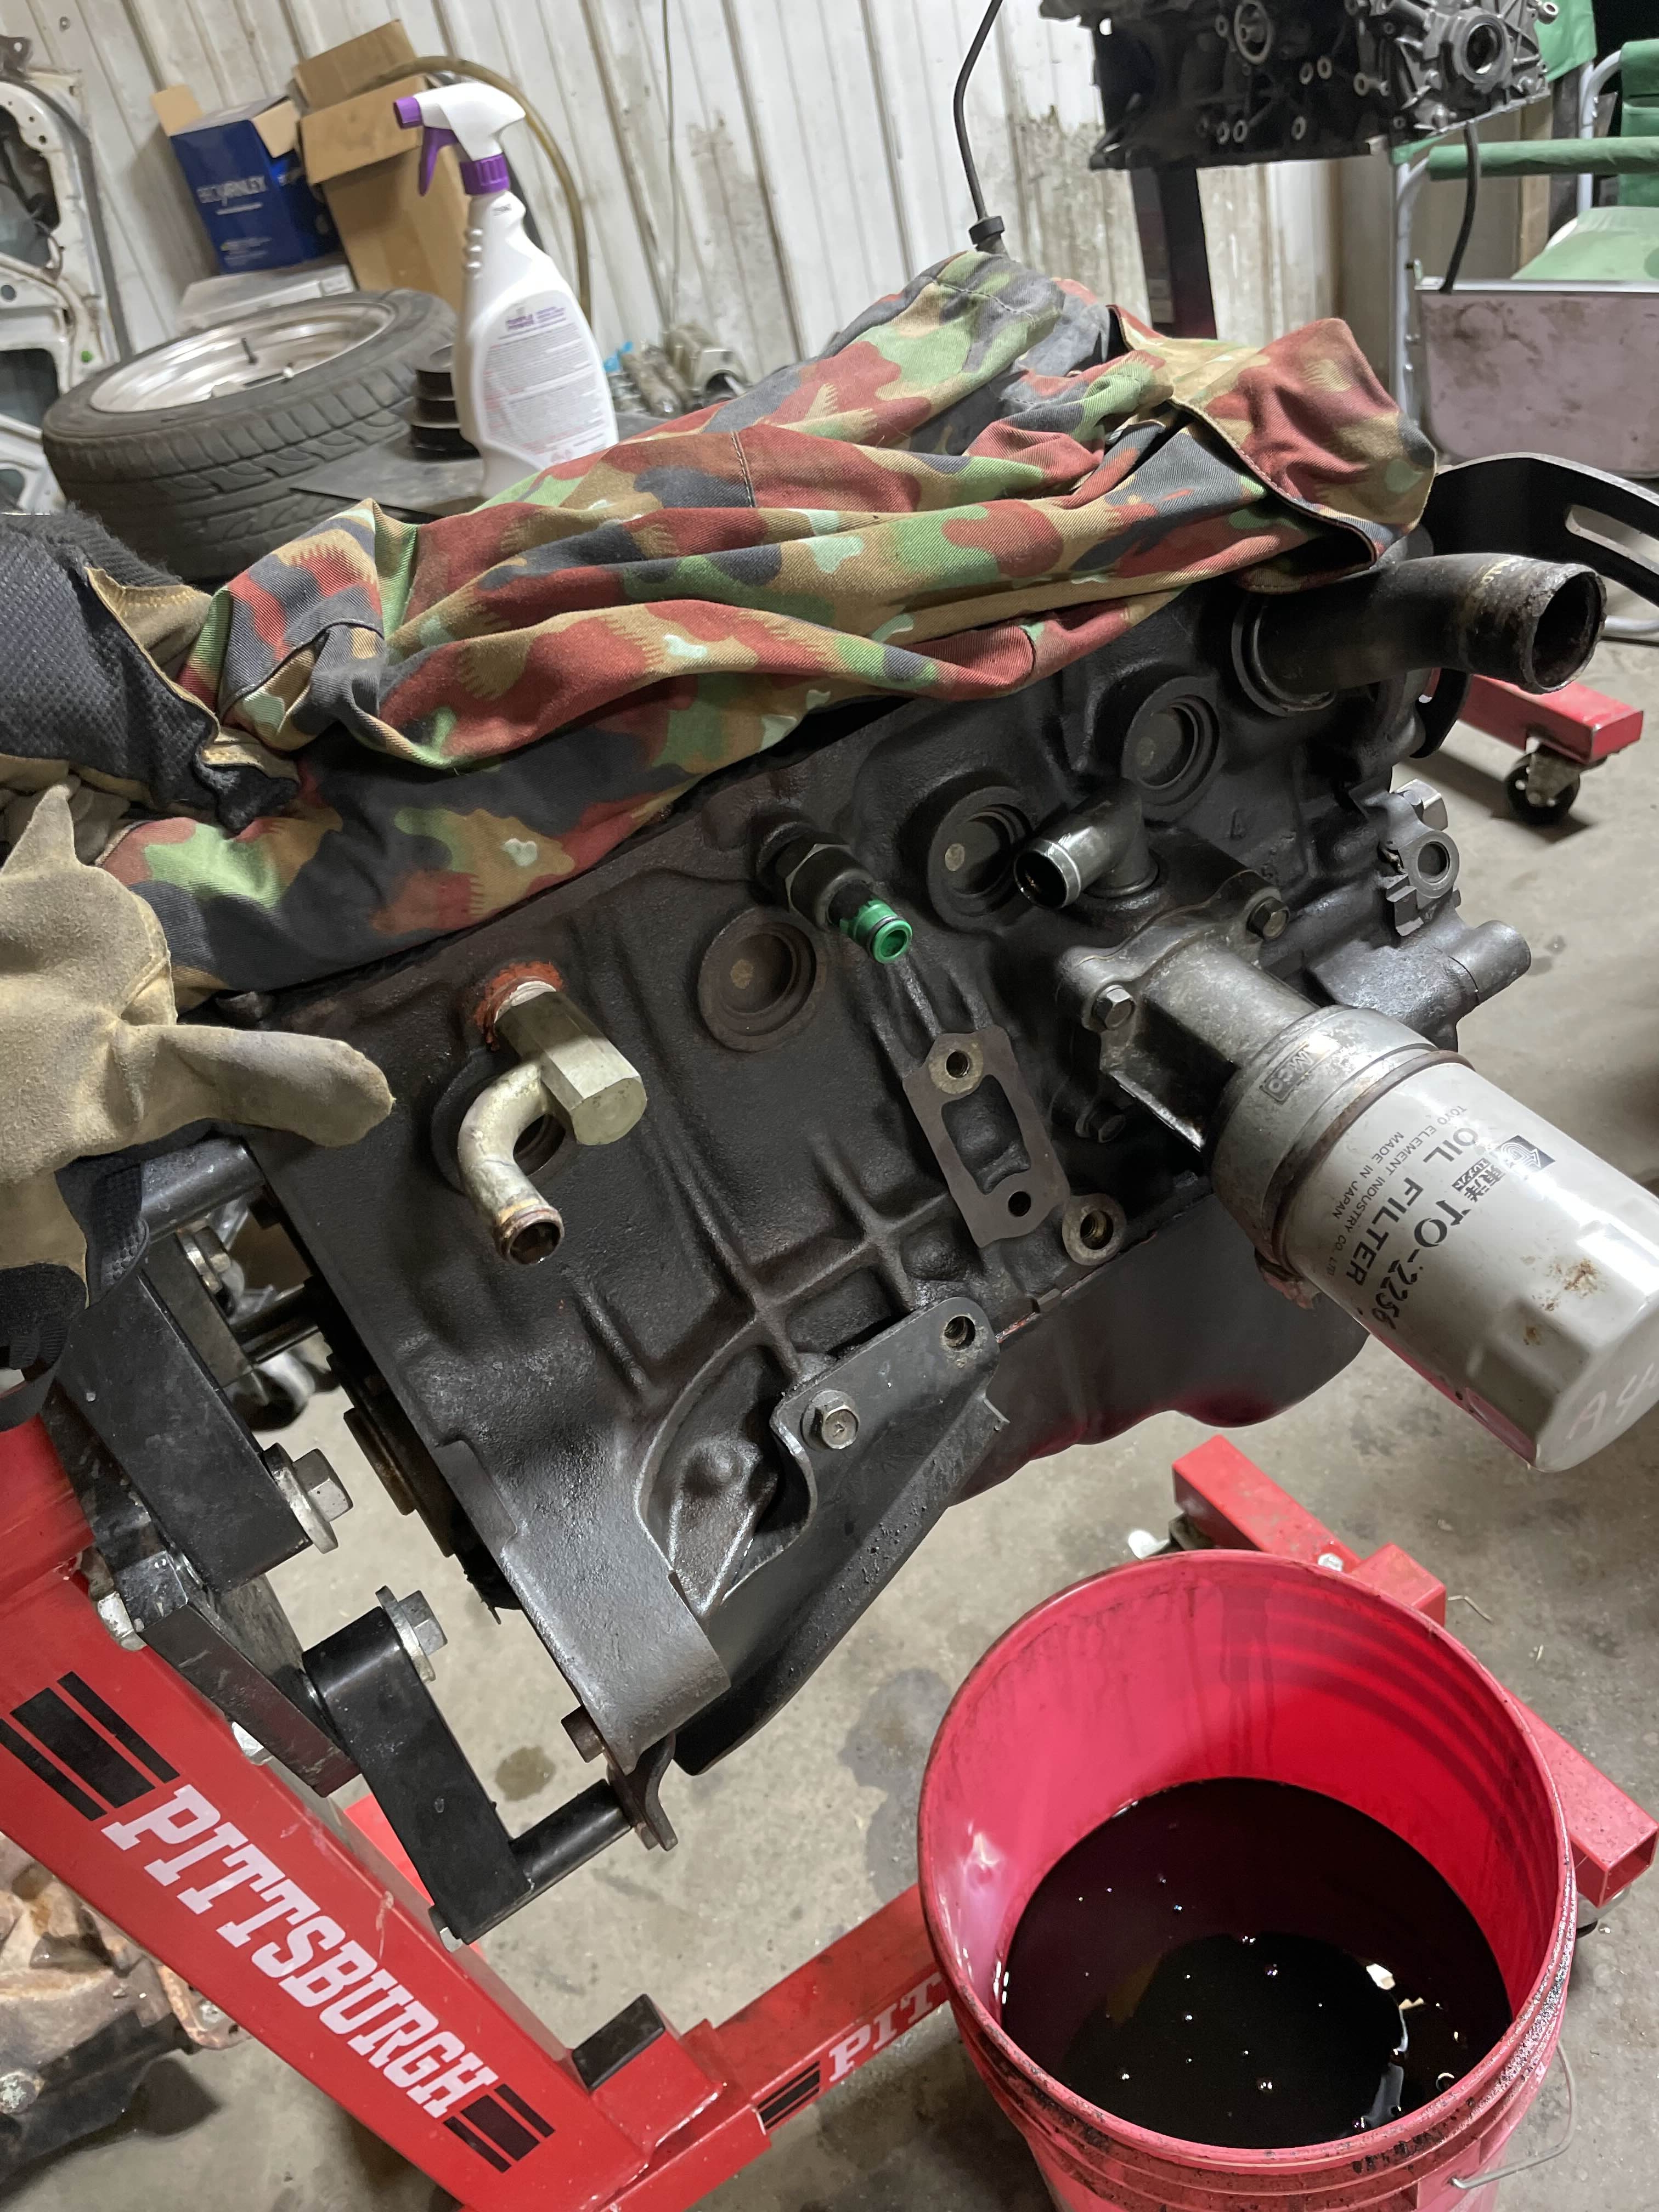
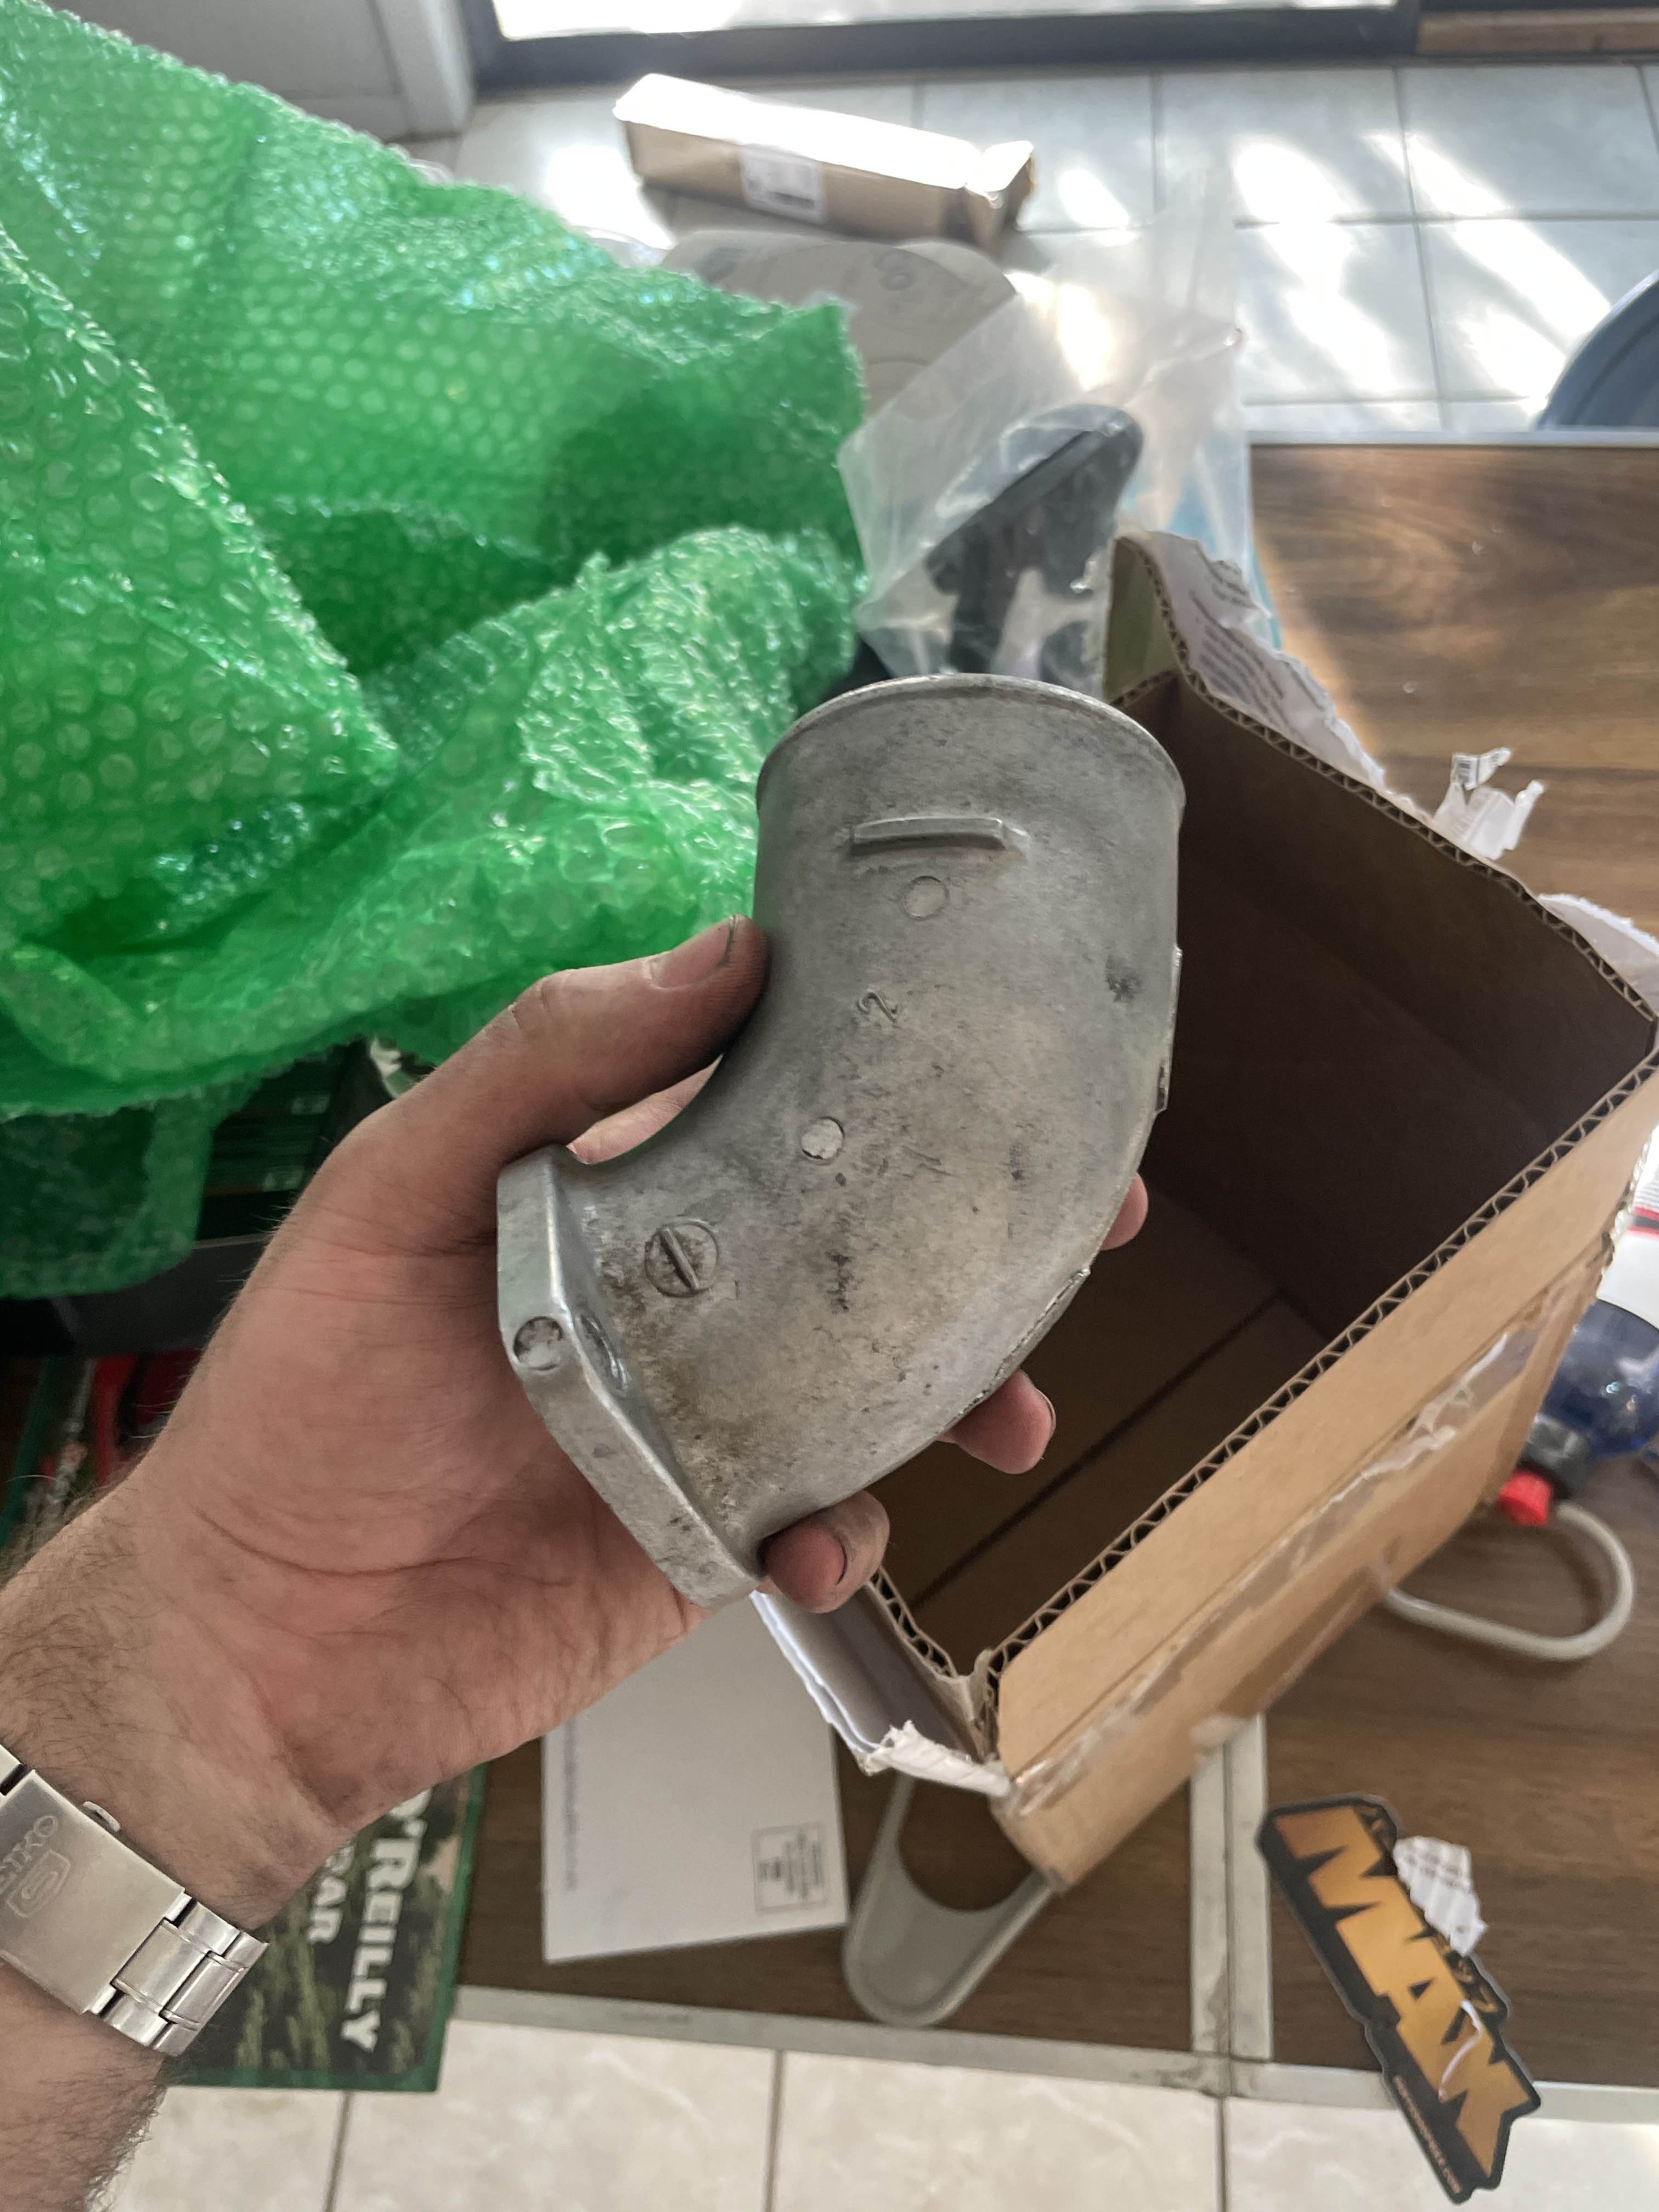
Only got around to noticing this now but my engine came with an oil filer sandwich plate, looked into the logo "LaMco" and seems to be company who made some sought after guages for subarus (and other models) back in the 90s, really carbon dates this thing. As much as I'd like to keep a fun piece of history on here like this, I can only assume the threads for the sensor ports are in bspt rather than the npt thread used by the sensors I already own.. So I will be swapping my oil filter relocation kit off my KA to the CA during the swap and putting this thing on a shelf.
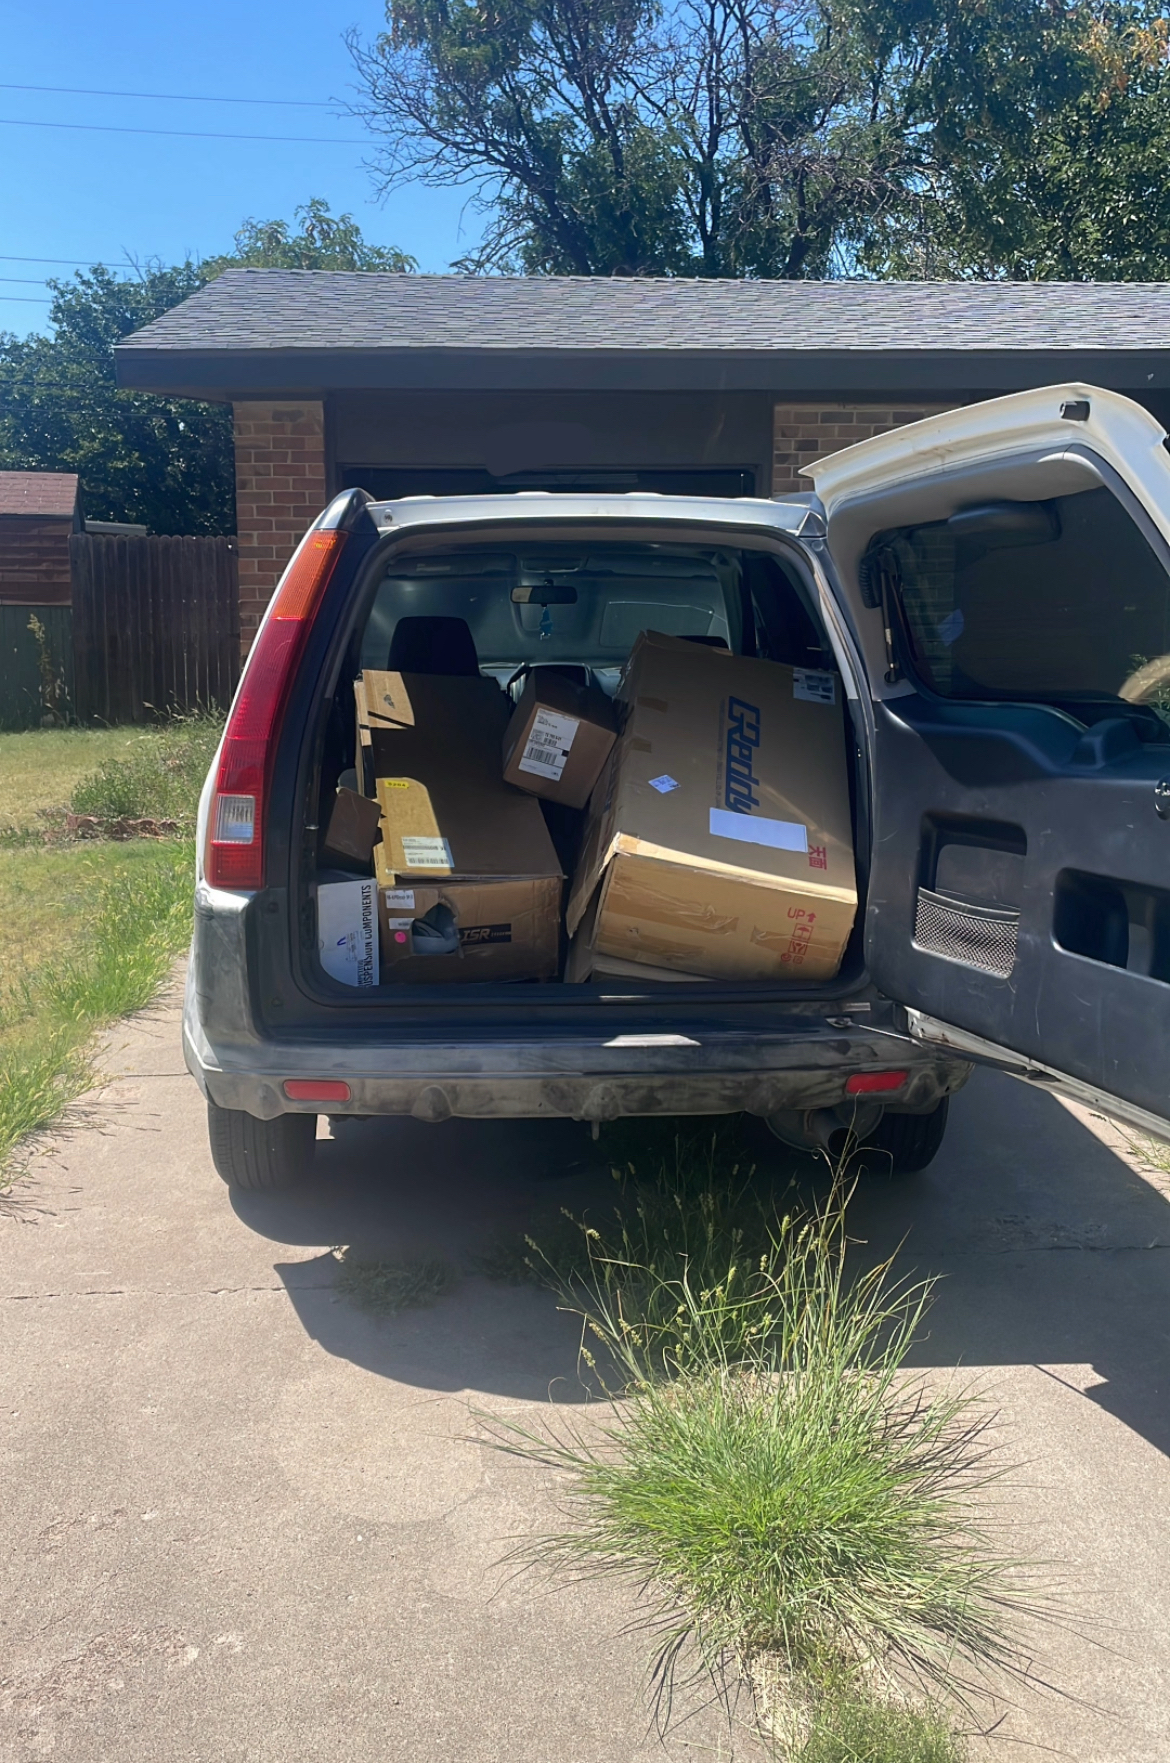
Picked up this honda Cr-v recently which made parts hauling significantly easier, tragically my datsun was crashed into while it was parked outside so this will be the new daily anyhow..
Only things left are my wiring harness (which FINALLY shipped and should be here soon), my transmission seals and gaskets (shipping out today) for swapping my bell housing, and some little stuff that I will itemize in my parts list. Although I have a single cam KA maf which i was told works, being too nervous I ordered an oem CA18det maf to ideally create less issues to deal with on startup.

Head drains test fitted. The one on the left it an exact fit haha.
Oil pan cleaned up, slathered some Honda Bond on it to hopefully create a good seal, and hooked up the head drains with some teflon tape, I kindof hate AN Lines because I've never had any that are flawless.. Hoping these dont leak.

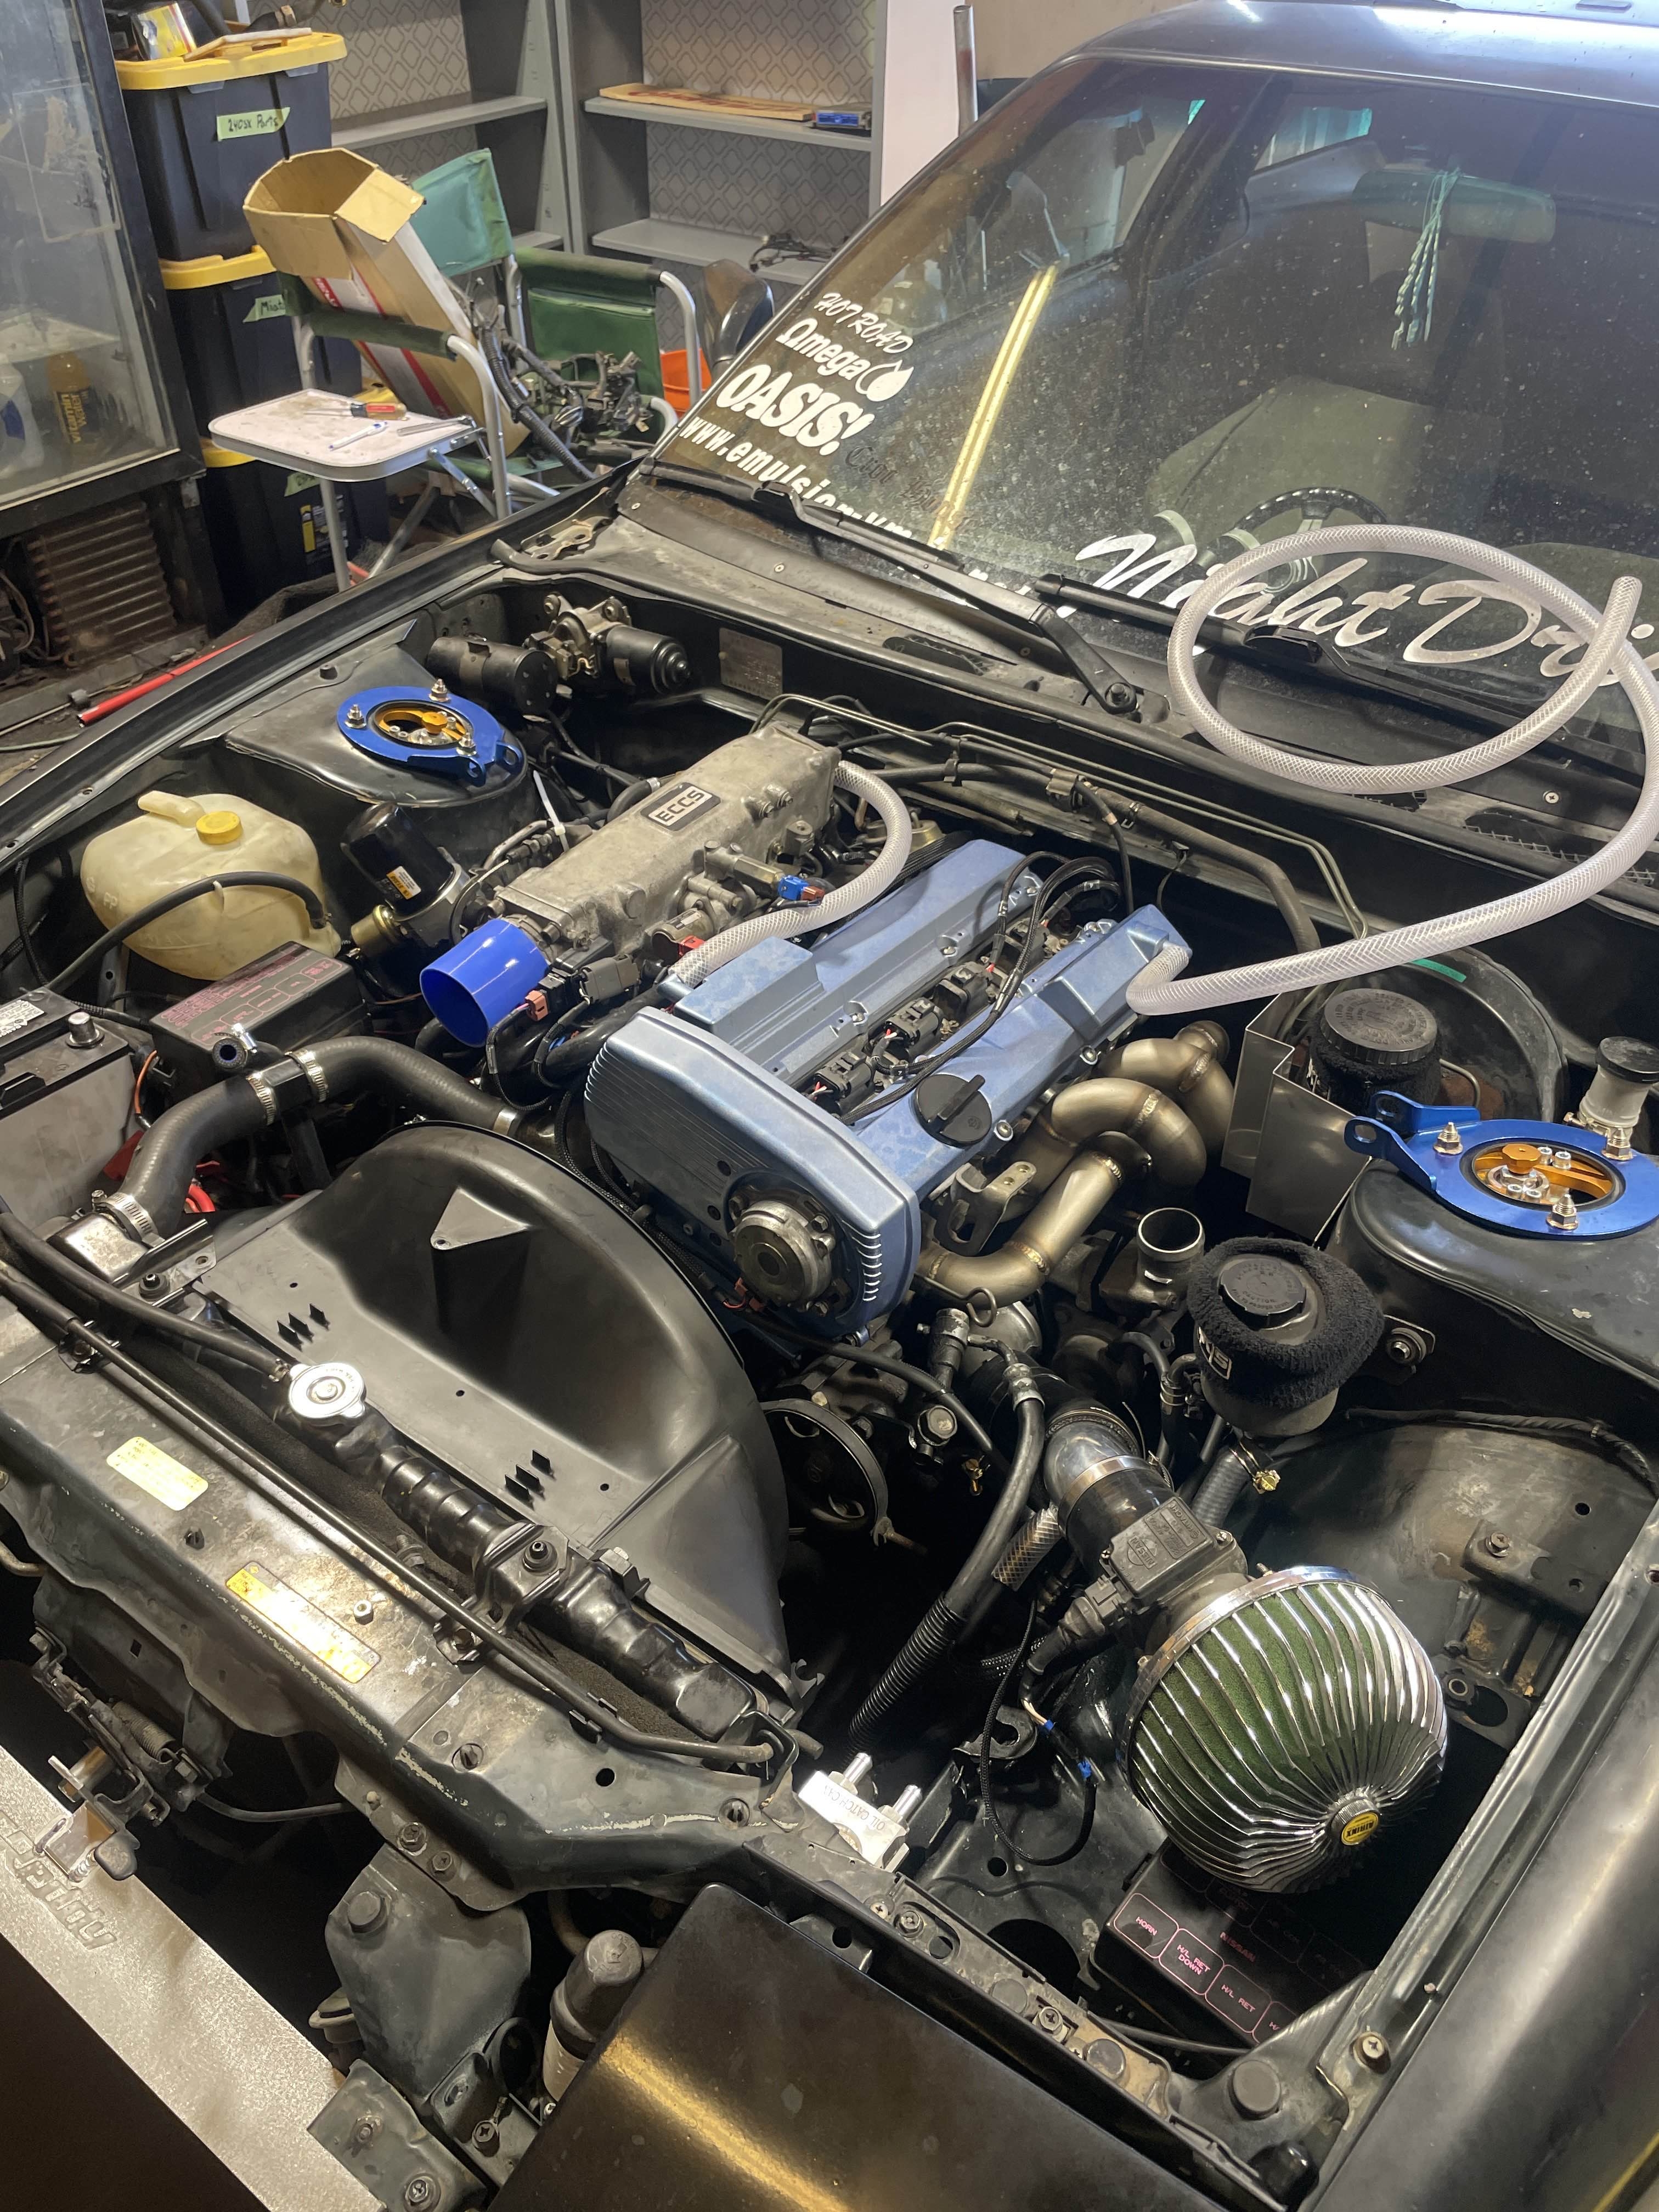
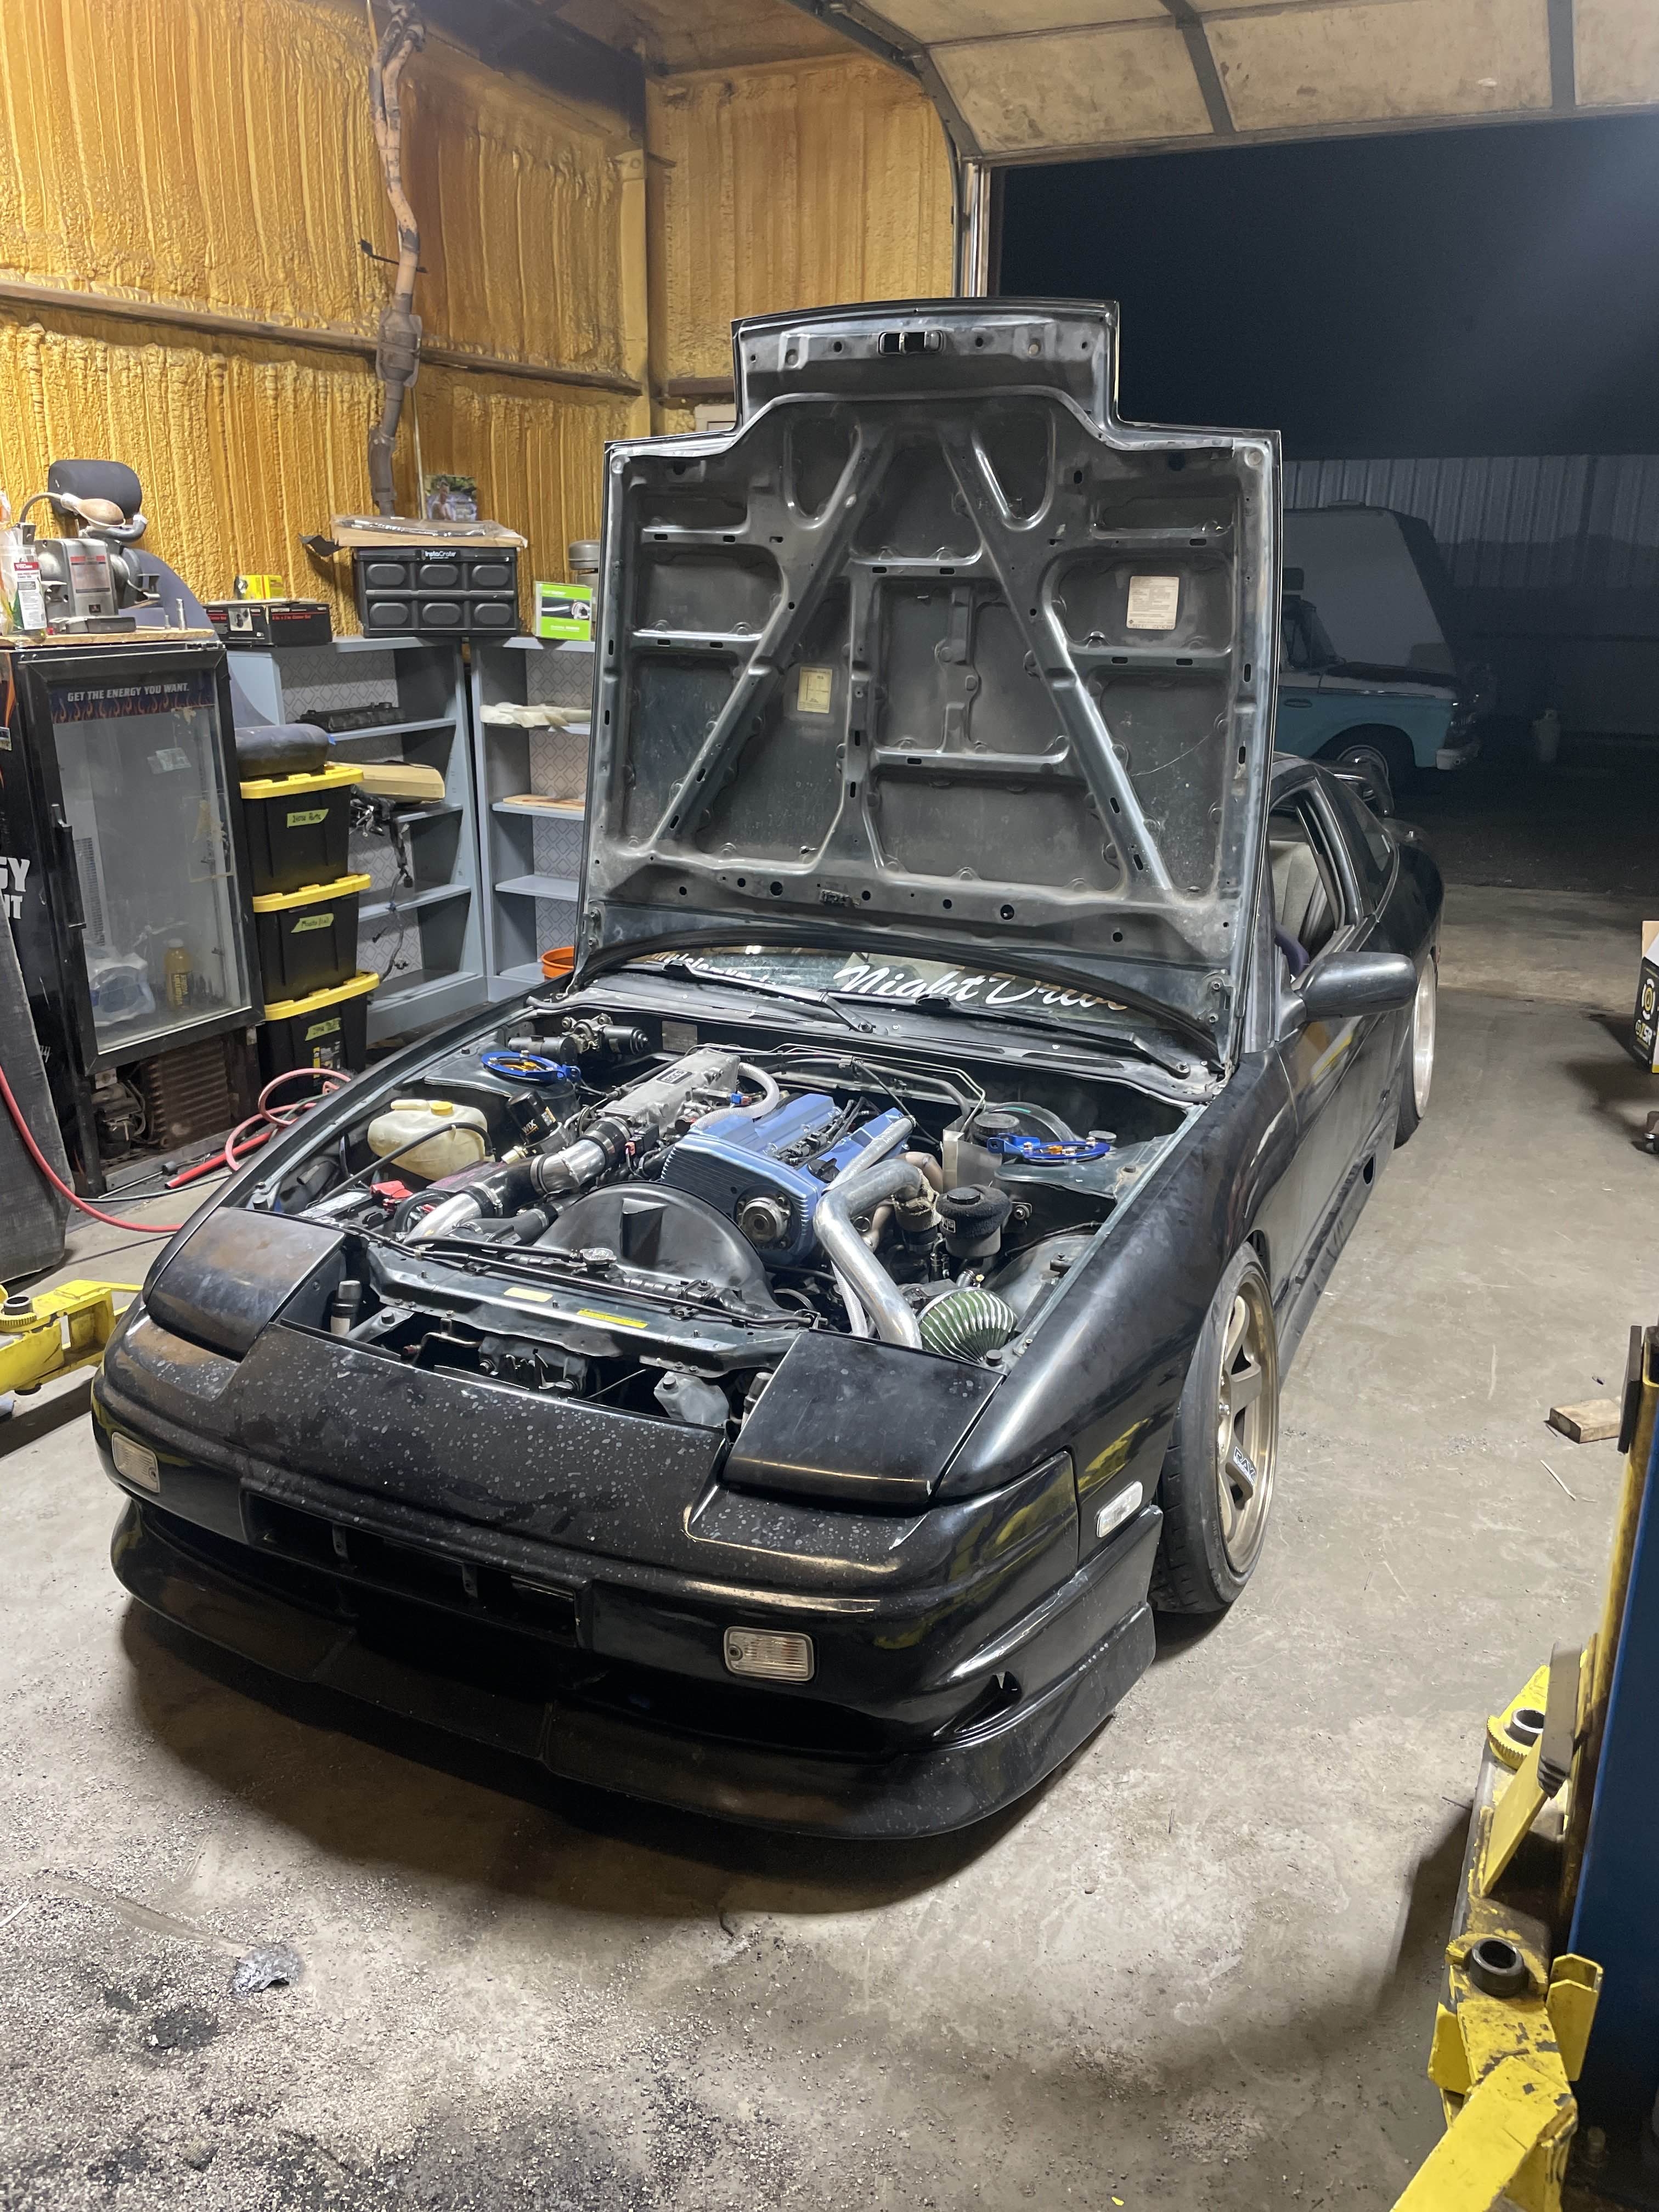
Anddd there it is! Long block mostly complete, need to grab some hose for the turbo oil return but otherwise its mostly there! Going to try and start pulling the KA24de out this weekend and start work on getting everything ready to be swapped in!
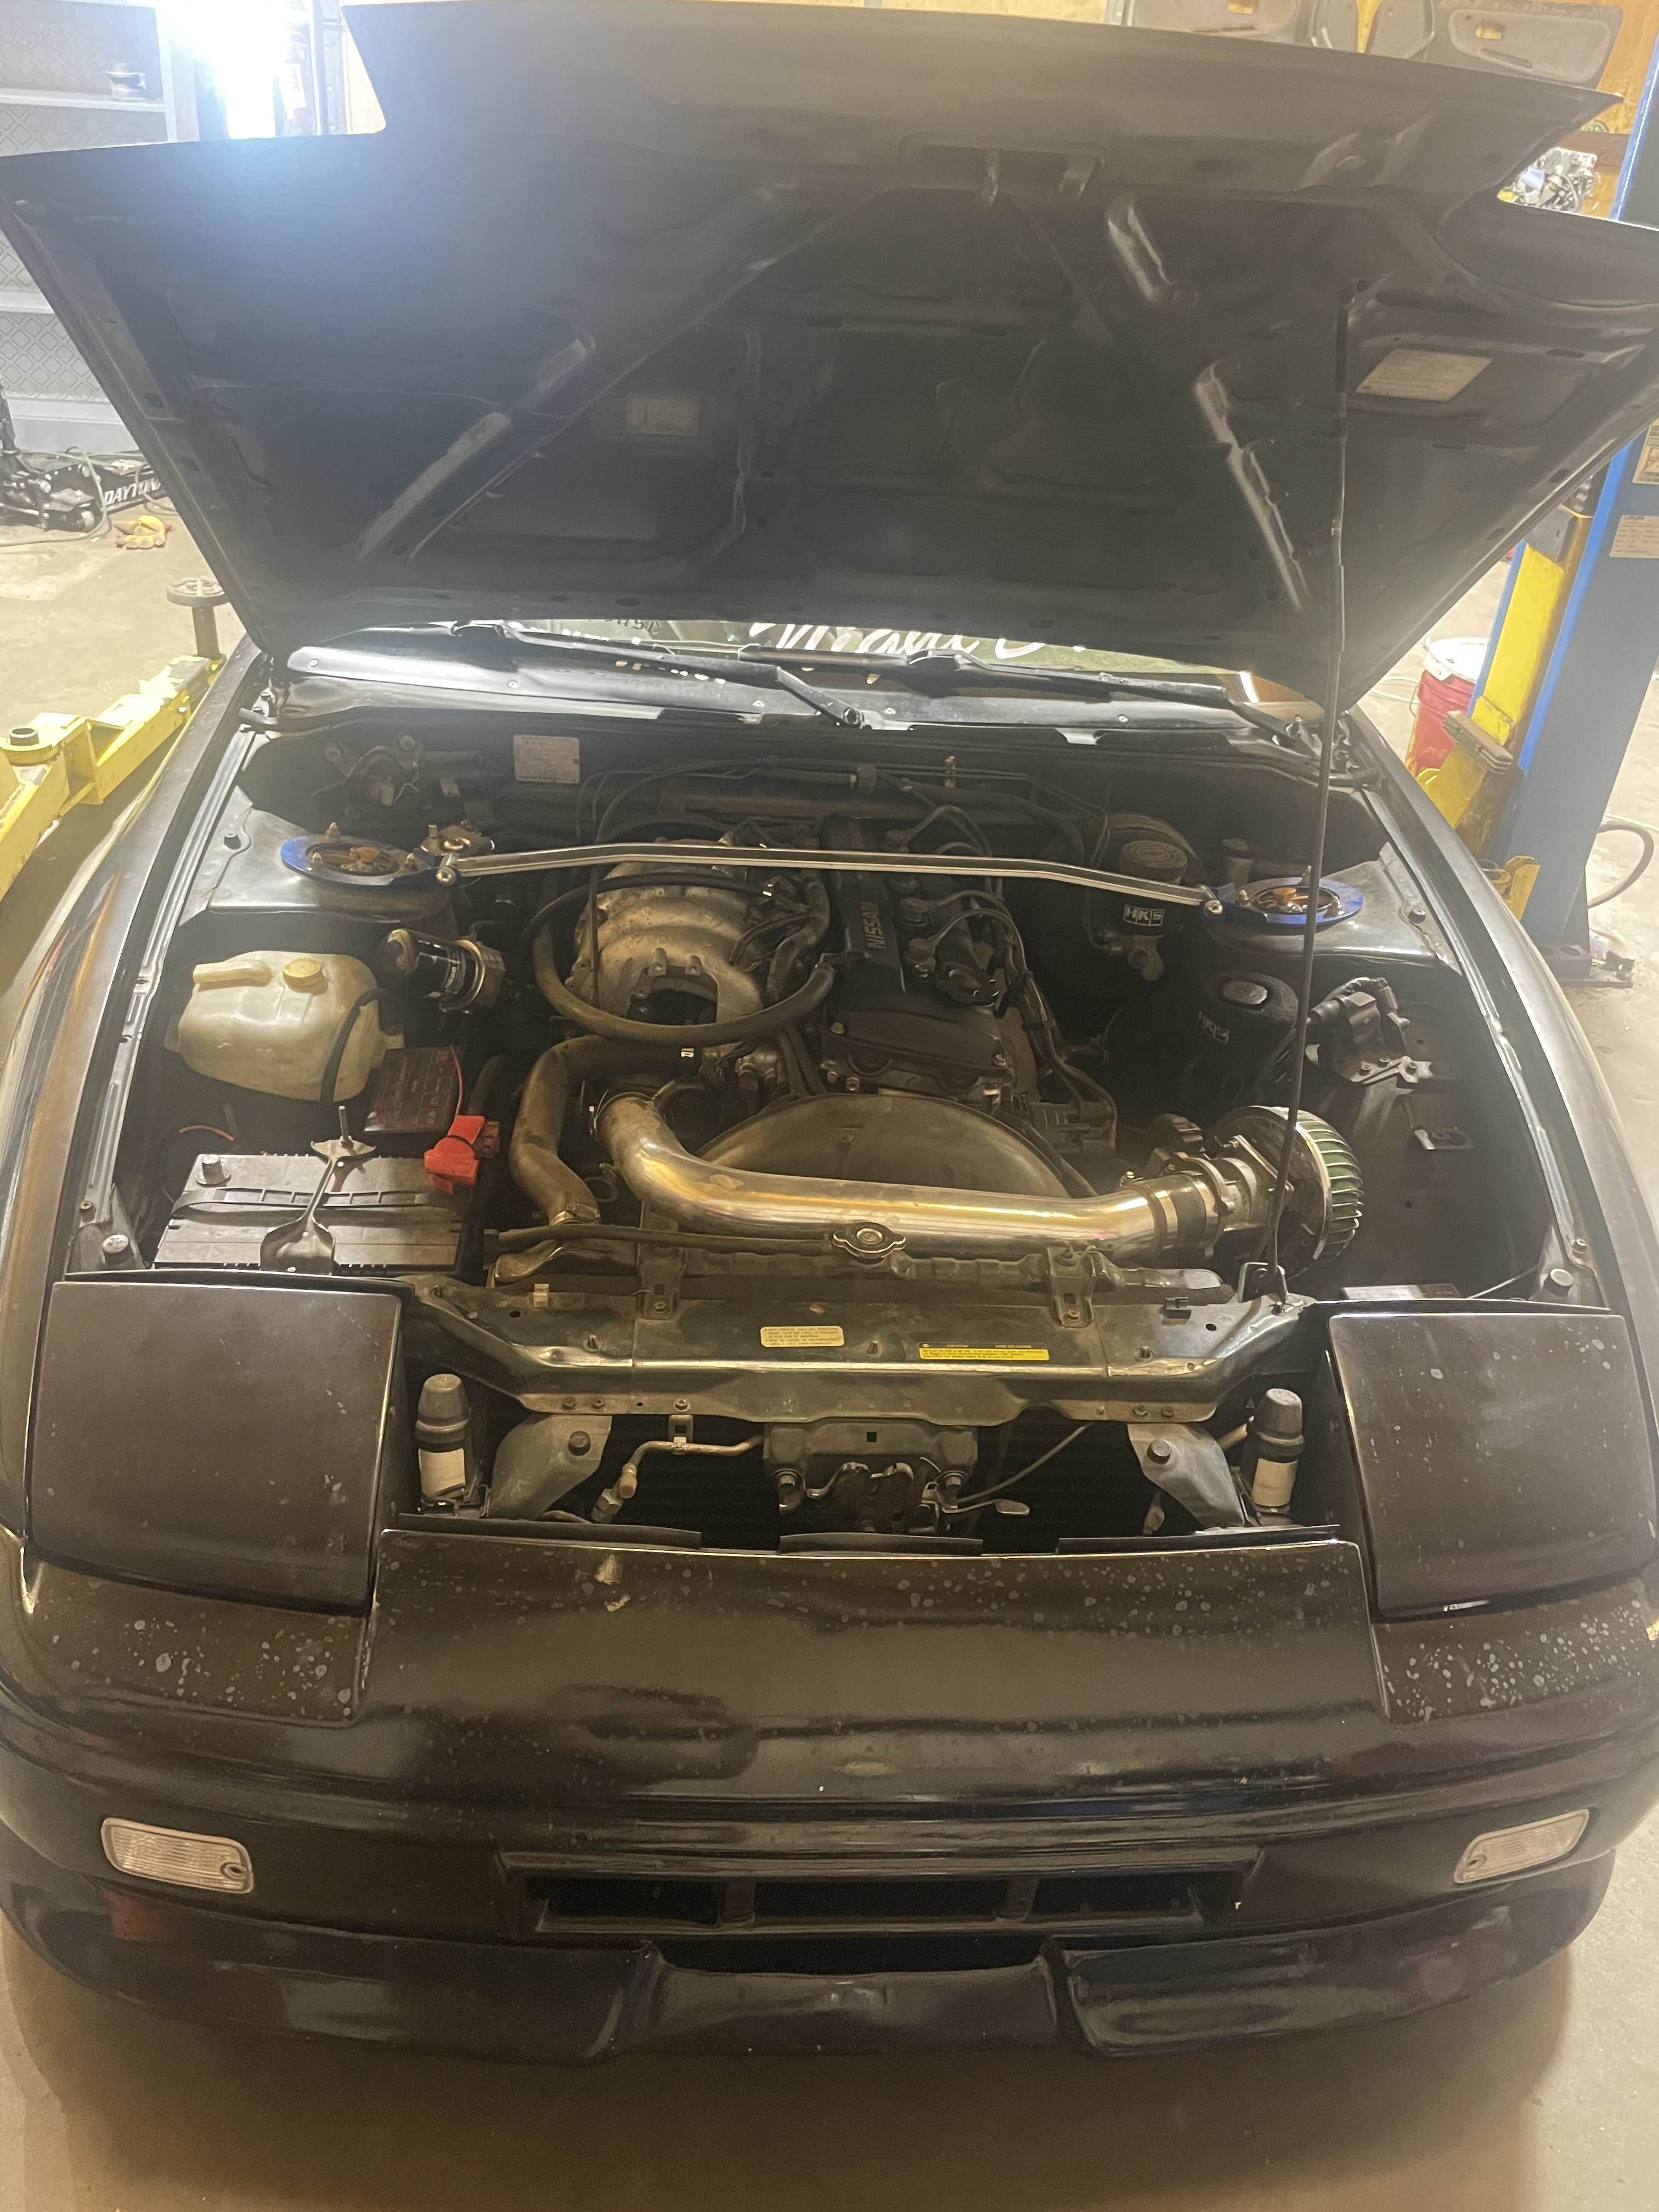
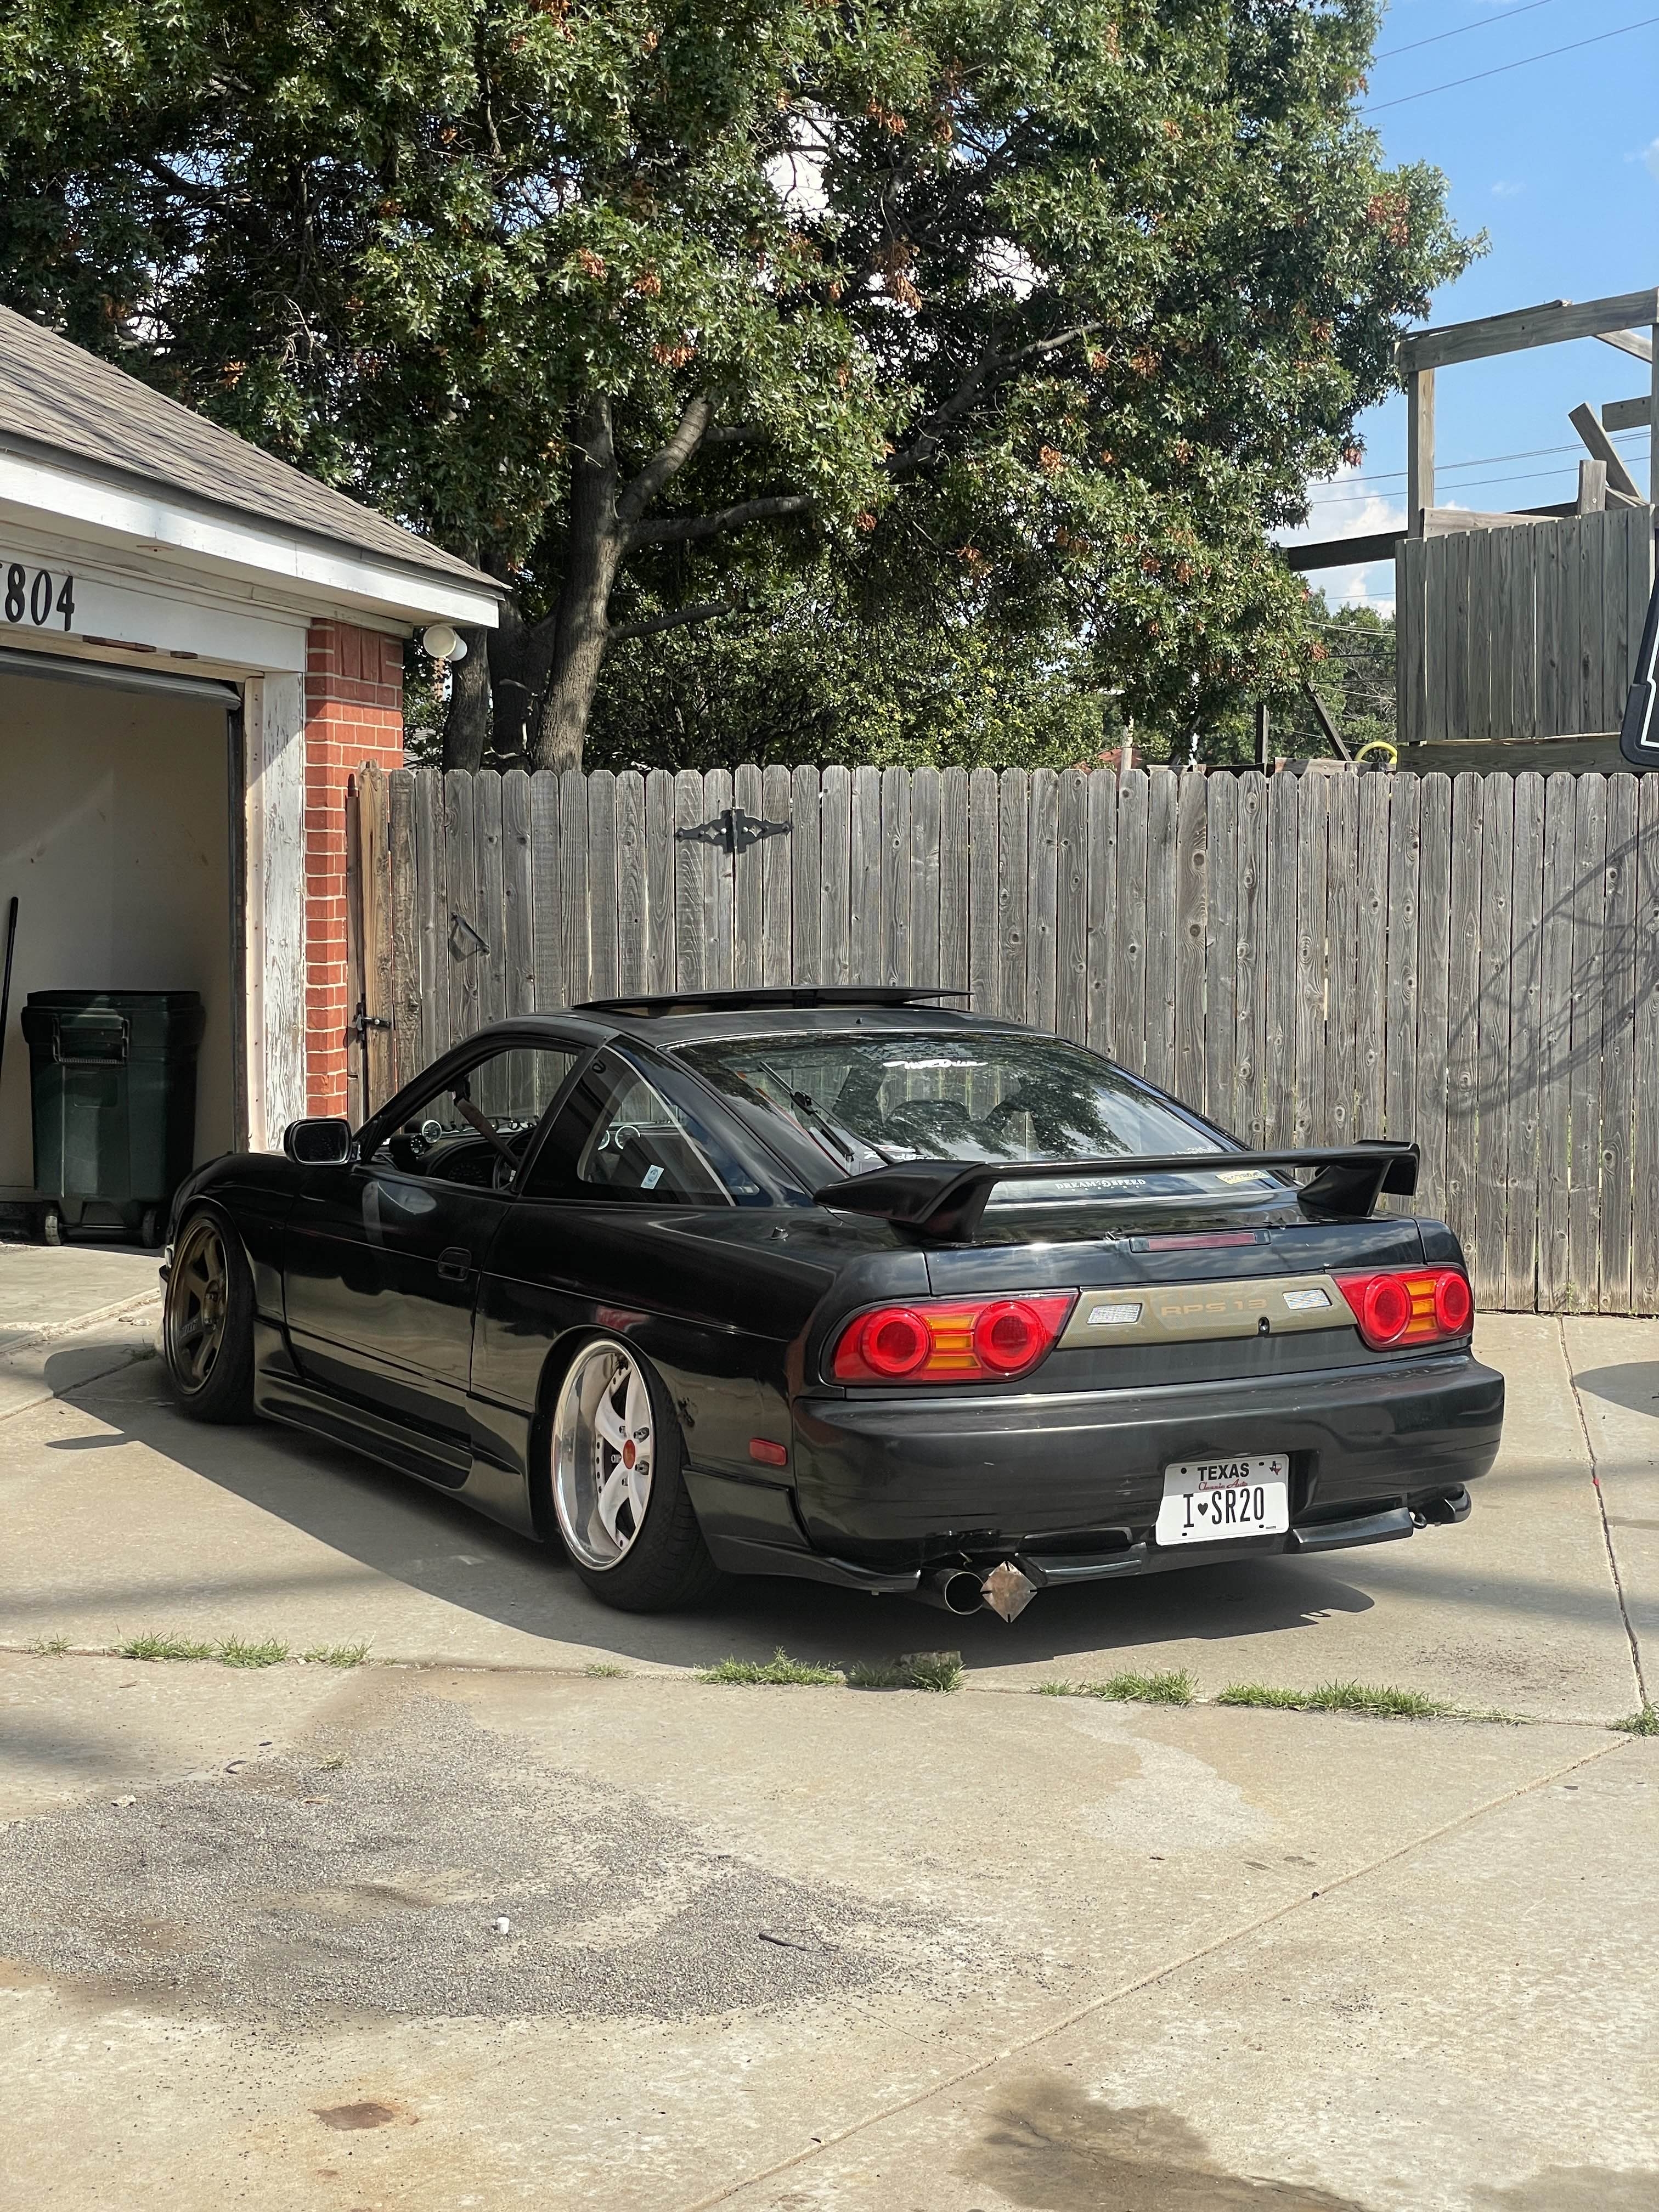
Pulled the 240 in to start pulling the KA!
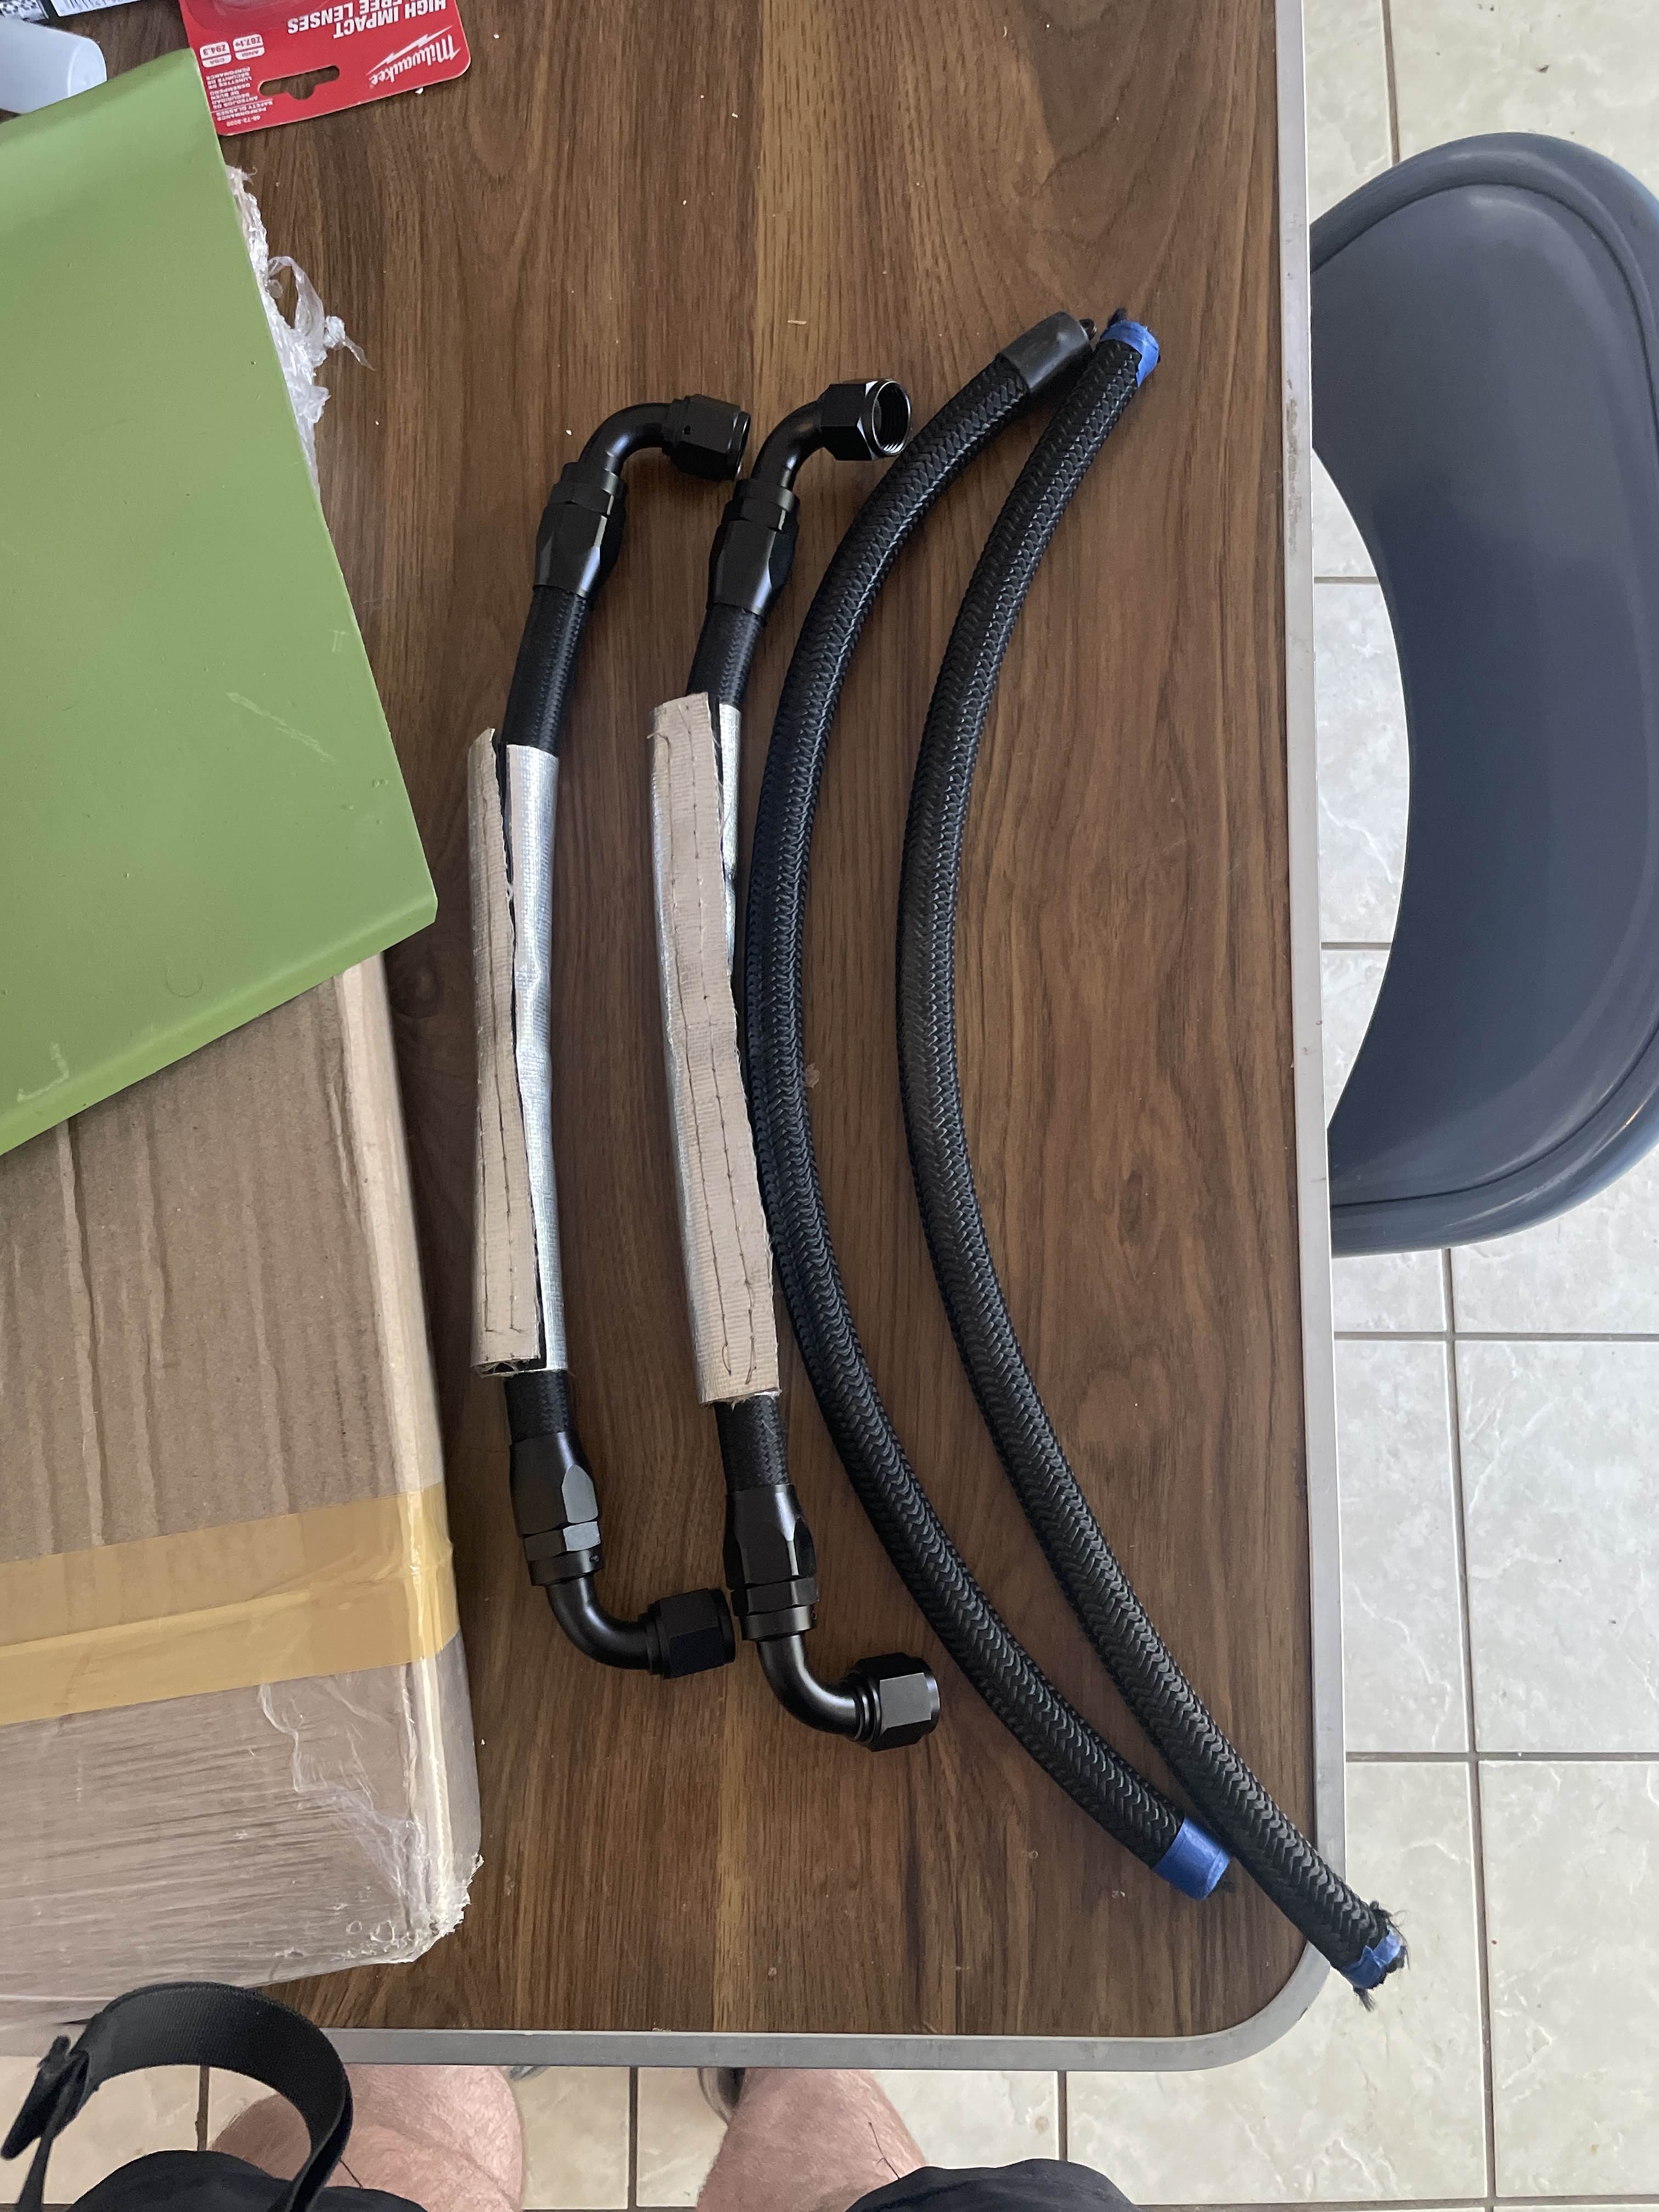
What a suprise the lines I mounted the other day did not clear the starter, so after passing out from exhaustion outside the local offroad shop before they opened, I managed to get a pair of lines that are much longer.
KA is out!
Head drain lines finalized.
Cut the drain and put some new hose on it, may need to redo this with it not having much compliance, but I'll see.
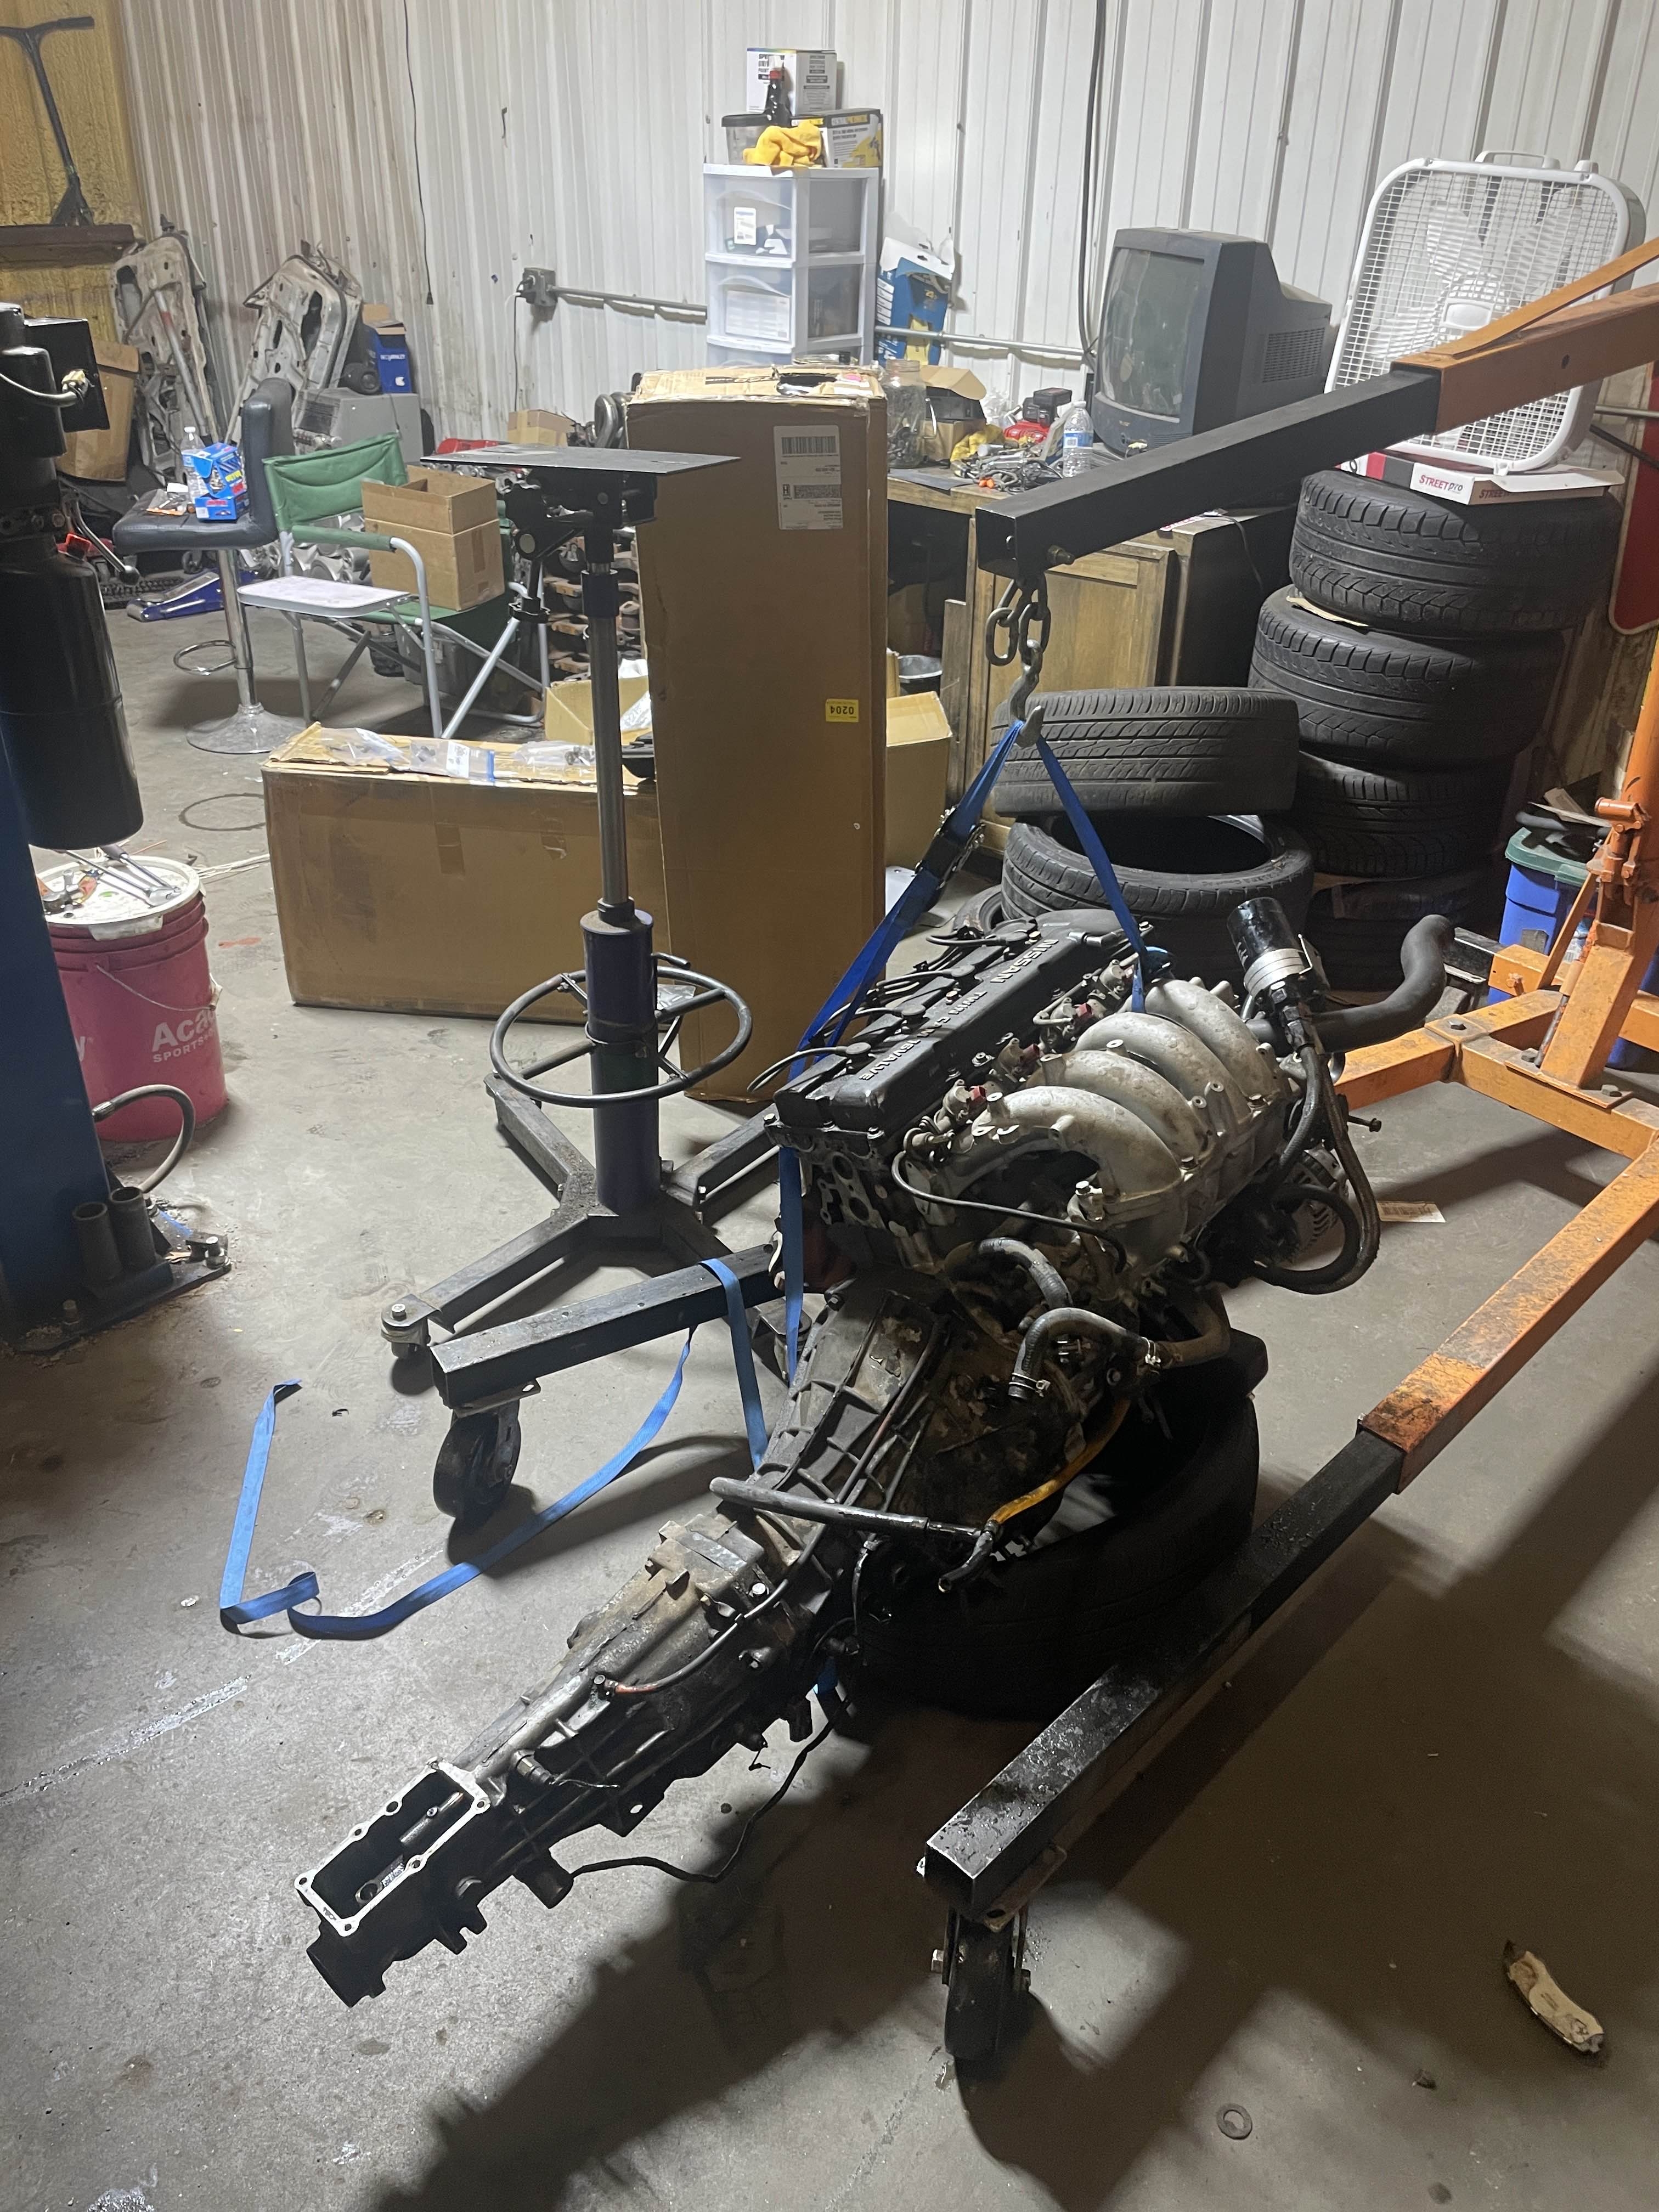
Took the CA off the stand and onto the hoist to mount the flywheel, clutch, and new pilot bearing.
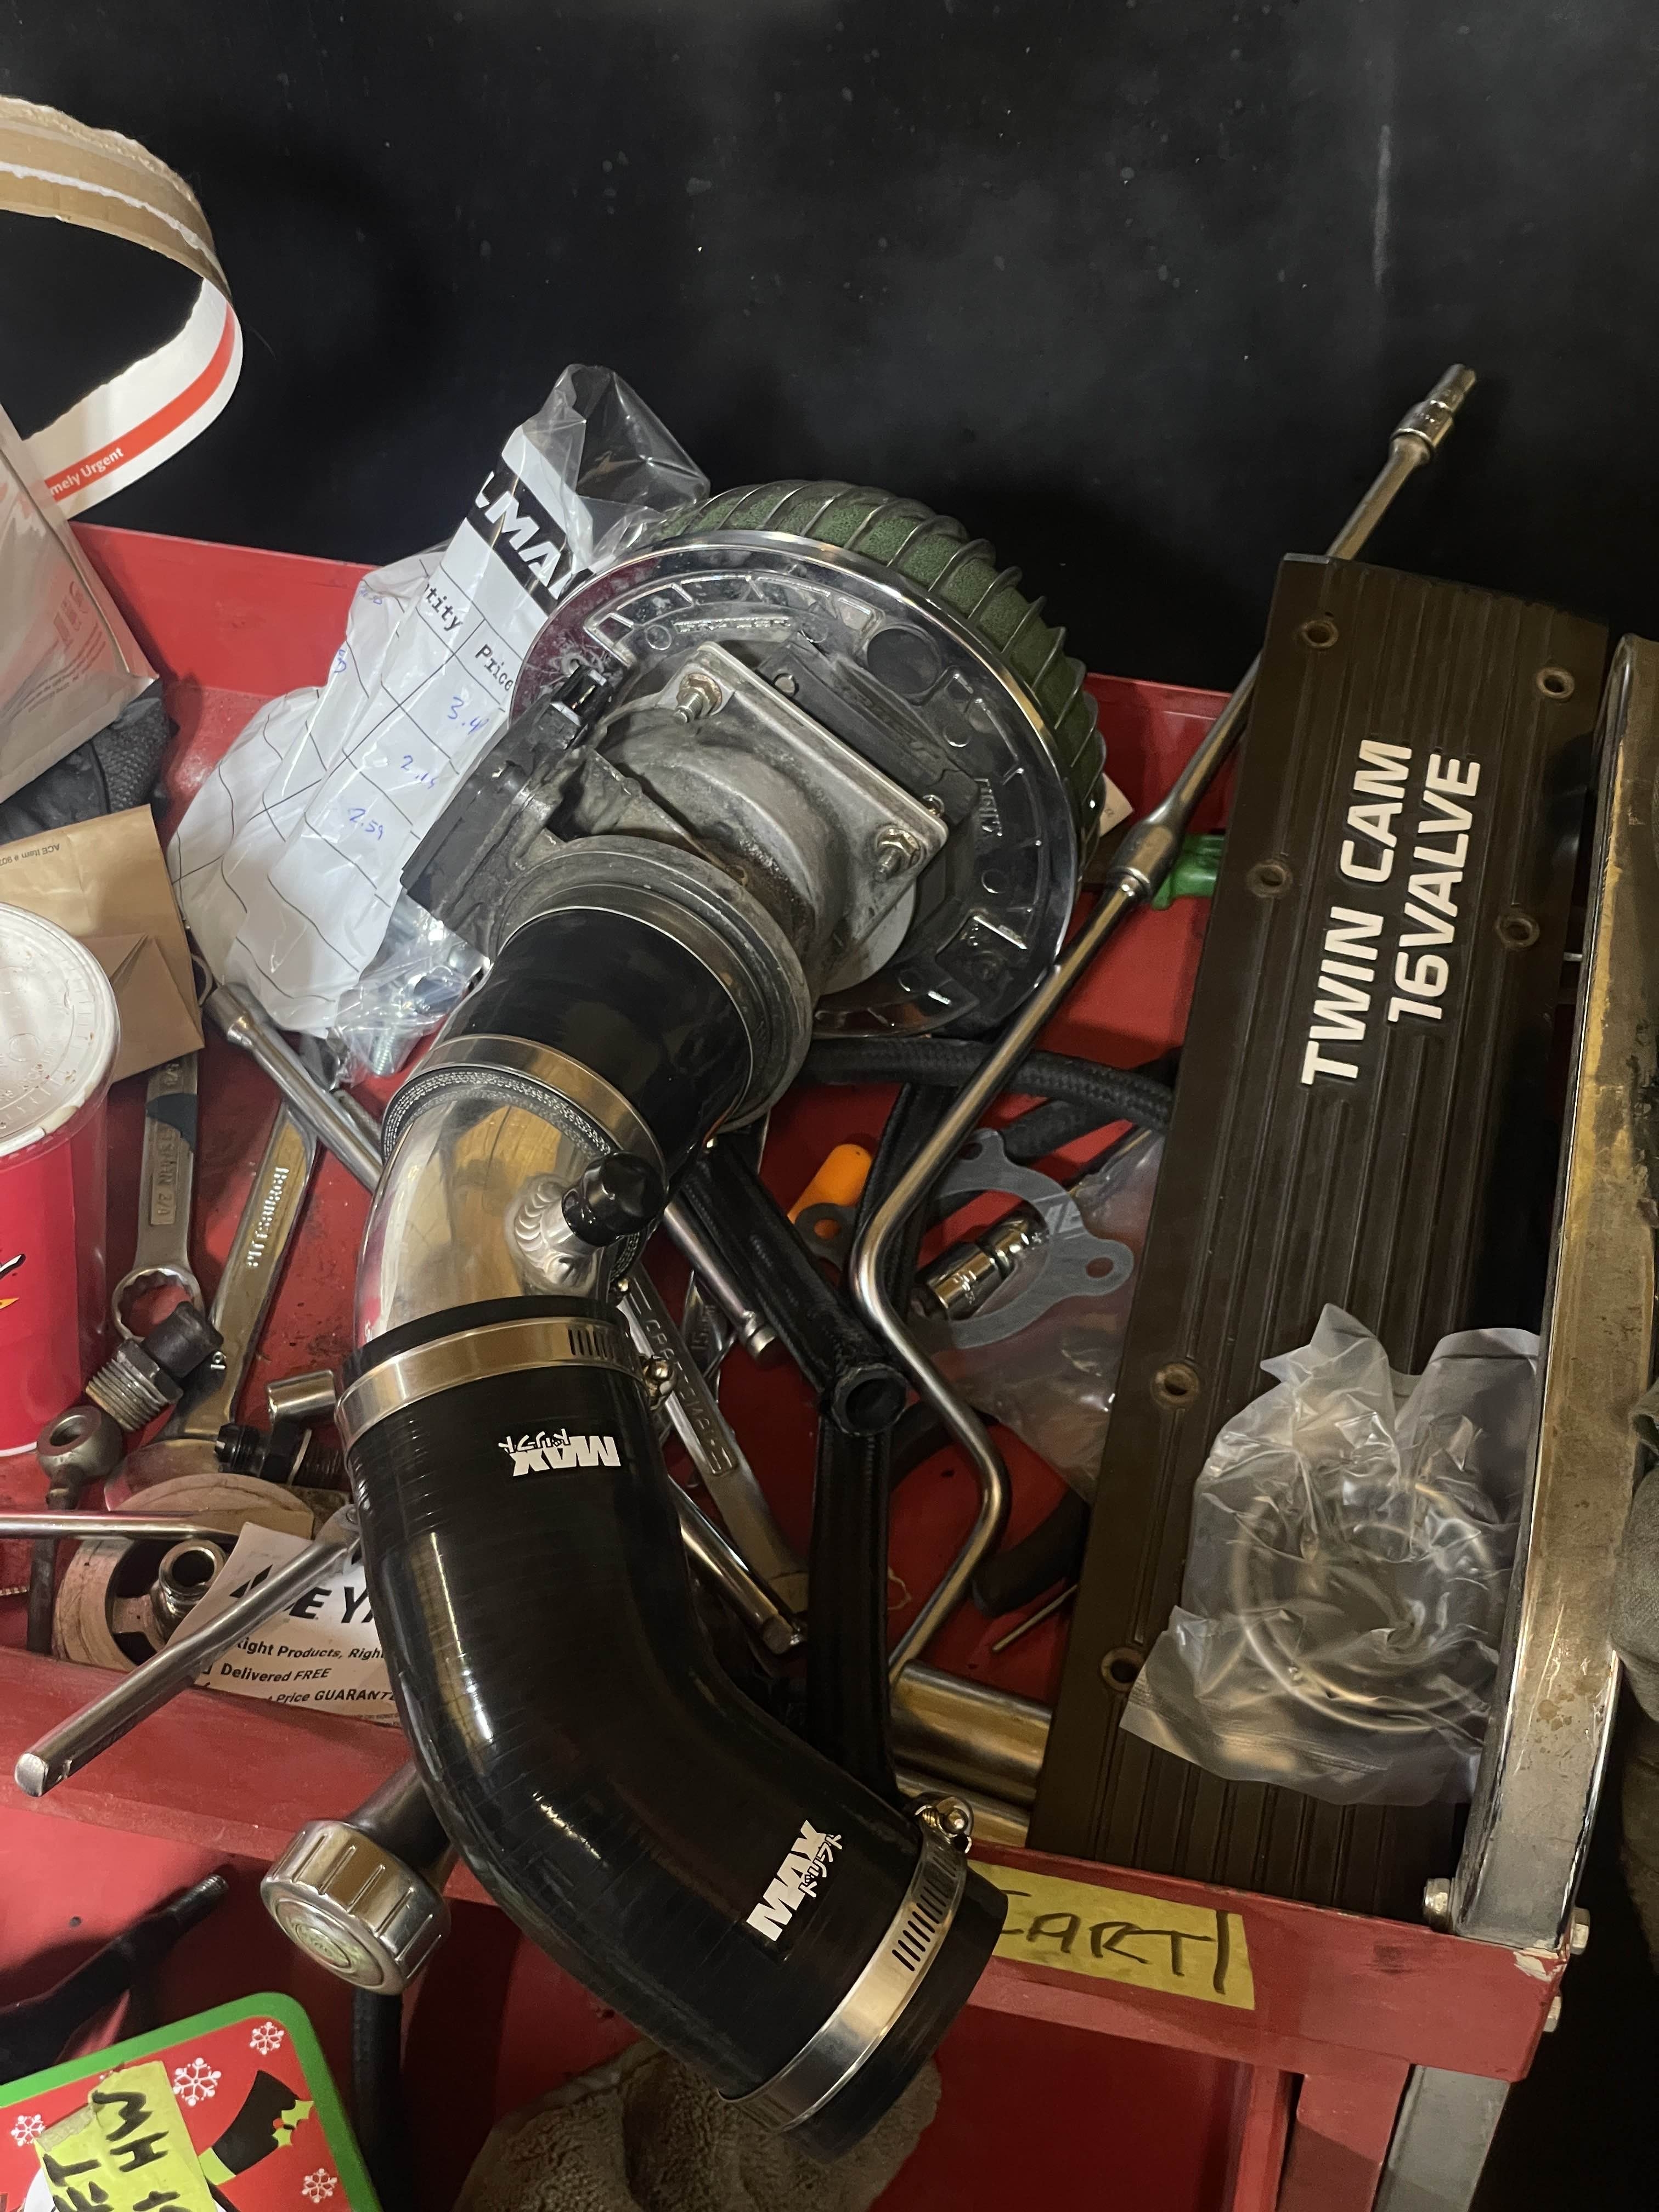
swapped over the filter onto the new maf and test fitted with the PBM intake
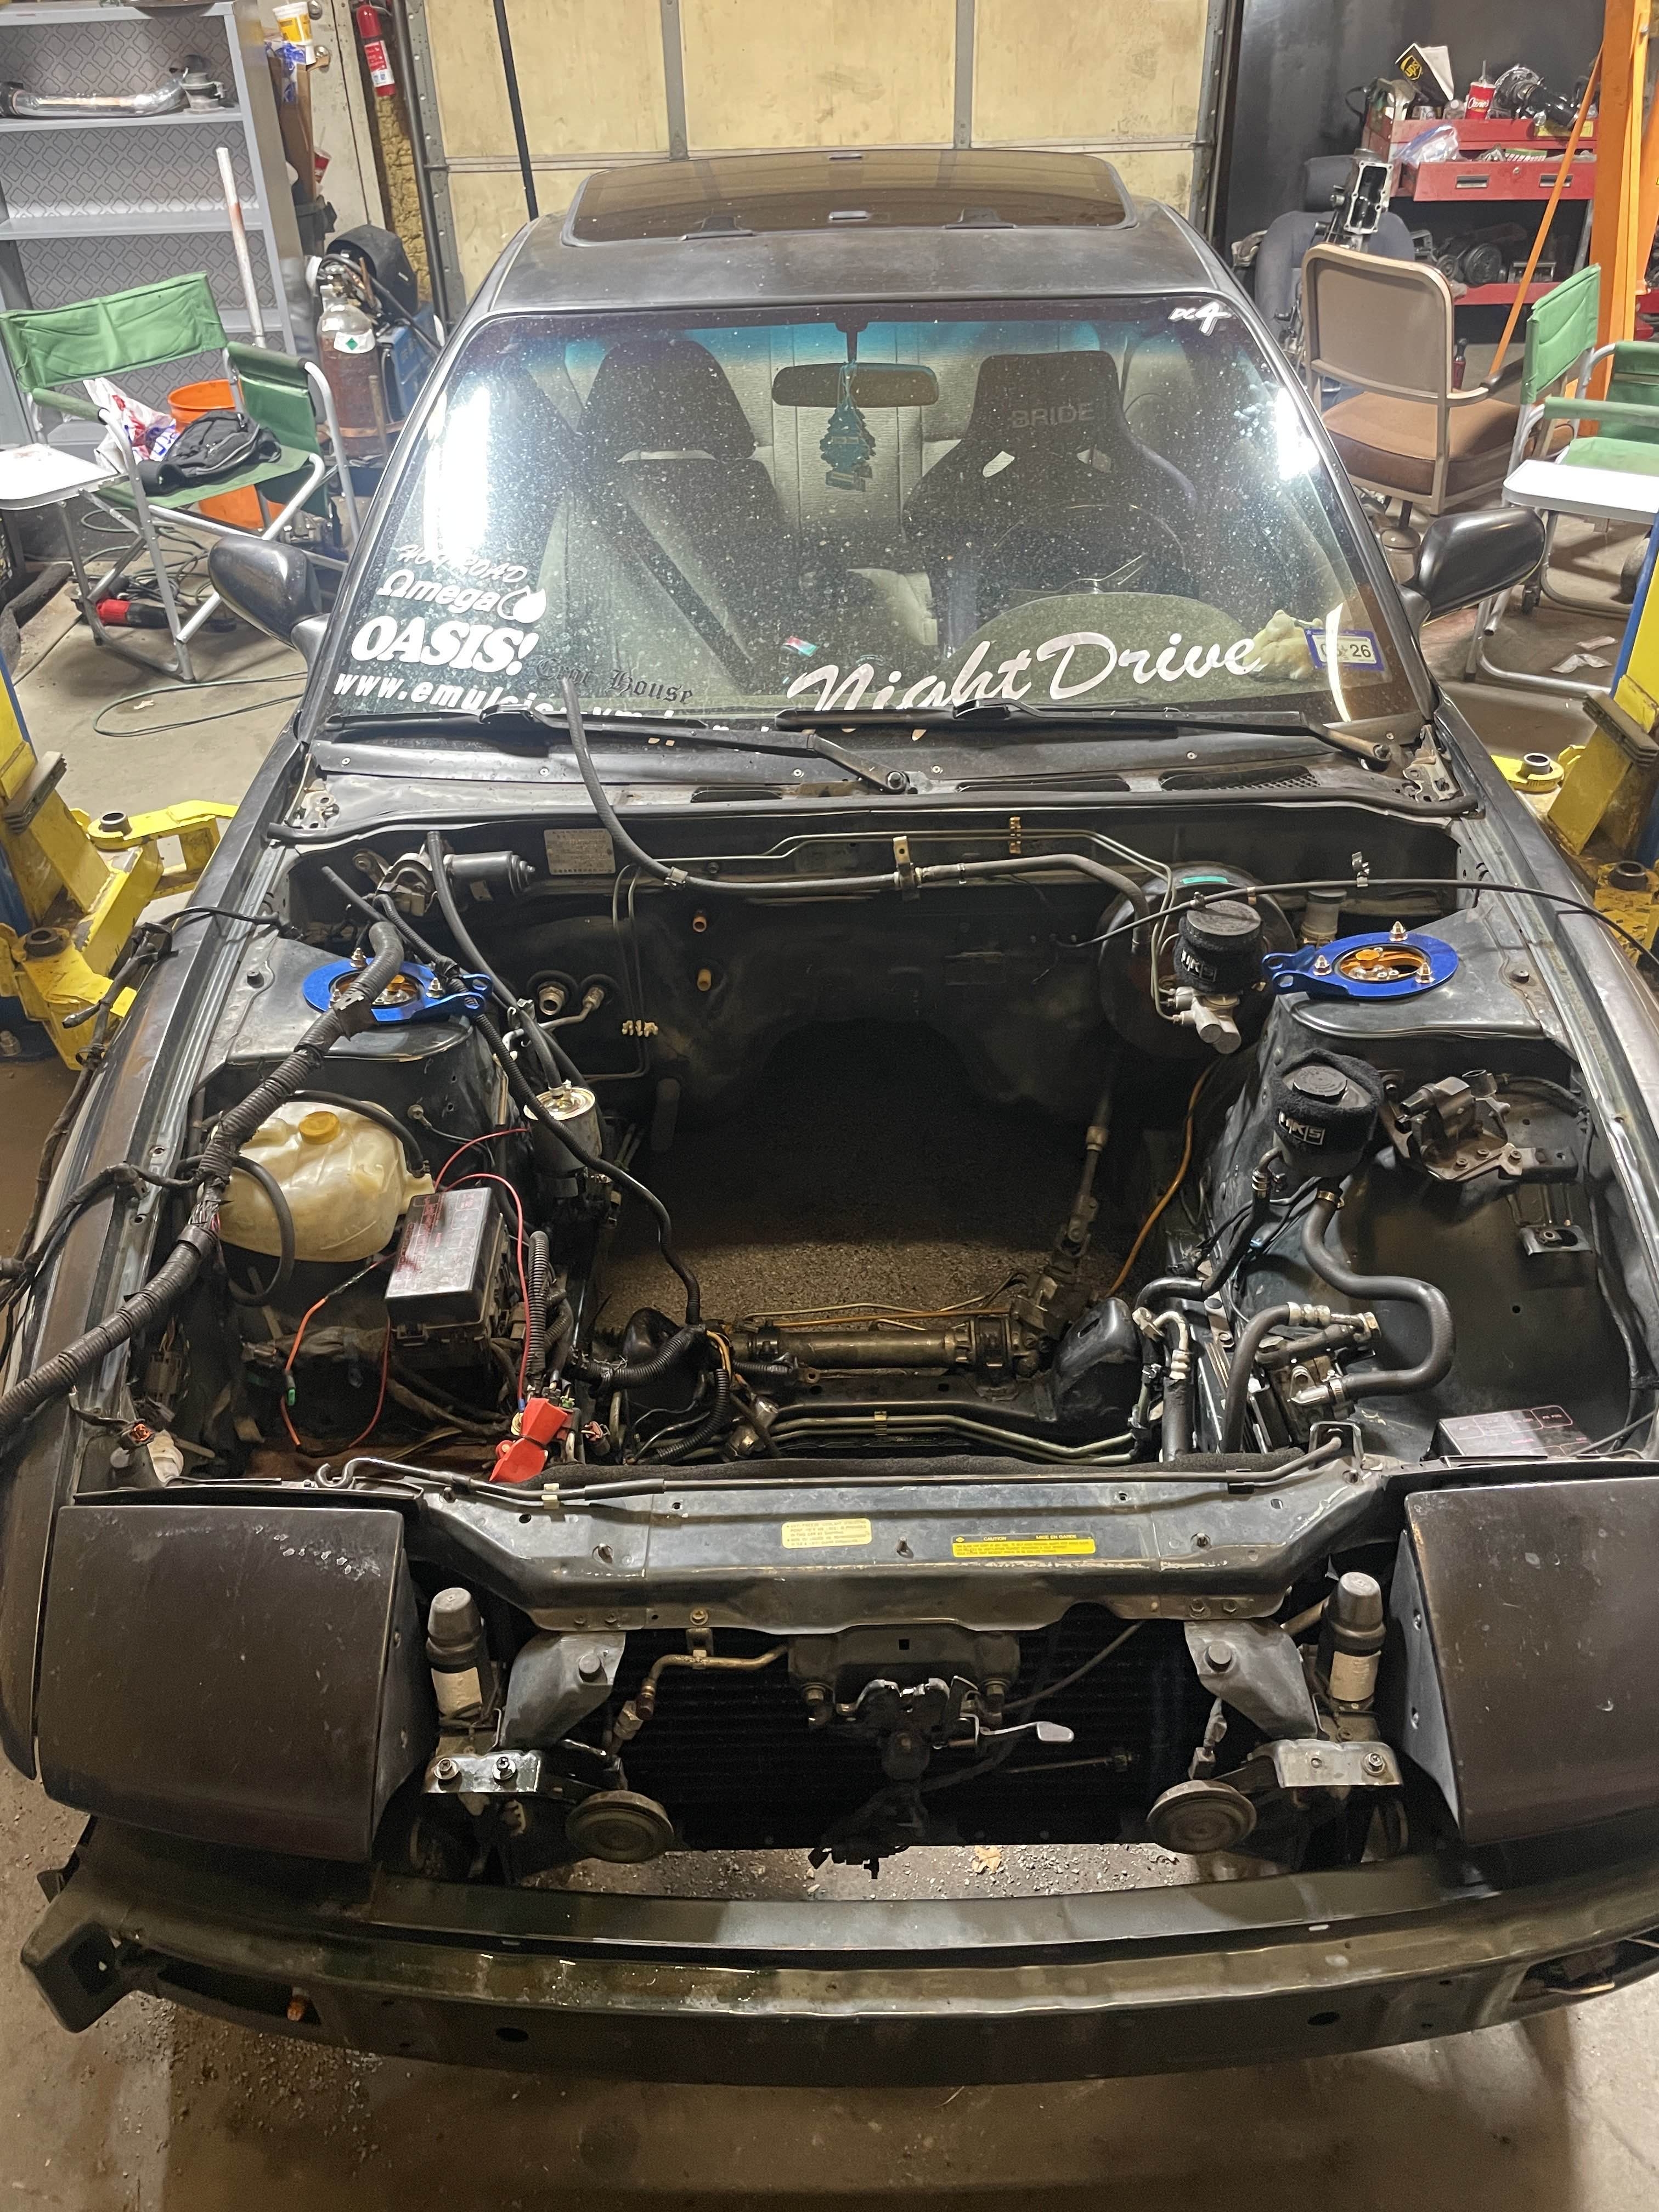
Power washed the engine bay and transmission while its out, swapped in new rack bushings to replace the totally smoked pair. Unfortunately after looking at the AC bracket for the KA to see if it could be modified to work on the CA.. there's no chance. At some point I would like to get my hands on the bracket and compressor for the CA and get that working again...
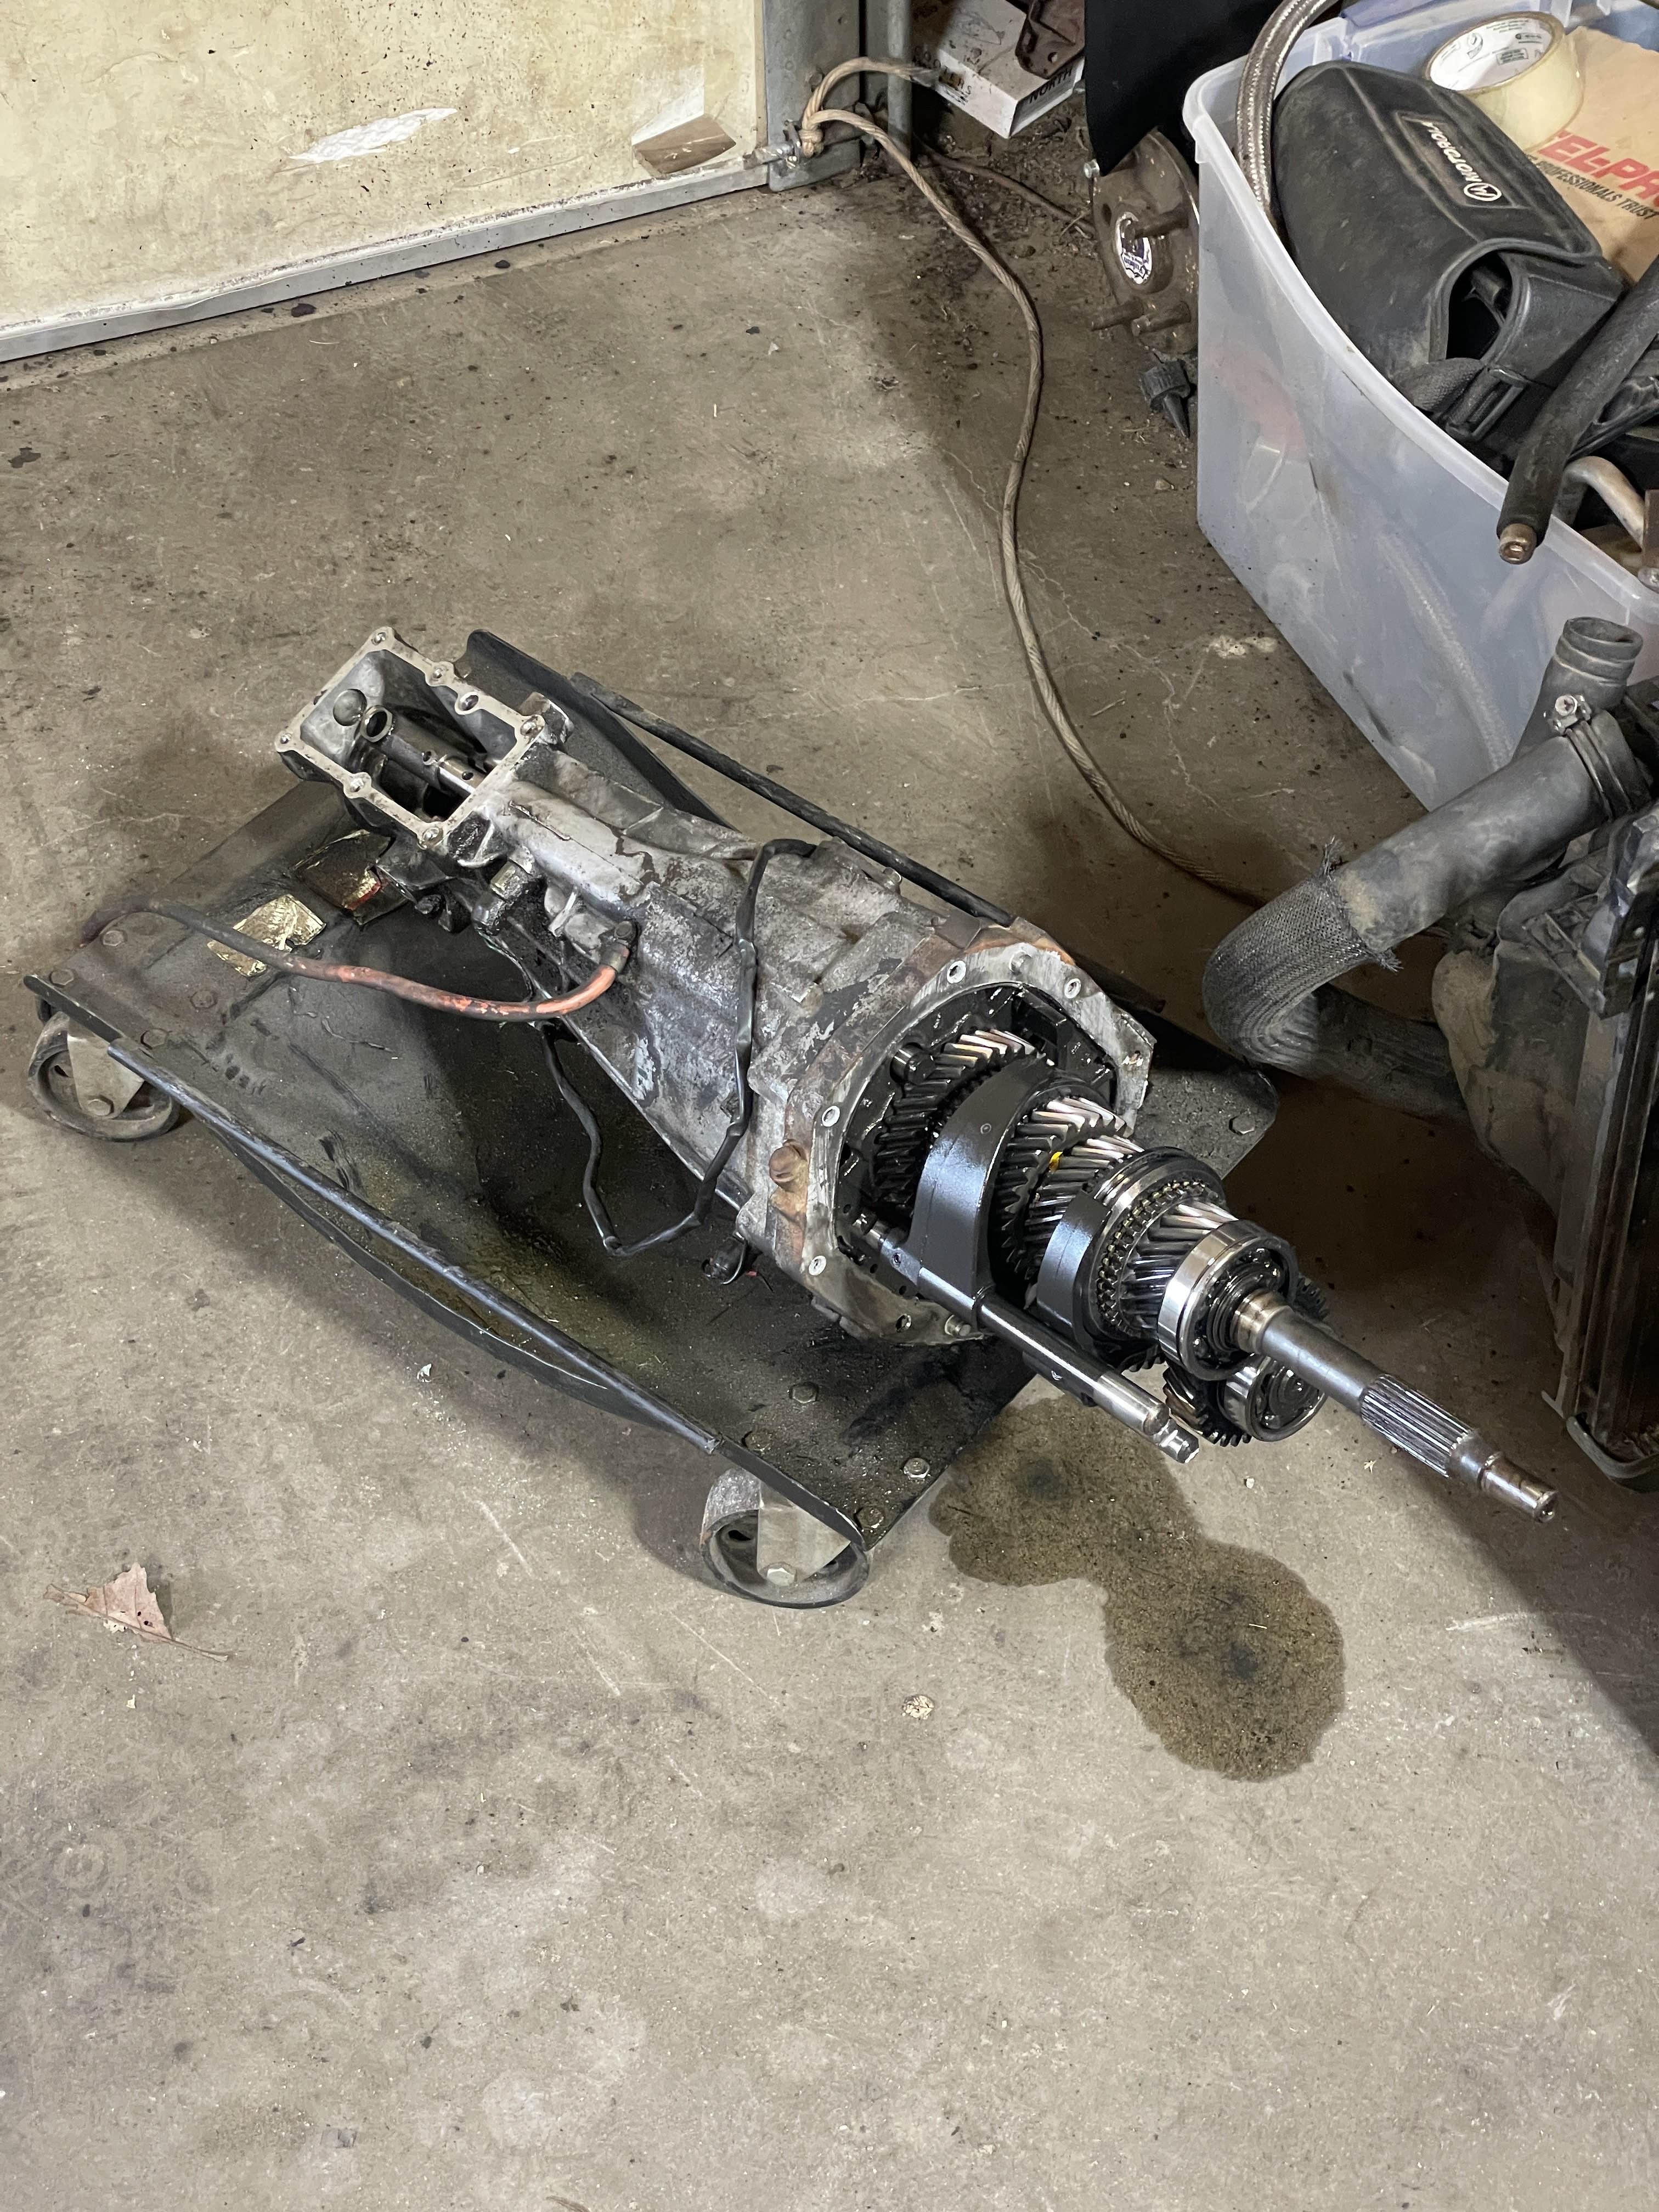
Bellhousing off, waiting on new gaskets to come in before mounting on the CA one.
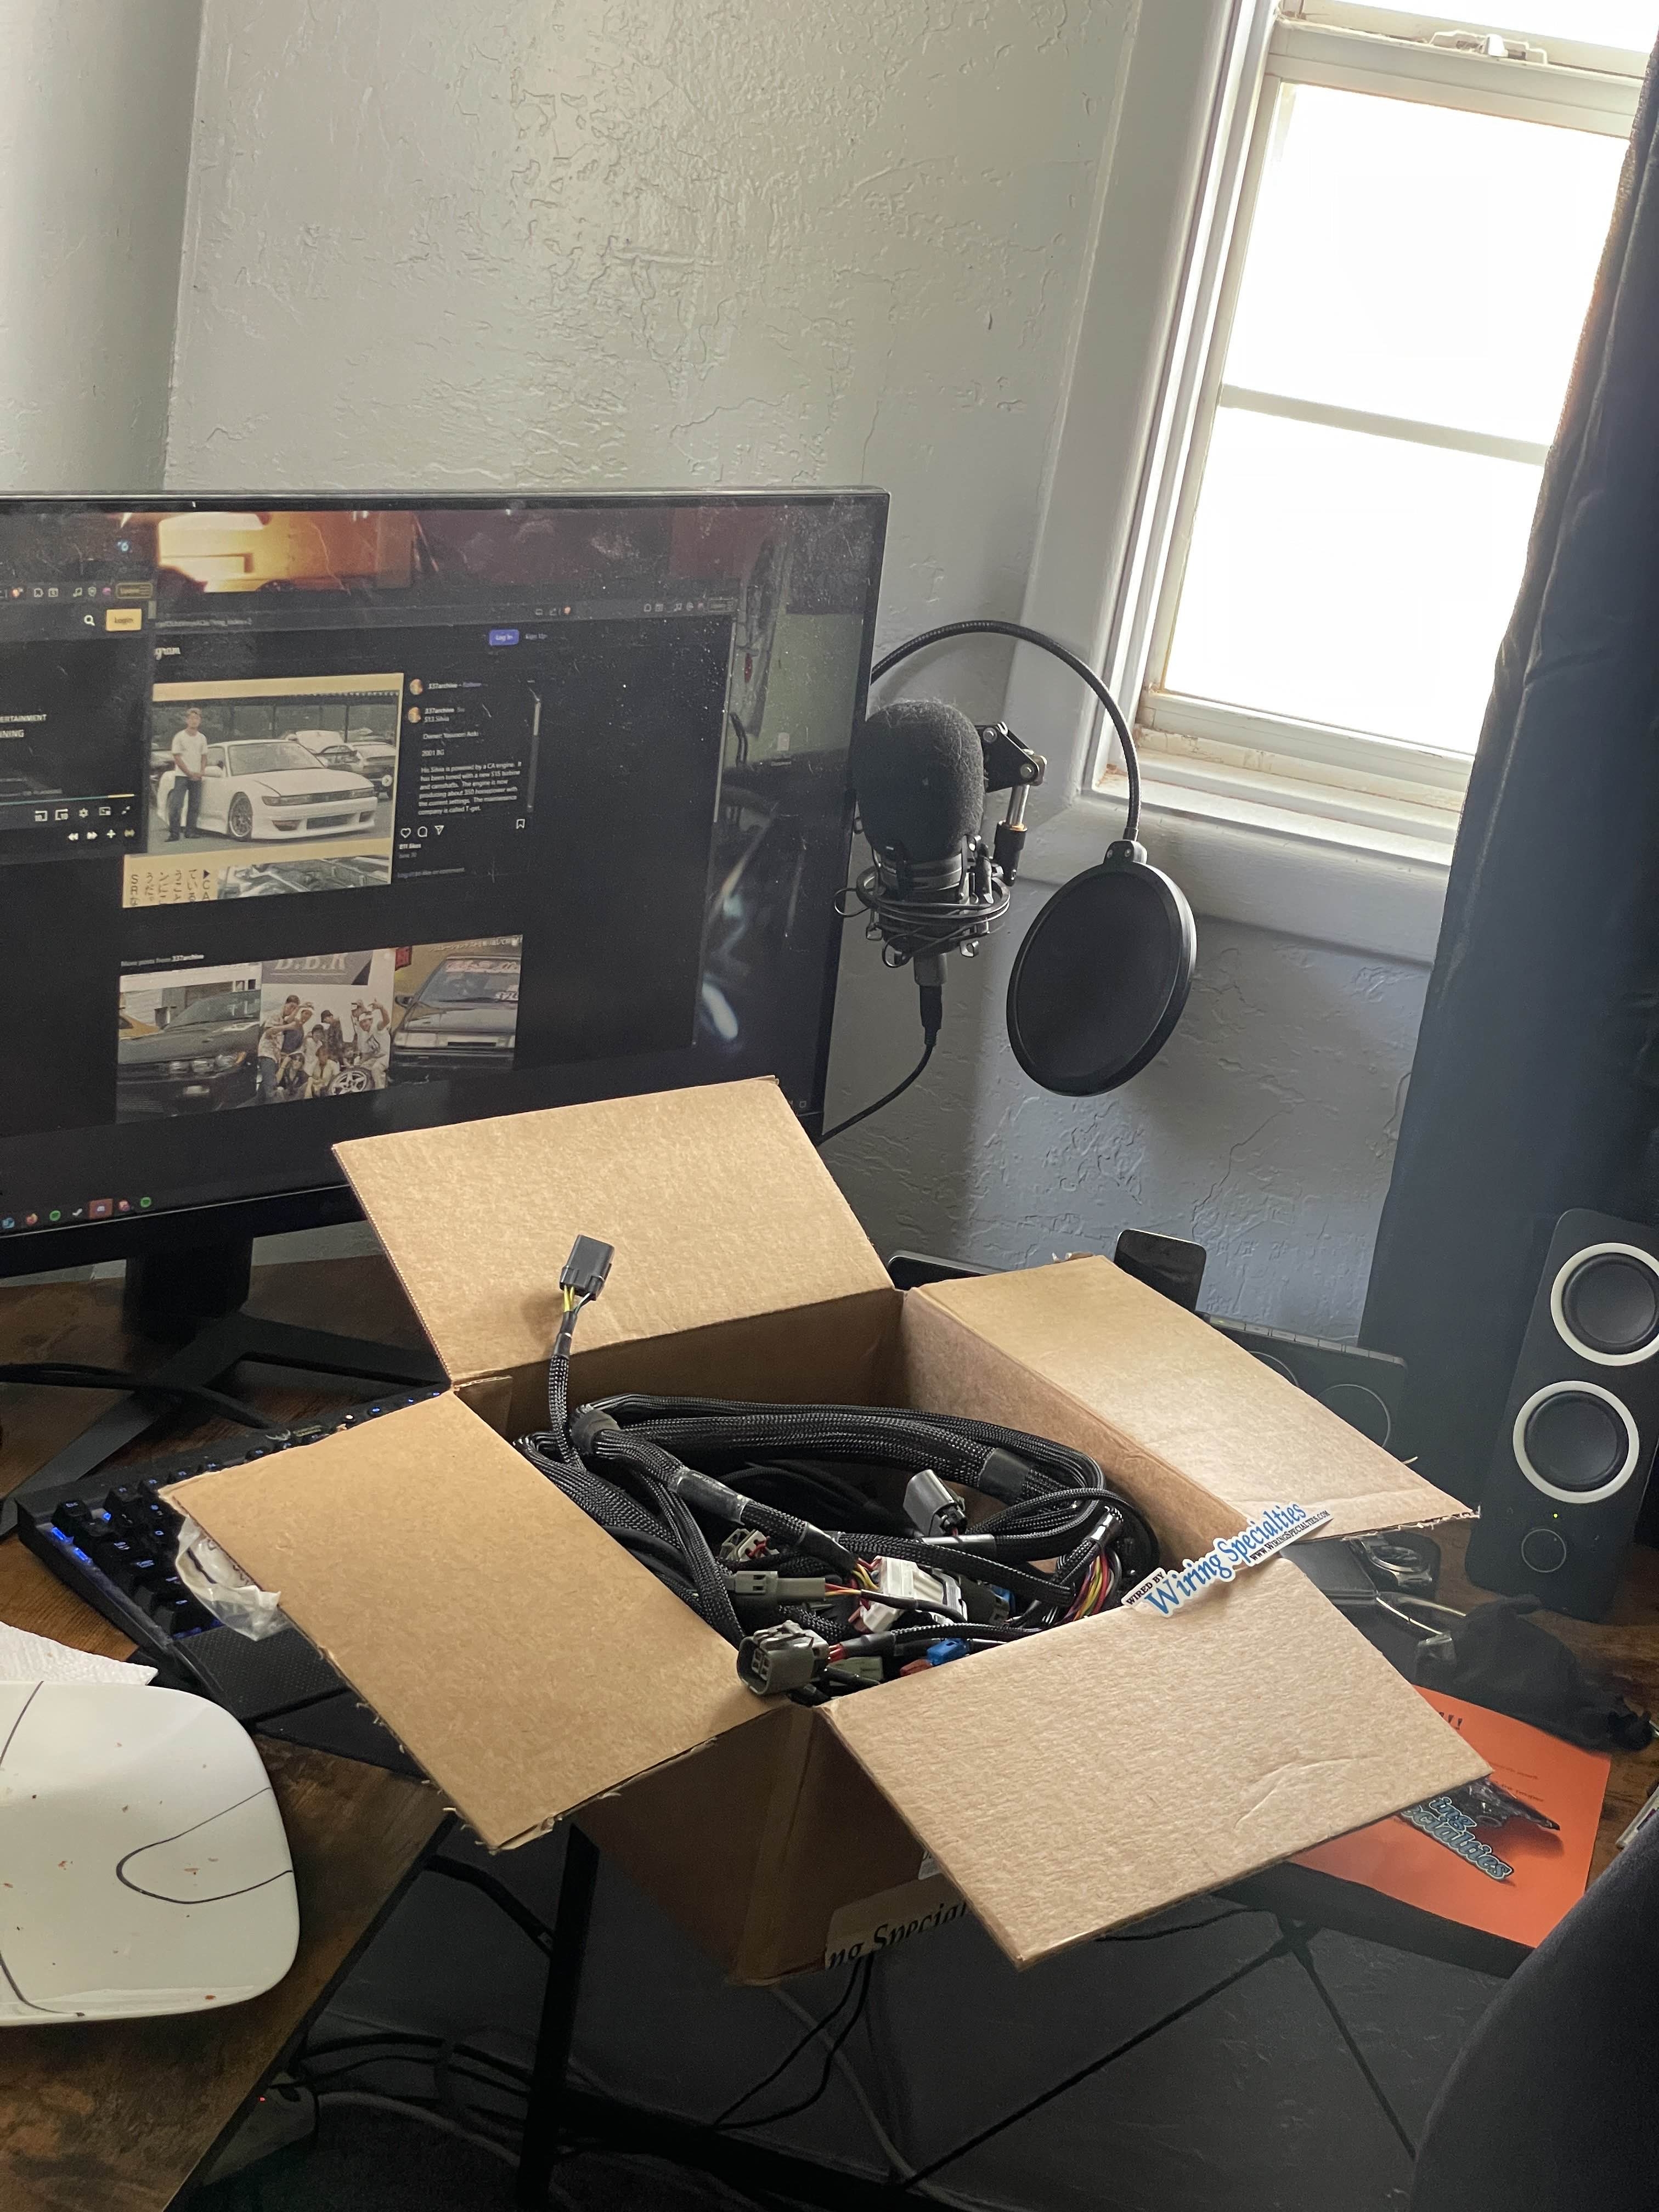
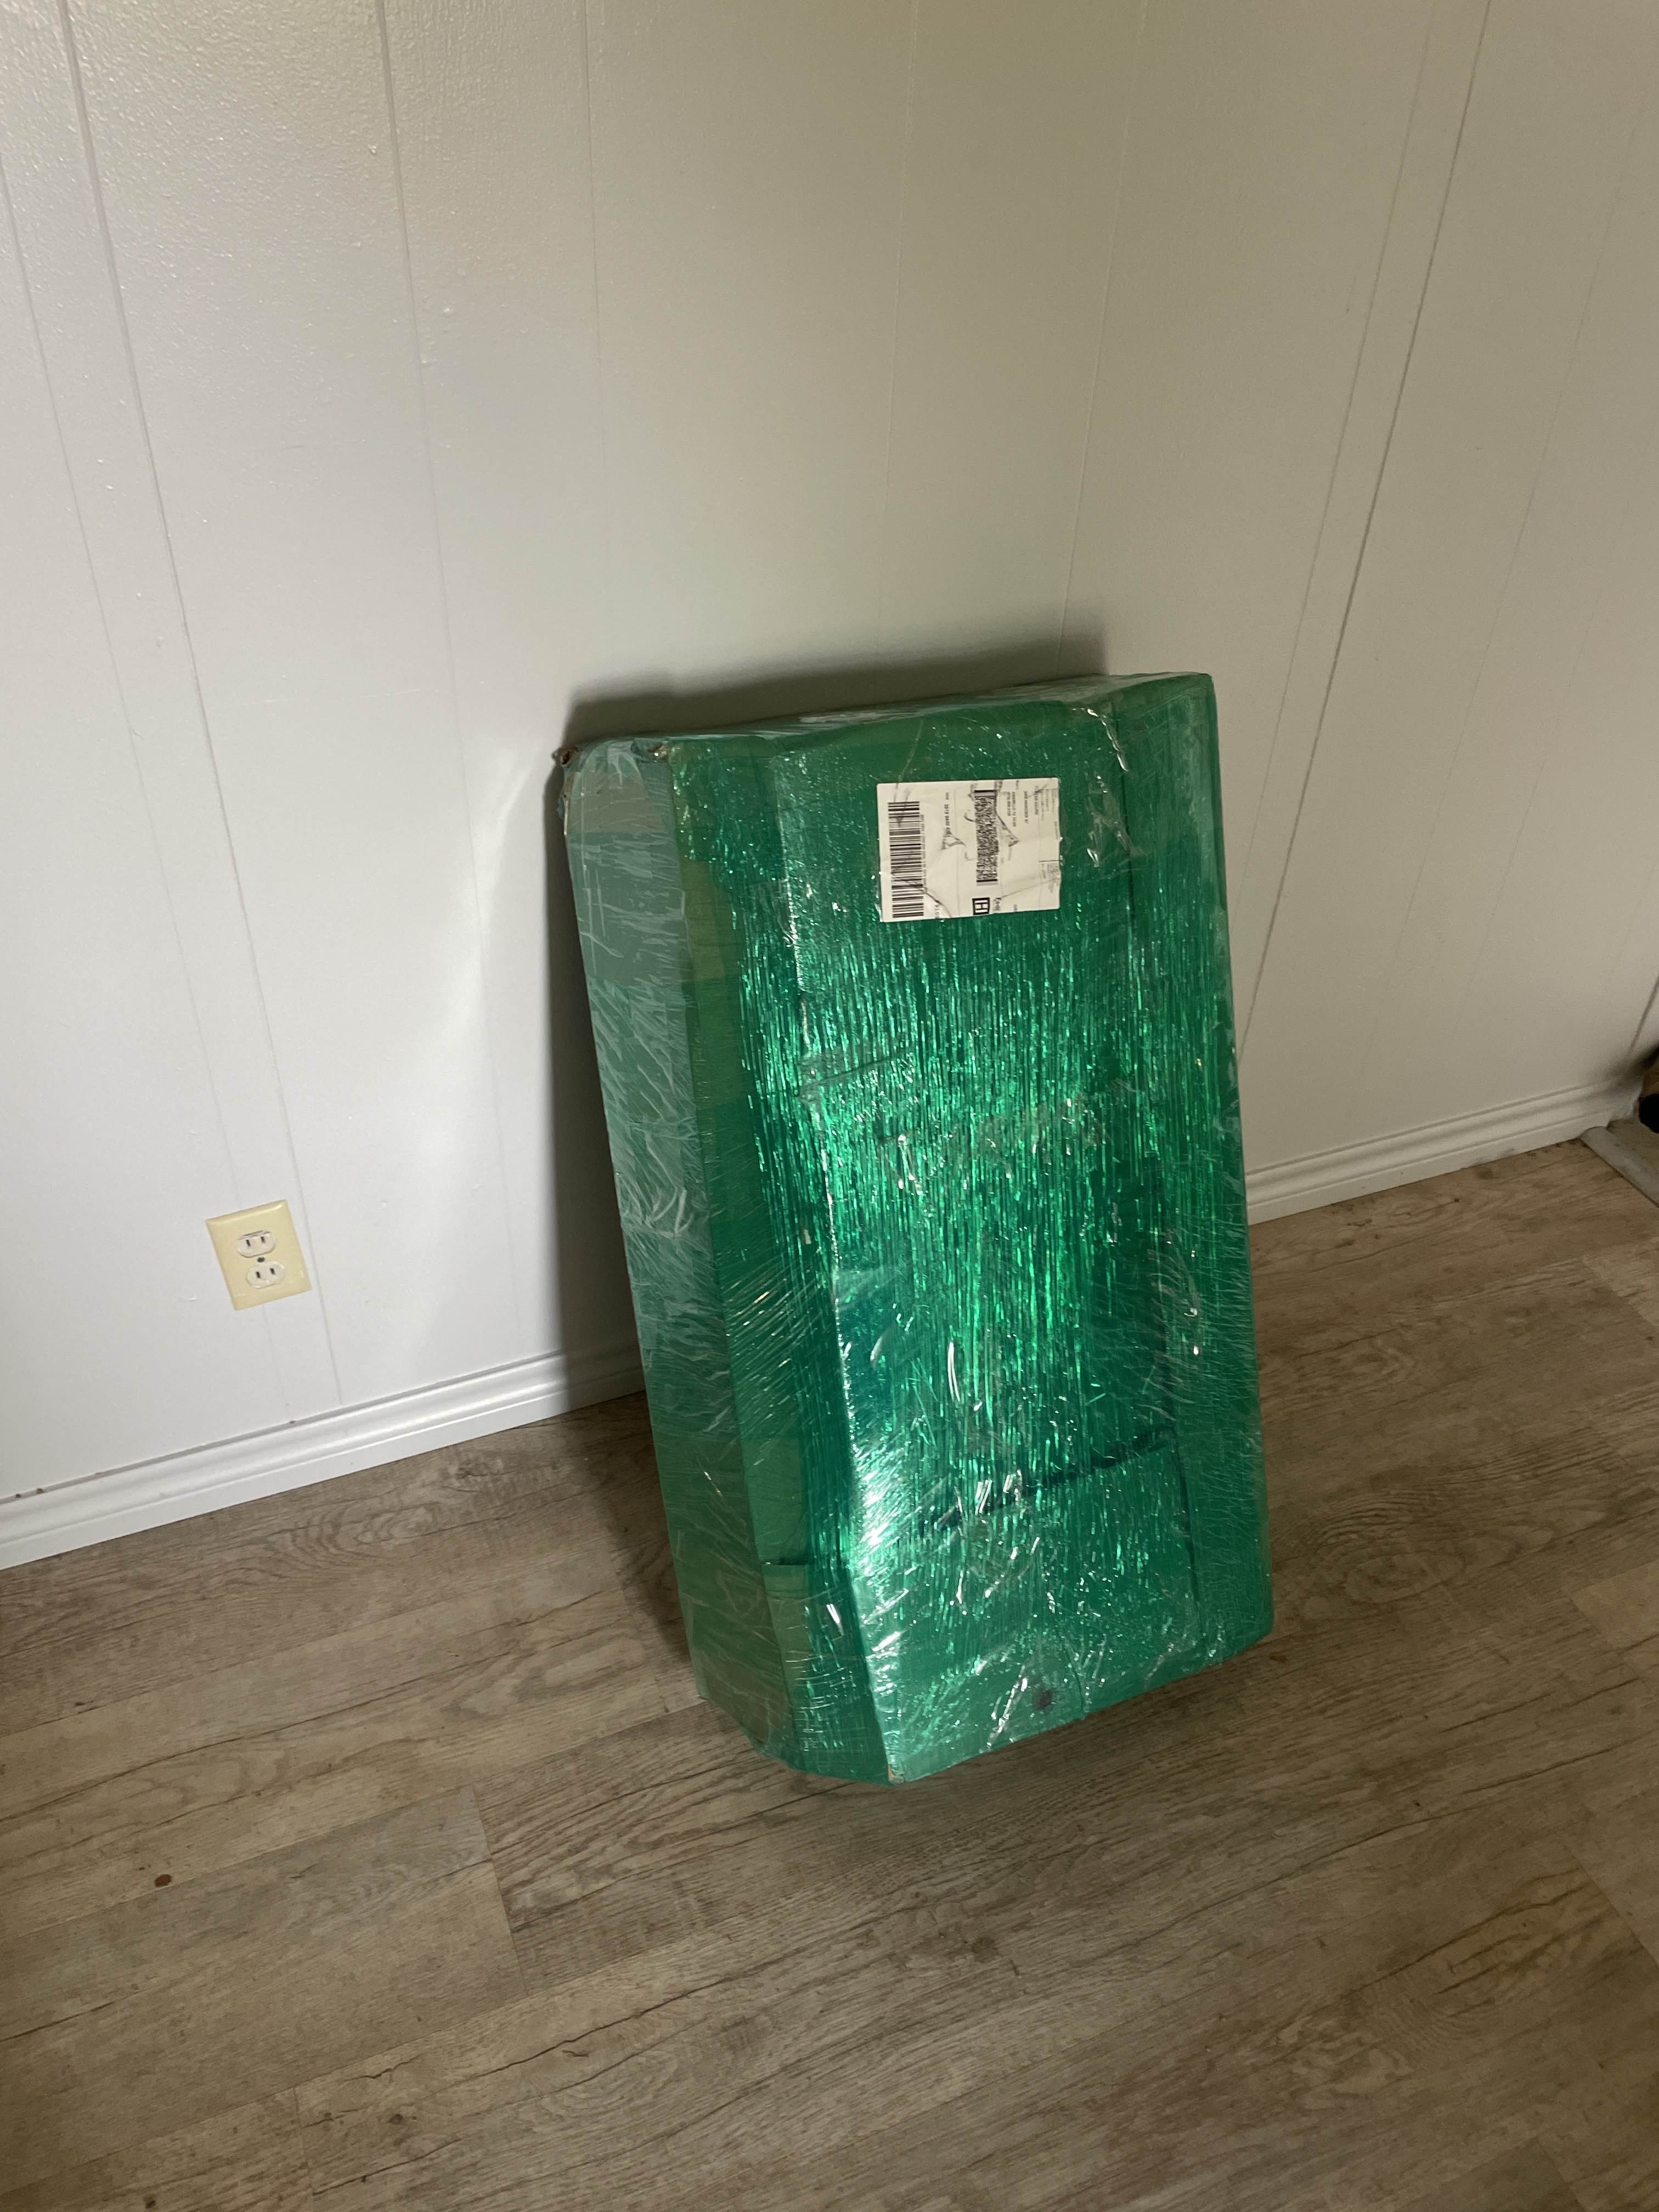
Wiring harness finally came in!!!
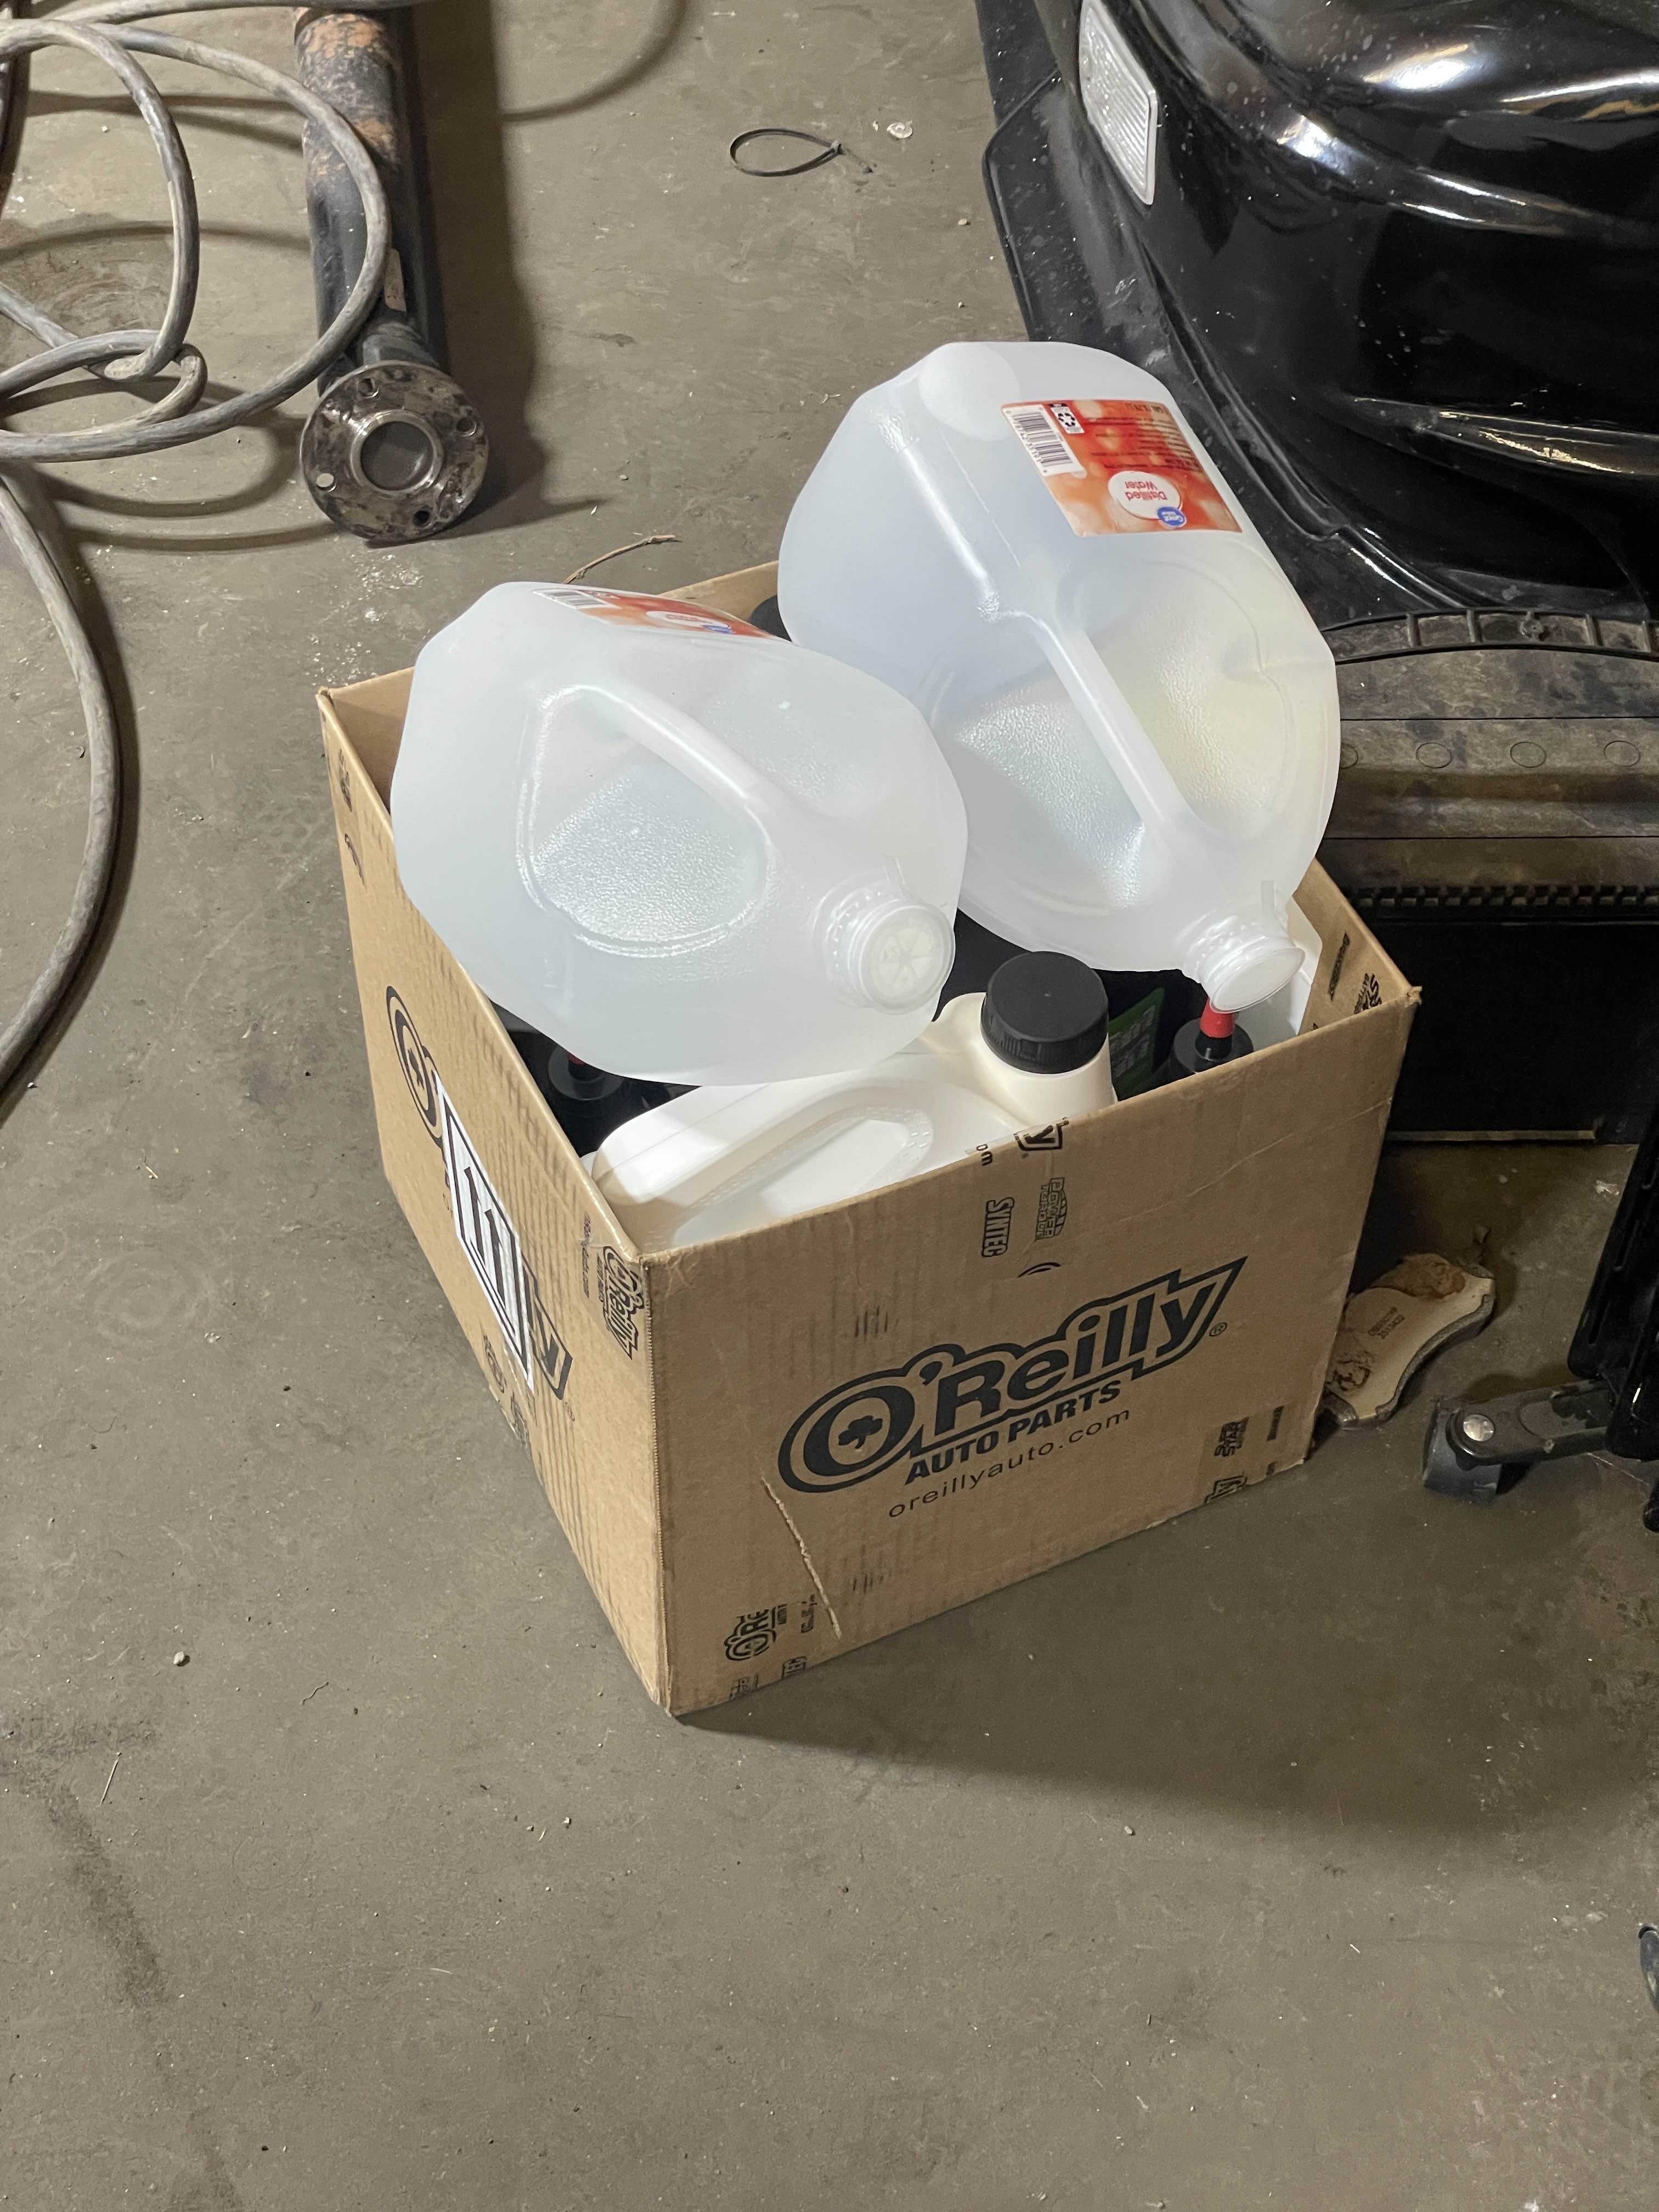
Picked up some oil, coolant, gear oil and distilled water, forgot power steering fluid and still need a battery, but it's getting real close. Its incredibly frustrating not being available to go put it all together since I work odd hours and have a very limited weekend to get it done, but this saturday I'm hoping will be the day most of the progress gets finished up, and ideally get to see if it starts...
Found a CA18 fan shroud for a good deal and man it shipped quick, will still see if the dual cam KA shroud works out of curiosity, but will wind up using this guy.
I know this is a pretty large gap but its in! Had some trouble mounting the transmission after resealing it- the new pilot bushing broke so I reinstalled the old one and slipped on just fine. took a lot of effort, but managed to get it all in the car in an afternoon with the help of Branson and Ty. thank you guys
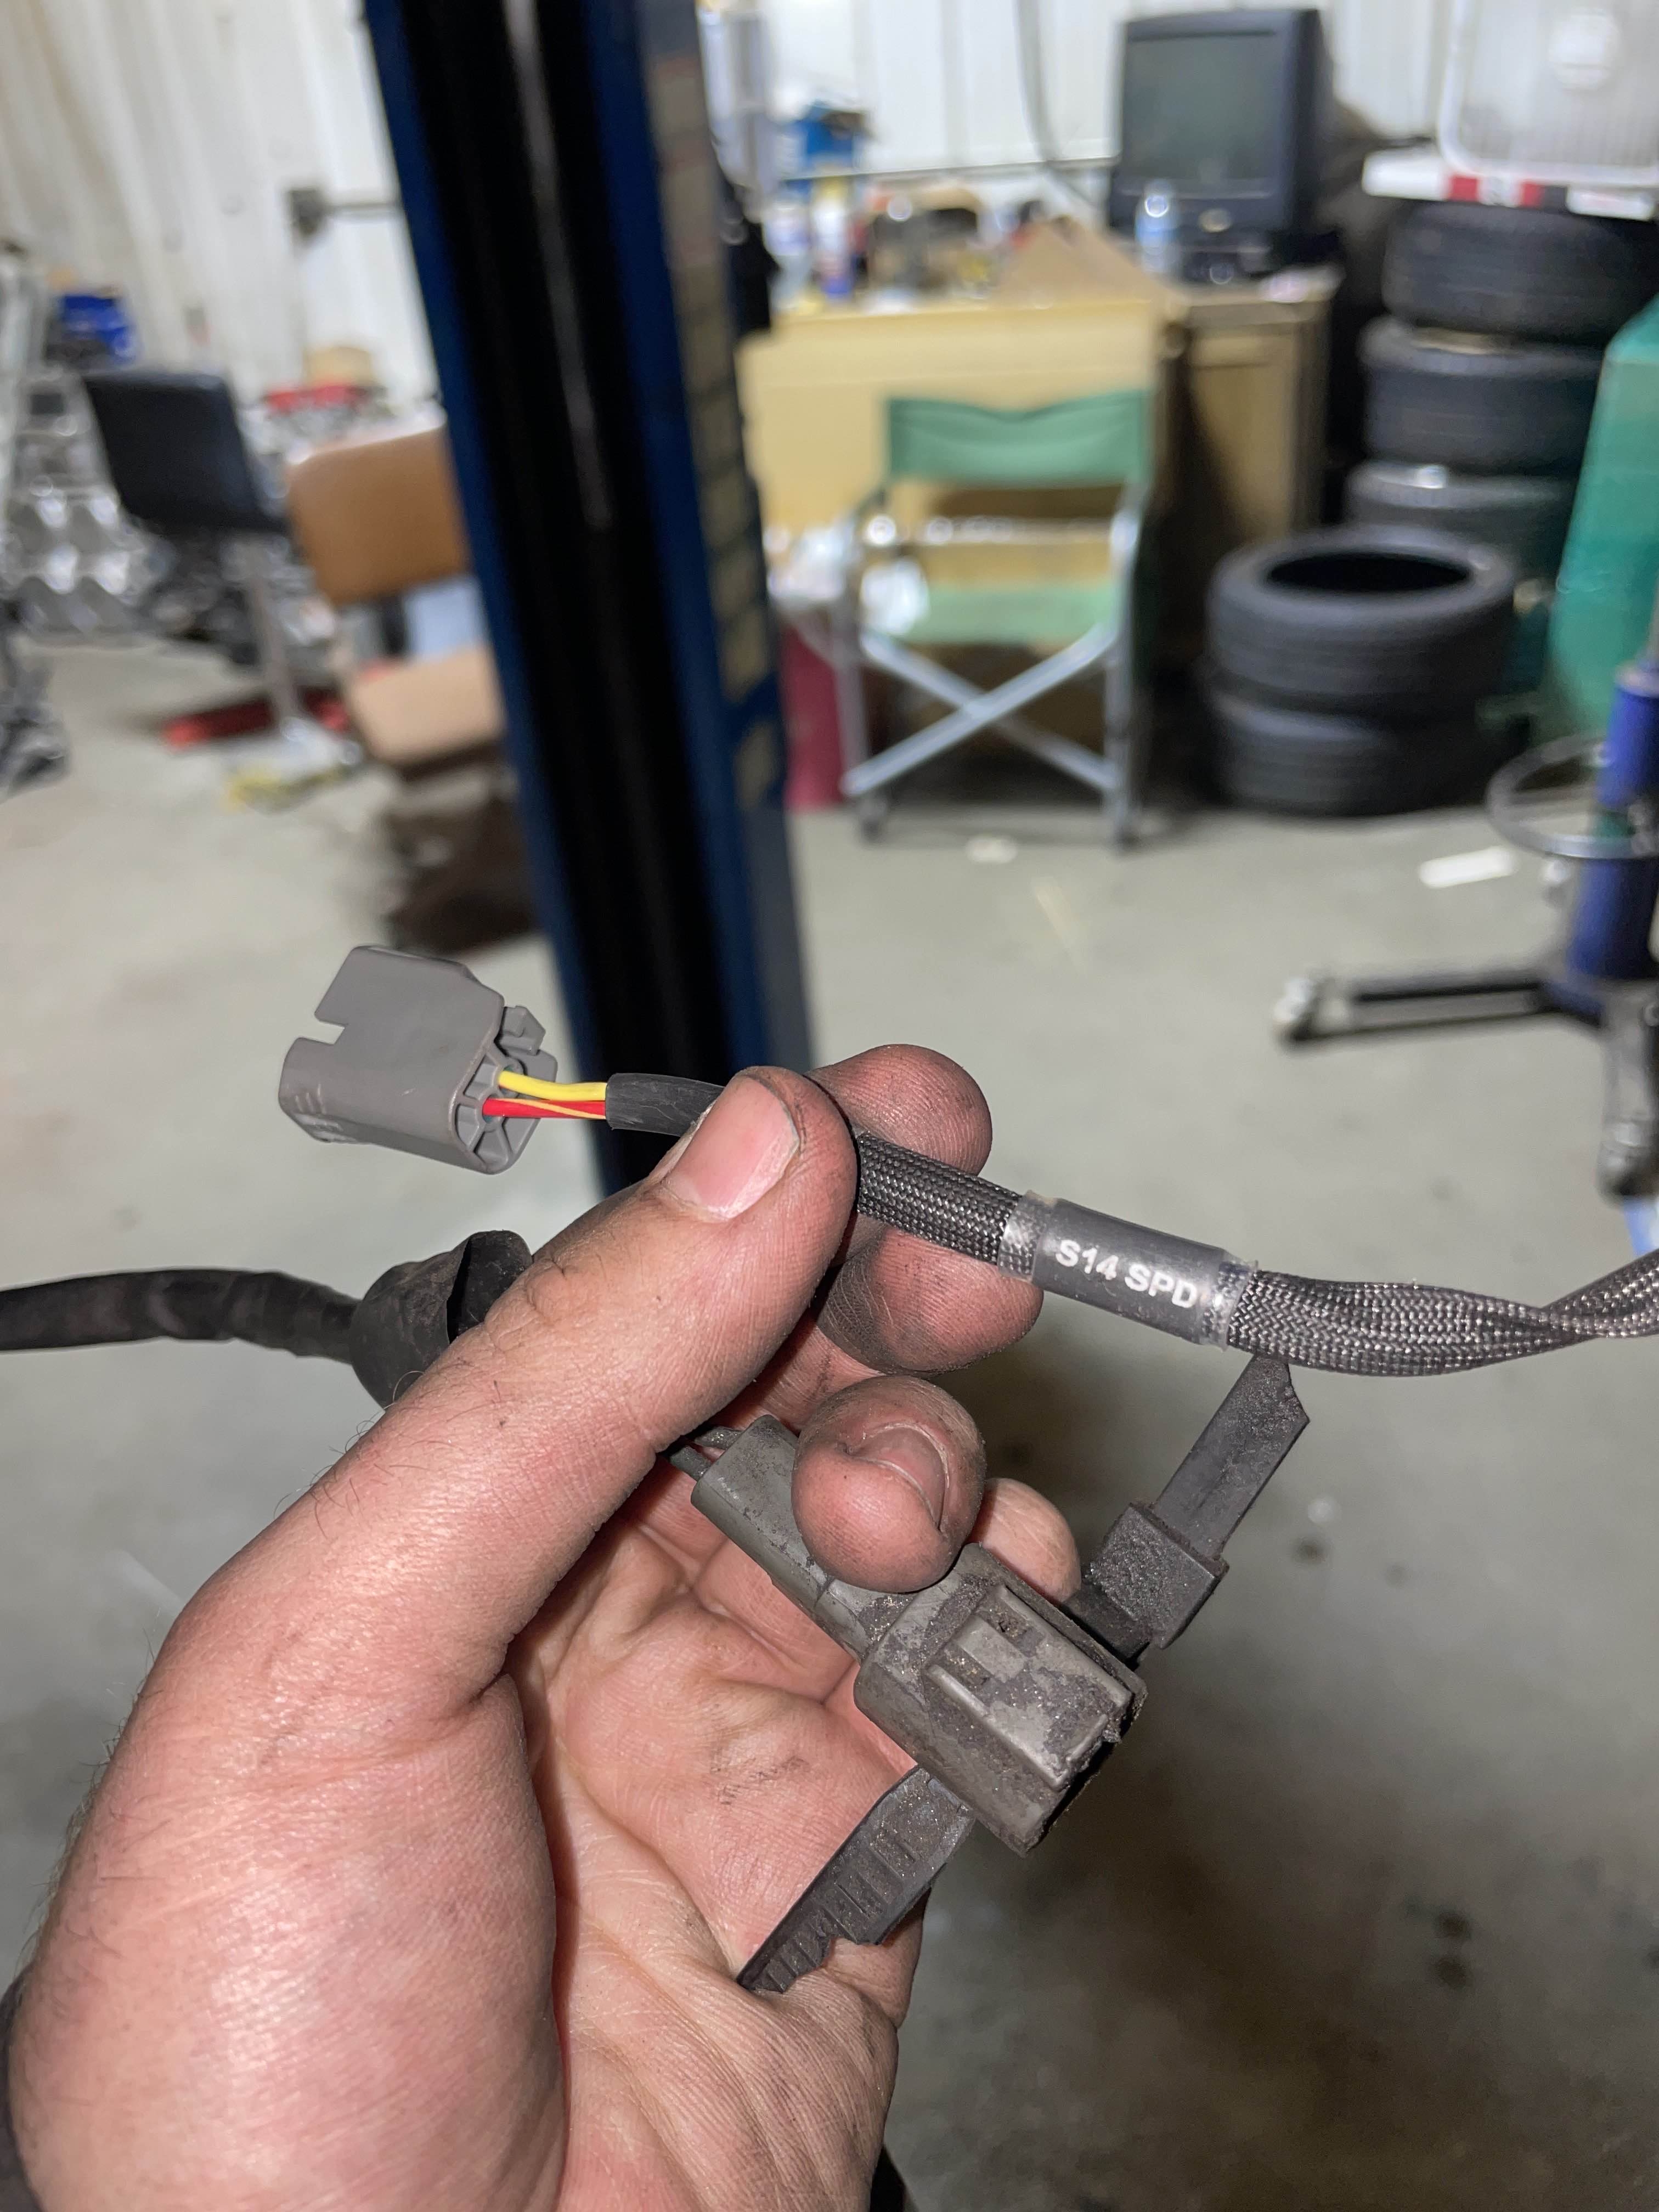
Started going through the new harness, seems to have a few connectors that won't work for my car, unsure why but the speed sensor plug was for S14? cut this off and put the old connector on it..
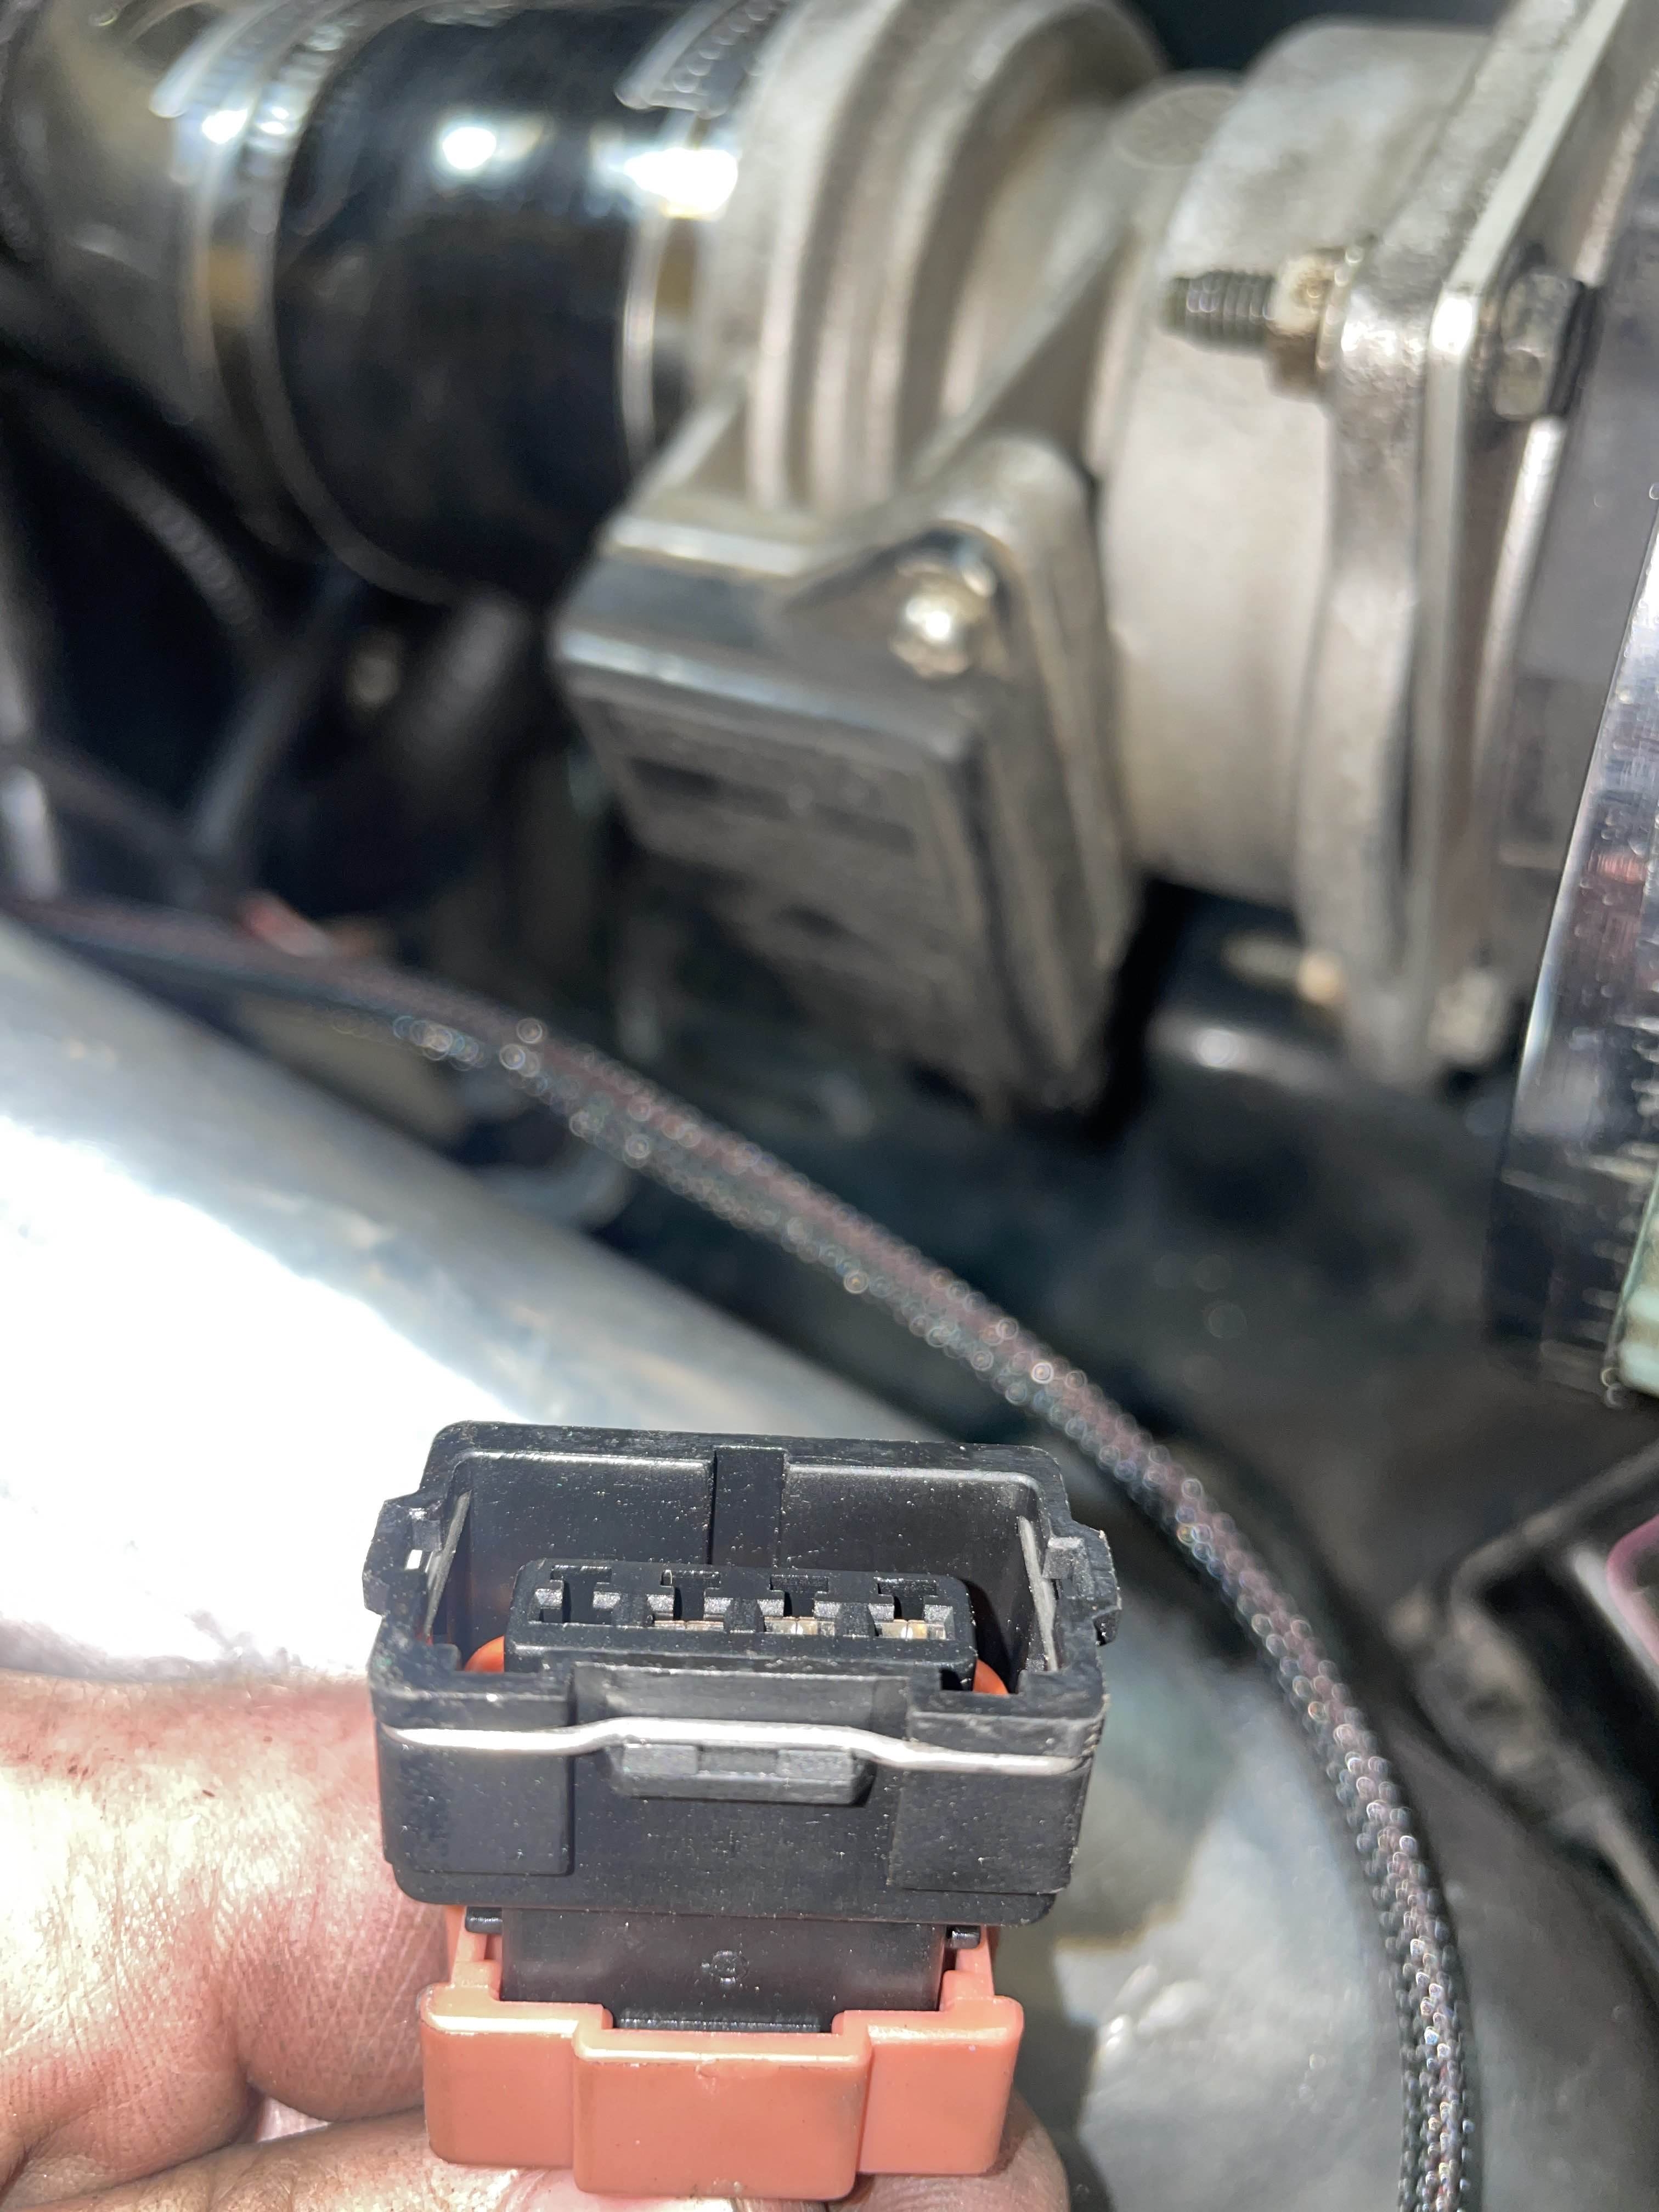
Same for this guy, which was more of a headache... the maf. SO on CA18's there are two different mafs! there is a 3 pin maf (which is what I have) and a 4 pin. the only connector Wiring specialties sells for this swap is the 4 pin and no longer has the proper pin out for the 3 pin. For those interested- The 3 Pin Maf is for the Lambda ecu (uses O2 Sensor), the 4 pin is non-lambda which is the earlier cars without O2 sensors. If using a factory setup, these must match with the ecu, thankfully I wound up with matching electronics, just needed to figure out the wiring for this guy first.
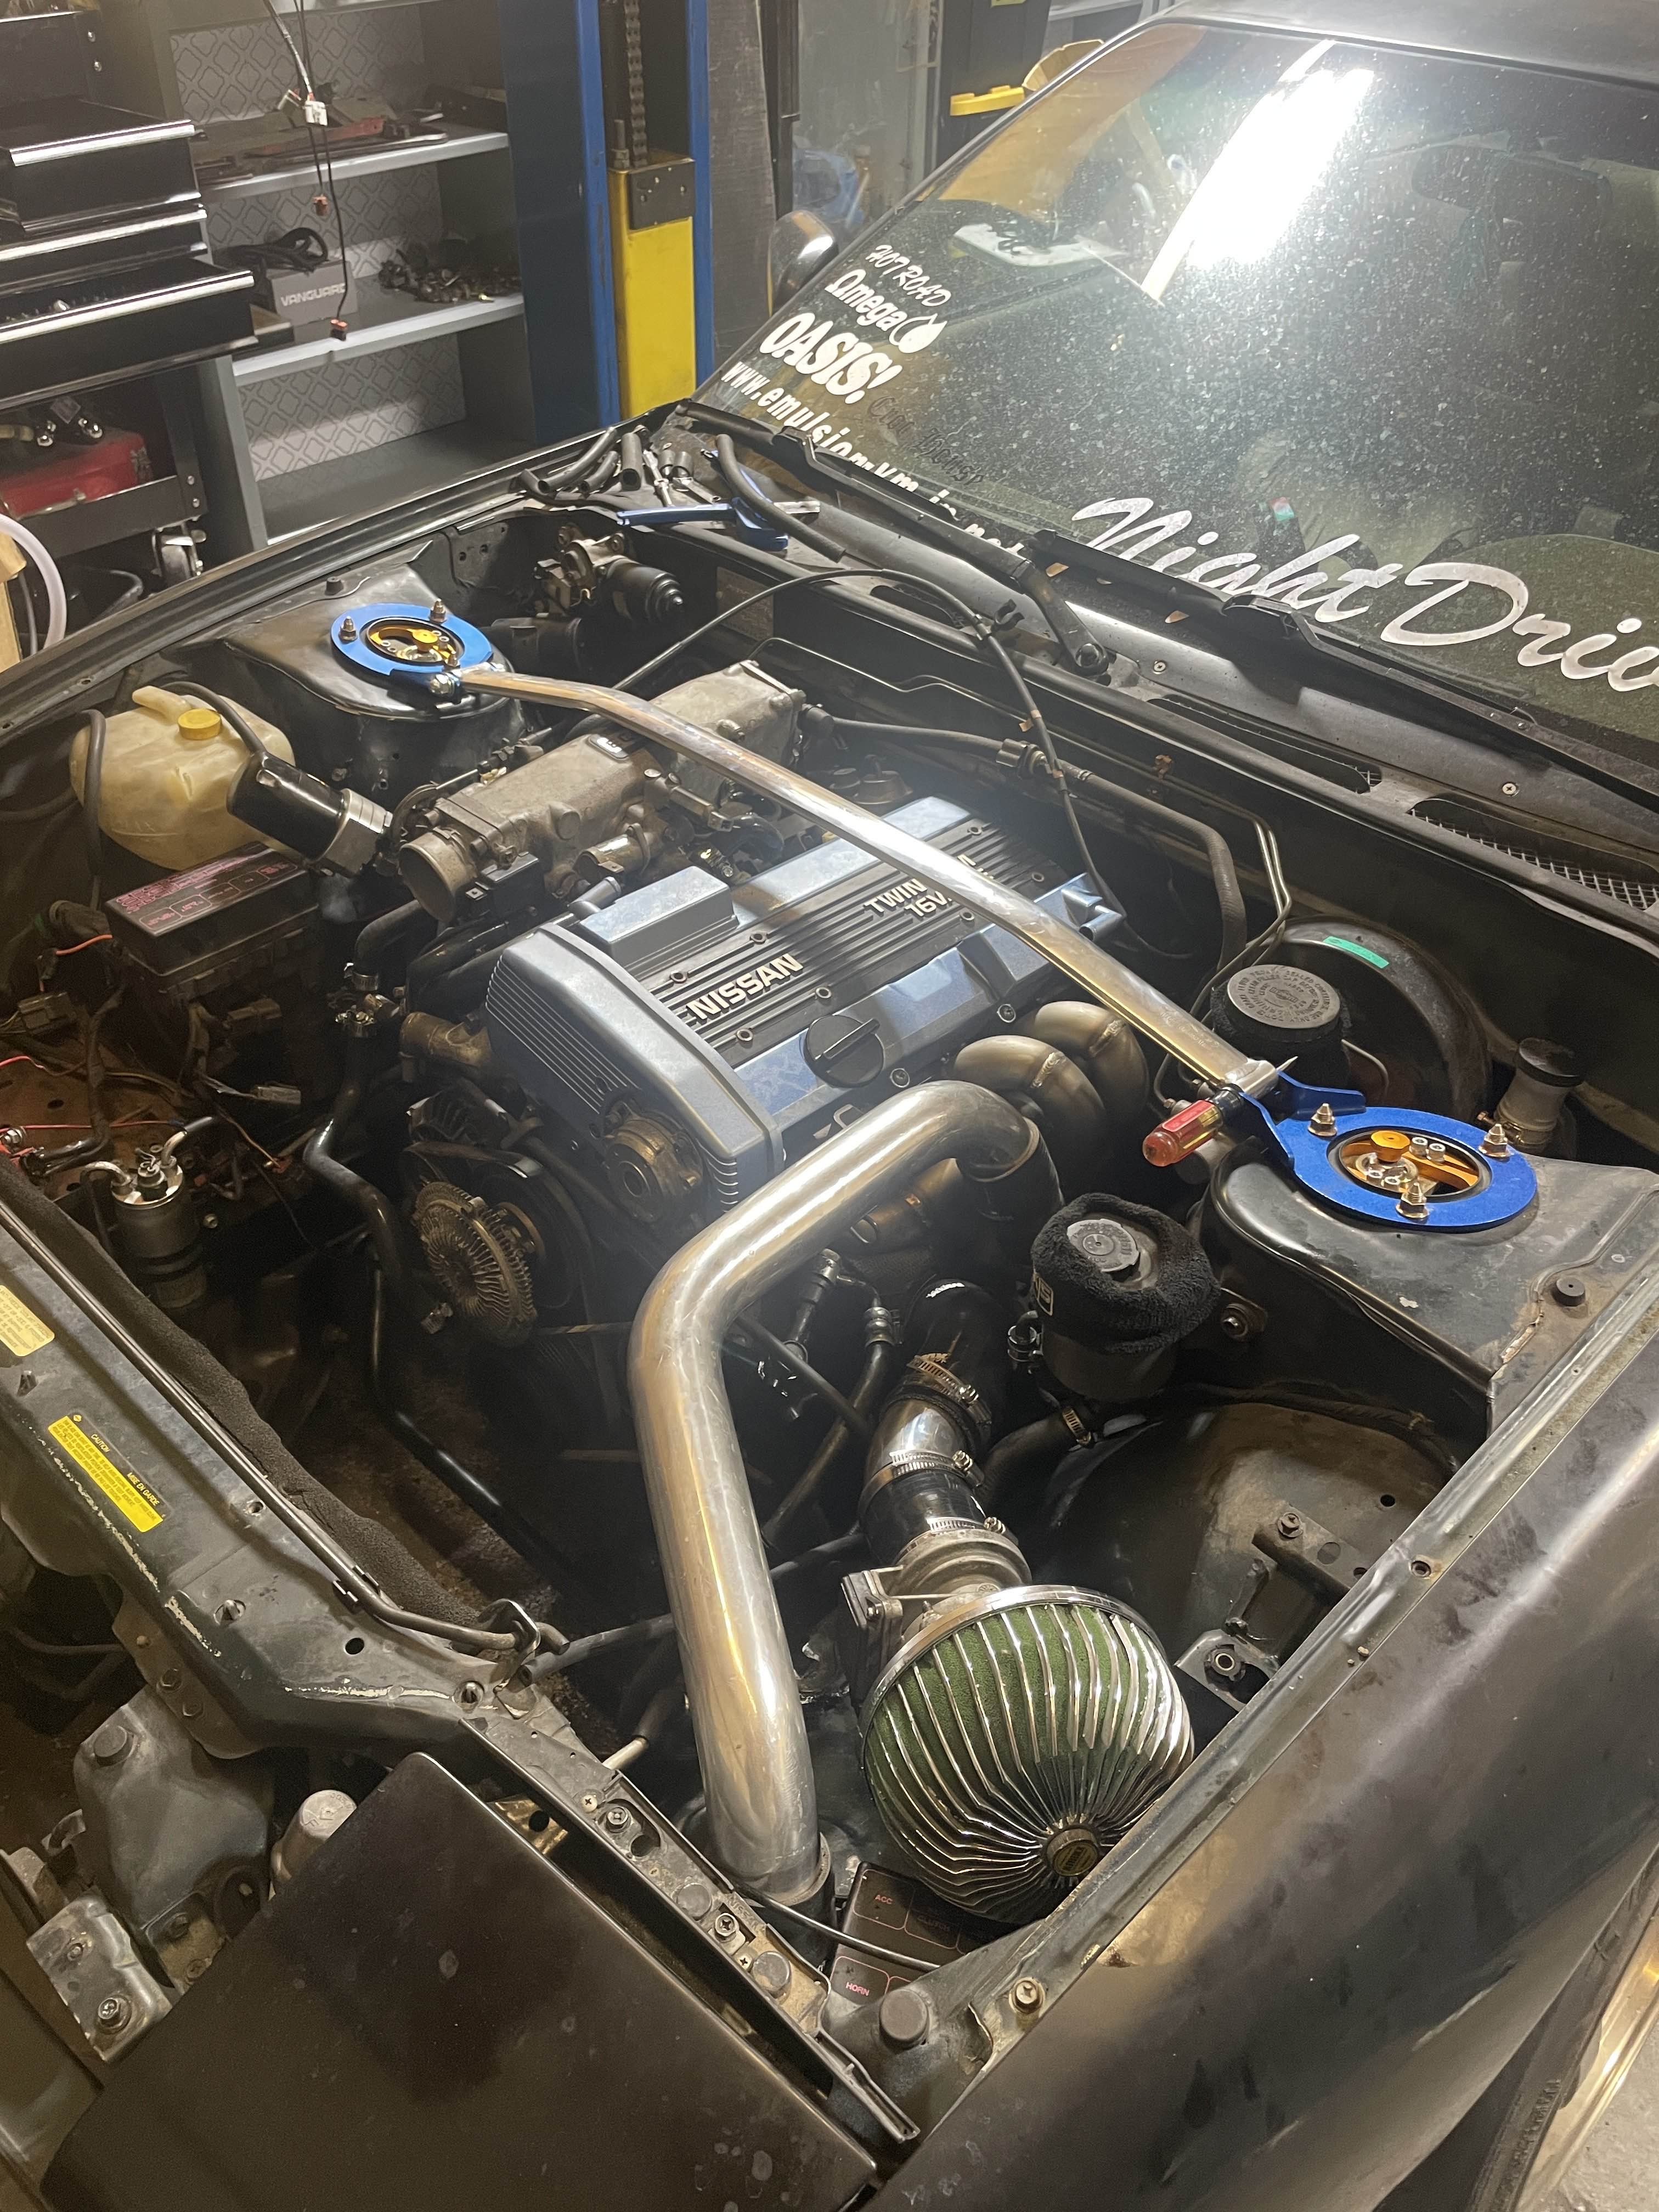
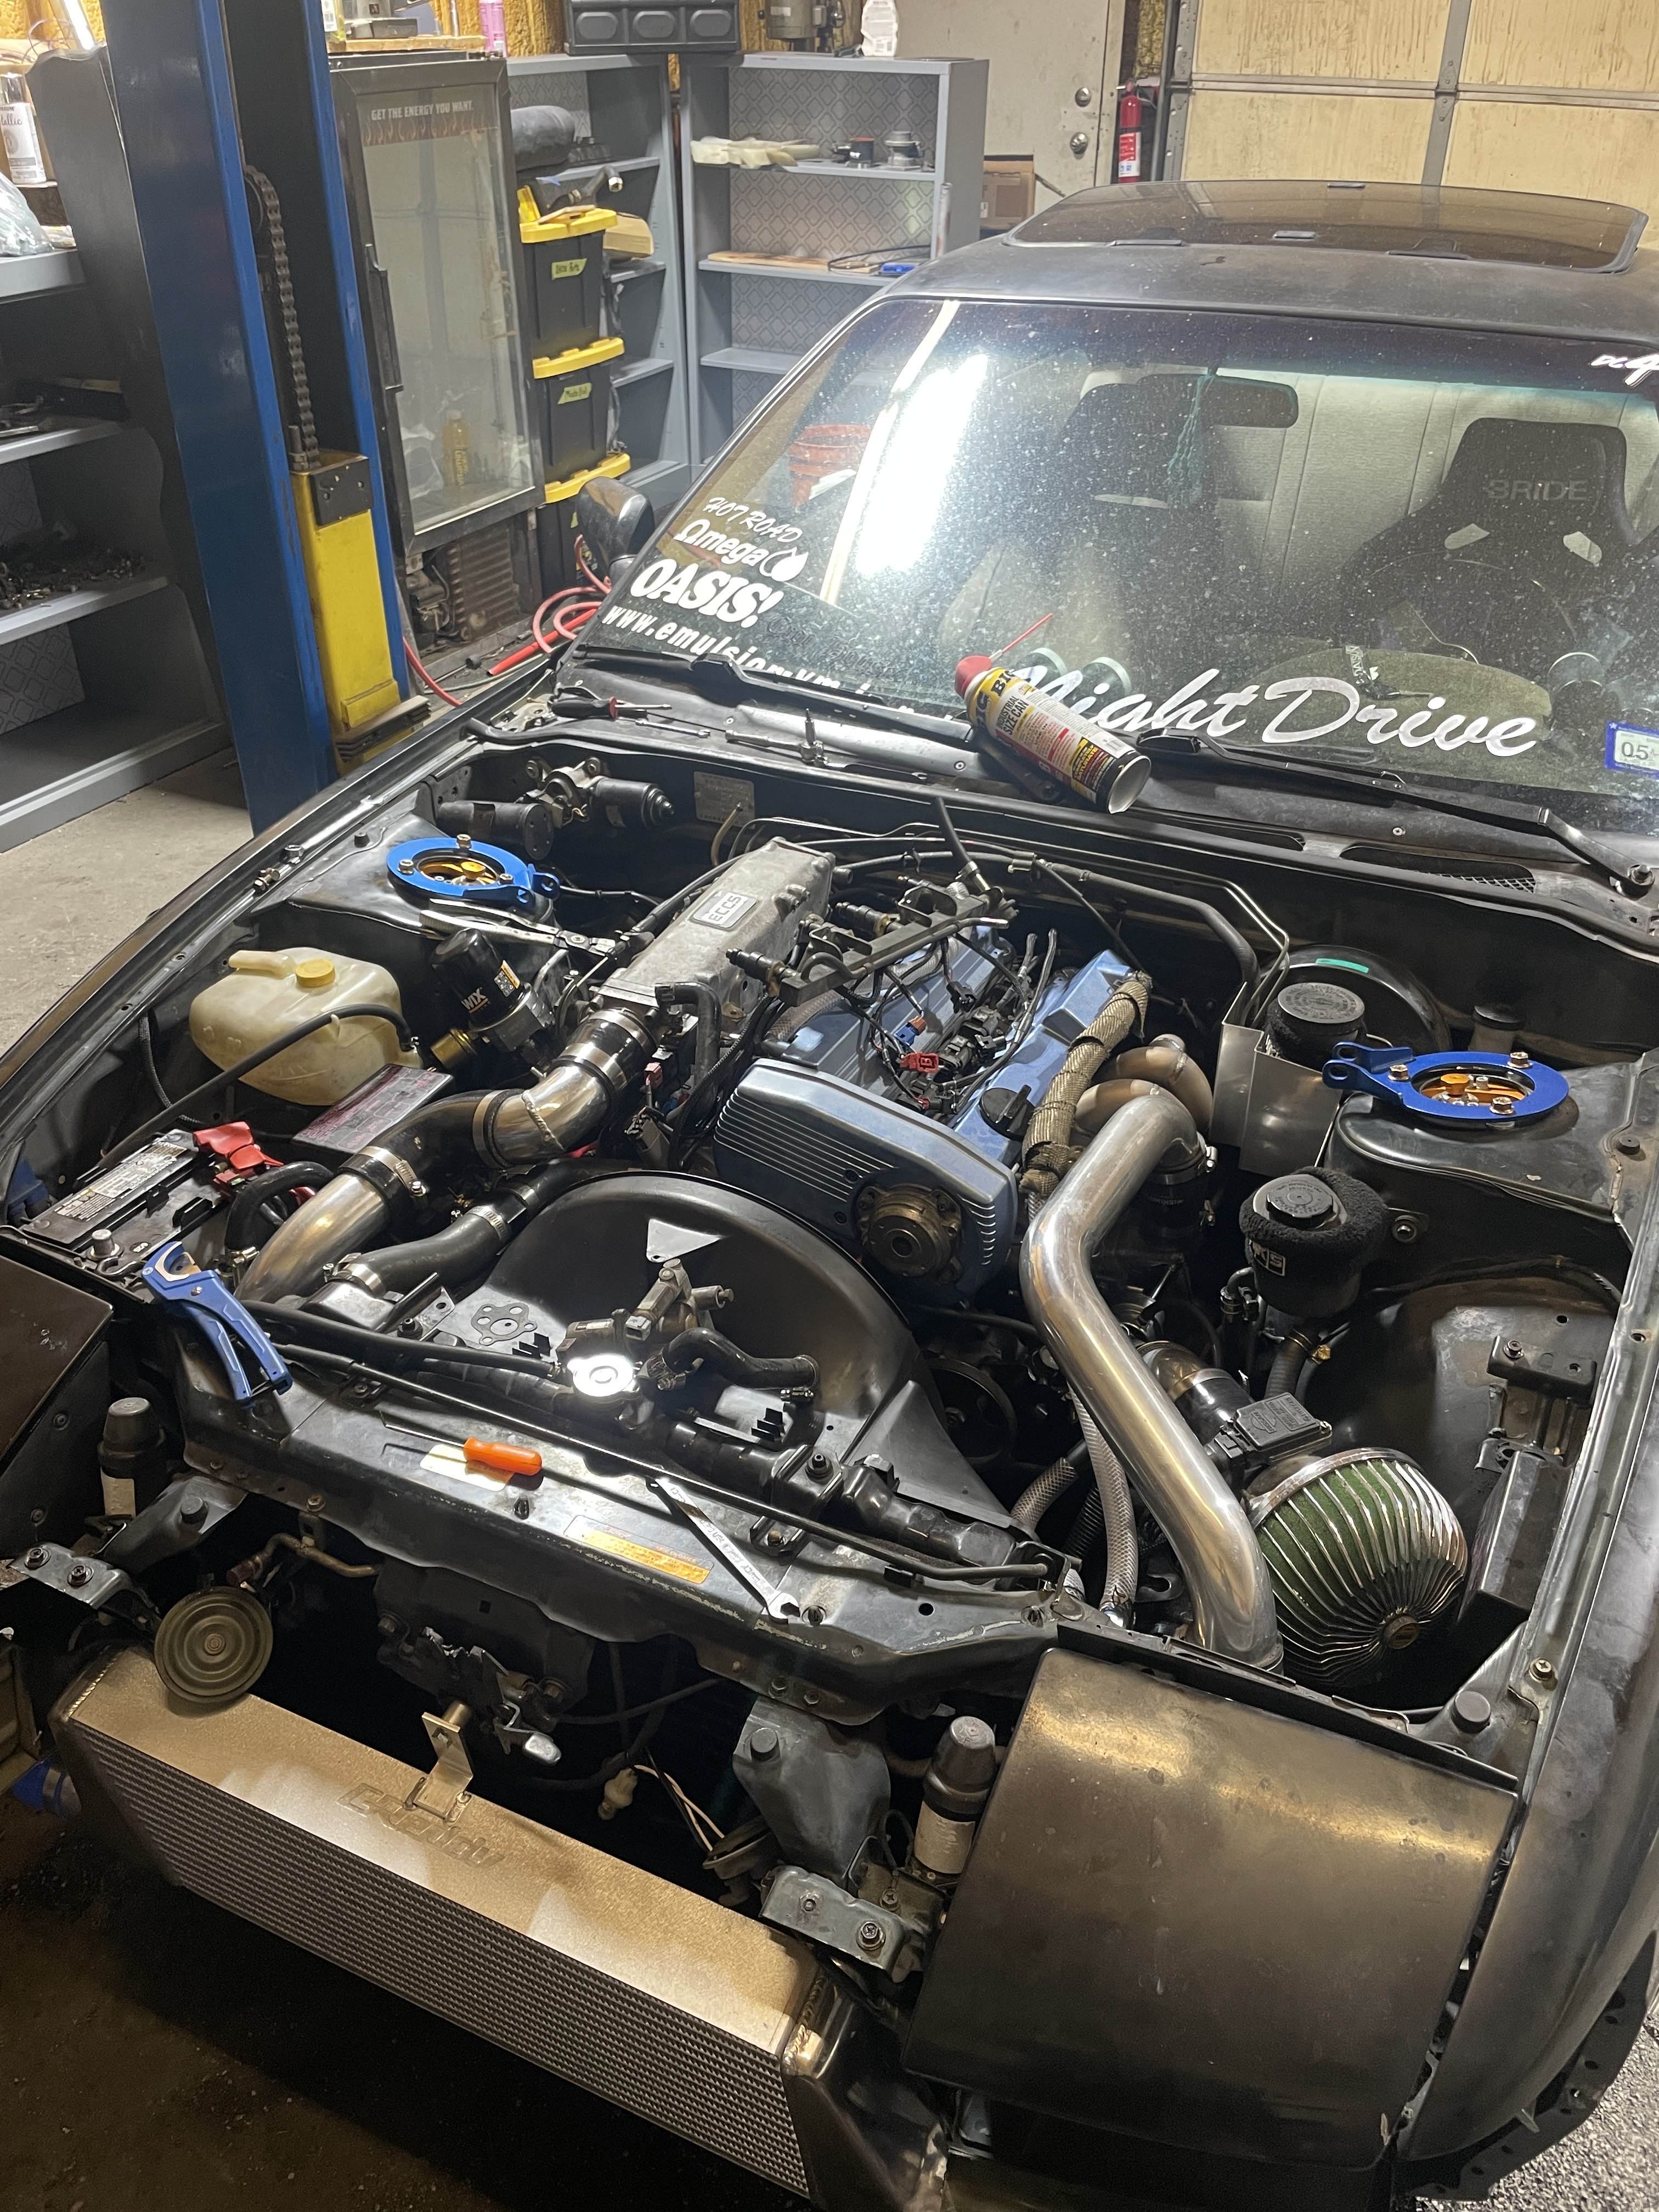
Harness installed! no battery/starter wiring yet, but will get to that soon, Also the KA24de fan shroud DOES NOT WORK, so the 180sx shroud worked out! will paint this later as it's much more faded than I expected...
First Start!! (no intercooler piping so huge vacuum leak)

Intercooler mounted!

After failing HARD with a hole saw, decided to pick up one of these air powered saws from harbor freight. The one in the pic is not what I bought, since I went for the cheaper guy, but I did use these blades.
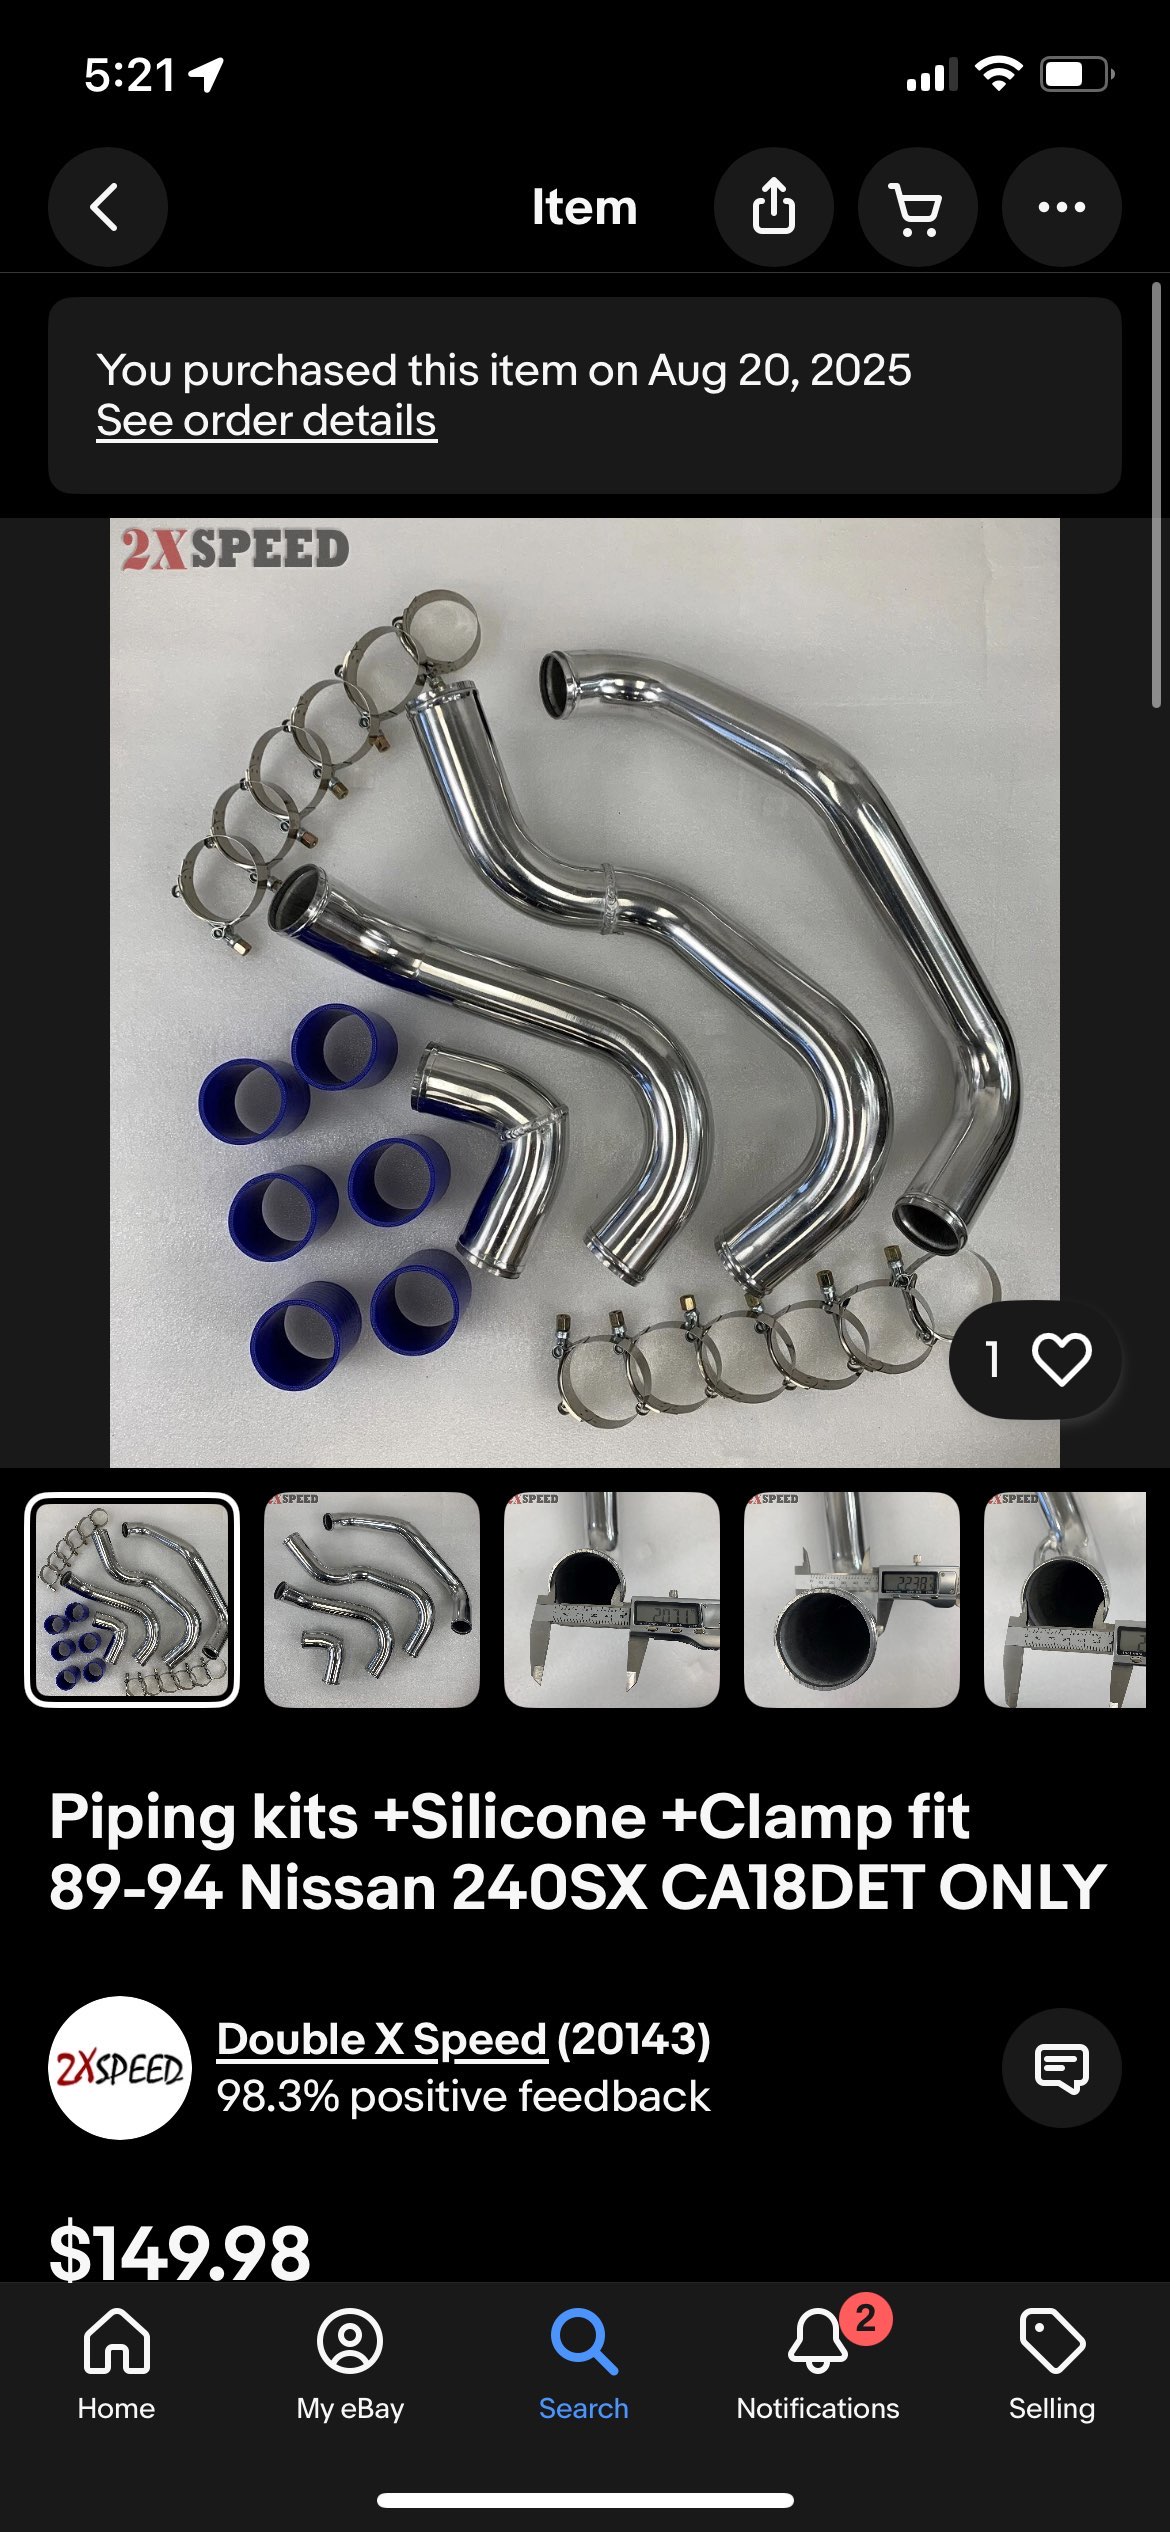
Cut the hole, this piping is WAY OFF! its for SR20 but man its bad, will need to figure something out.
That night came across this bad boy on ebay, 240sx and ca18det in the title? yeah buying that.
Found out another difference with CA's vs SR and KA- the Fan is different! Fan clutch too! Found a CA fan on ebay thankfully but yeah the KA/SR fan hits everything behind it. Could probably get away with running some sort of spacer but figured it wasn't worth the risk.
Old friends are the best, needed this 45 for the T28 and David came in clutch on this, couldn't find one anywhere stateside for sale.
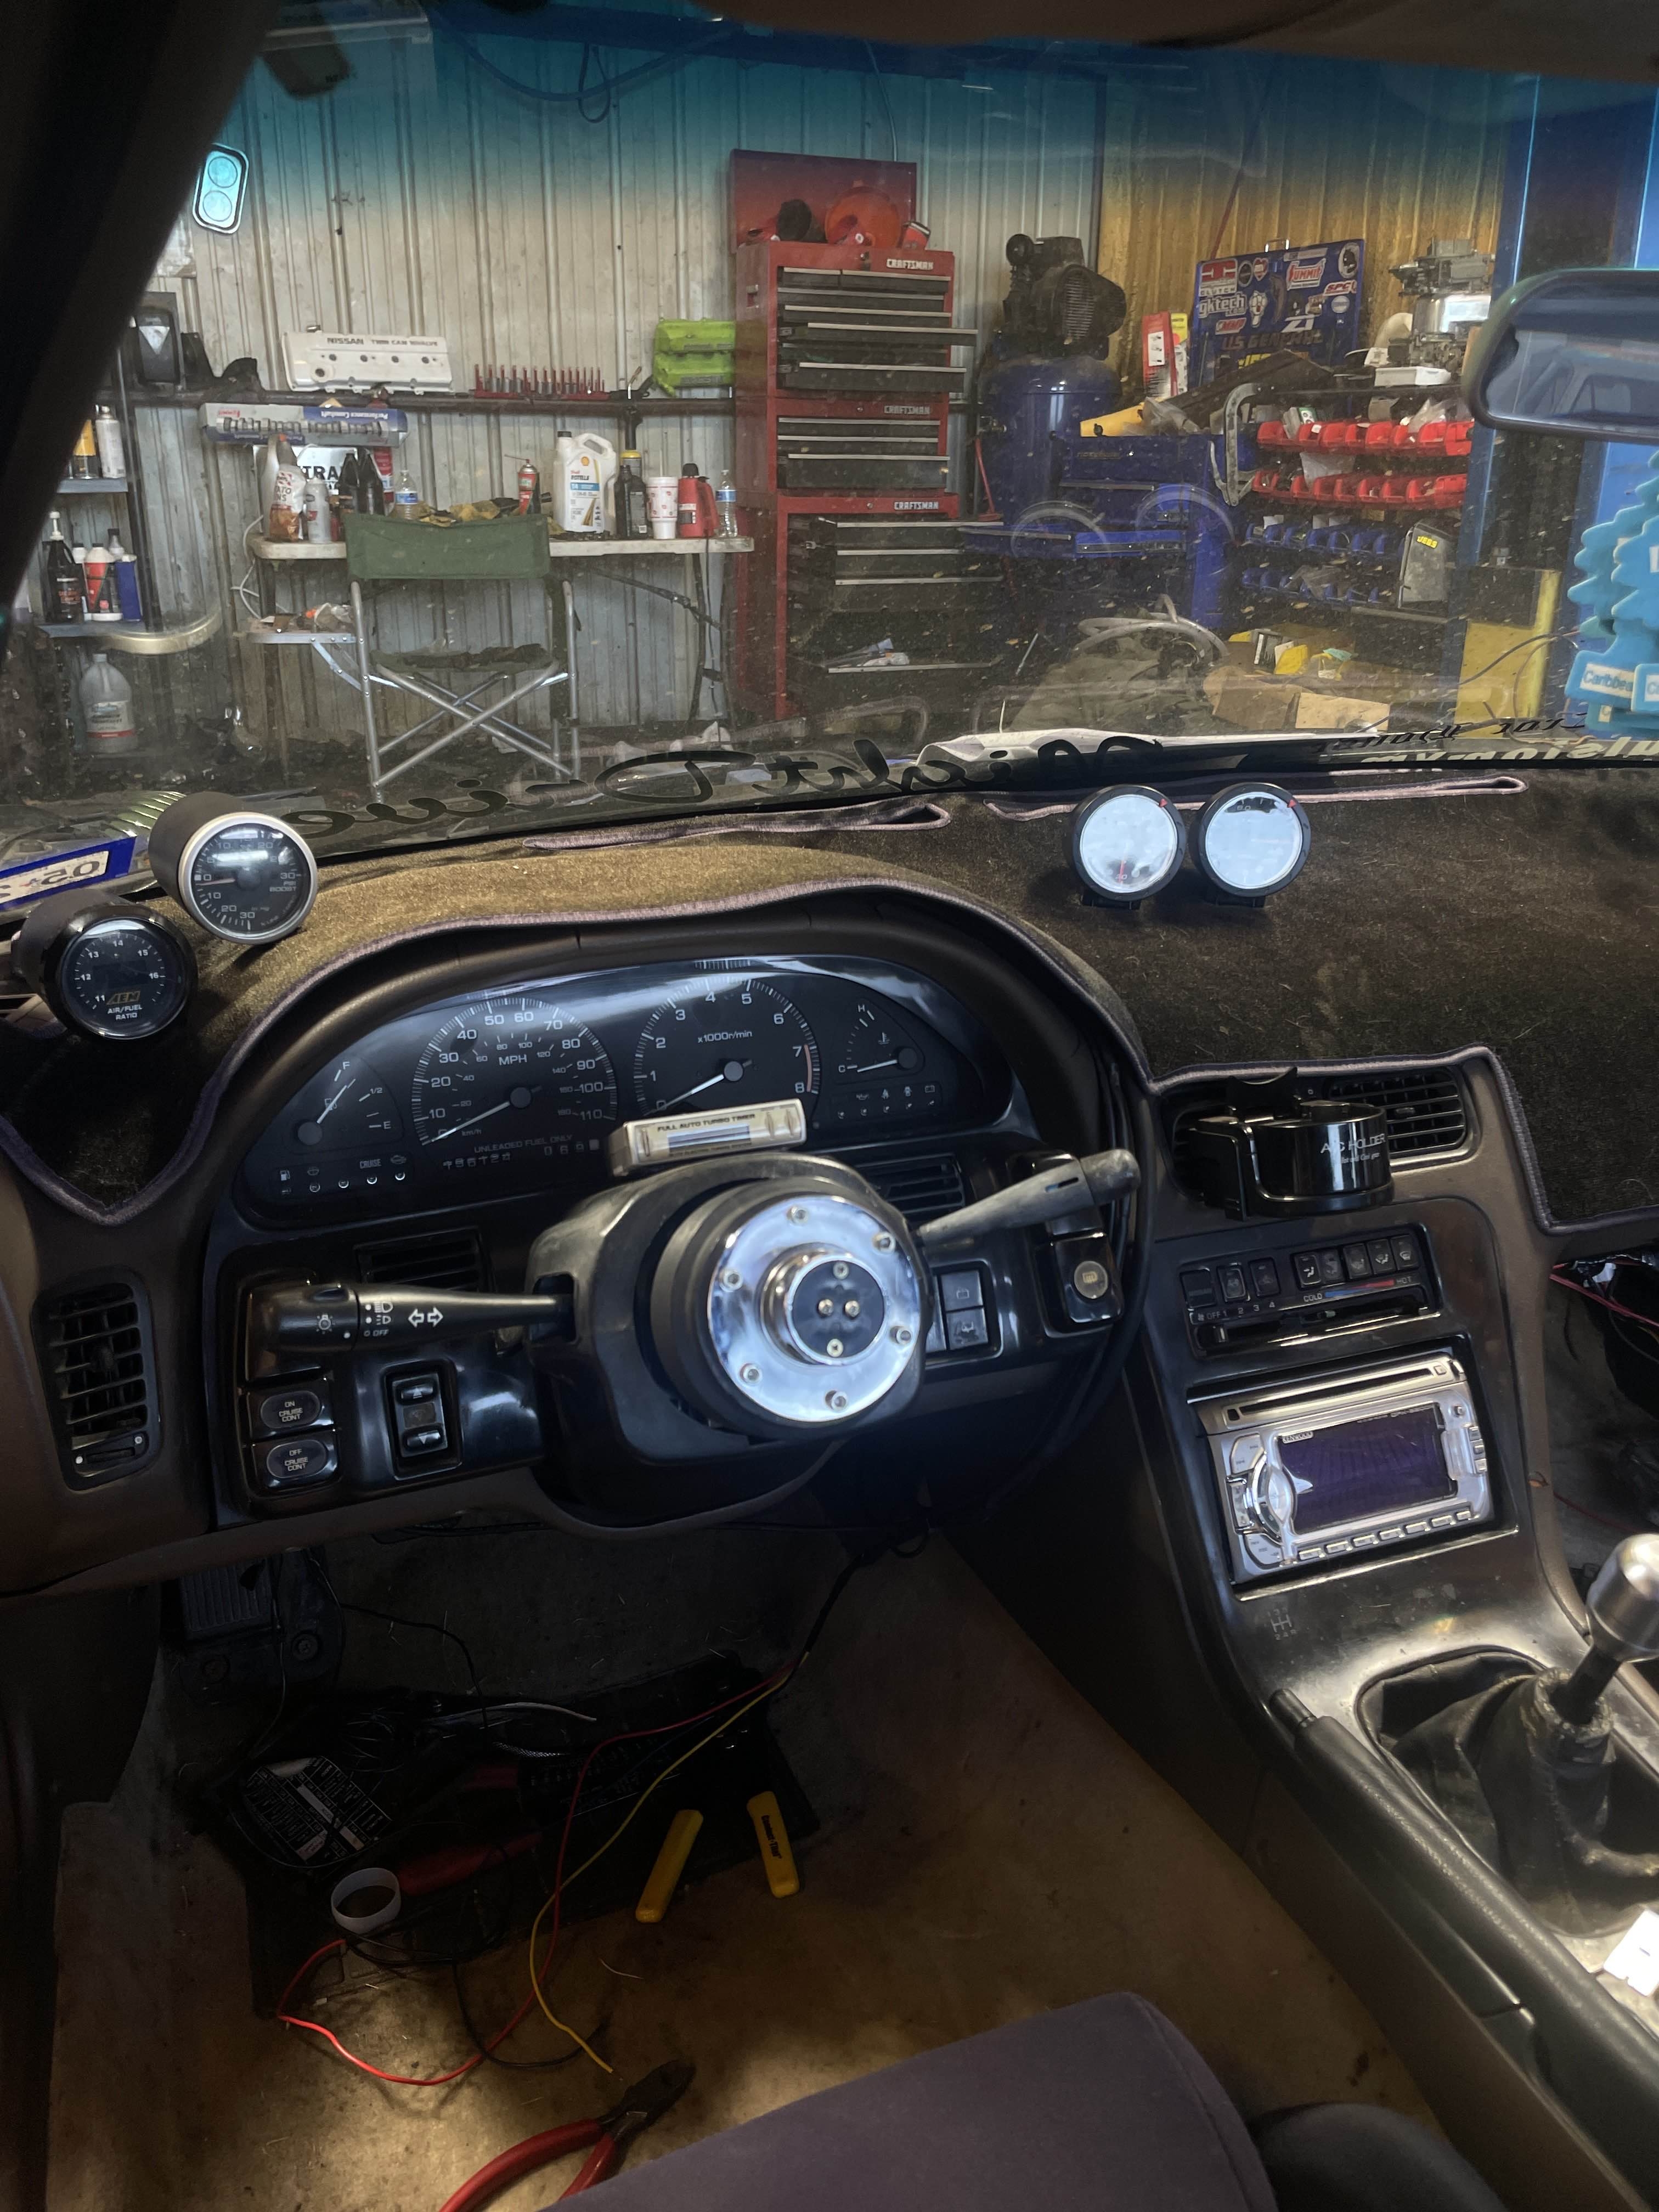
Finally got around to wiring up the gauges! not my favorite part but tried my best to keep it clean. unfortunately the sensor cable for the coolant temp sensor is gone so that just turns on for now, but the oil pressure one works which is more important as of now. Would like to figure out something for the other in the near future.
Figuring out catch can setup and last few changes before pulling it outside and filling the radiator with water to check for leaks, will jam together a rough intercooler piping setup to try and get it down the block!
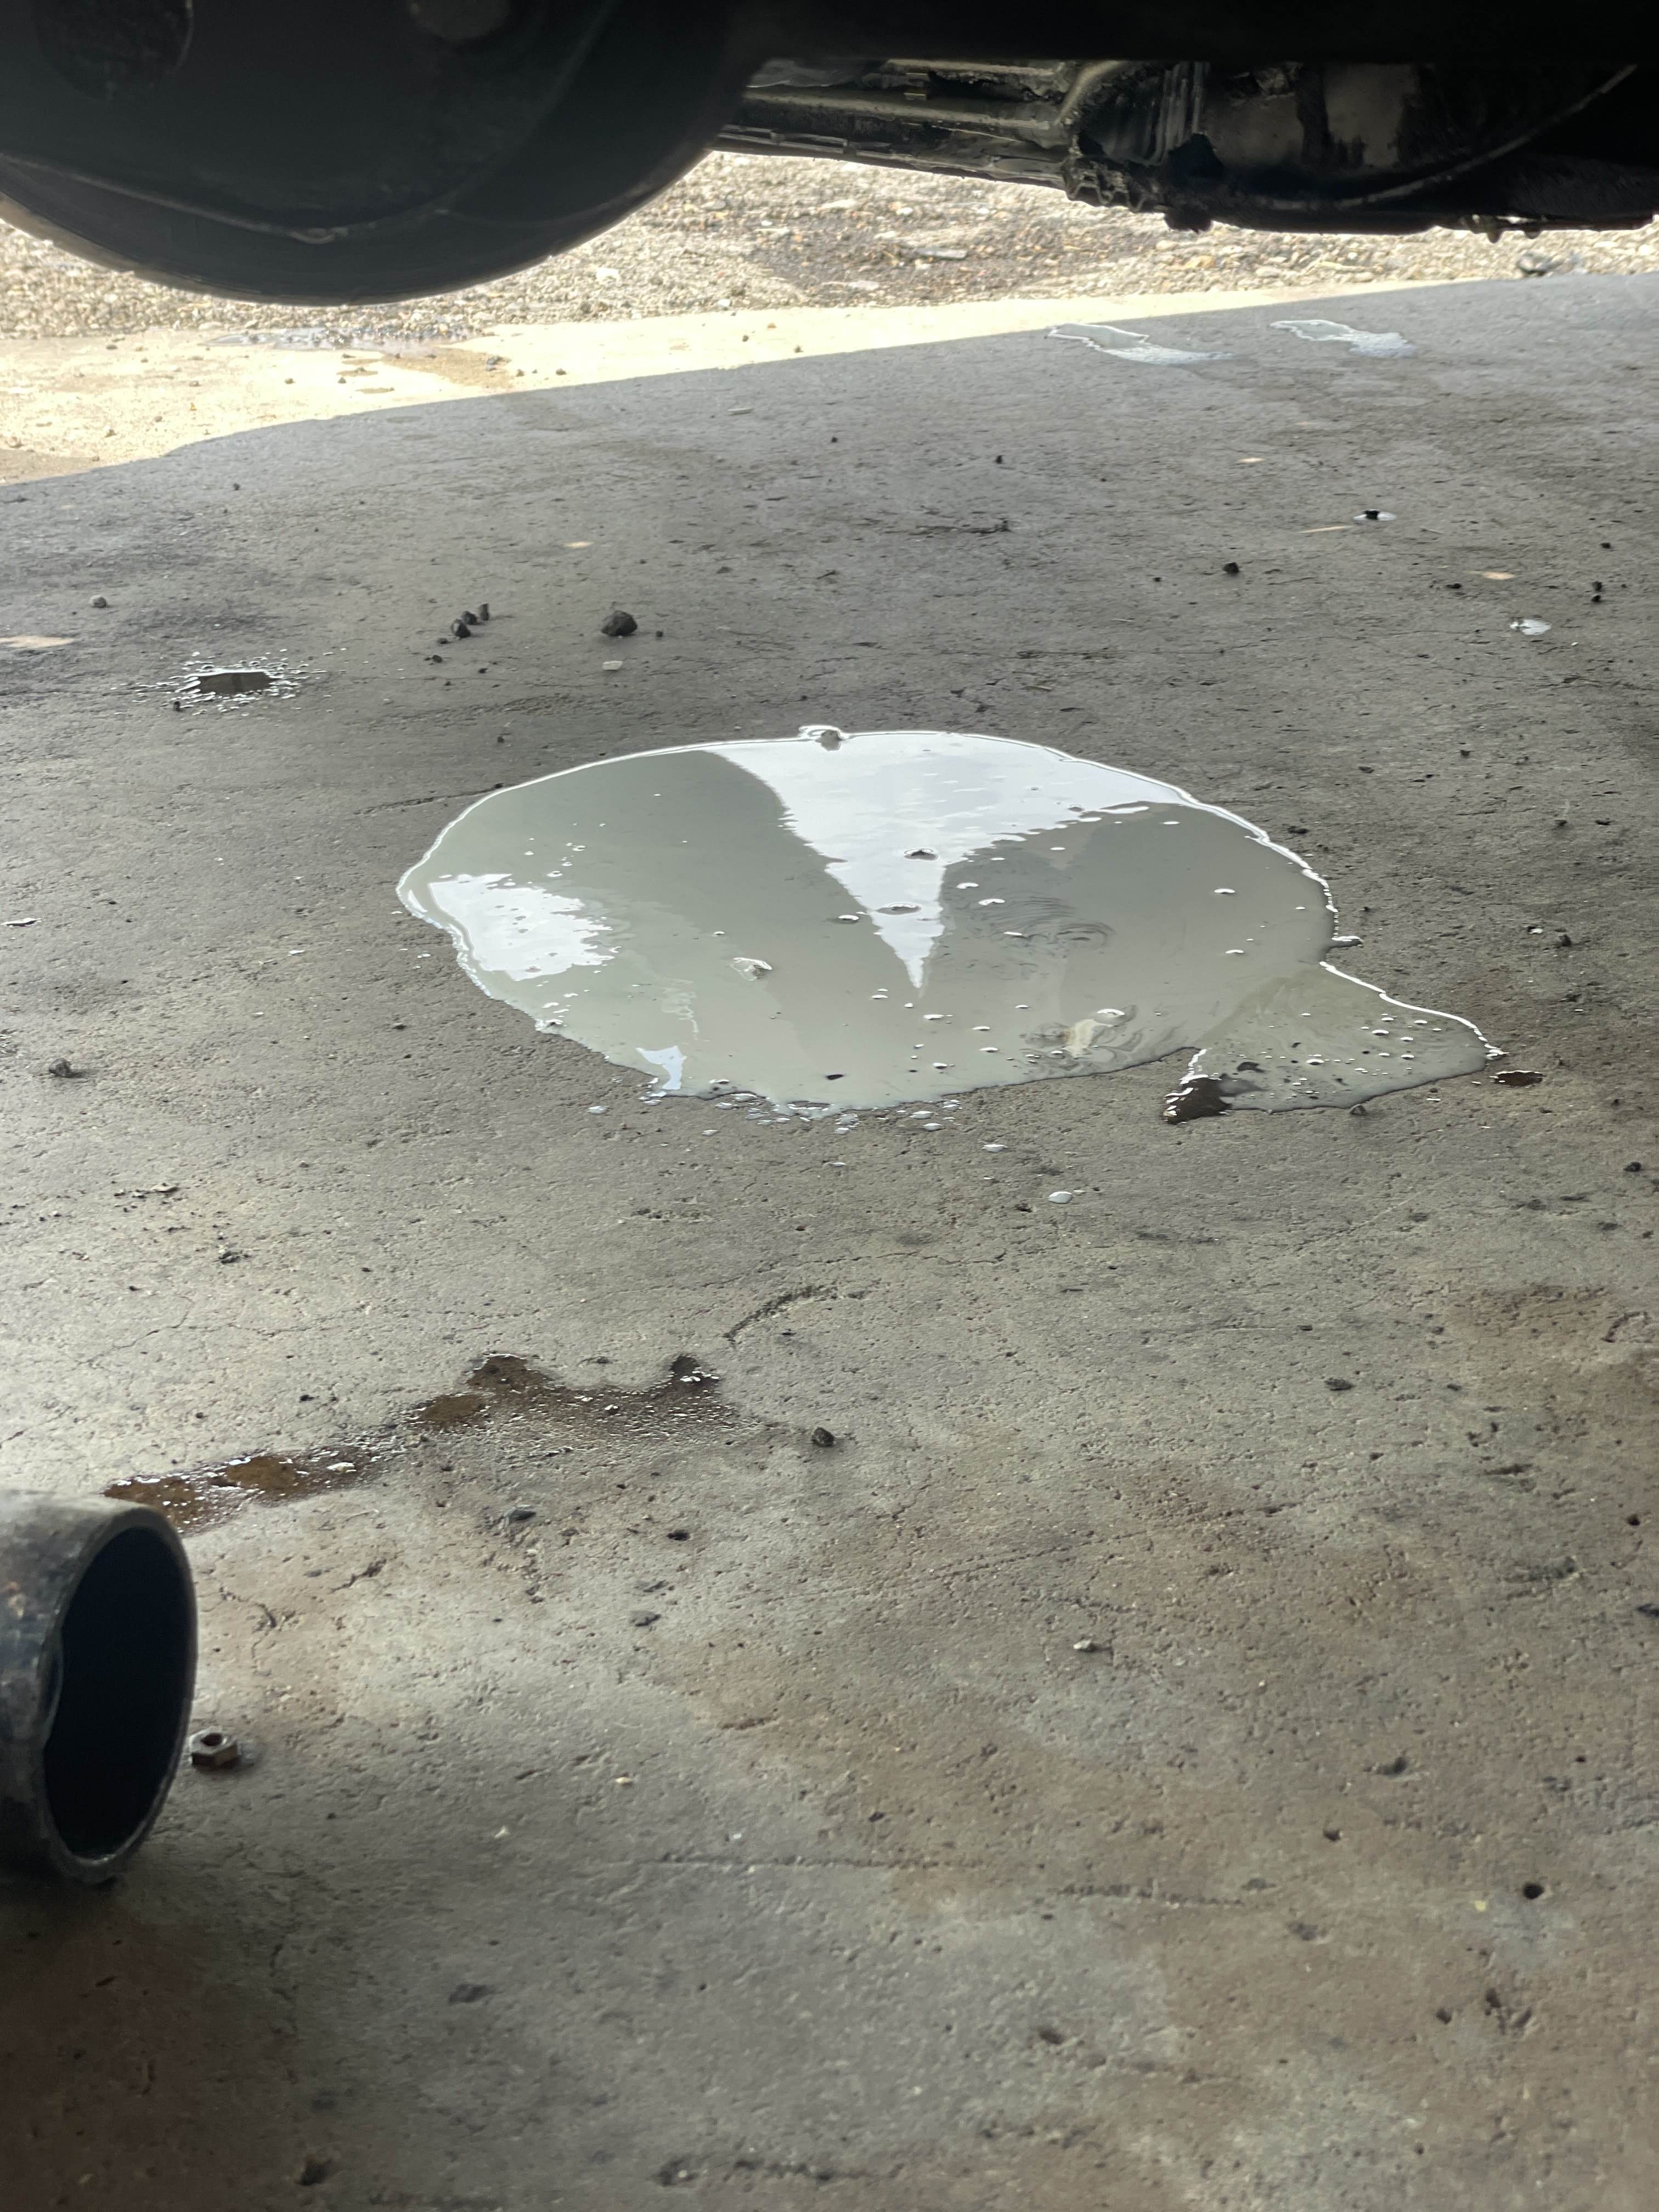
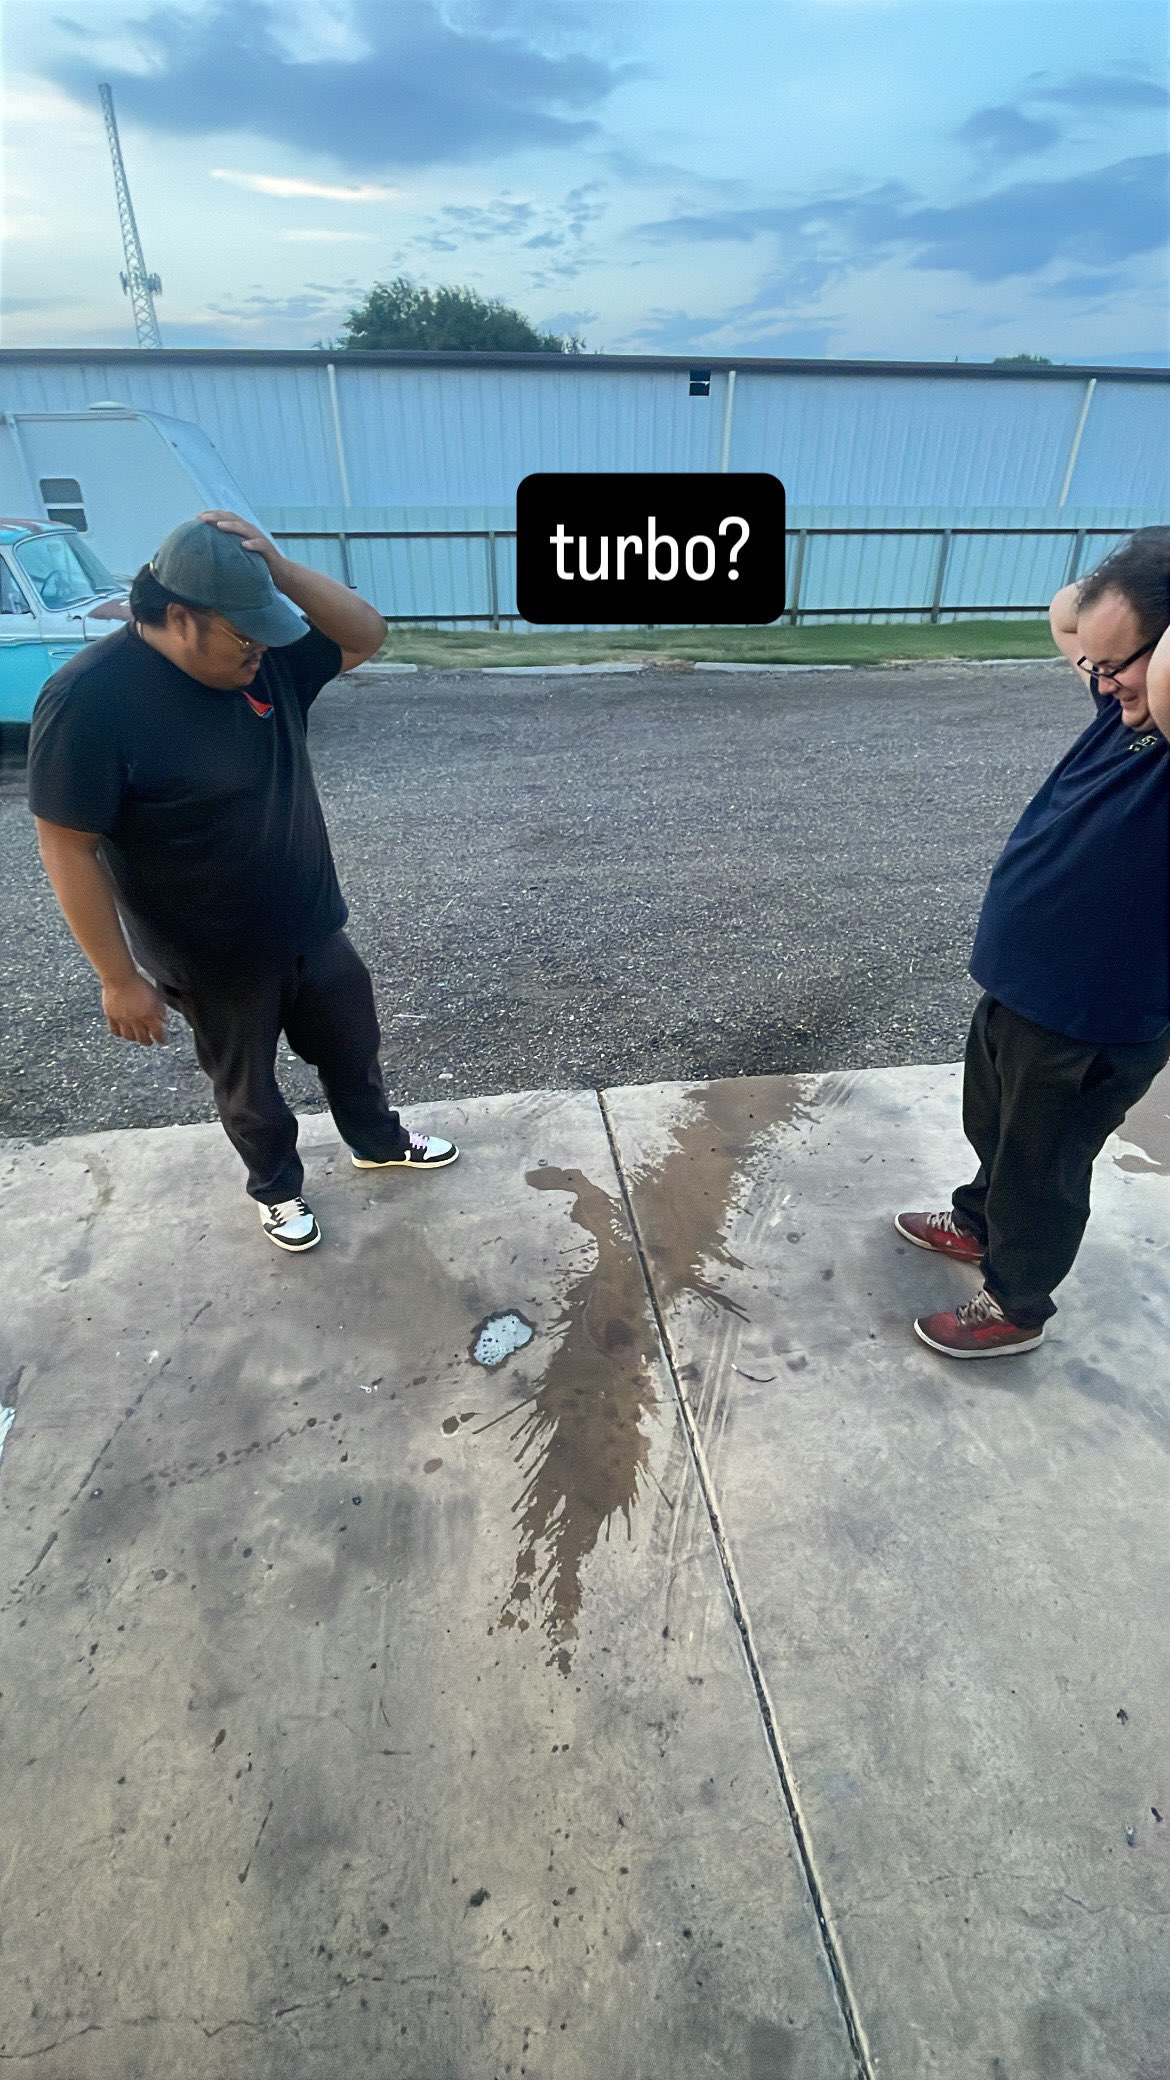
And here is where my excitement shifted to horror.. I can't quite describe my emotions here, but something failed and the water that was filling the radiator was finding its way into the oil and milkshaked the whole motor.. my initial thought was the headgasket as I have been worried about the ARP studs.

The first hint of this was from the oil feed line I didn't tighten down puking out a pure white liquid onto the ground. this scared the shit out of me.
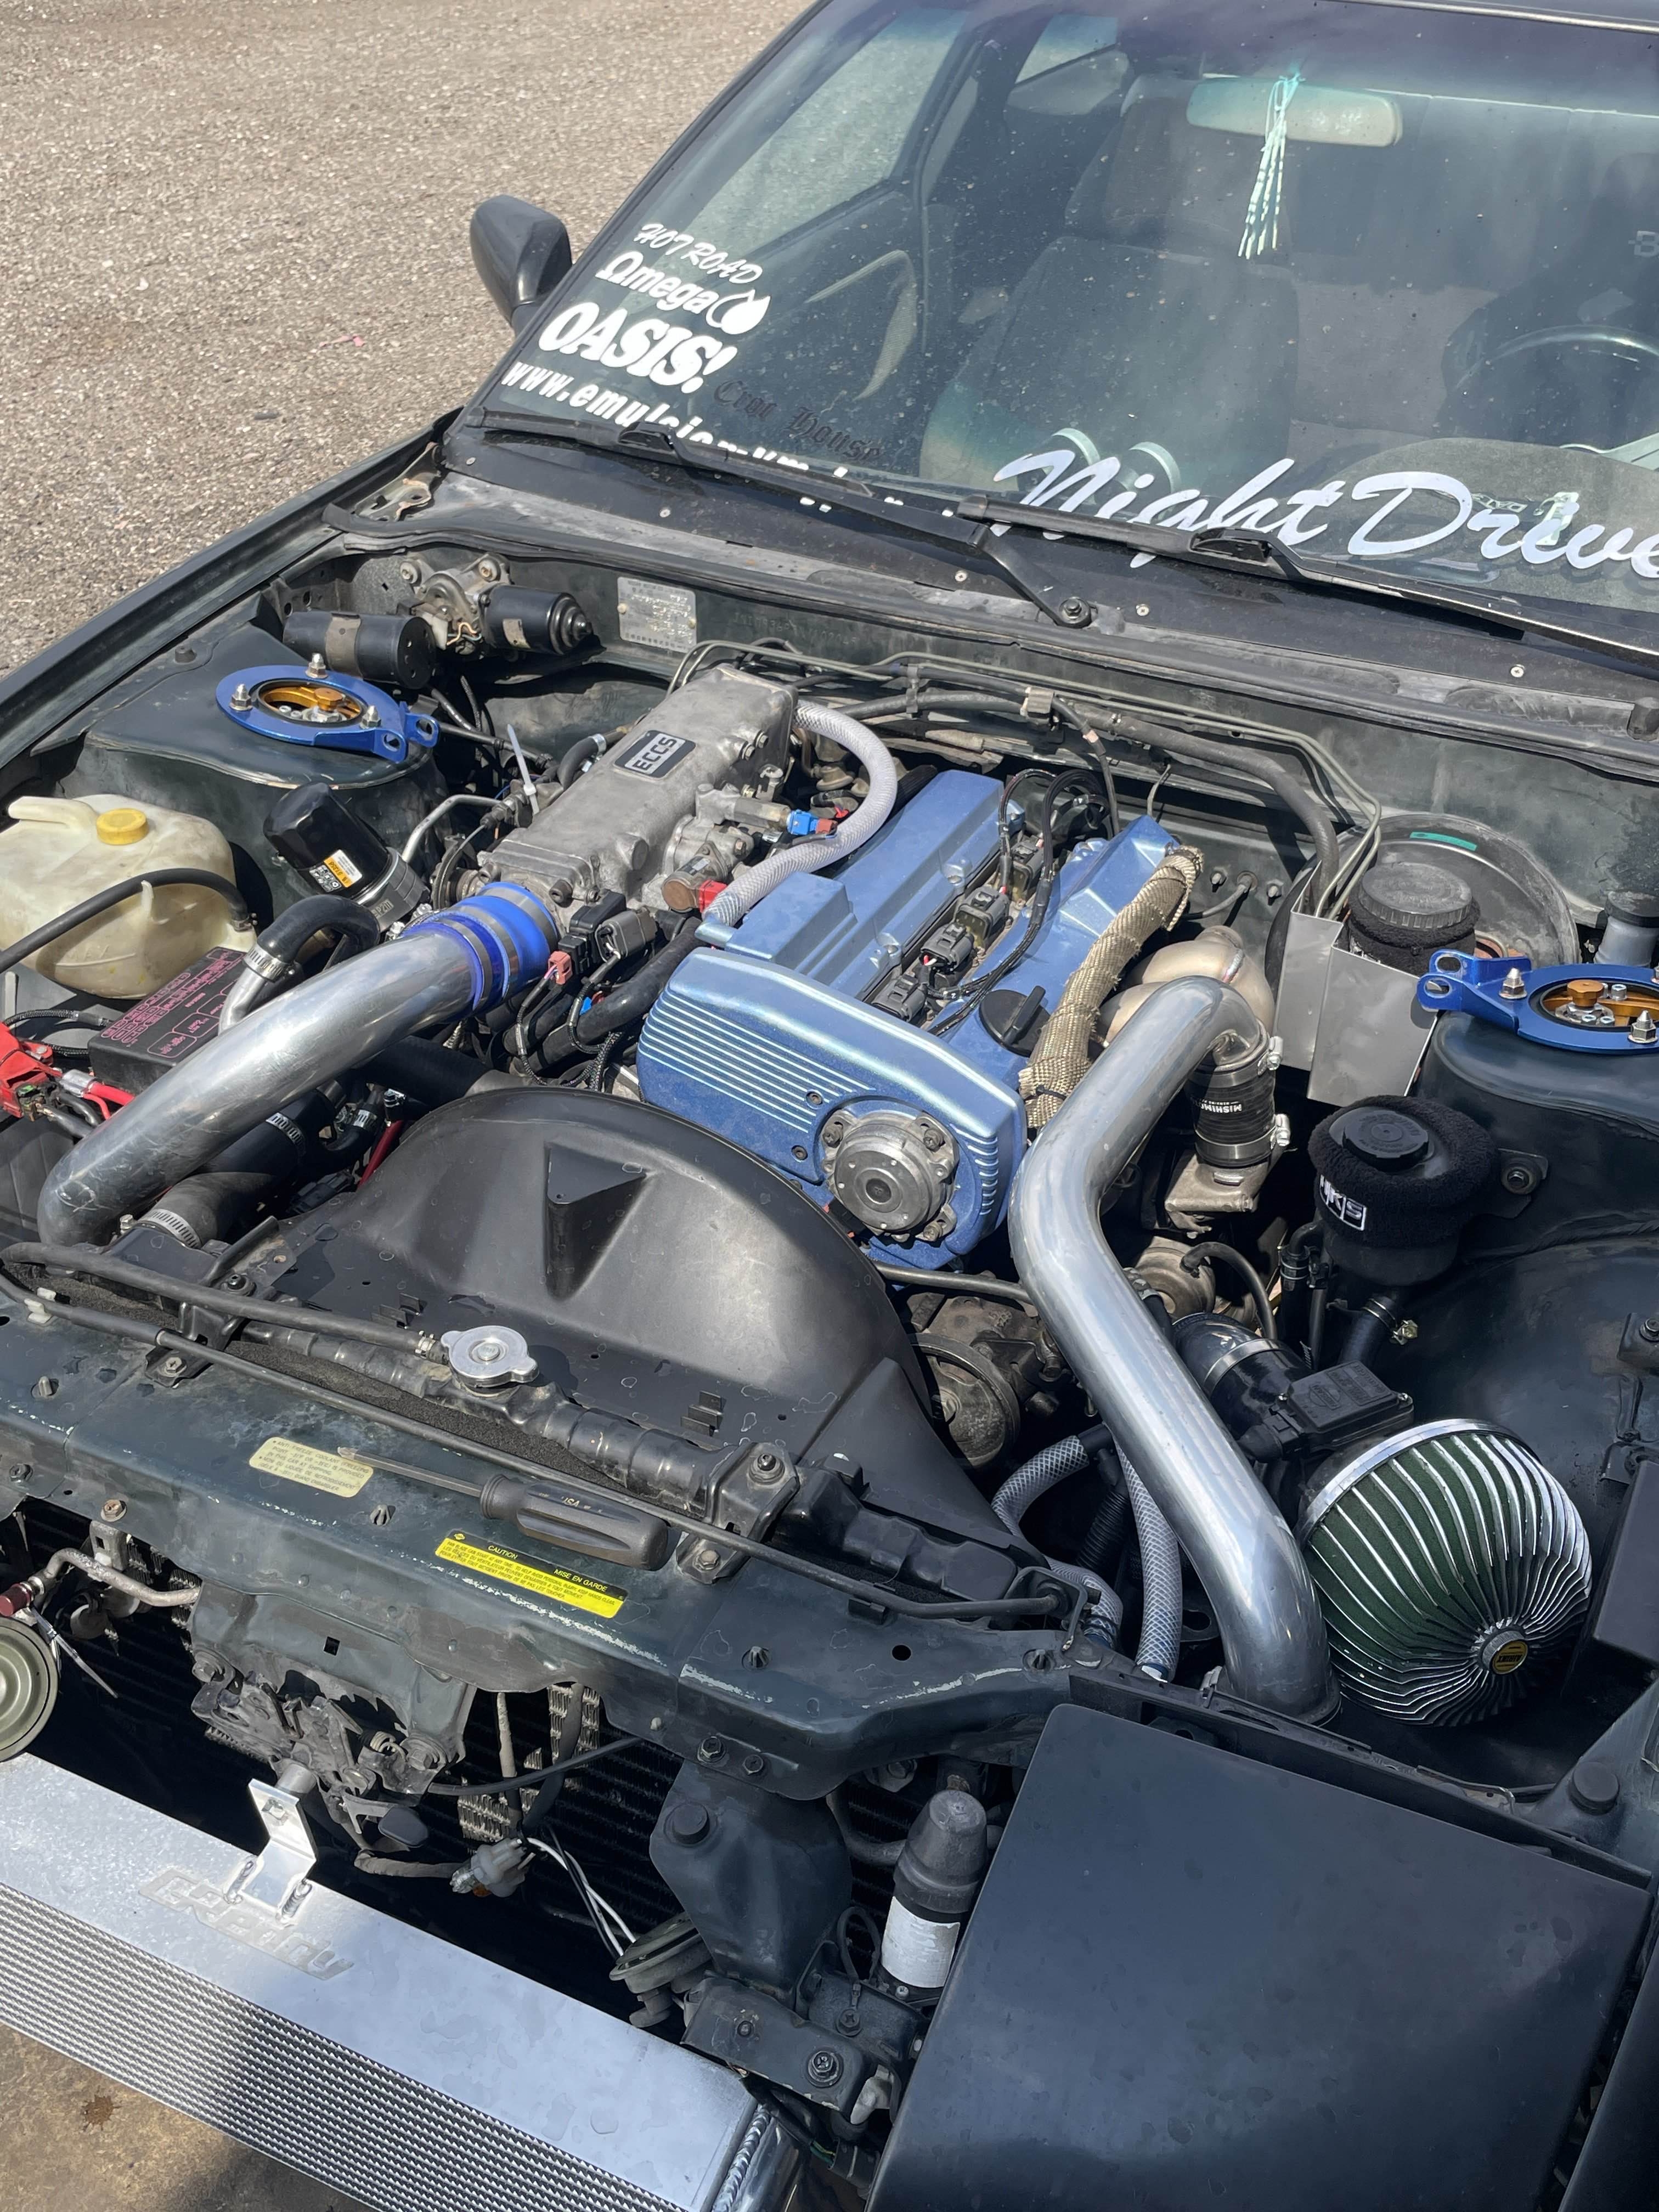
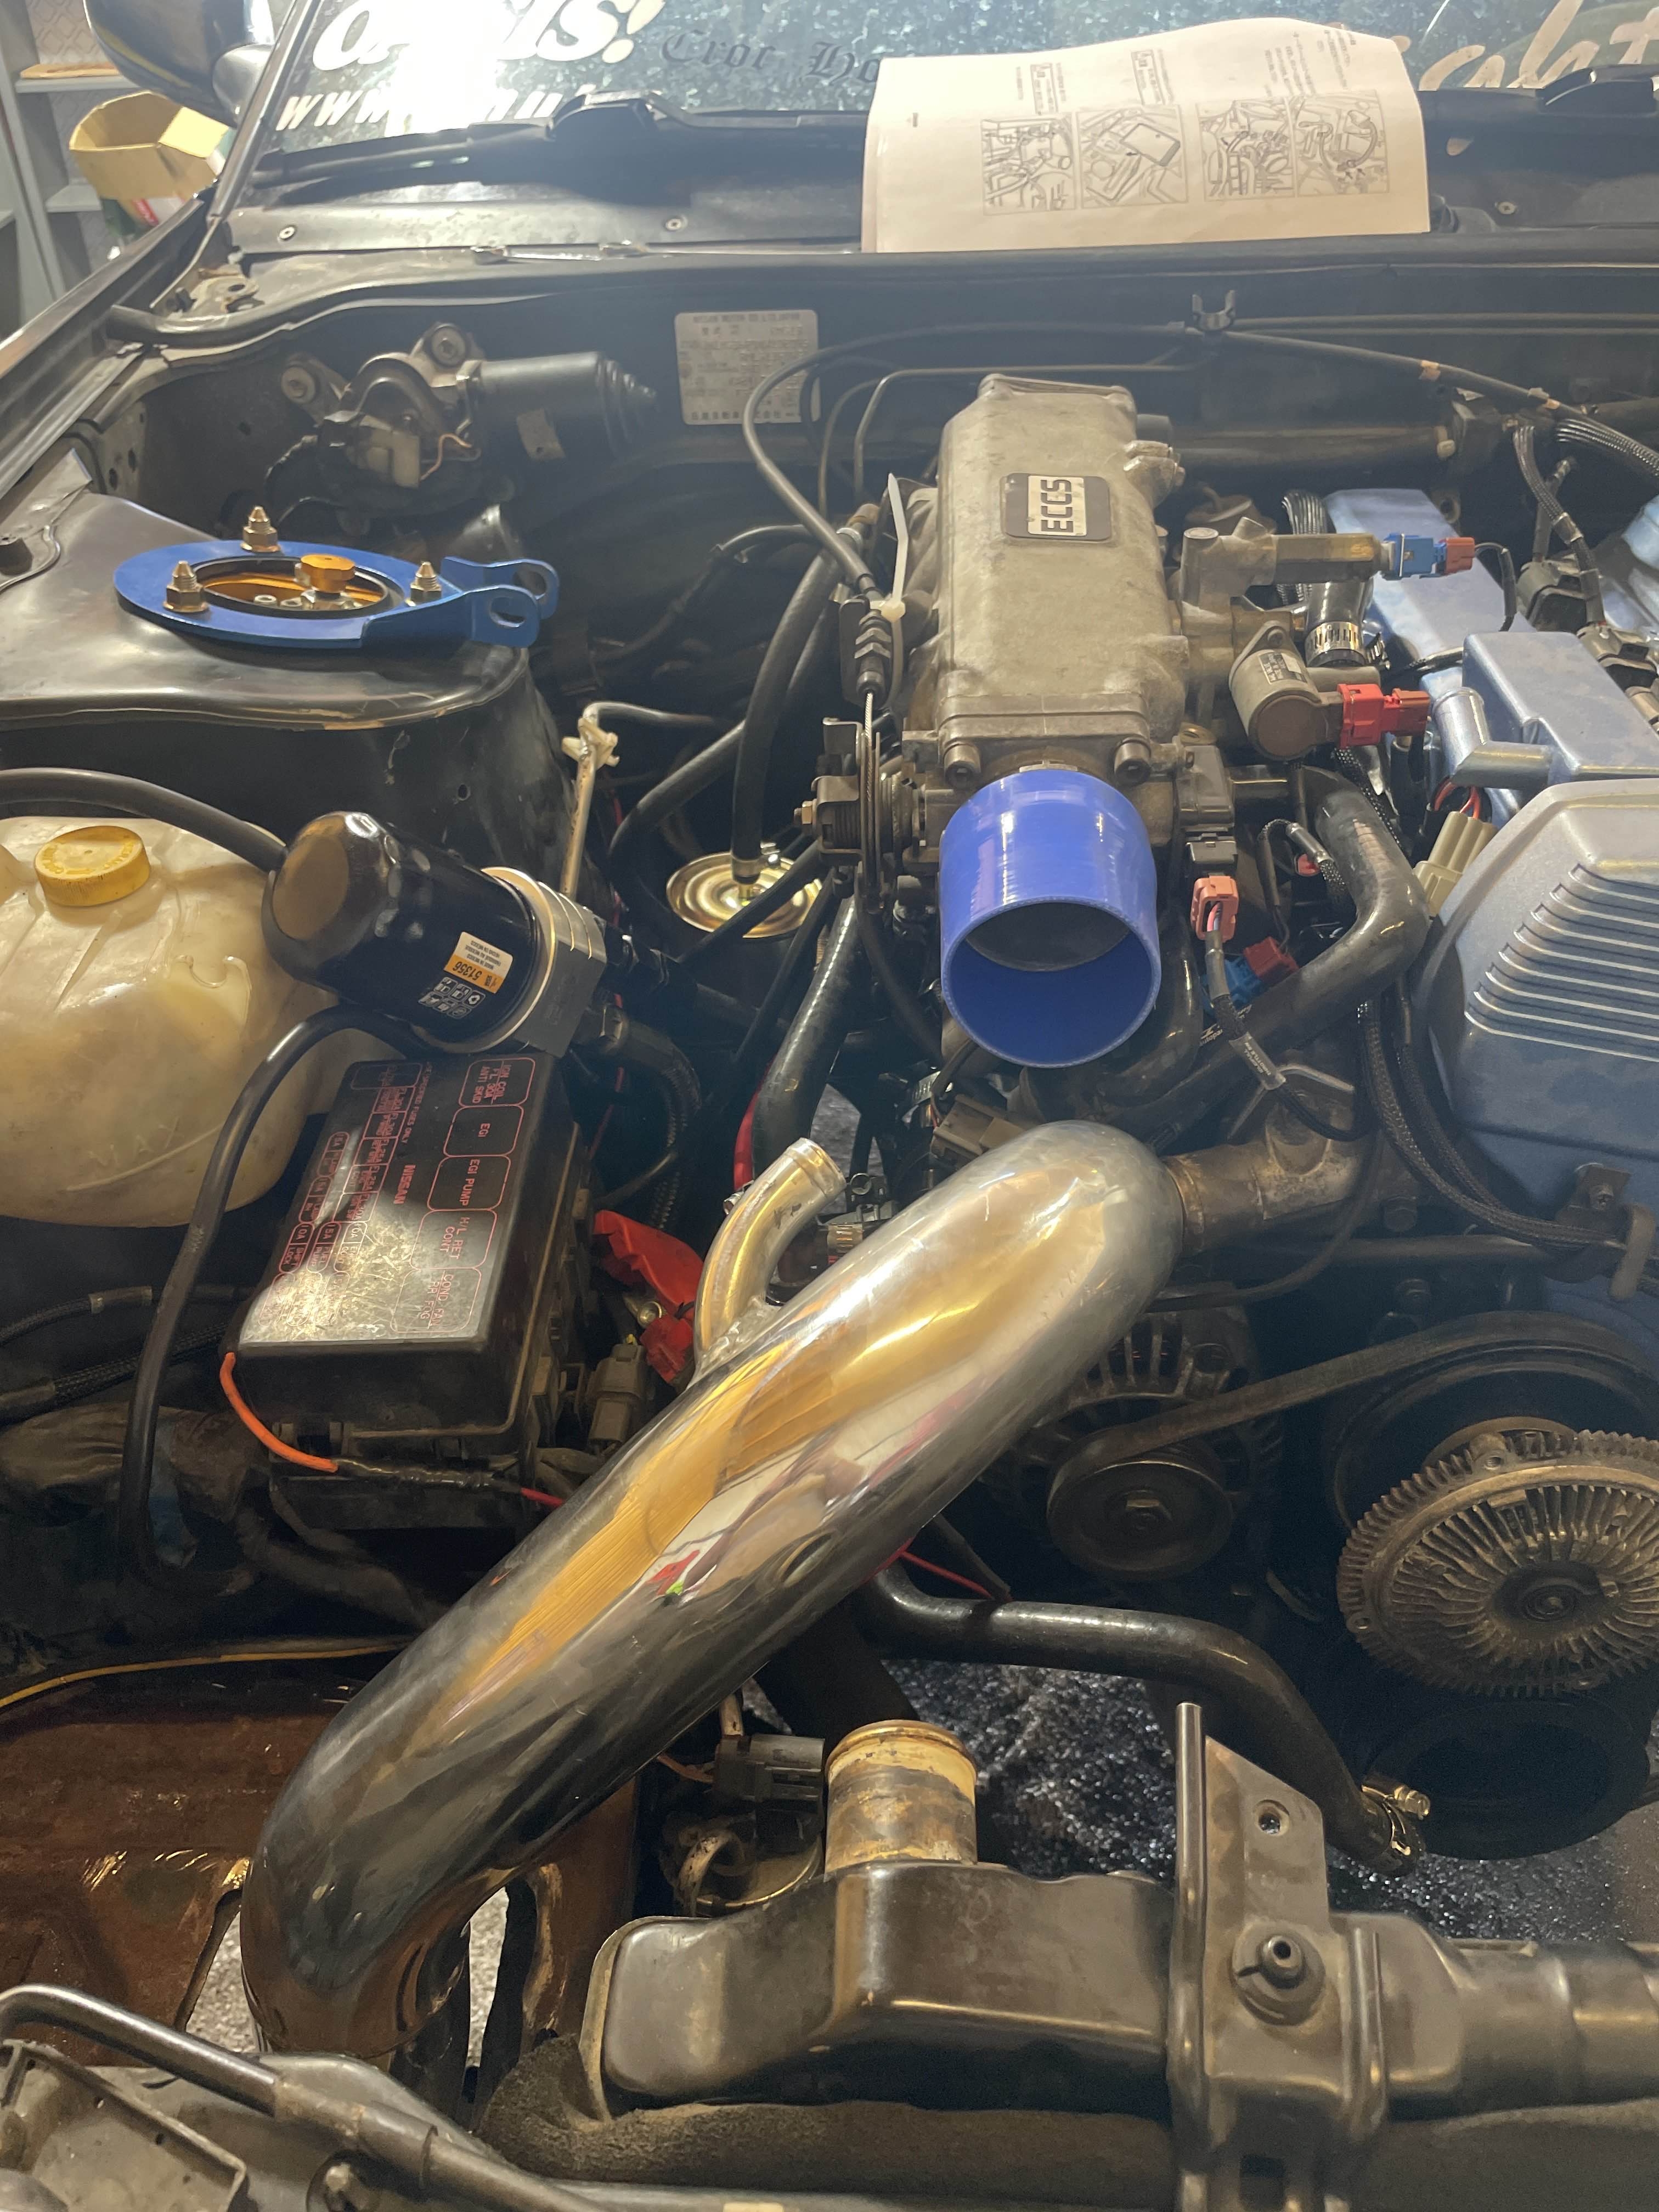
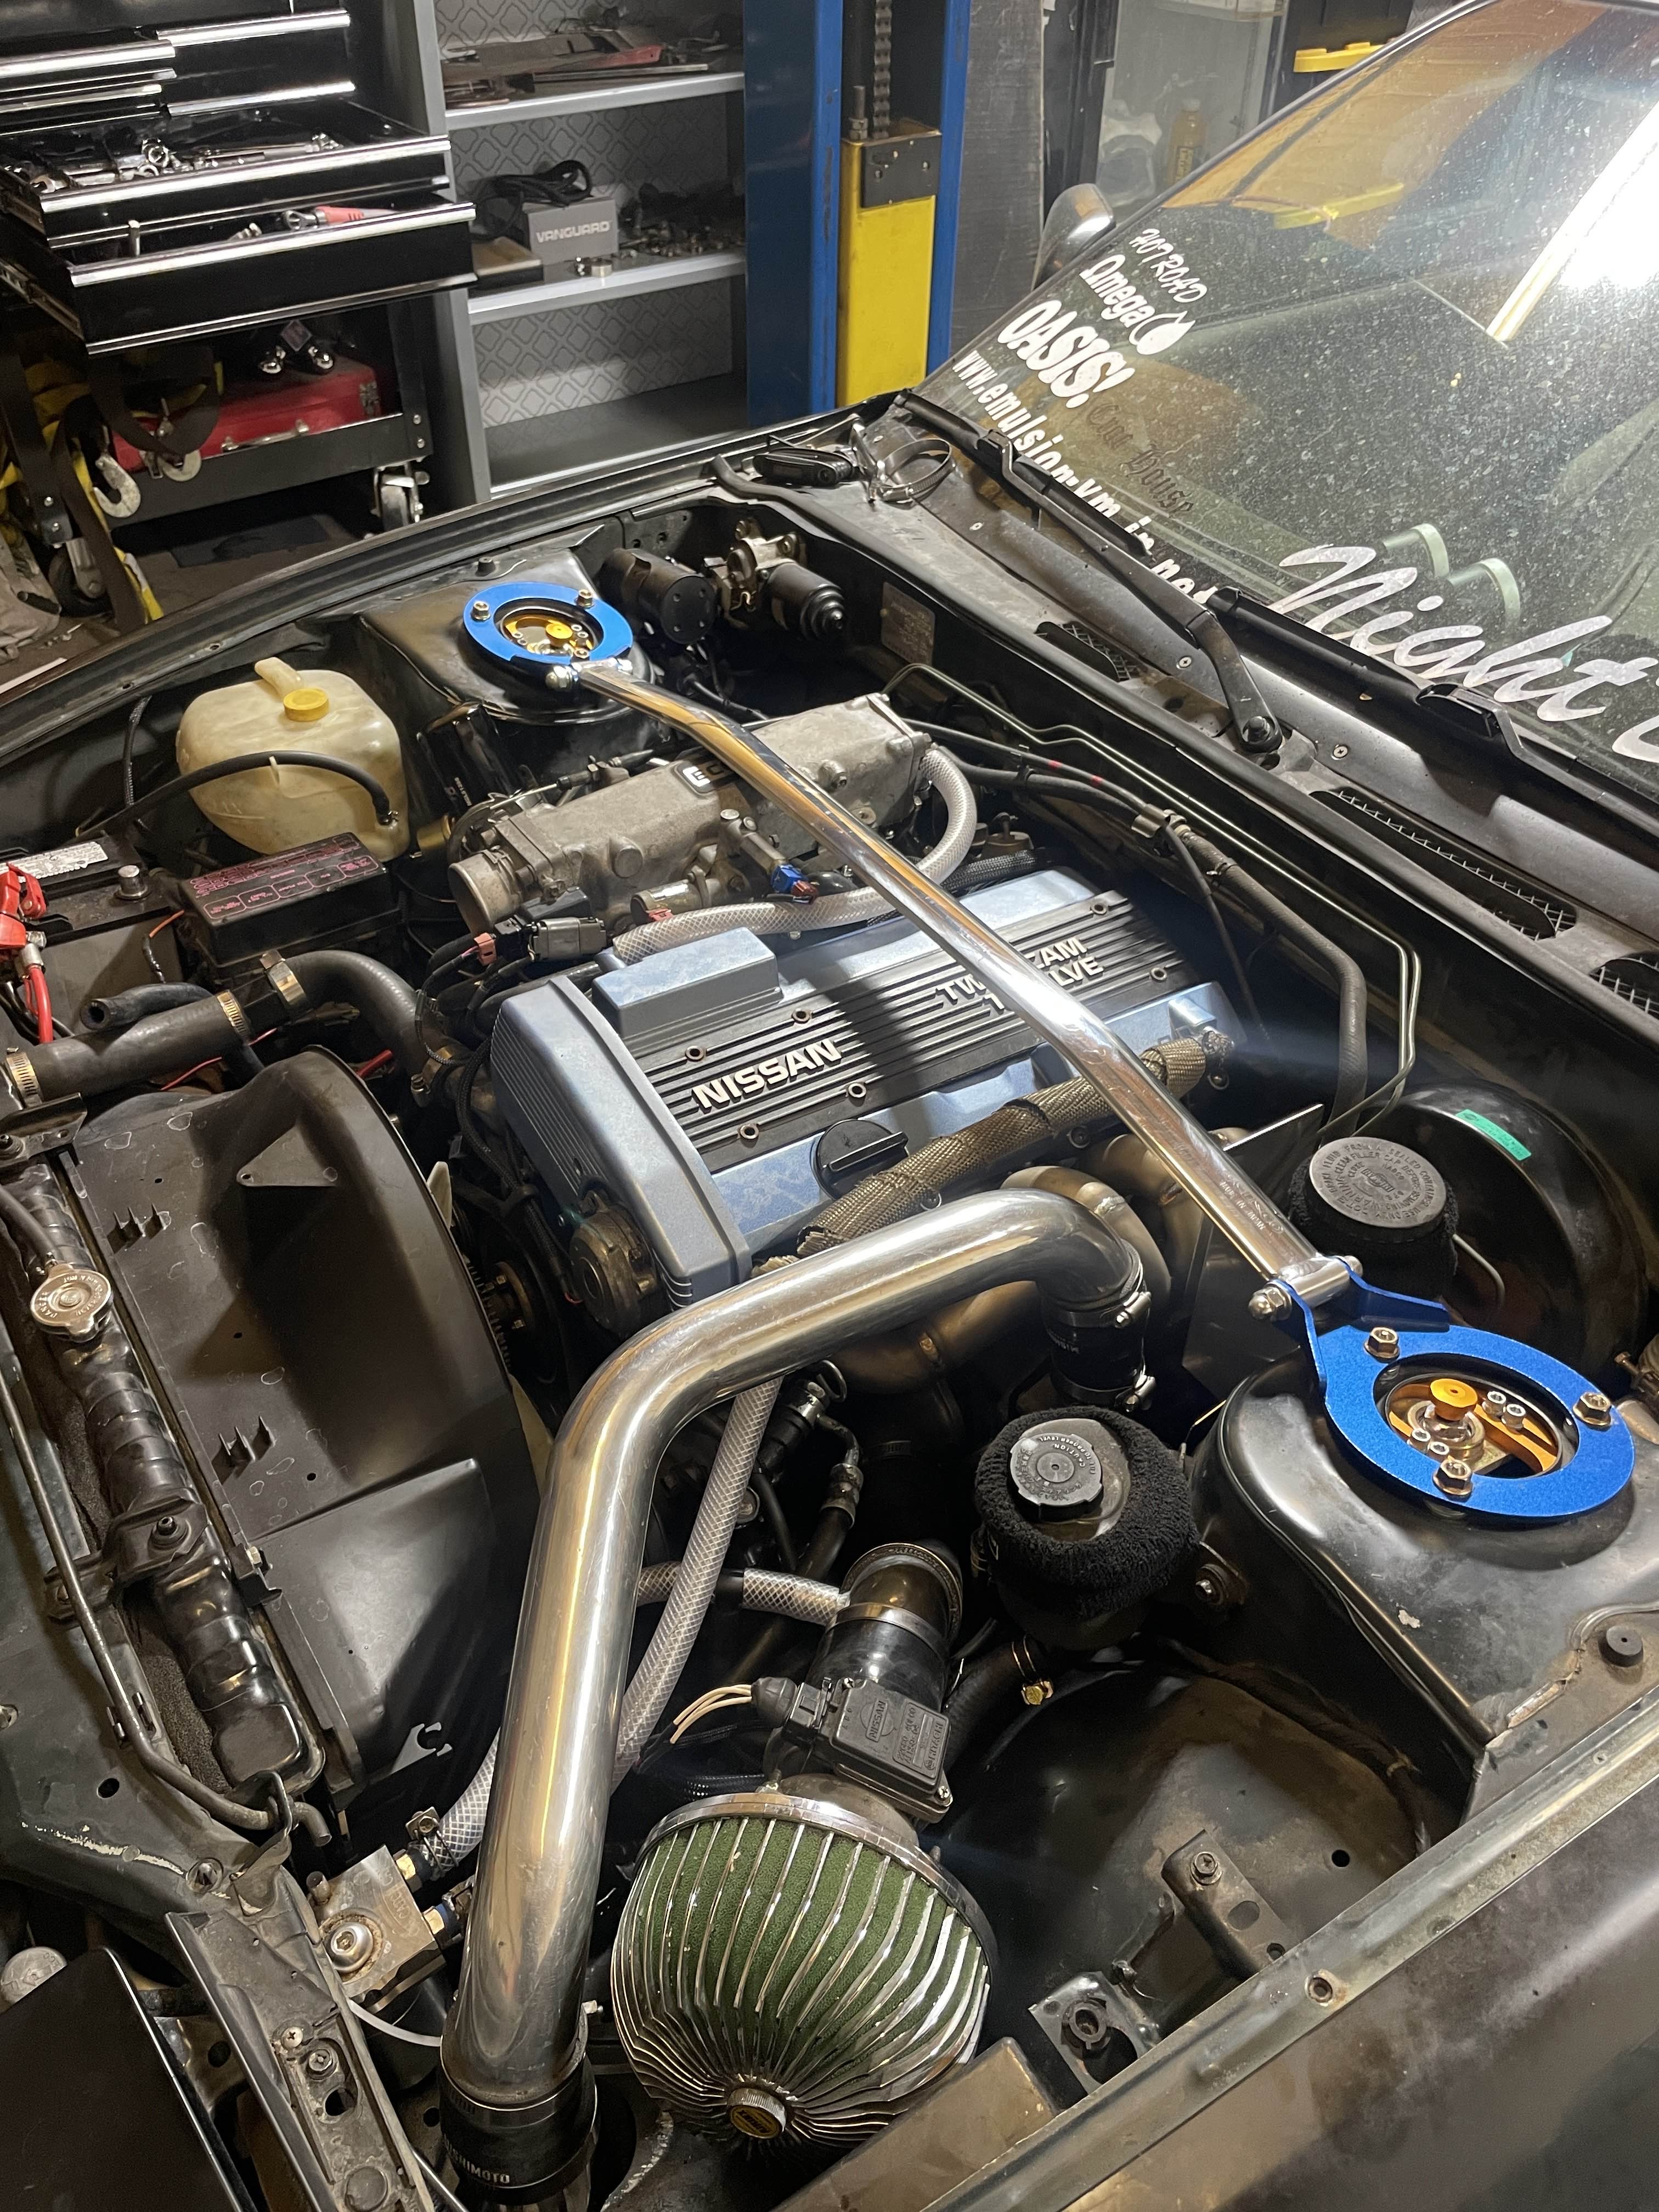
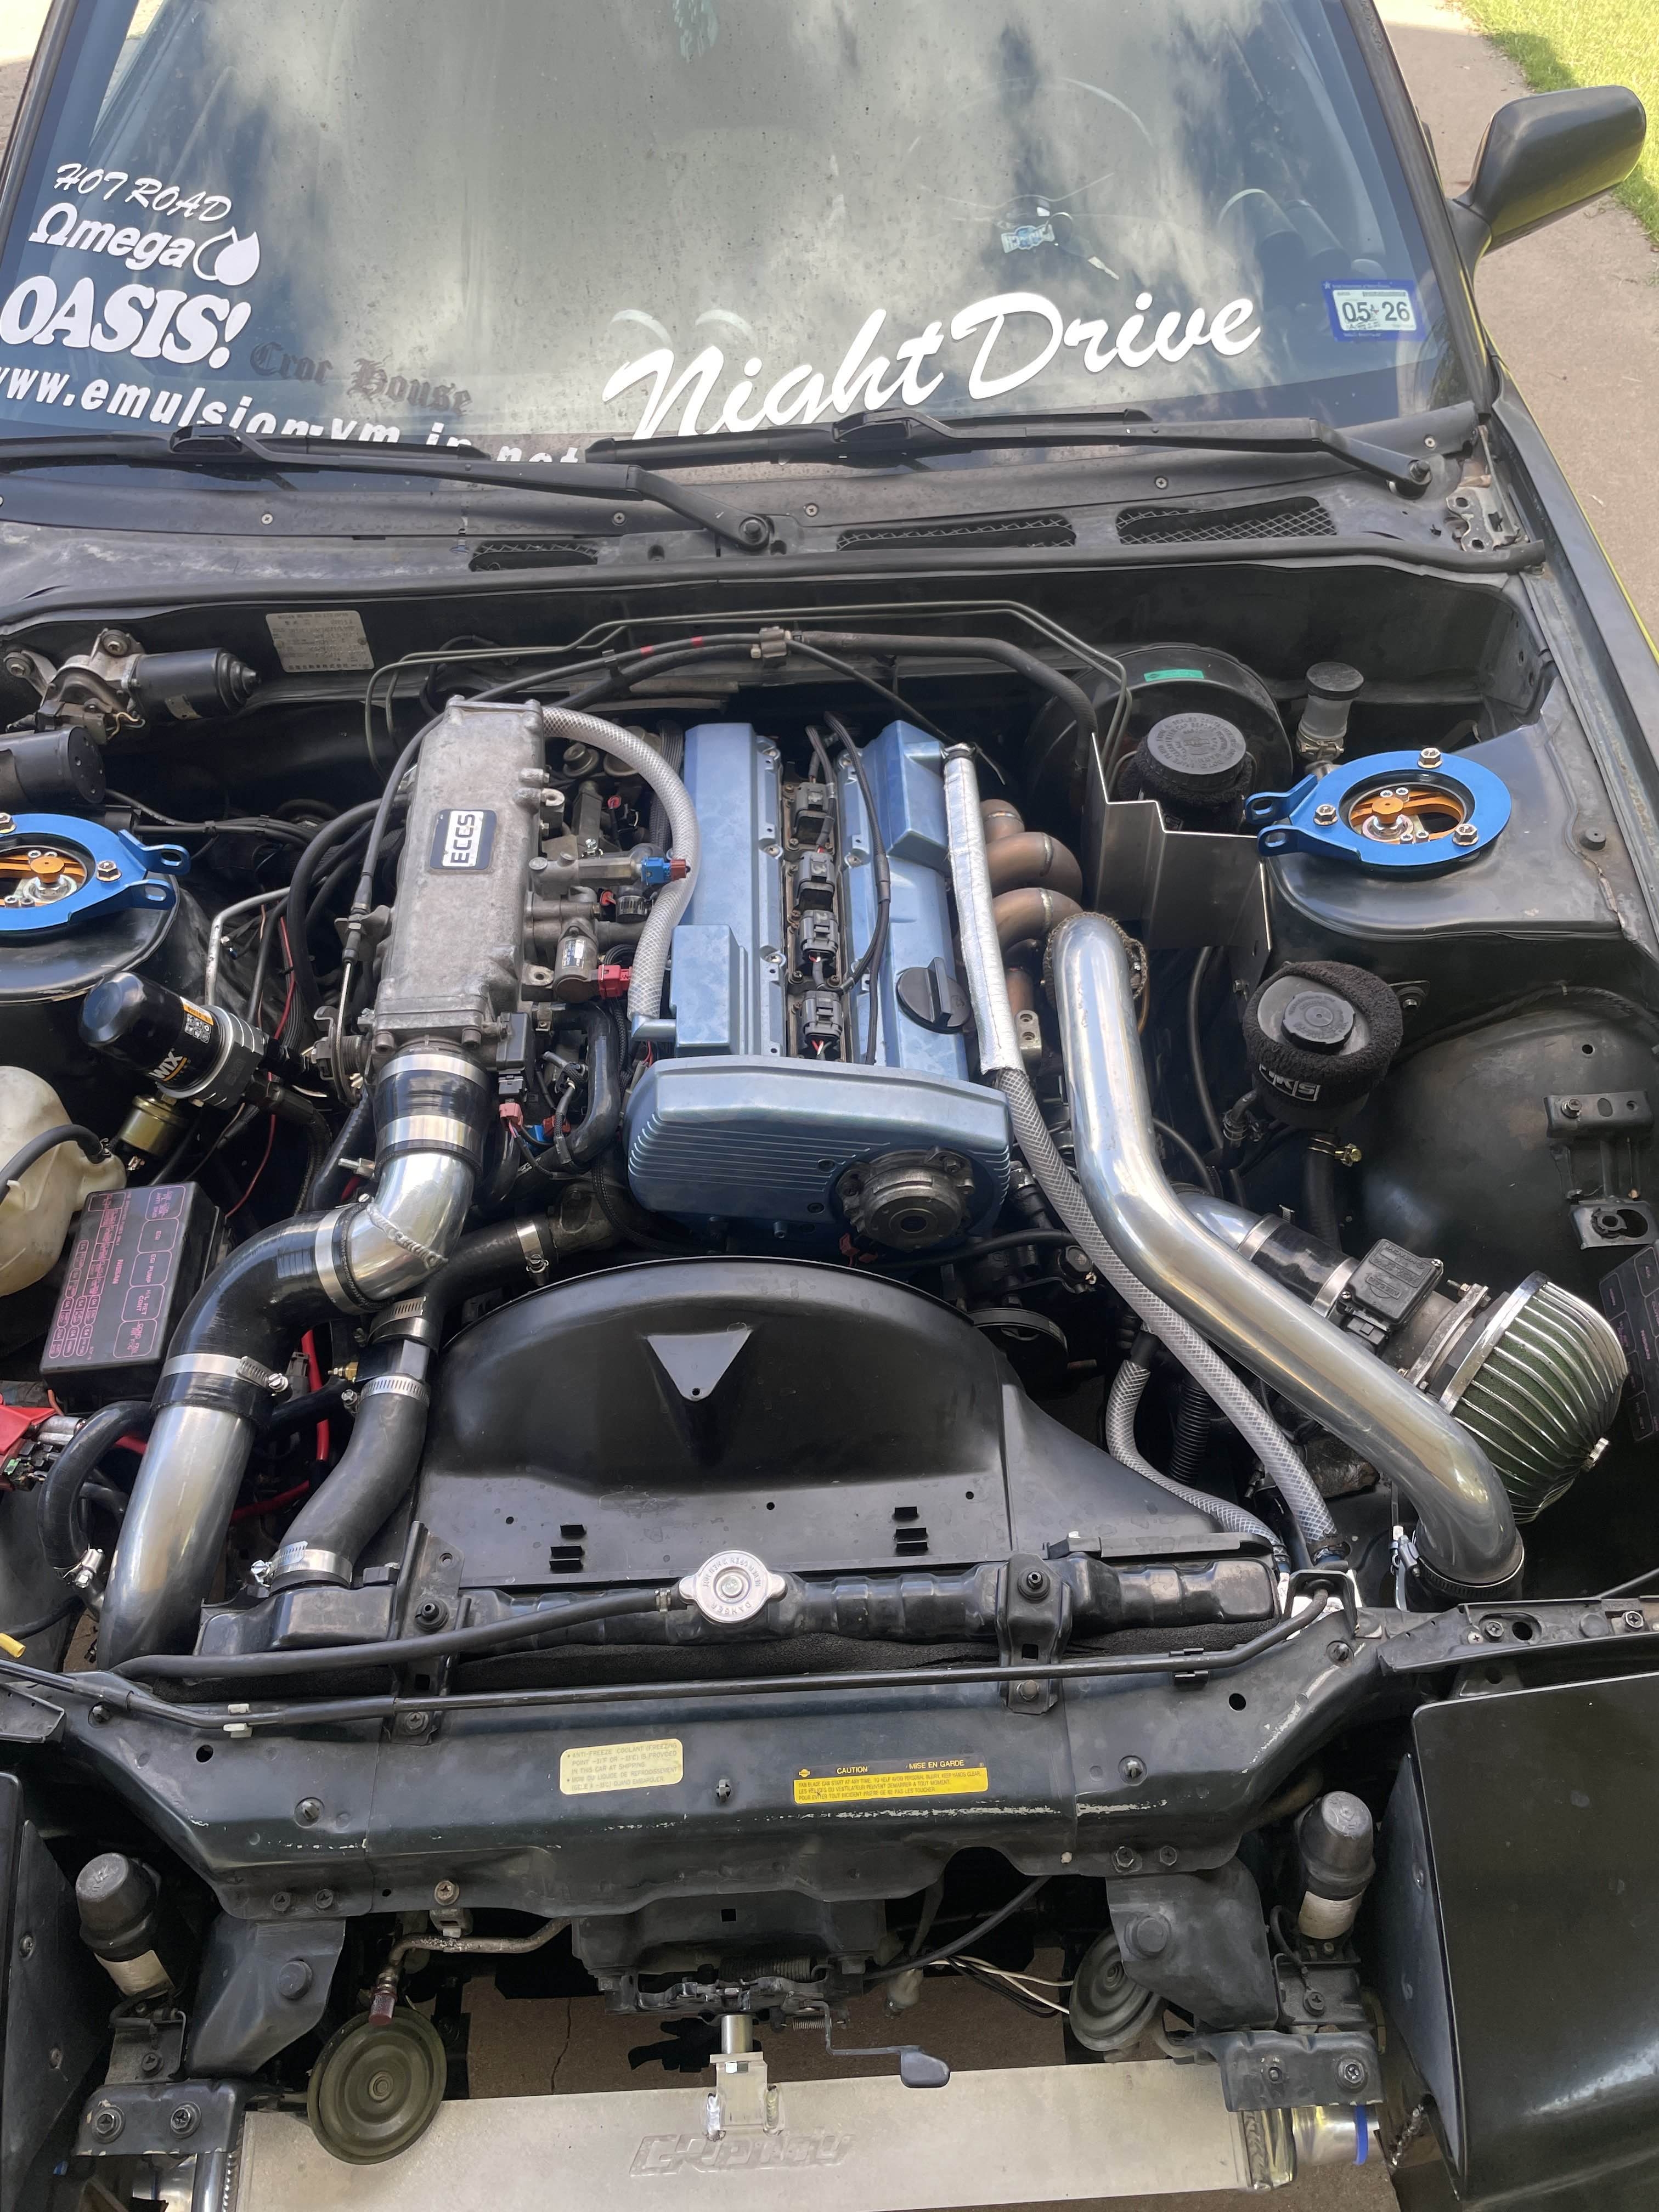
this was the first time I saw the new setup in the sun, although it was thrown together just to test, I was at least happy with how it looked.
...
Sitting there stressing over what this could mean for this engine I've put significant time, energy and funds into, I had to leave for a department meeting my job decided to have on a saturday..
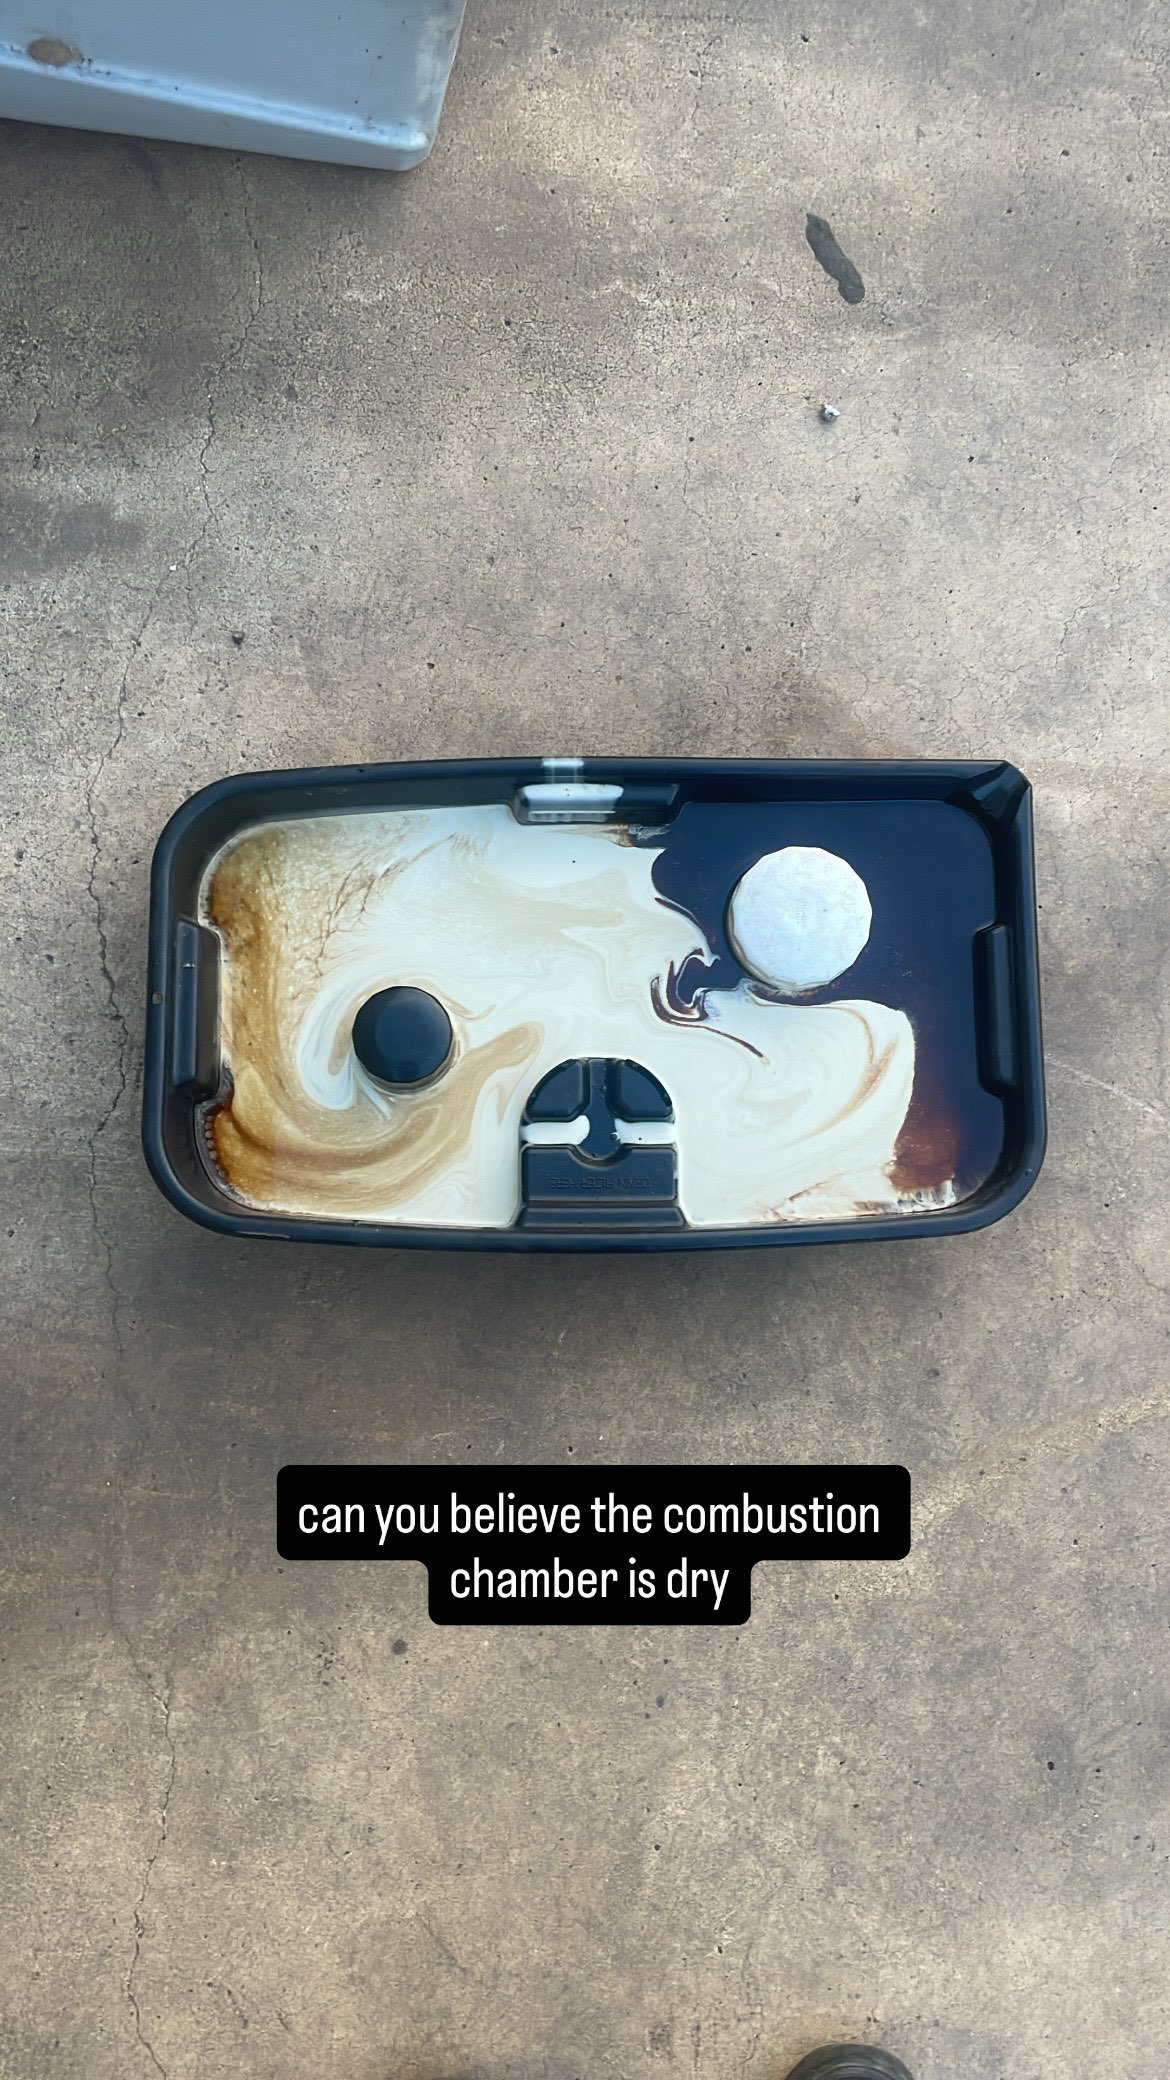
After eating dinner in the basement with my coworkers, Branson and Ty came to the shop to help diagnose what had happened to my brand new engine. Ty said to pull the plugs and start there, one after another, nothing.. it looked.. fine? This oil pan told a very different story..
Then it clicked. Each cylinder was fine, so the headgasket was okay, thinking back to my first car (mazdaspeed 3) which had a very very blown turbo, that seemed like the only thing to point to.
Drained the fluids, filled with new oil, still very gross from the copious amounts of water still in the system, we moved it back into the shop under its own power as pushing at that angle with the welded diff is super annoying. smoked out the shop and noticed the copious amounts of water pouring from the exhaust- we found the culprit.
now began the process of flushing all of the water out of this thing. also some flutter was nice to hear, regardless of how bad it ran..

3 oil changes later and seems to finally be clearing out, looped the coolant lines on the turbo and no more water is dissapearing from the radiator, also running much better now!
Still very nervous for any damage this may have caused, but will keep pushing forward. After hearing of this my old friend who sold me this T28 was banging my line to call him, opening up clarity for the both of us, showing him that his old SR might still be fine and that it was clearly the turbo's fault as he had the same issue before. He offered to refund the cost of the turbo which is such a blessing, so that will be put into the replacement from ISR. maybe the garrett would be worth rebuilding in the future, but certainly by someone with more expertise than myself.
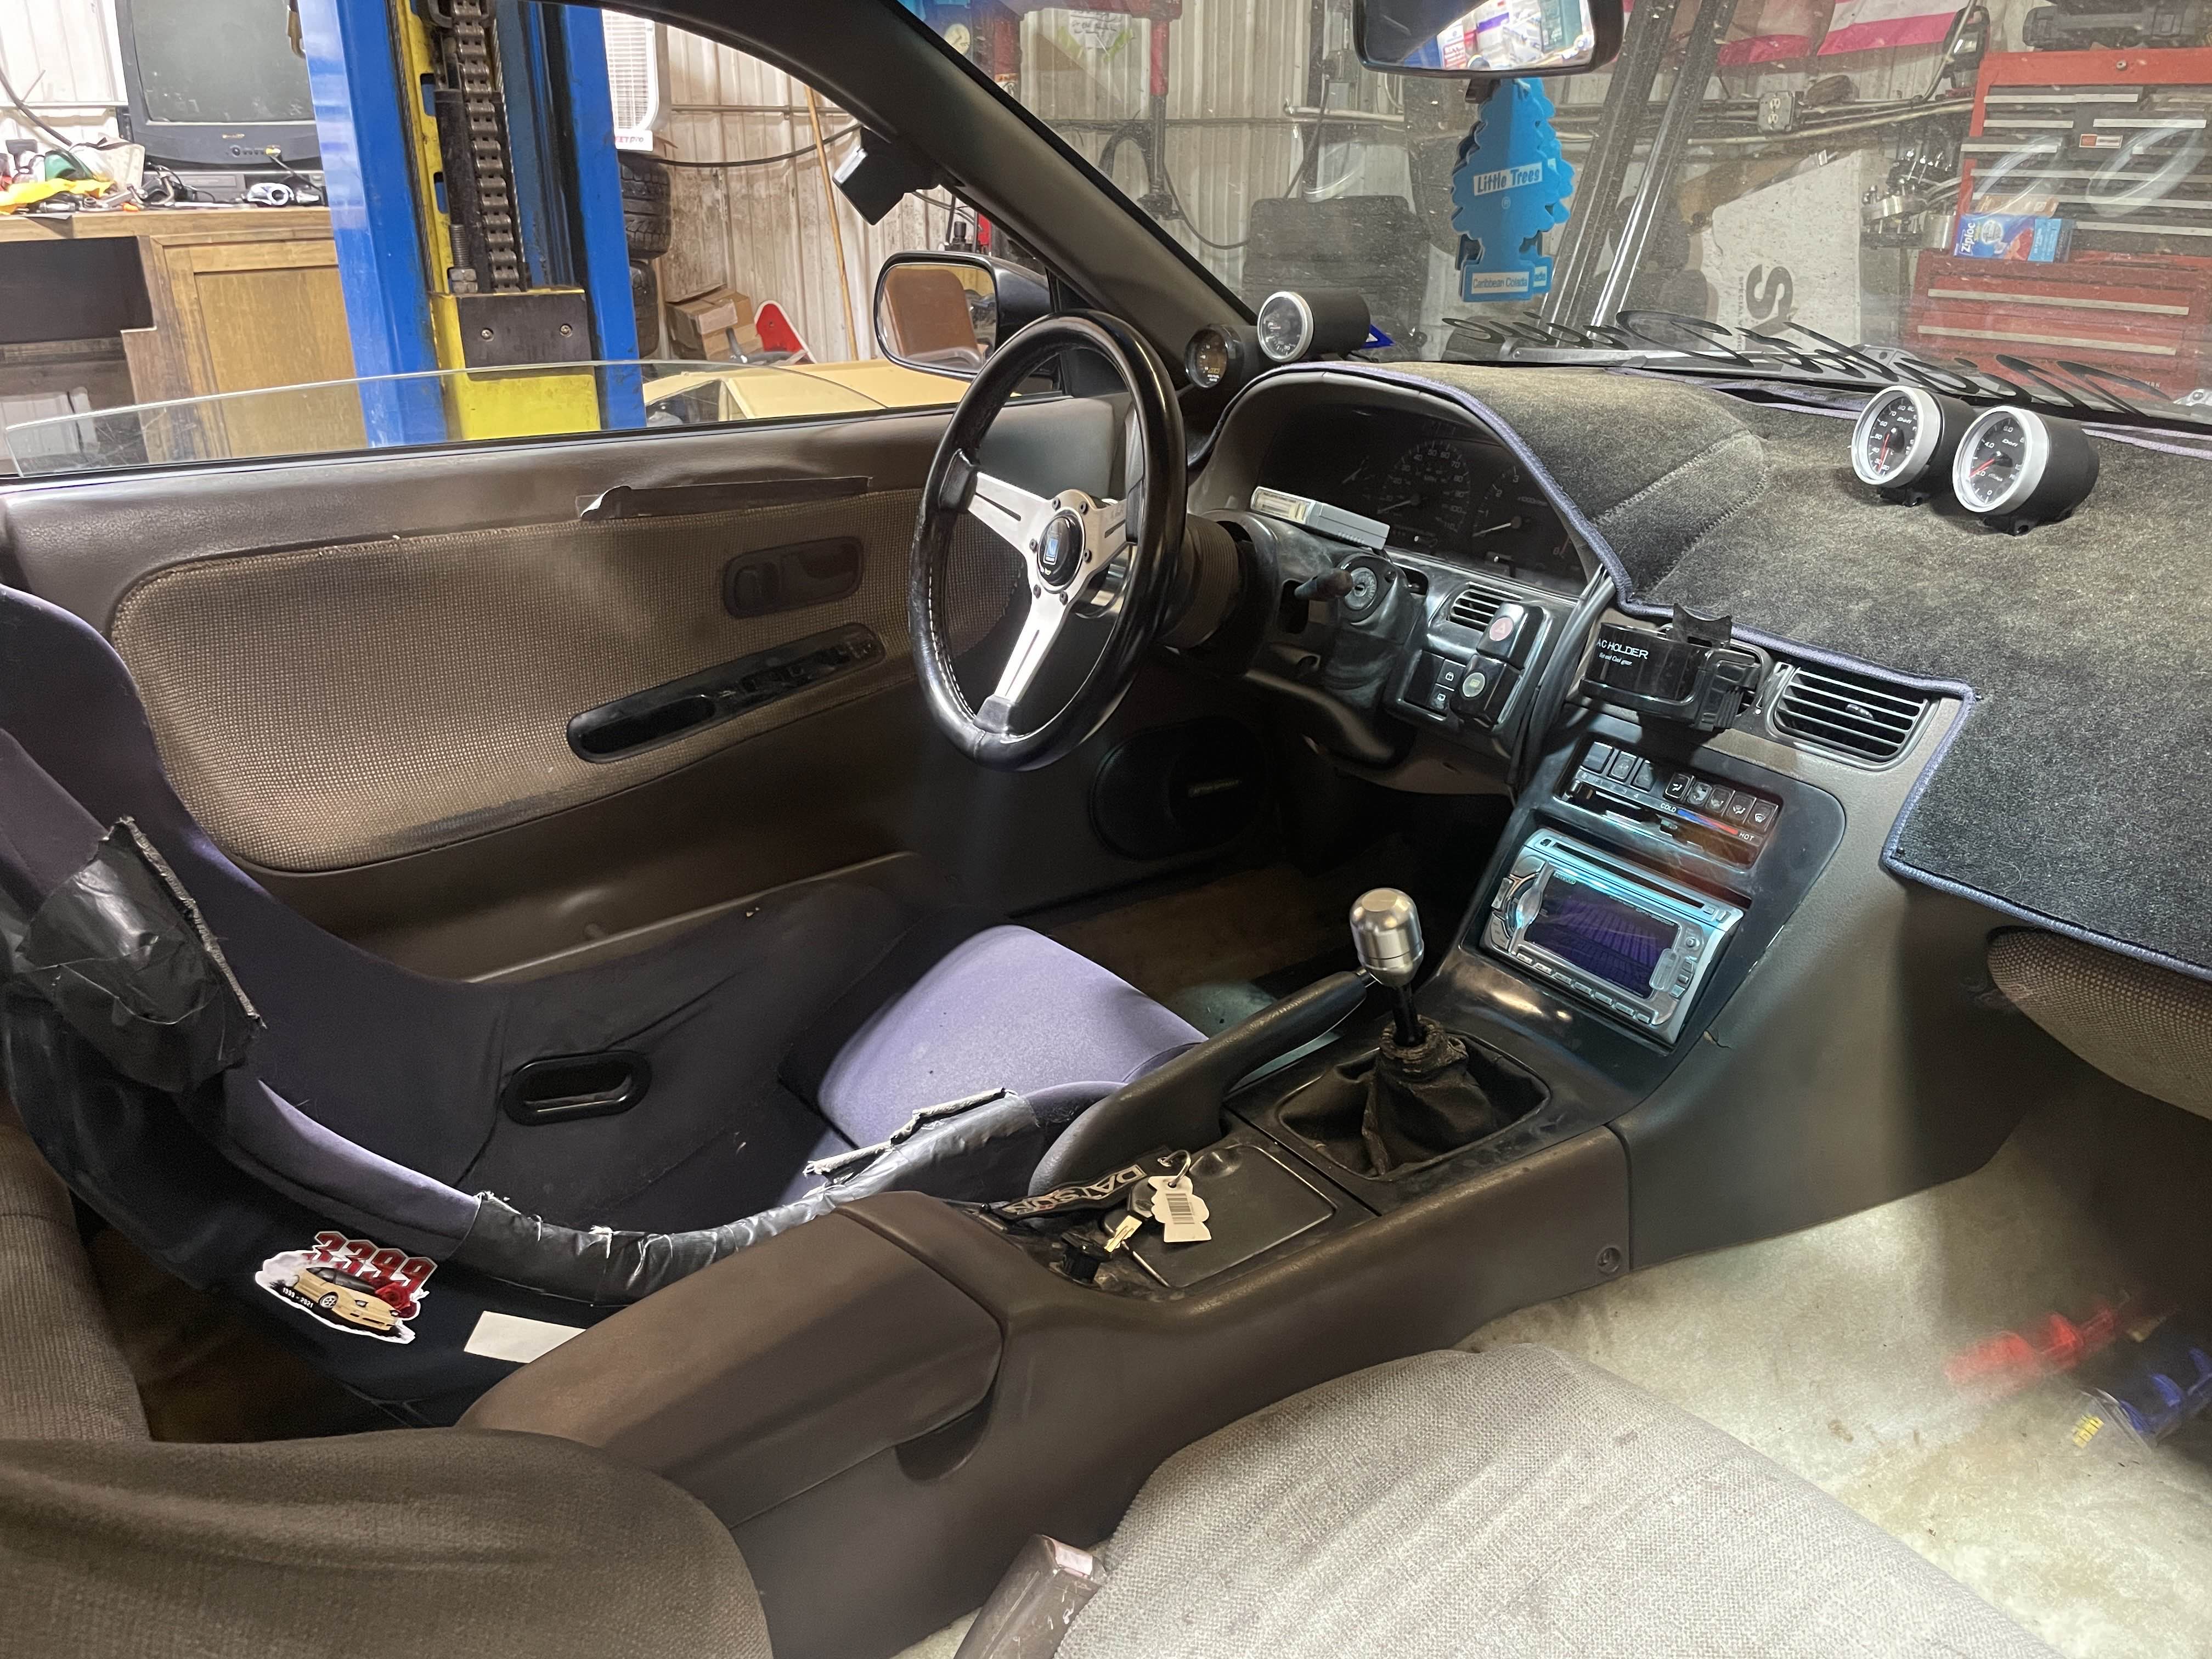
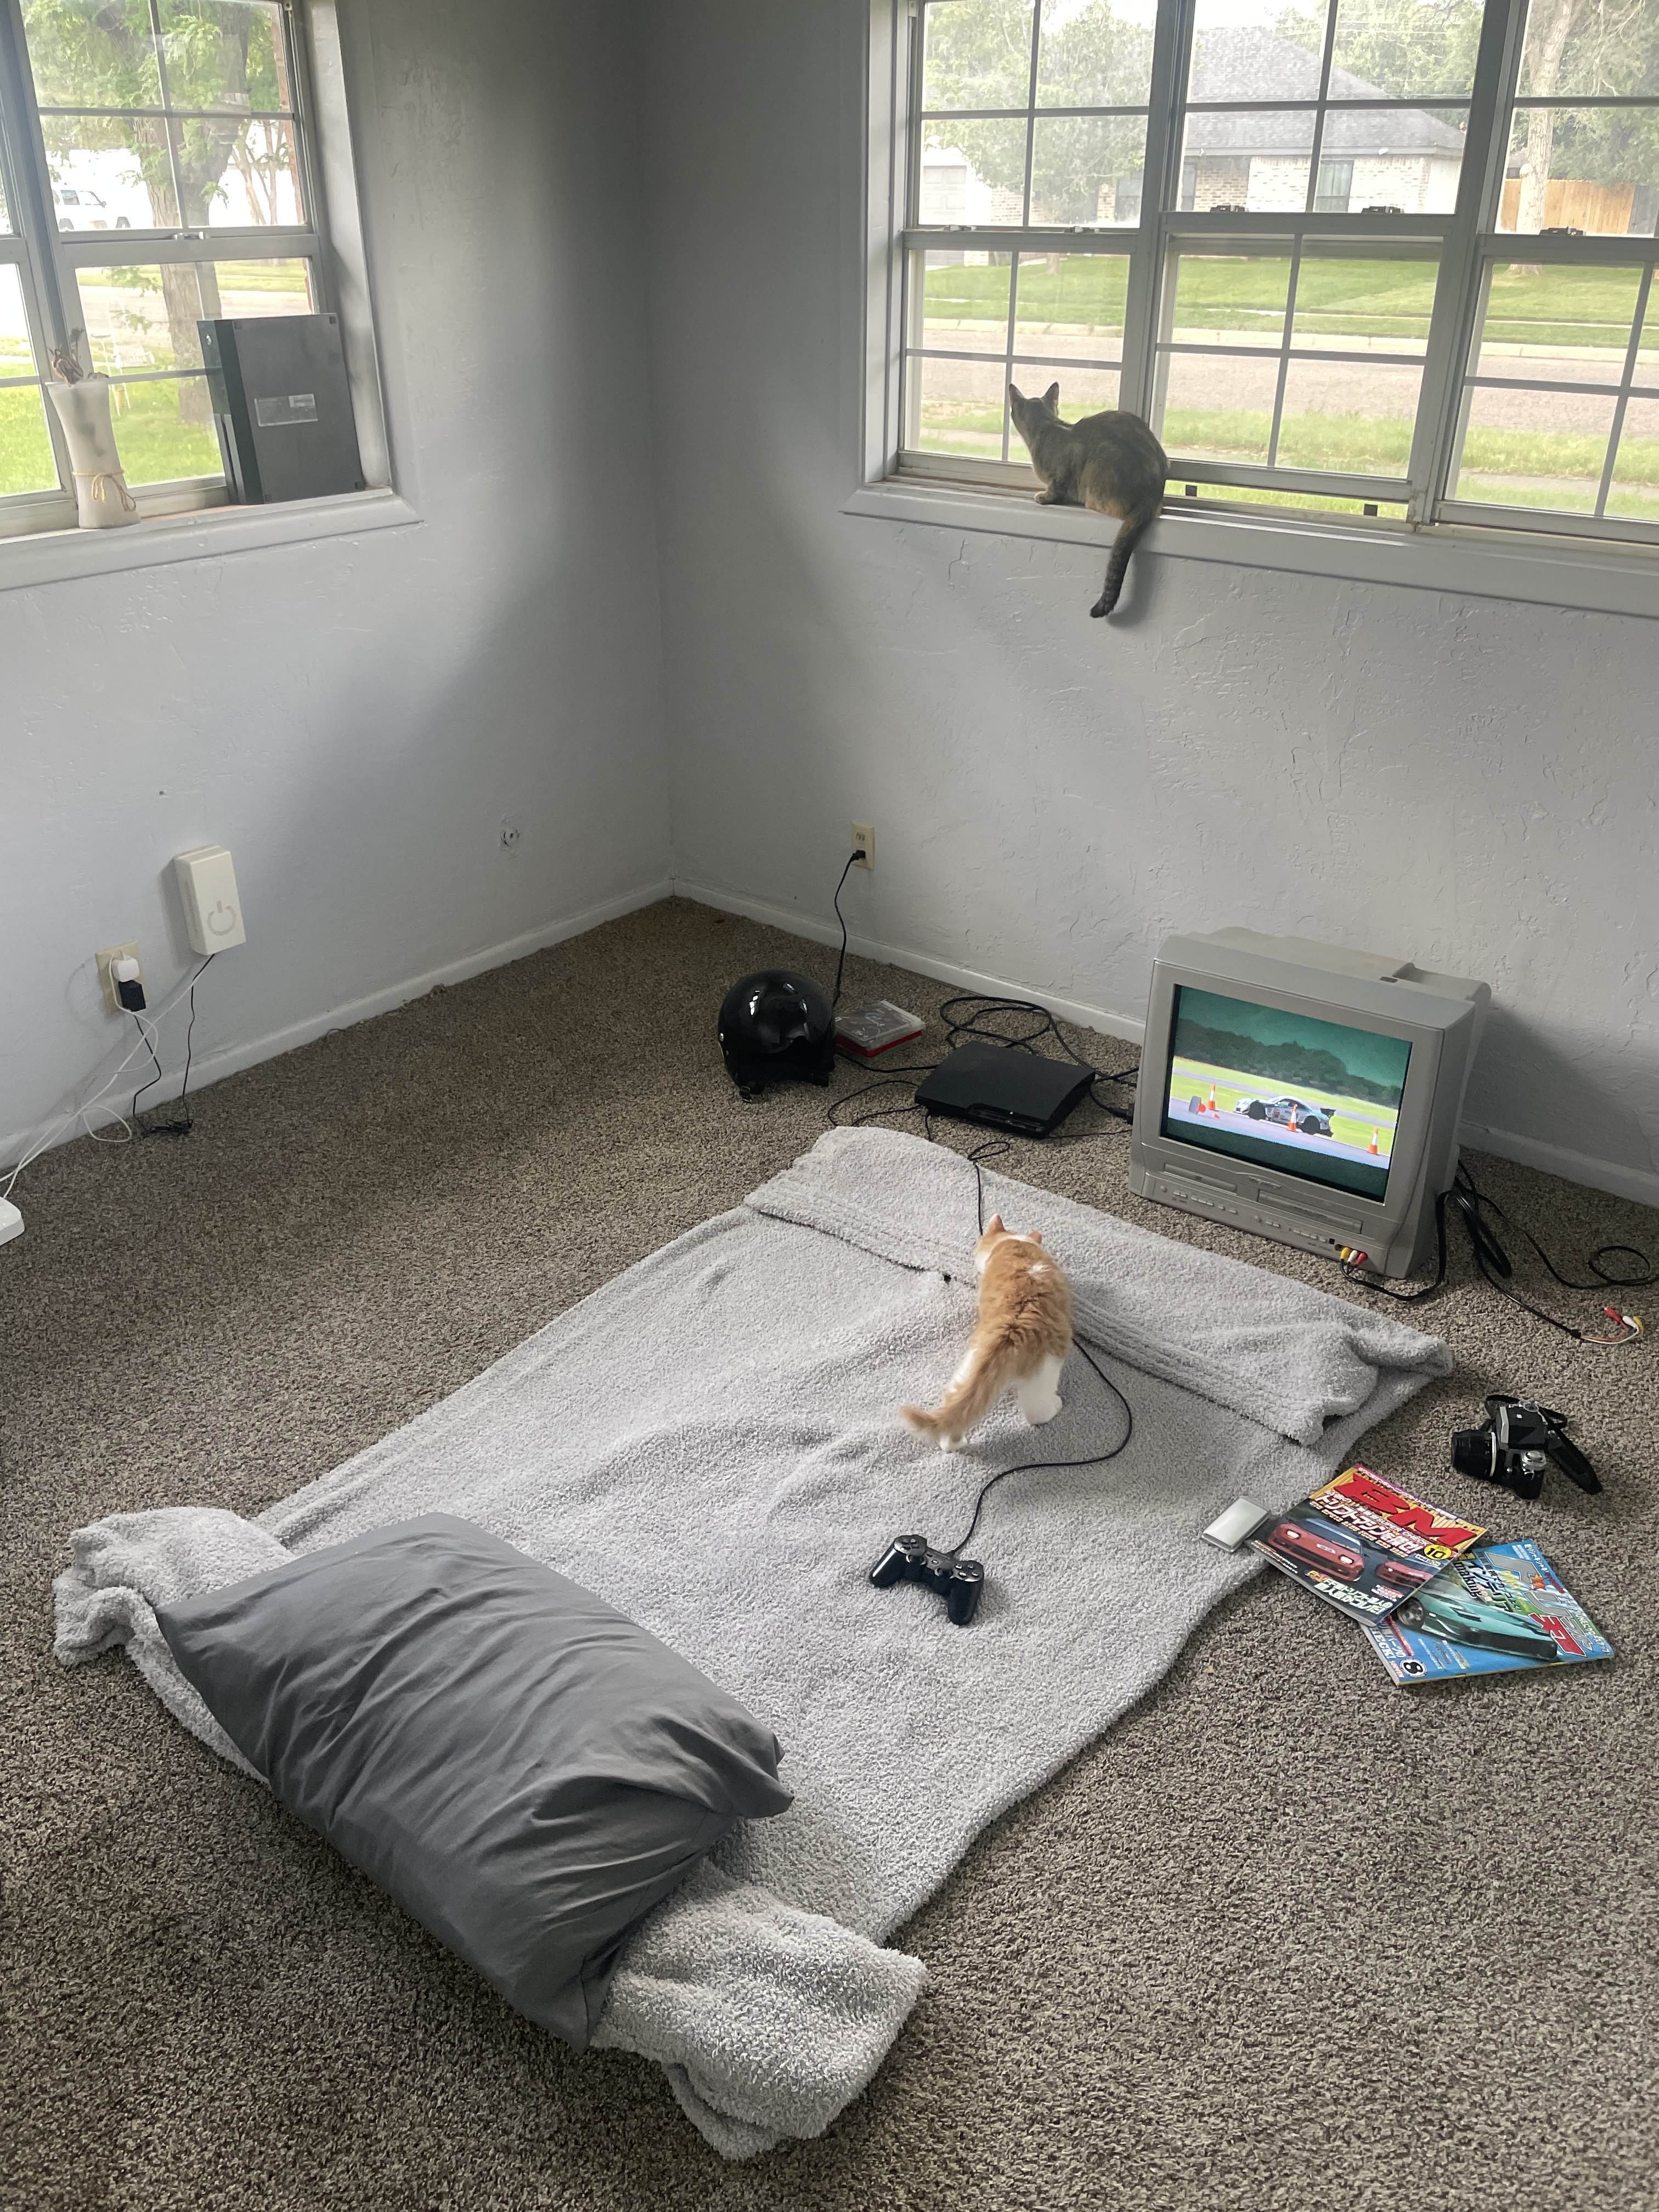
Tidied up the interior some, now that the ecu and such are off the floor. Finally feeling like a car again.
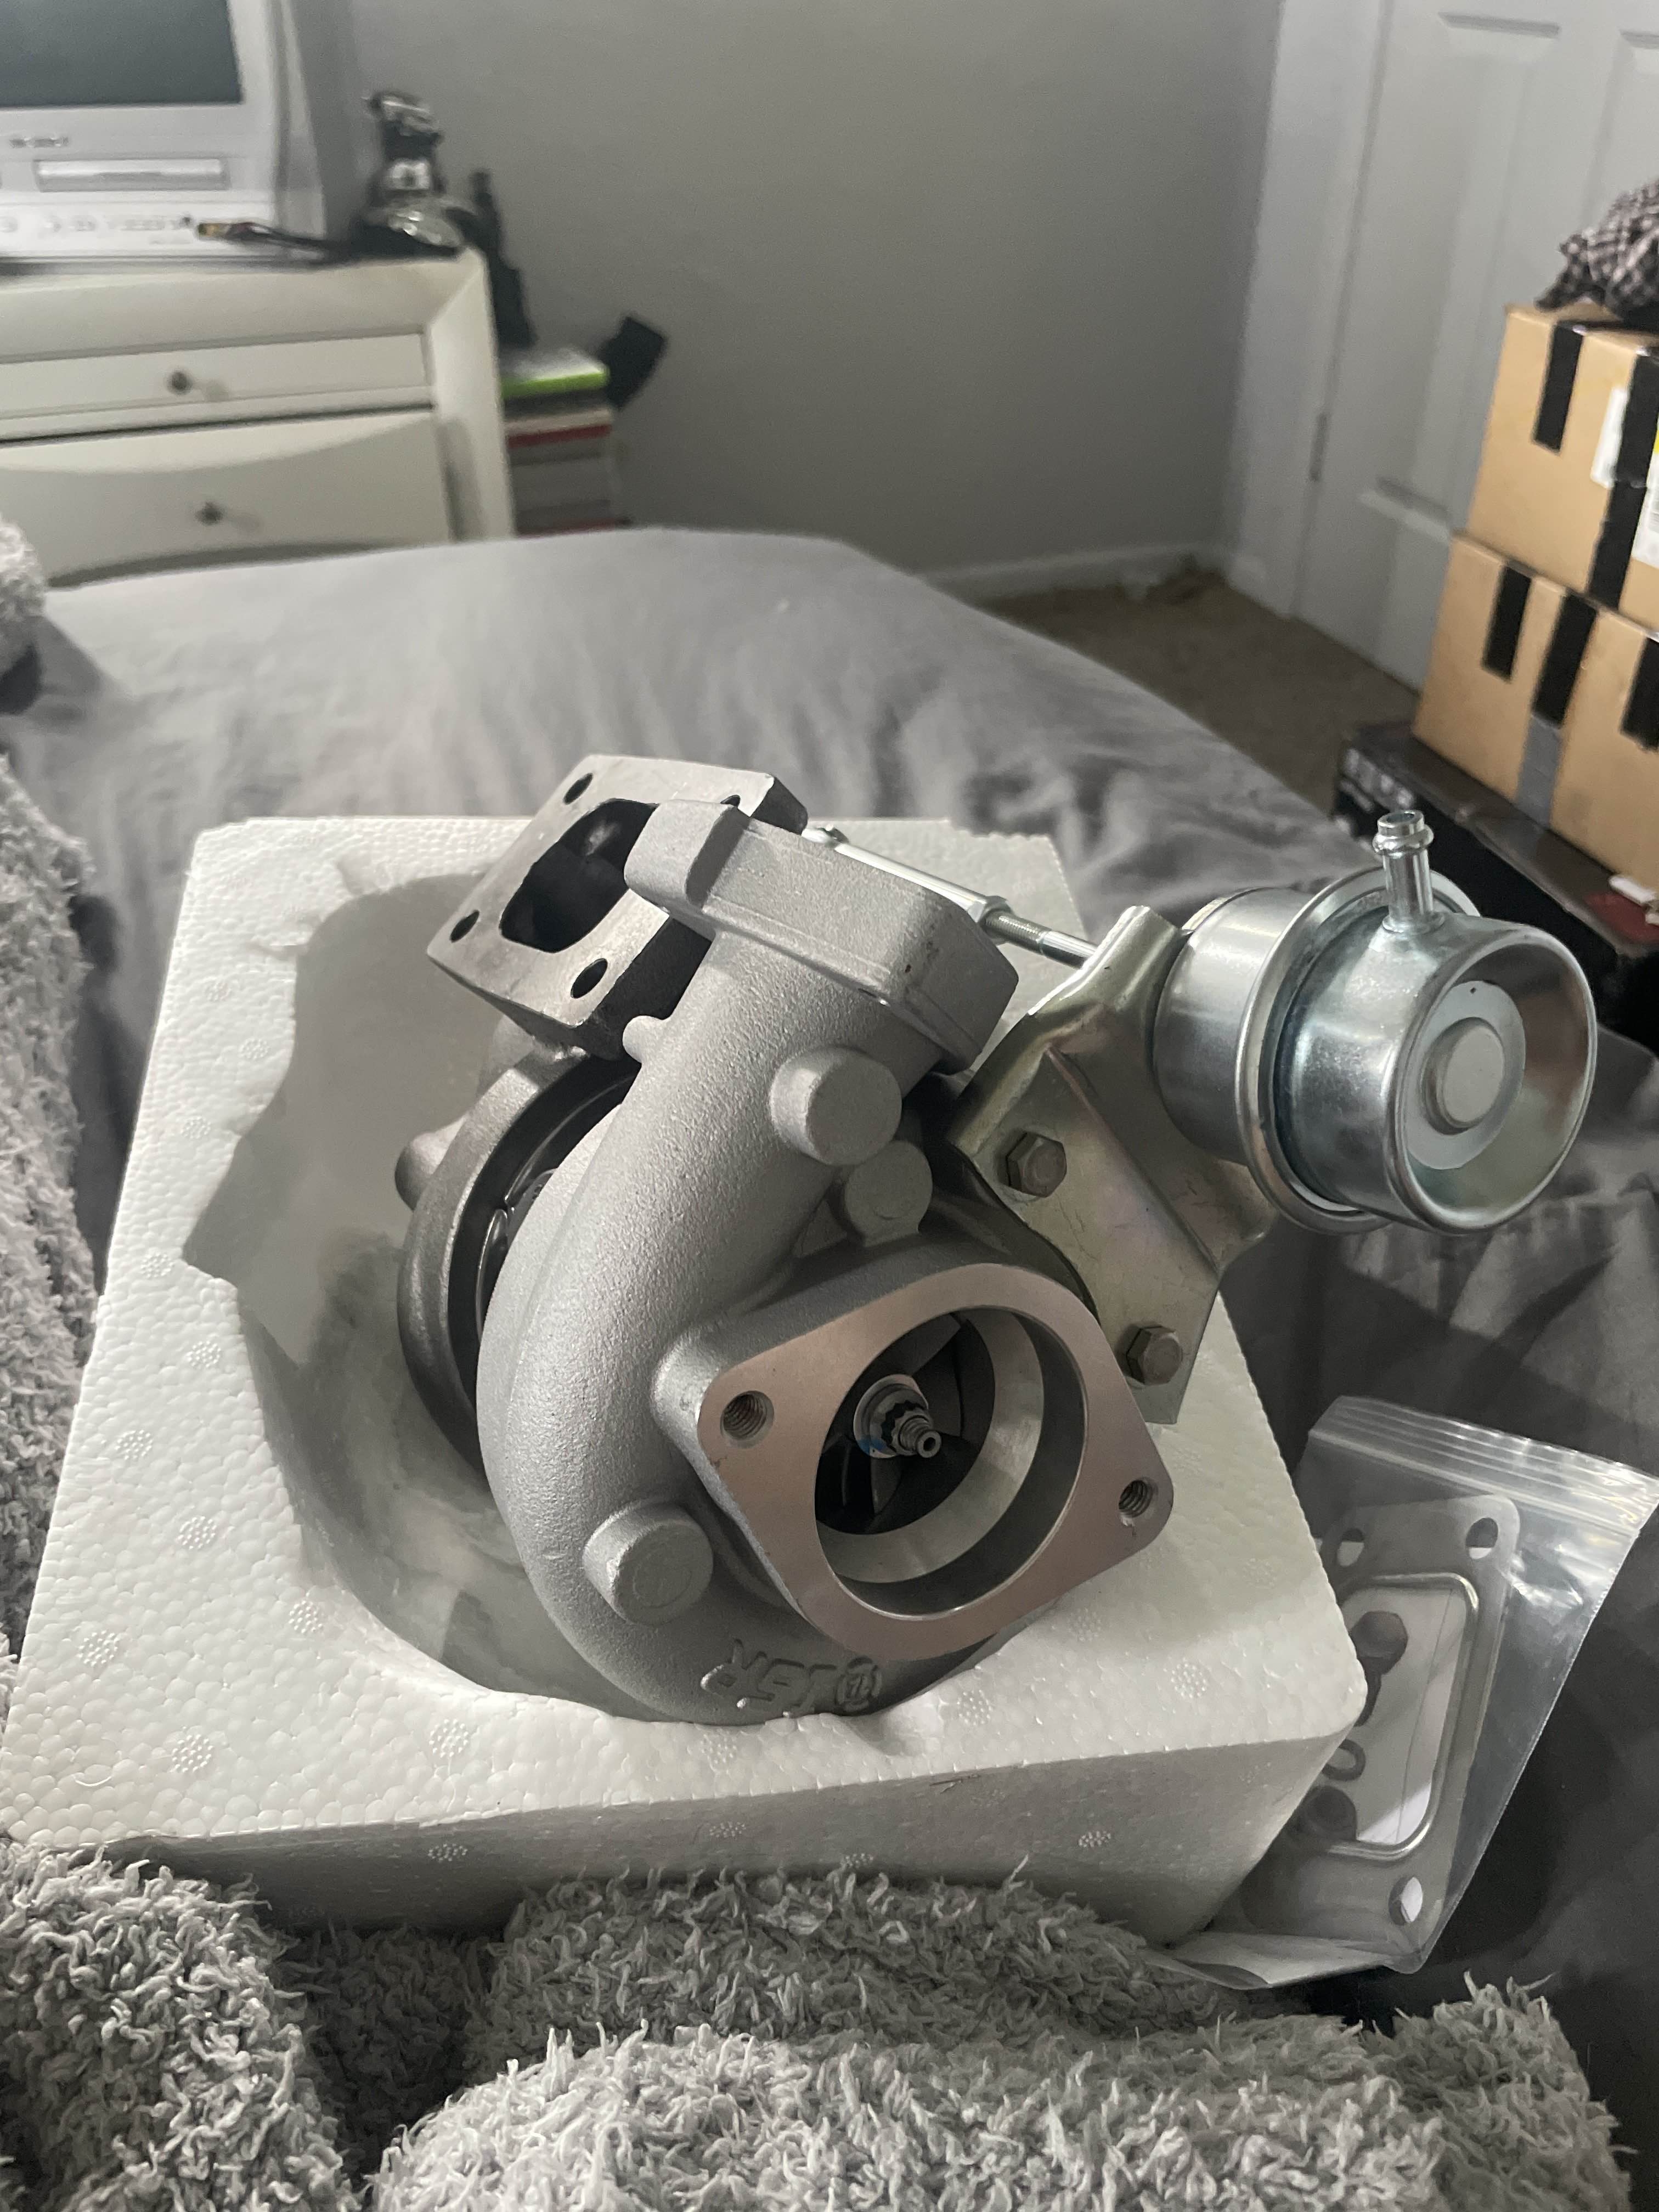
After a few days, my ISR Turbo arrived! I did order this thinking it was a T28- turns out its an SR20 T25, or also known as a T25G, which is still better than the CA18 T25.
Swapping turbos was a pain in the ass, even with a lift, also the T25 and T28 differ slightly. The GKtech adapters I bought for the T28- no longer needed, The oil feed line- incorrect banjo size. After Branson very carefully ground out the banjo on the oil feed to fit the larger banjo bolt, we started mounting it up and routing all the lines!
First Drive! This Straight pipe was a bad idea haha, will need a cat, but also had some fueling issues, kept running lean. Clamped down the fuel return hose and ran much better, meaning the fuel pressure was not being held by the fuel pressure regulator.. Decided to swap over the KA FPR and give that a shot.

Because the FPR is impossible to swap in the car, I pulled the fuel rail and snatched my KA24de FPR off the old motor and started mocking up how to route the fuel lines.
The CA FPR has a 145 degree or so bend to mate up with the factory hardline that bolts to the intake manifold. With the KA FPR this would need to go as it is a straight fitting pointing to the ground, so the following day I picked up some new fuel line from the parts store and simplified this section.

Once the fuel lines were routed, it fired right up! Took it around the shop a couple times before working up the courage to take it to Branson's house to go suprise him and lane early that morning. (Earliest I've been up considering my work schedule)
Brought it by Ty's house not long after, he suggested using this silver heat wrap for the pcv line off the valve cover instead of the brown stuff I threw on to test, looks much better, thanks Ty!
That night the guys helped get my hood on then I stayed out late fixing my position lights and mounting the bumper/sideskirts.
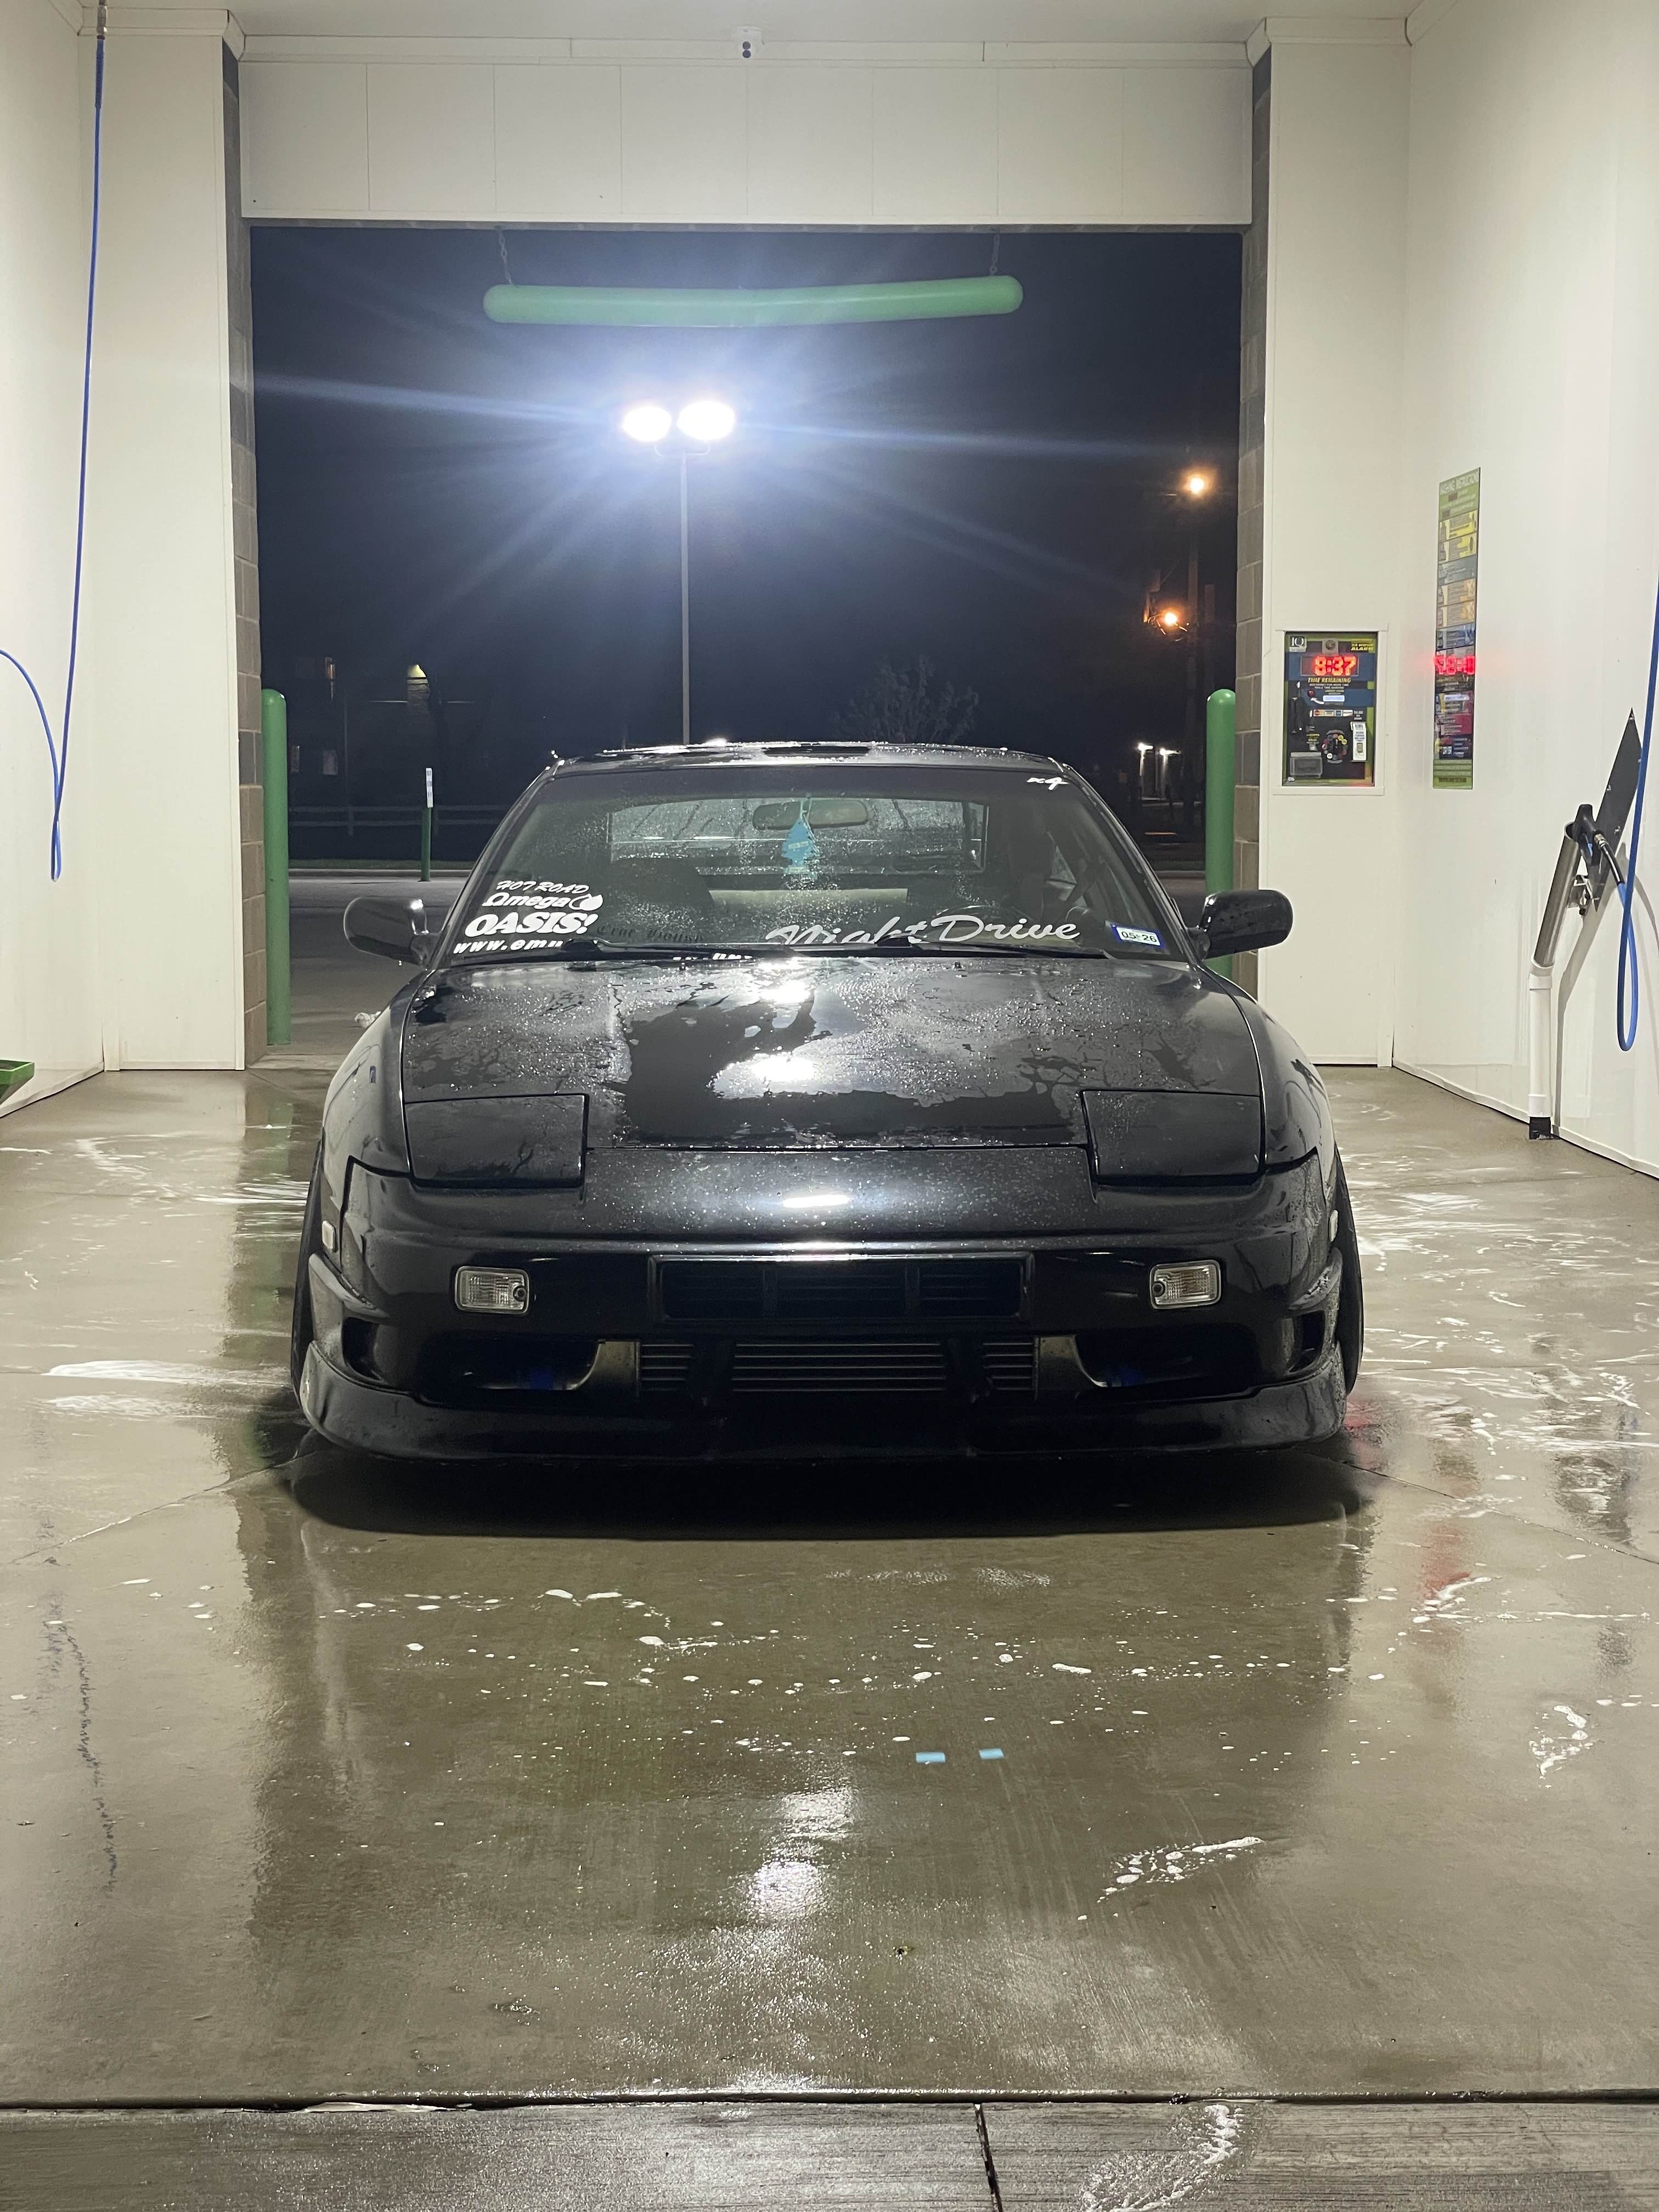
With how dirty everything got while being under the knife, took it by the wash before heading home.
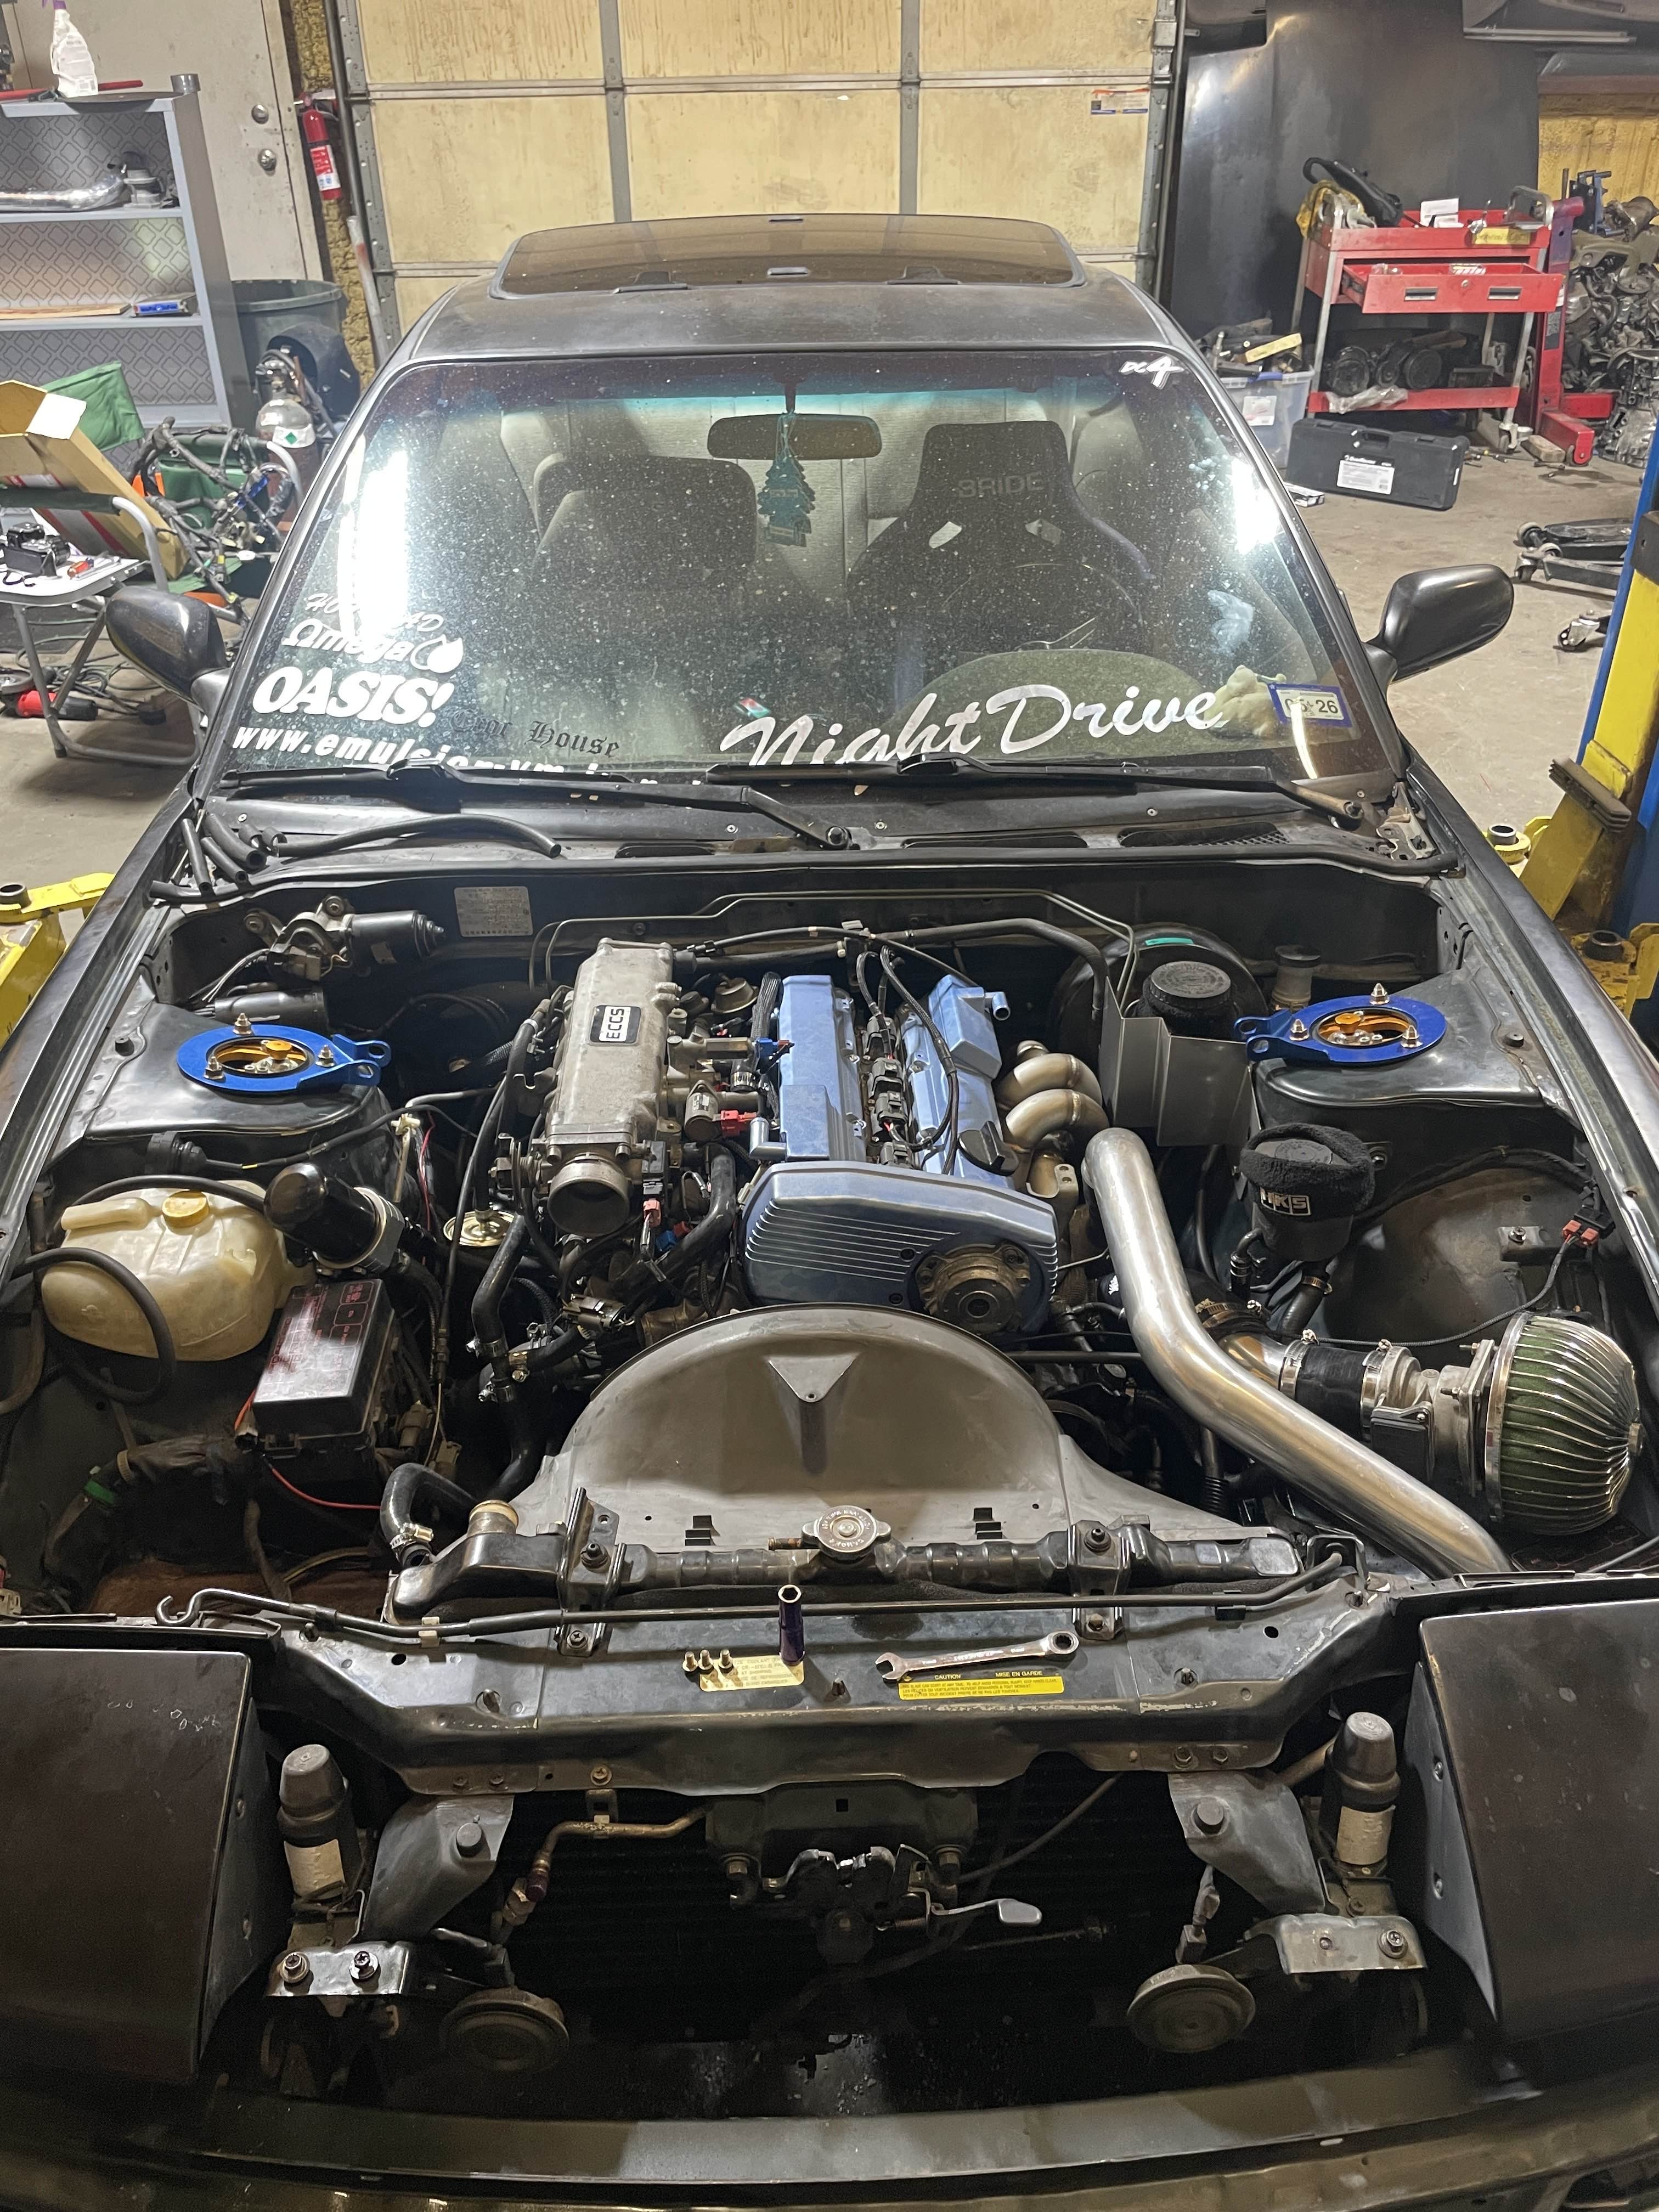
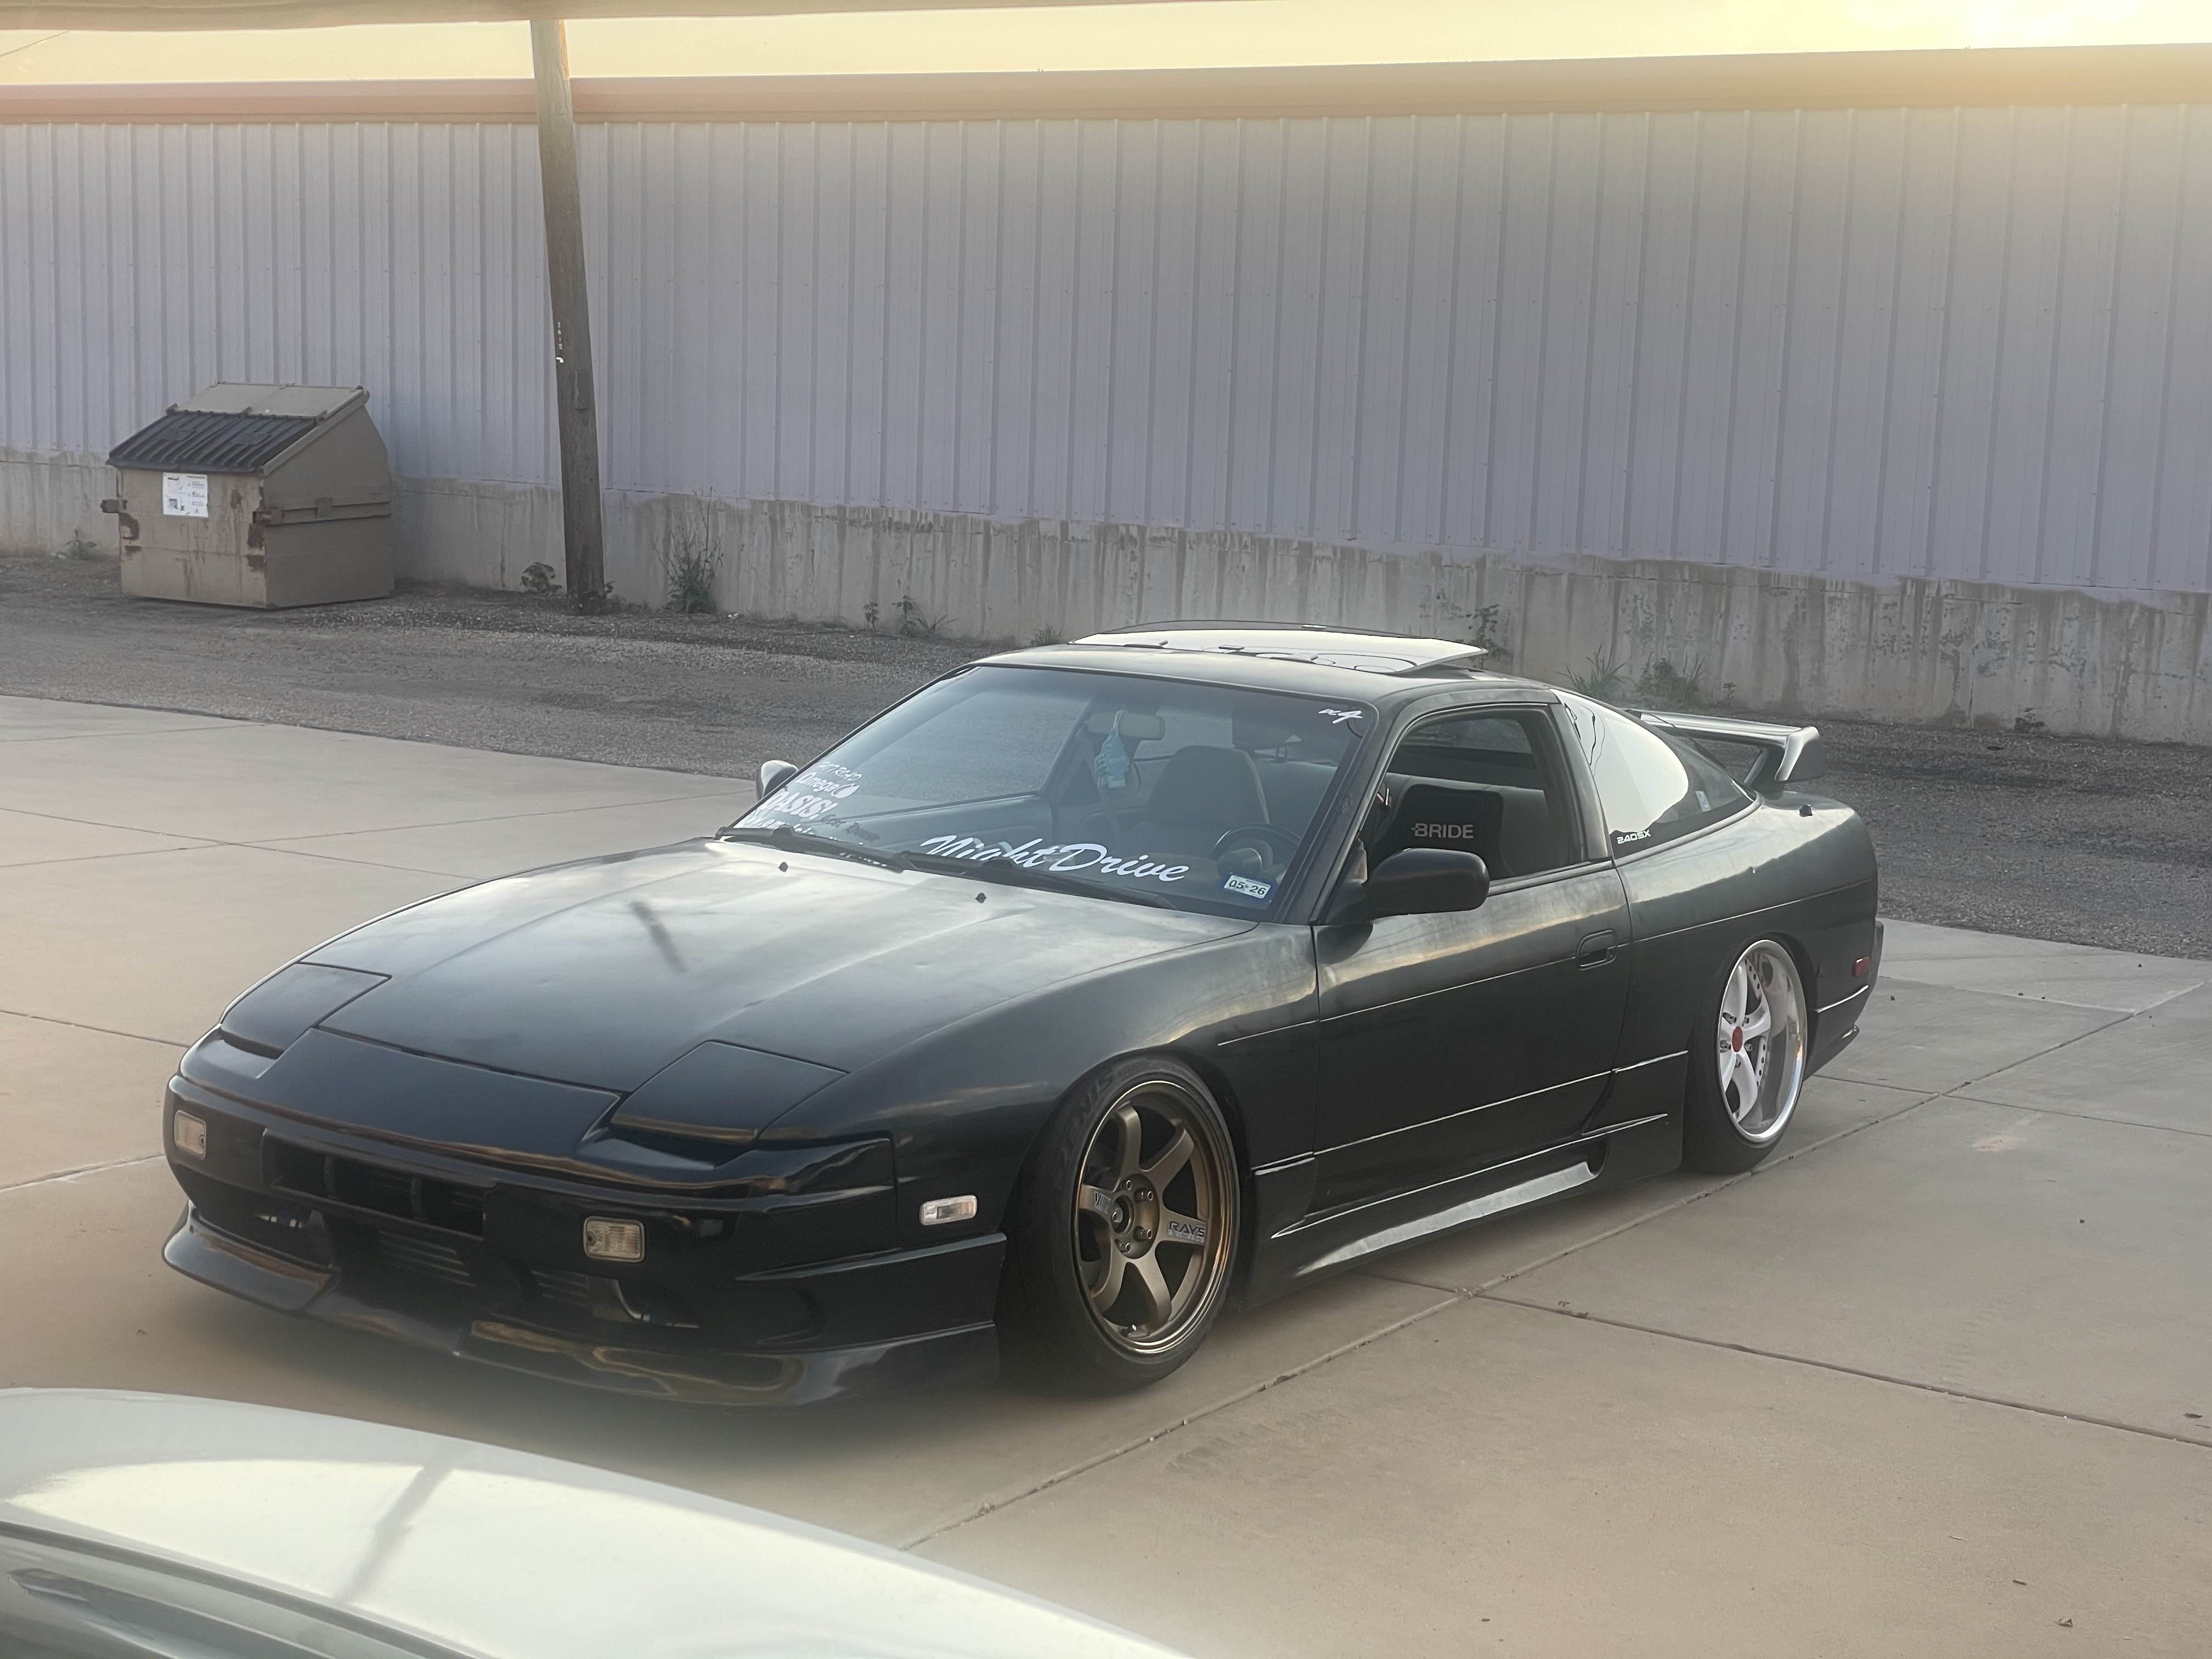
For the first time, the CA18 comes home, refreshed, and stuck in a car with the steering wheel on the wrong side. Finally.
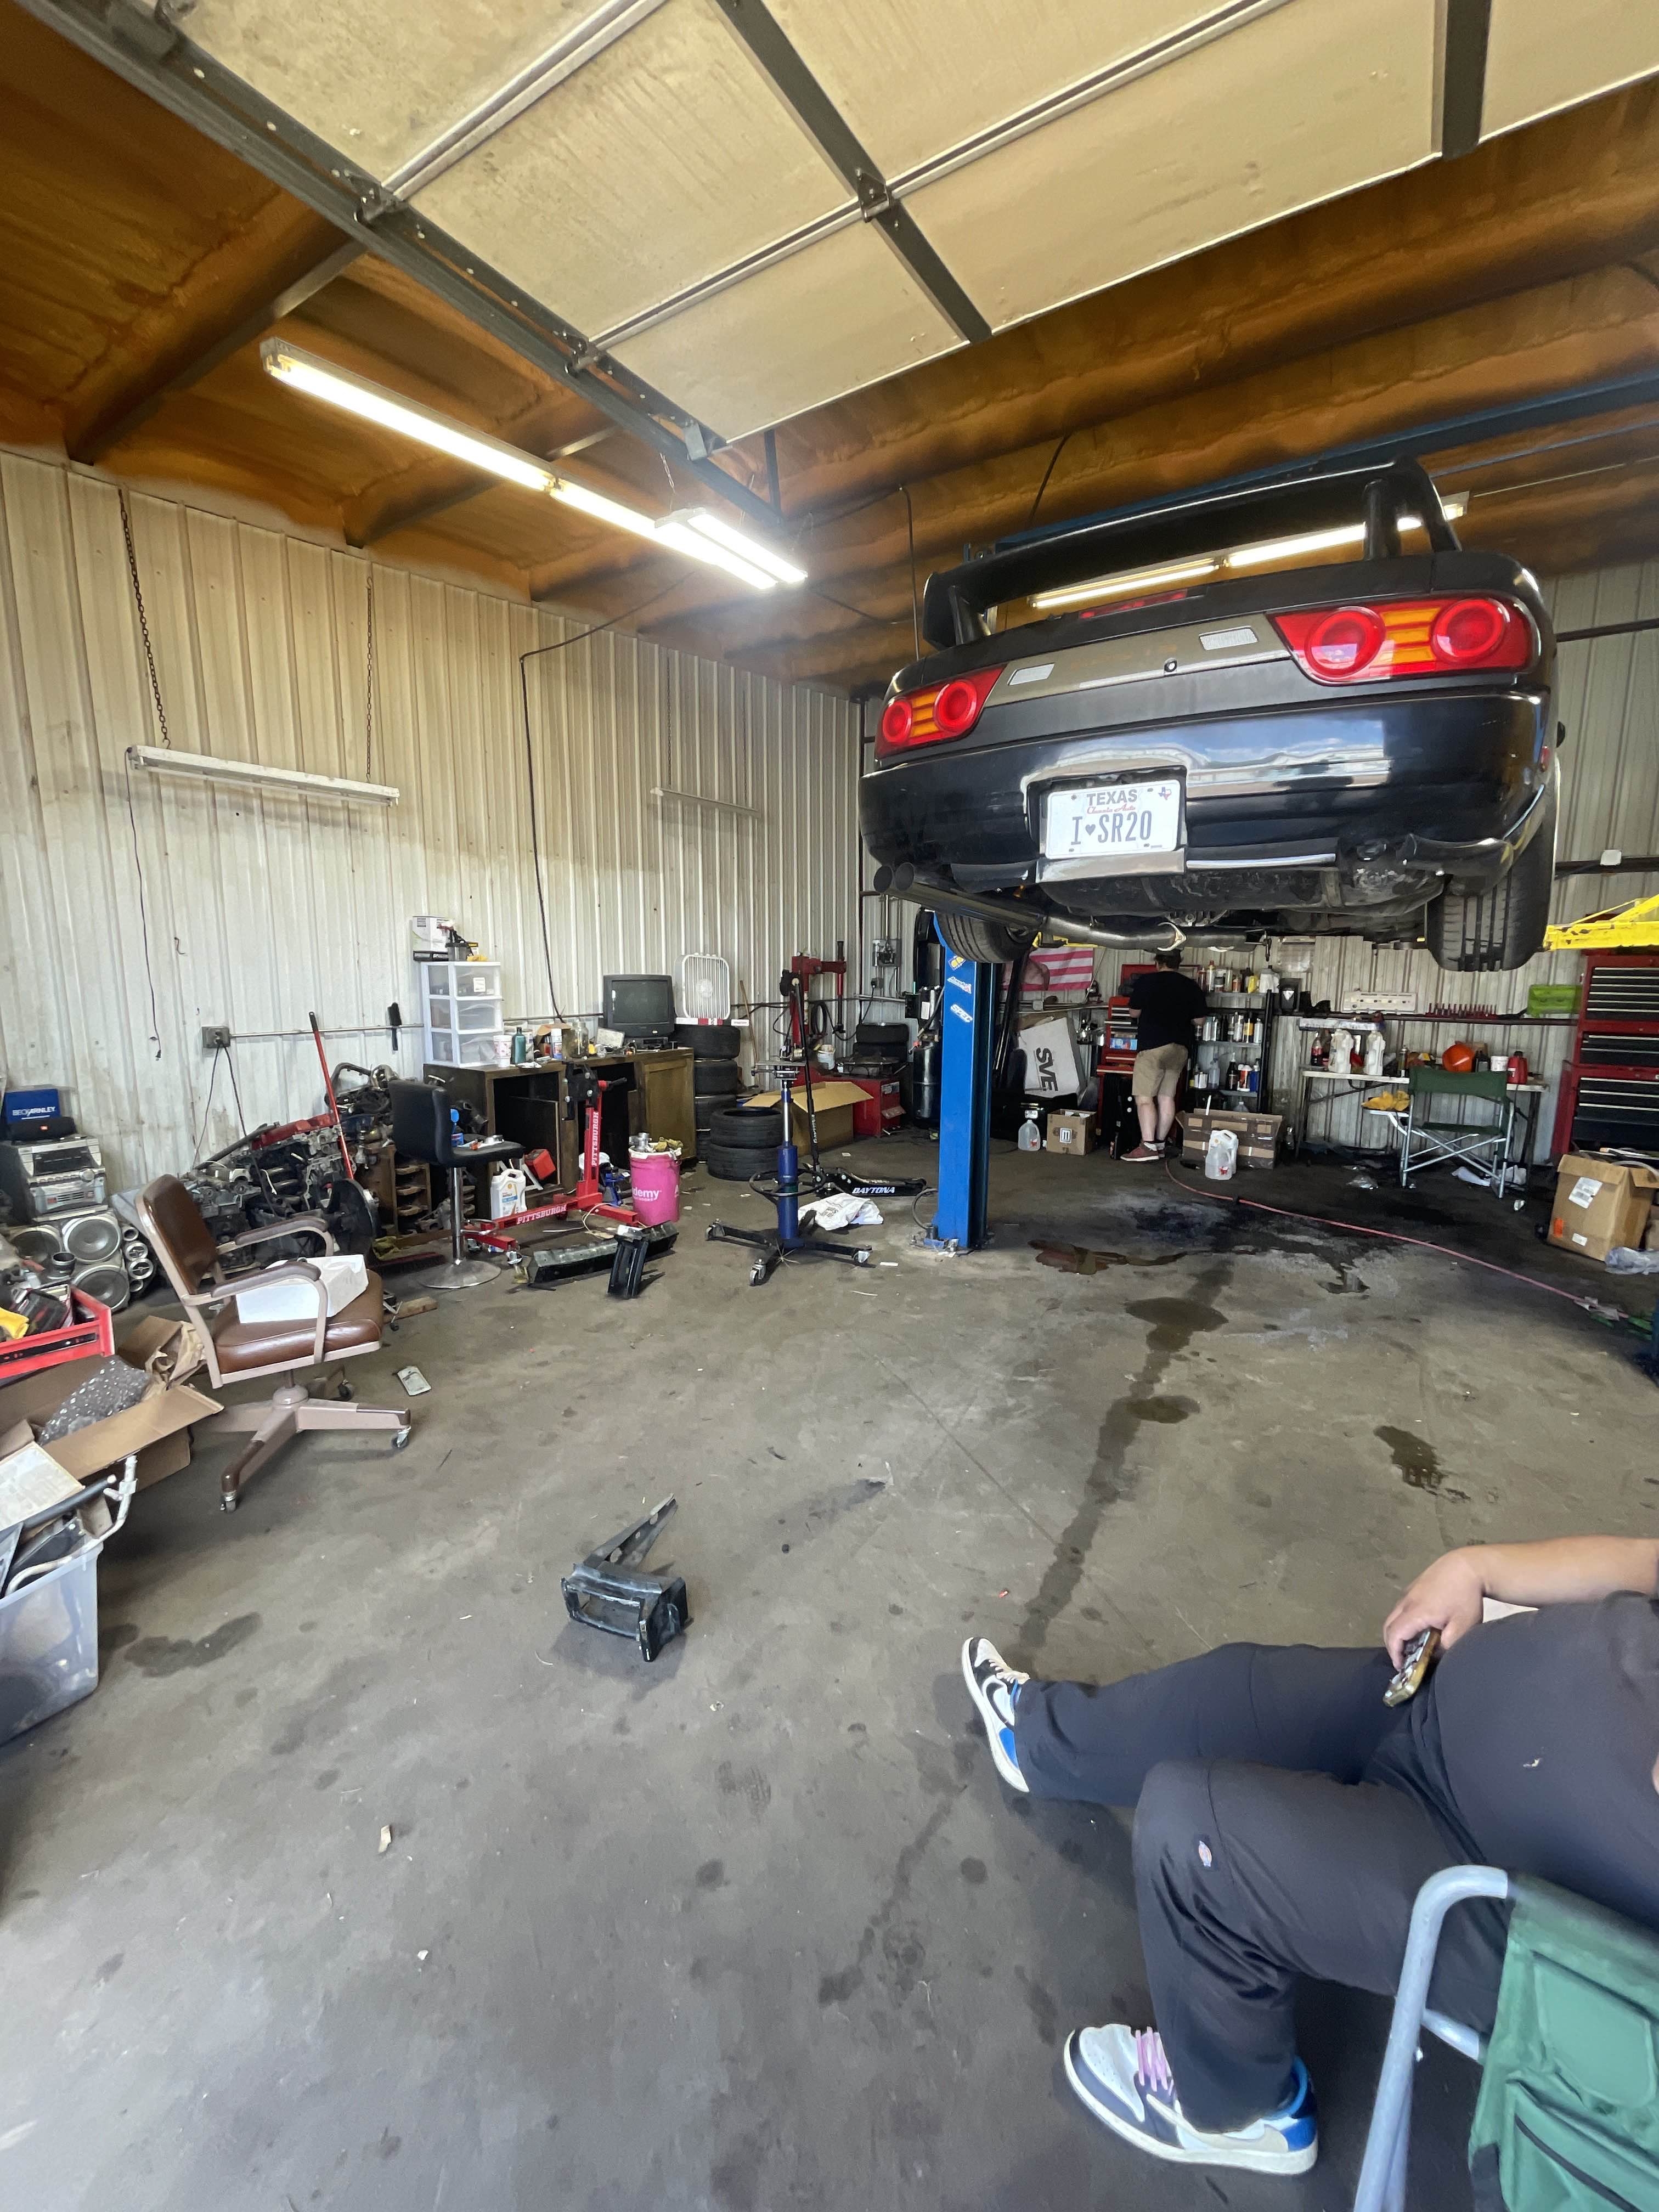
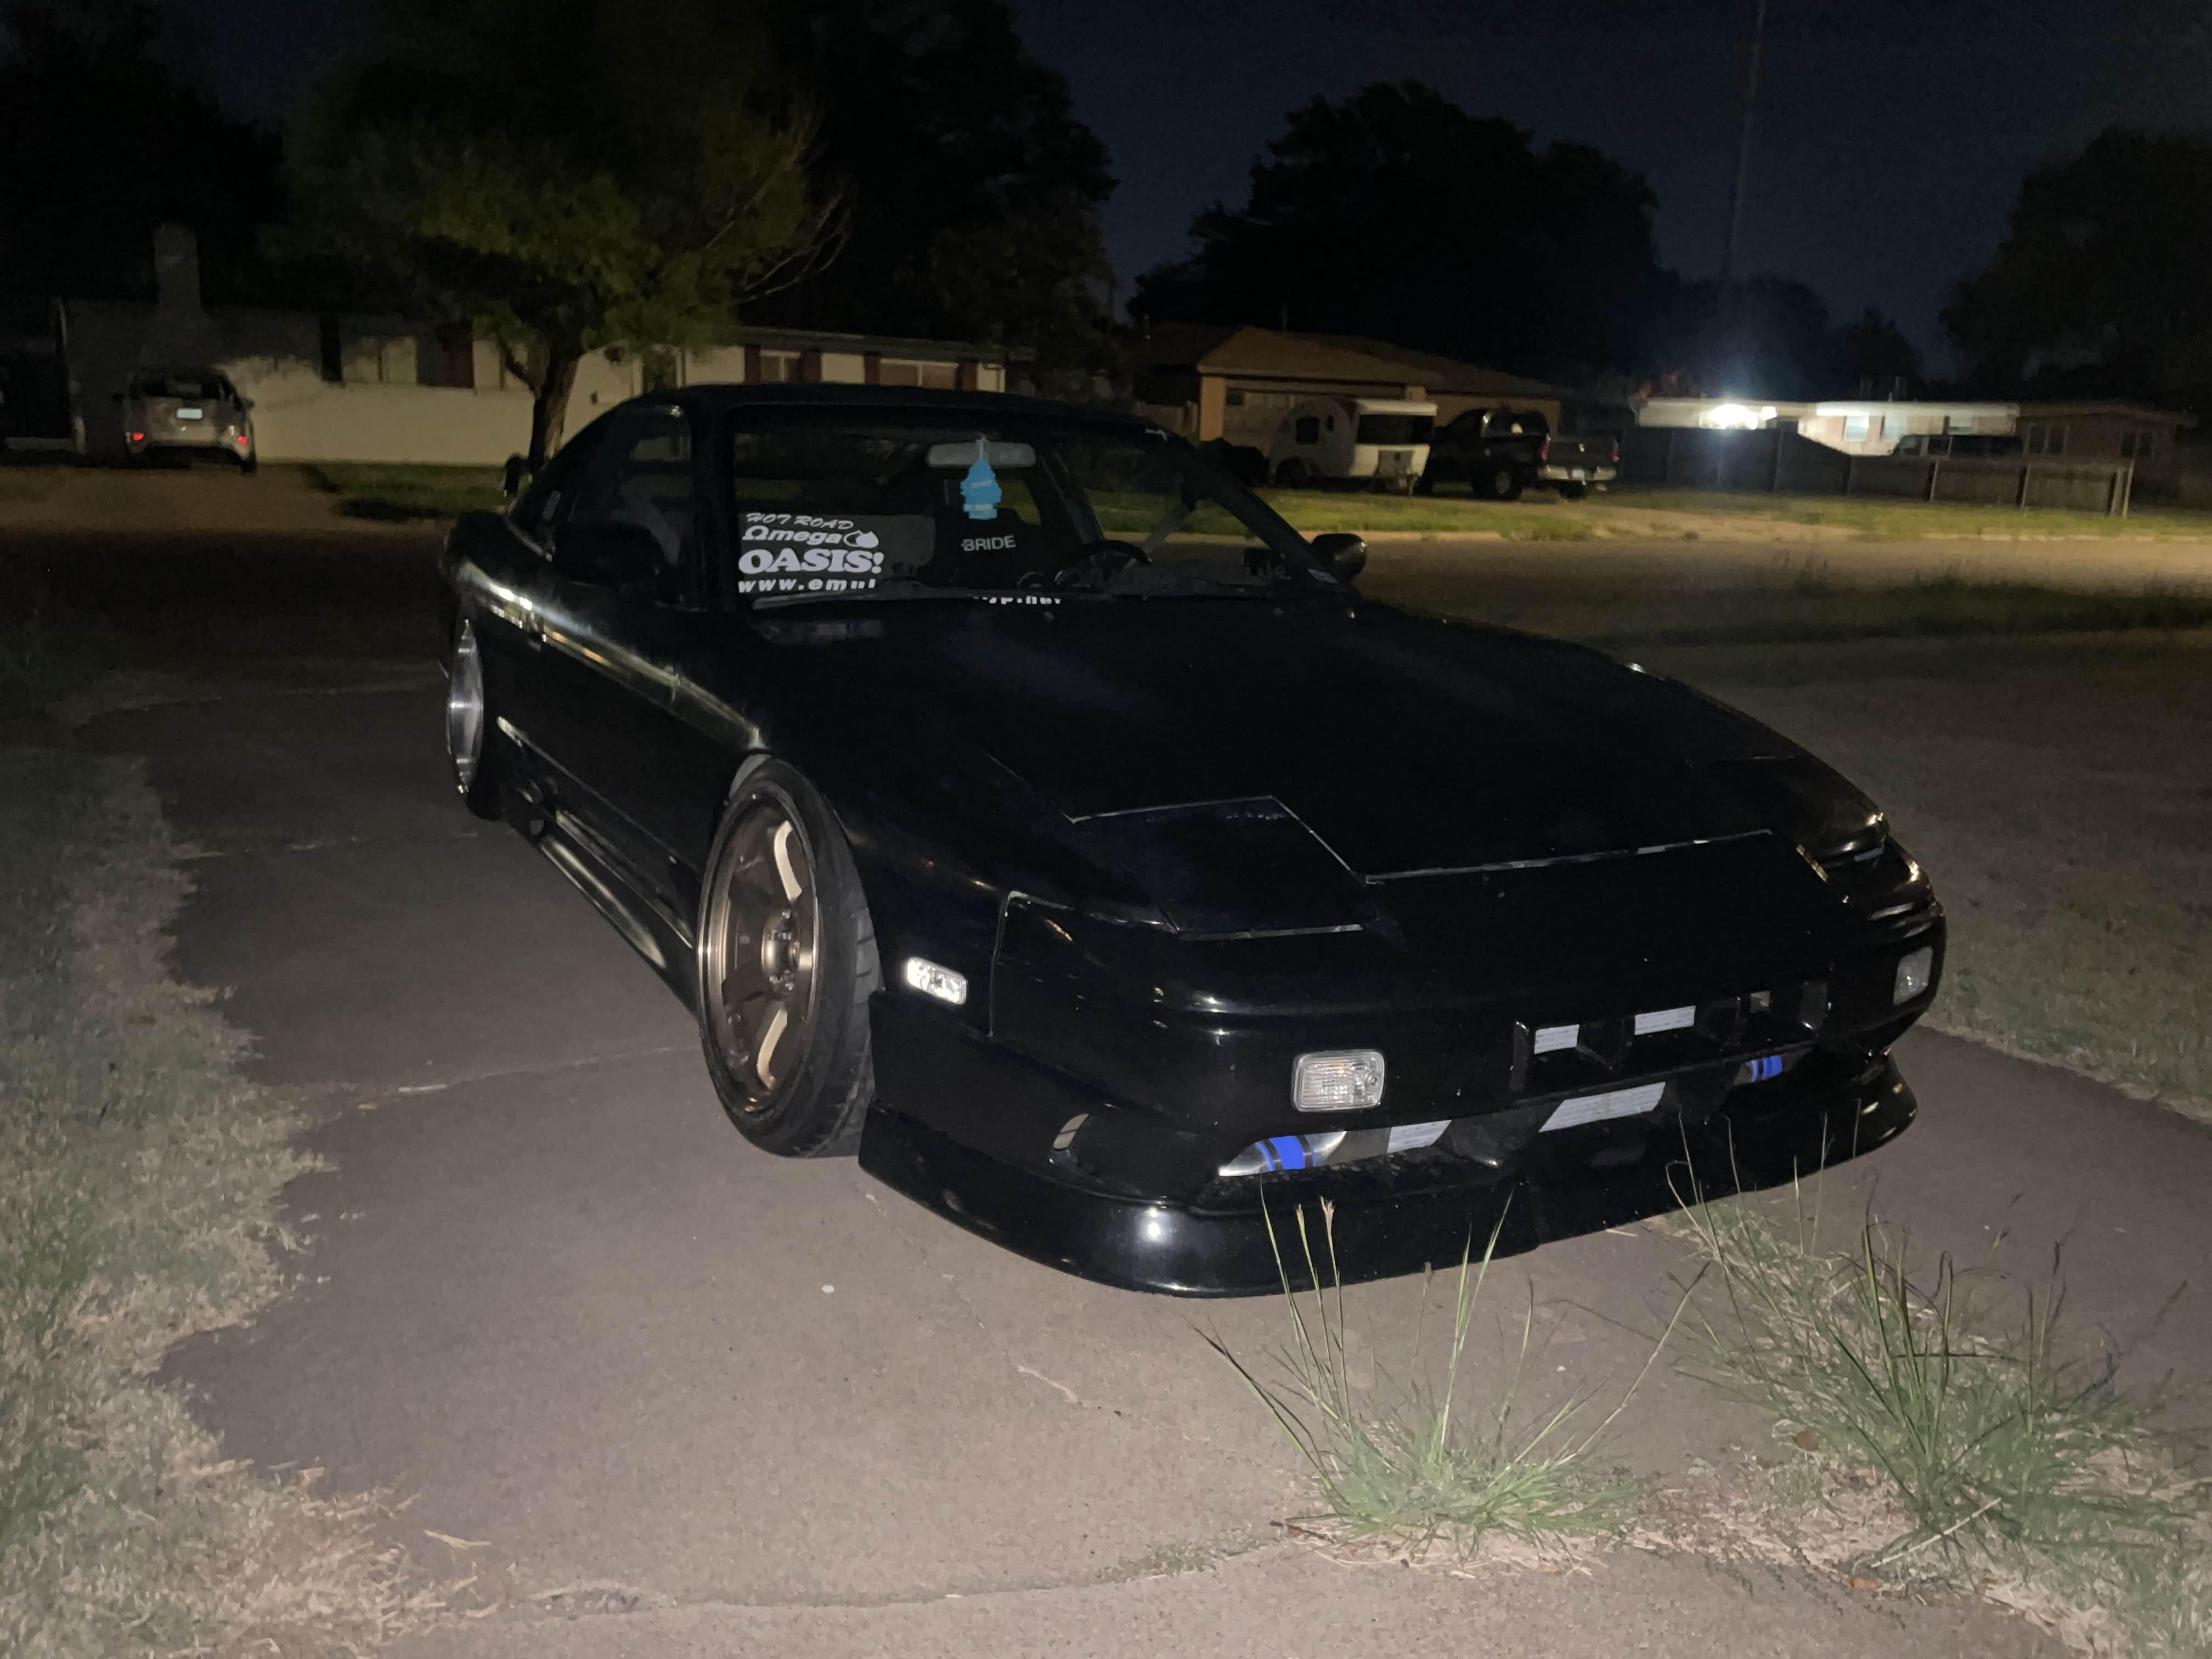
All of this taking place on a rare 3 day weekend, that Sunday I met up with Ty again now with a visually complete car.
Ty helped bump the idle slightly higher to fix a violent shaking issue at ~500rpm, and started working on adjusting the clutch pedal since the bite point on the new clutch is higher than expected. - Also he got the RX7 driving again!
Aubrey brought home this Z32! Would be a shame if those front calipers disapeared ;)
Drove by Julian's place to show him the new setup, had a couple beers and his dad made some burgers!
Drove to his new place, drove SpeedSportz on his Sim for a bit, and came back out to see this really soft lighting, wish I had the nikon on me!
Cruised for a while with Julian and got some rollers for eachother, still can't believe this all works. It feels so much better than my old KA, there must have been something seriously wrong with it, because even at 8psi this CA goes good, really good.
Made this little video of a drive home from work the other night.
And that Concludes this Volume!
As of the time writing this I am still breaking in the engine, ordered a cat for it, driving it to work overnight to put around 500 miles on it before an oil change, then I can finally let it rip :) See you next time x